
Let the party prep begin! Our New Year’s resolution is to craft more, of course?! There’s no better way to kick off our resolution than to craft up New Year’s Eve party pieces. Follow along to see how you can make your own custom party hats, a New Year’s banner, and darling rosettes for wall decor.
Supplies Needed:
- Silhouette CAMEO® or Silhouette Portrait®
- Silhouette Studio®
- Silhouette Cutting Mat
- Silhouette Cutting Blade
- Cardstock – black, black and gold polka dot, gold glitter and brown, gold, and gold polka dot
- Silhouette Metallic Vinyl – Gold
- Silhouette Glitter Vinyl – Black and Gold
- Silhouette Transfer Tape
- Twine
- Large Eye Needle
- Glue or Double-sided Tape
- Design ID #58038
- Design ID #4553
- Design ID #276060
- Design ID #136679
- Design ID #283165
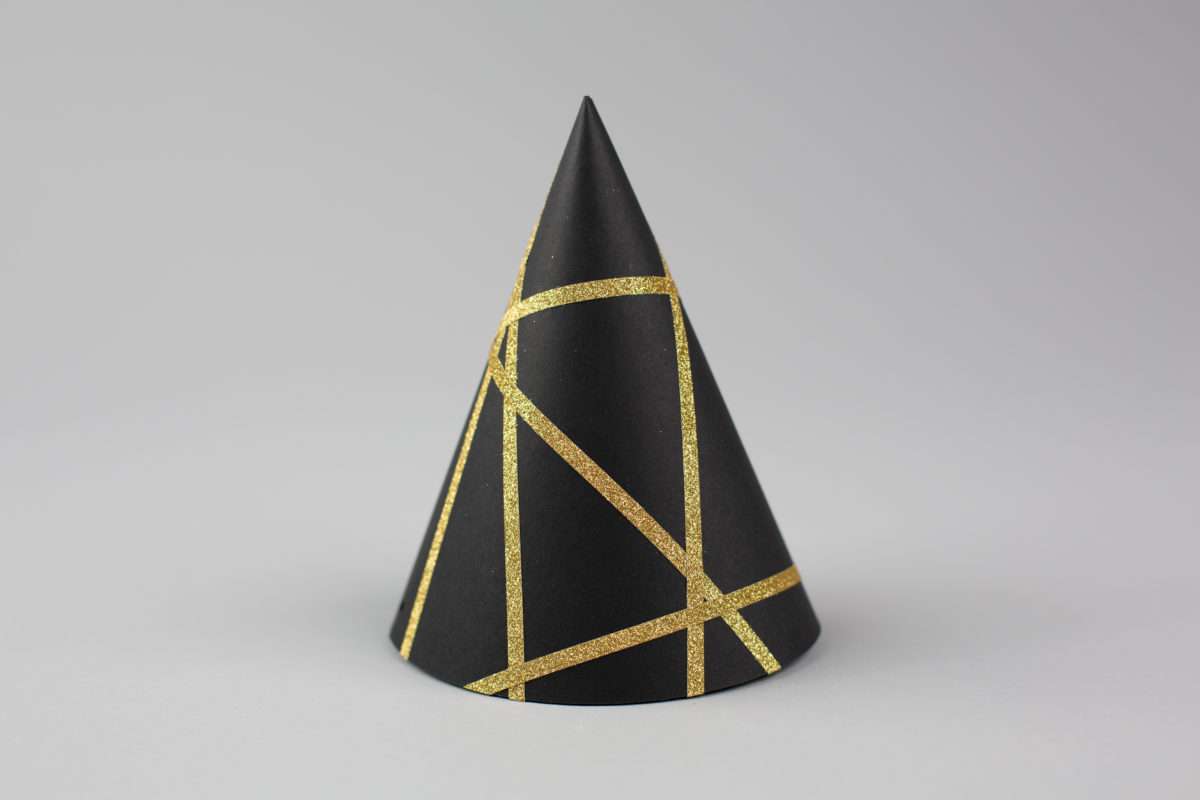
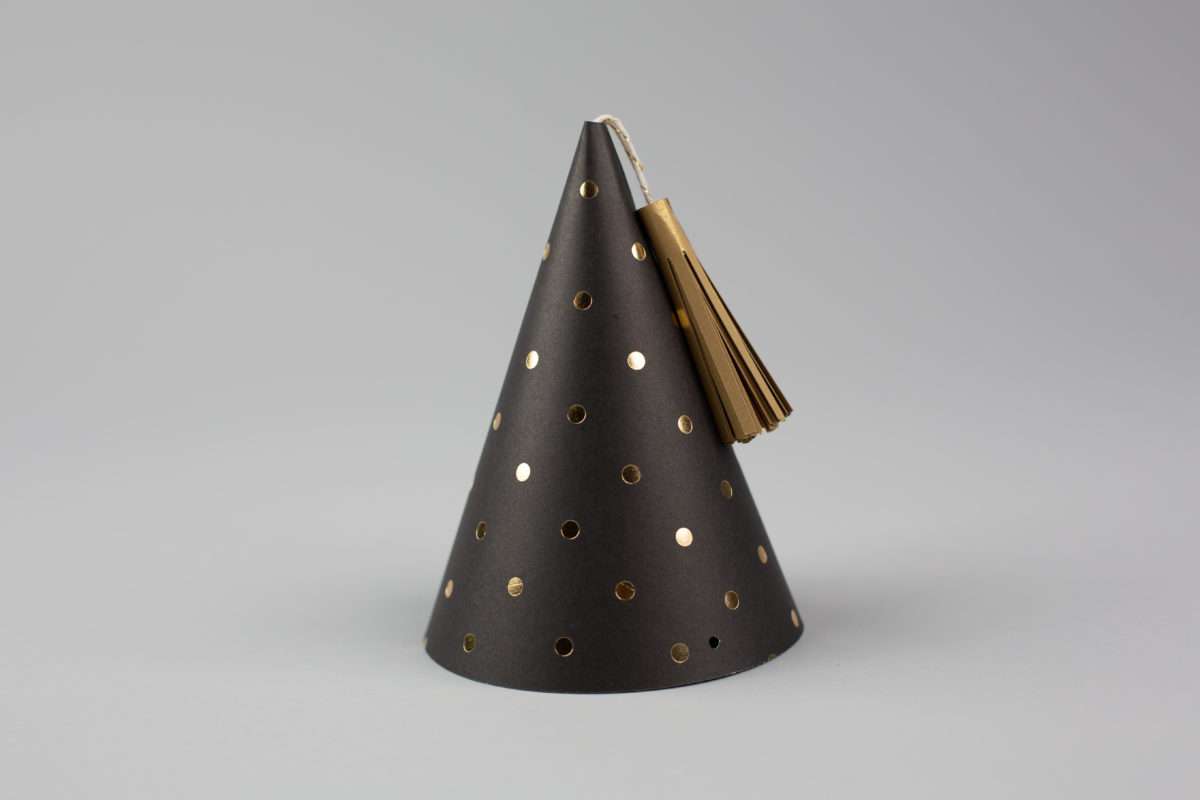
Step One: Custom Party Hats
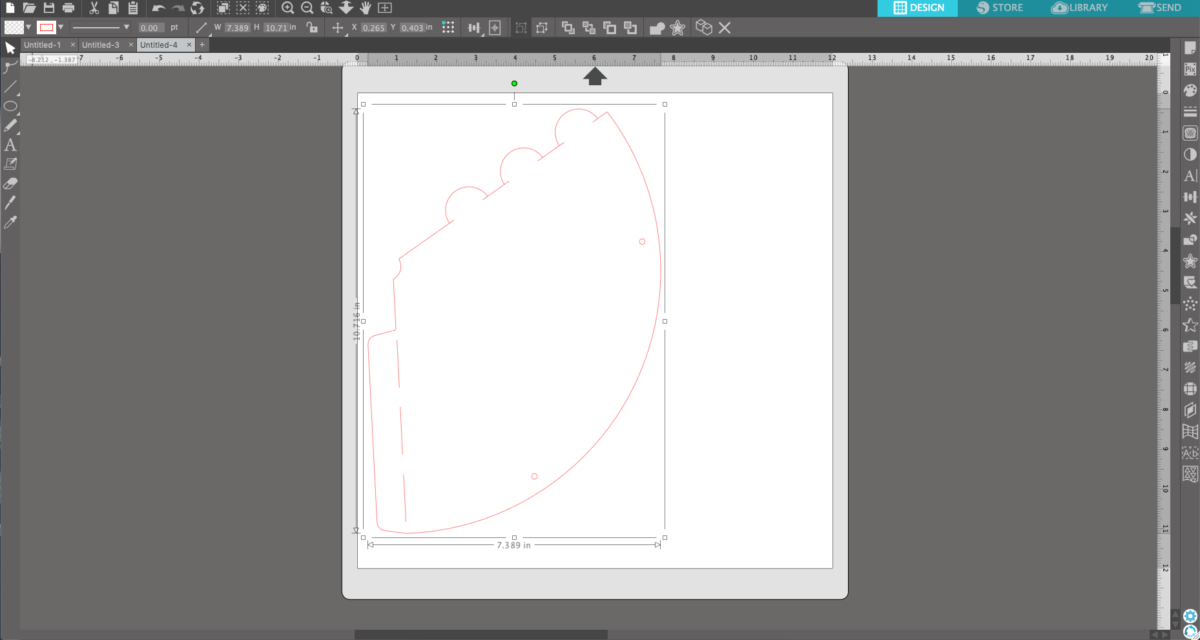
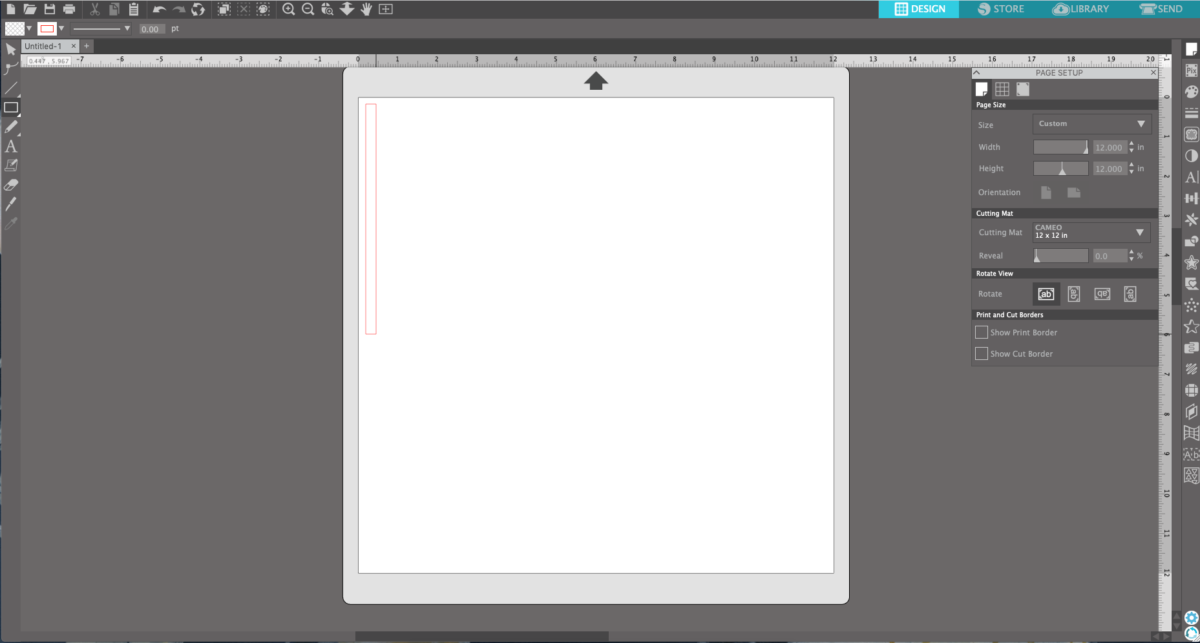
1. Find the Party Hat design (Design ID #4553) in the Silhouette Design Store and open it in Silhouette Studio®. You can make these hats as simple or as custom as you would like. You can cut the design out of pattered cardstock and be done, or you can add a little more pizzazz like we did.
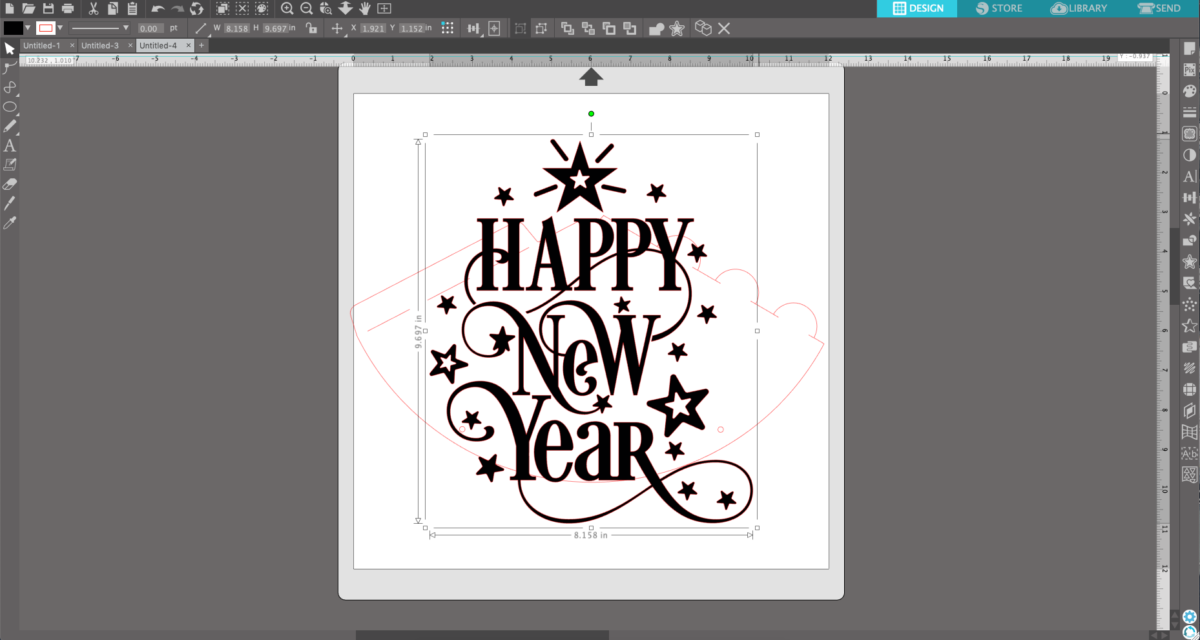
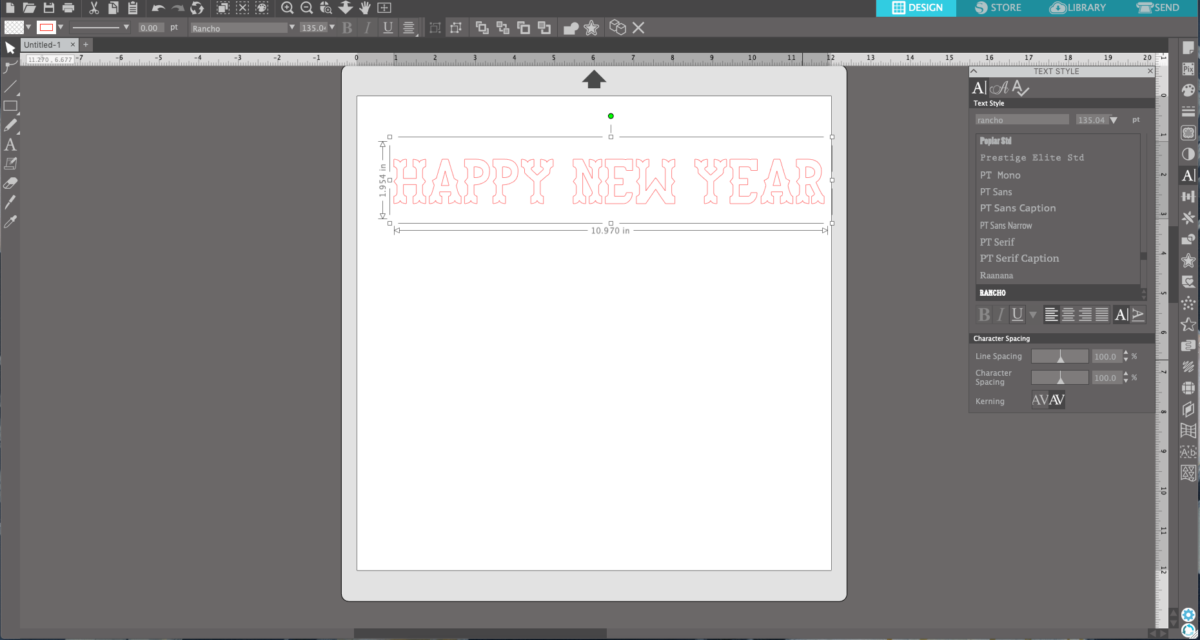
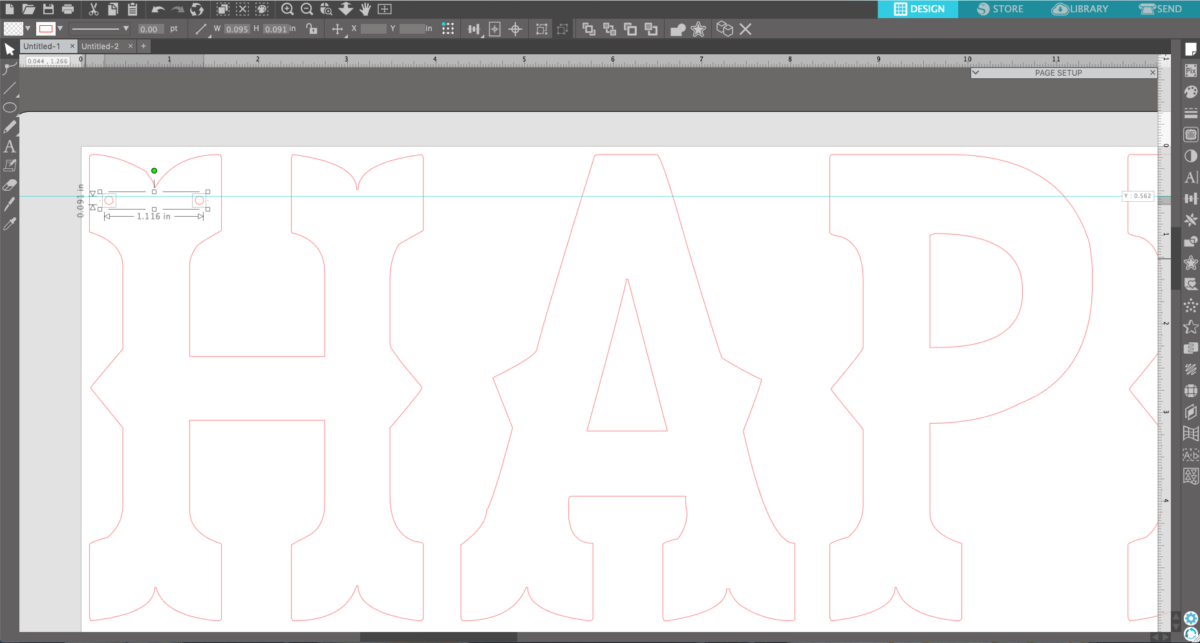
2. Next we opened up the Happy New Year design (Design ID#283165) on top of the Party Hat design and scaled the Happy New Year design to size by clicking and dragging on the resize boxes on the scale tool around the design.

3. Now move the Happy New Year design onto the gray portion of design space, leaving only the hat in the cut area of the window.
4. Cut the hat using the cardstock or paper setting that best fits your material.
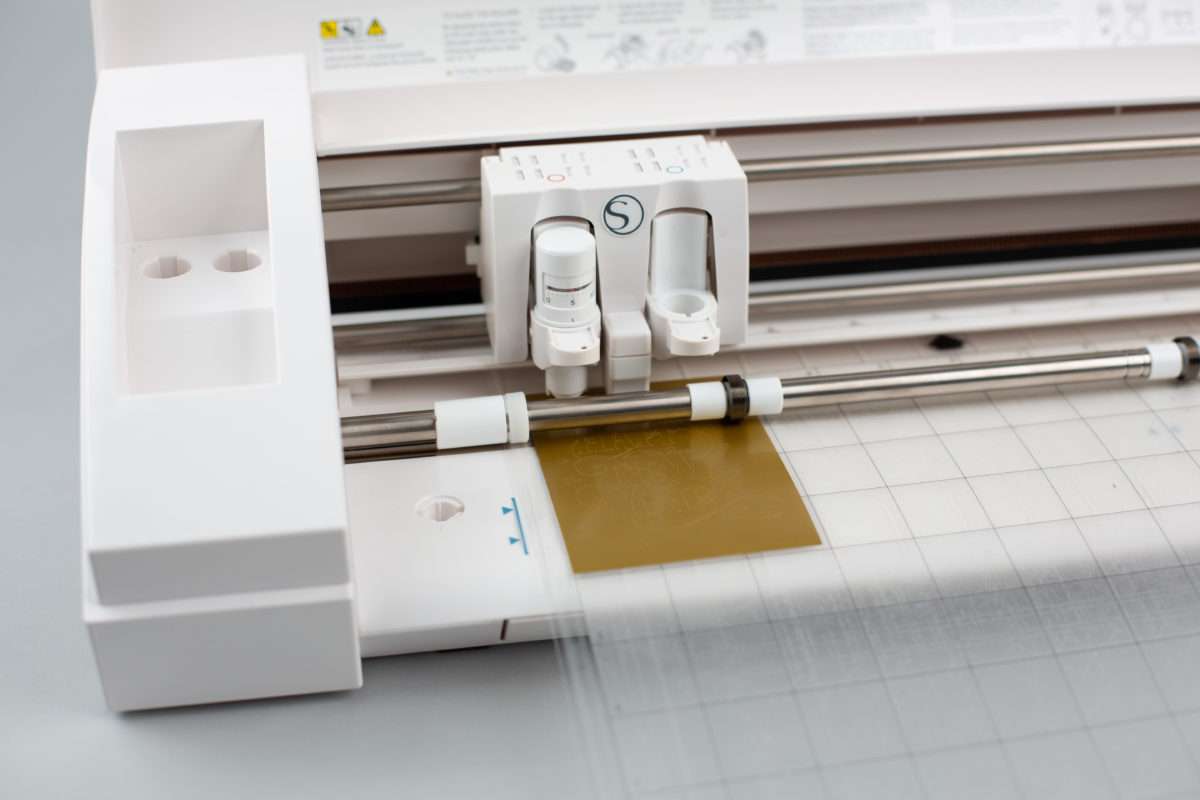
5. When the hat is cut and cardstock removed from mat, in Silhouette Studio® move the hat out of the cut window and place the New Year design on the cutting space.
6. We cut this using the “Vinyl, Metallic” cut settings.
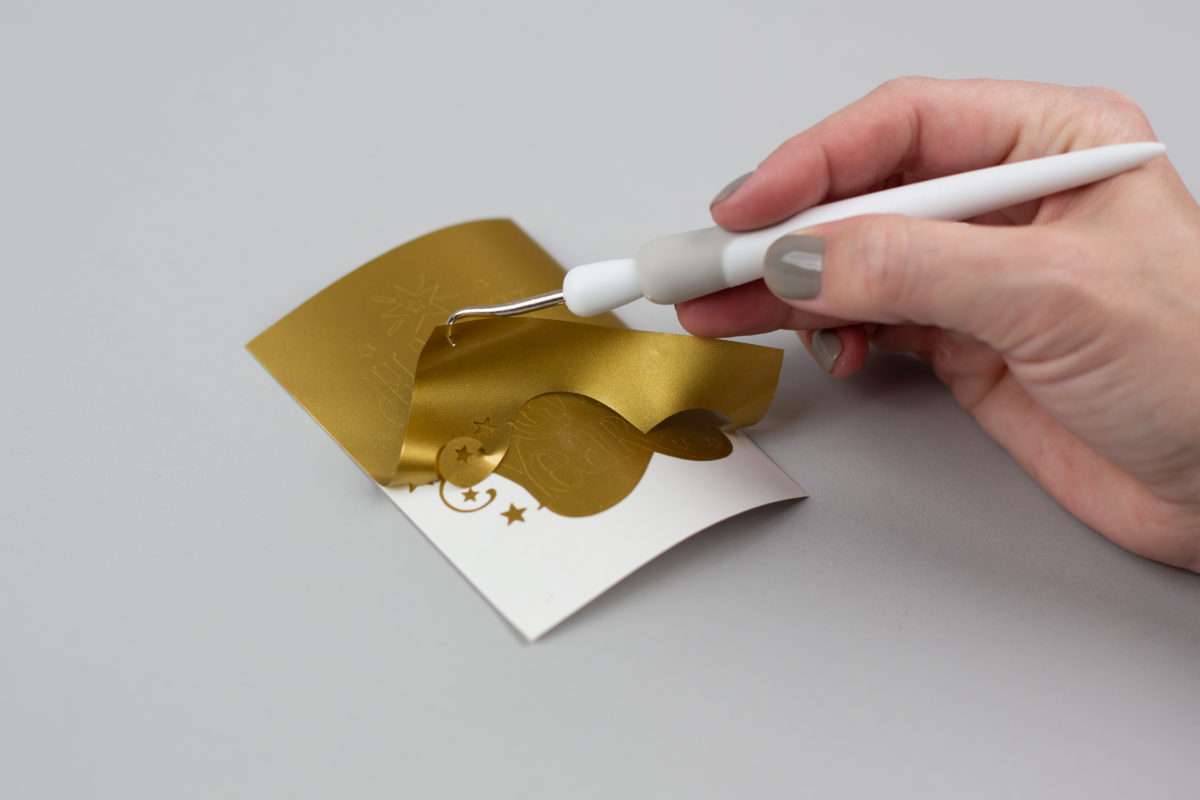
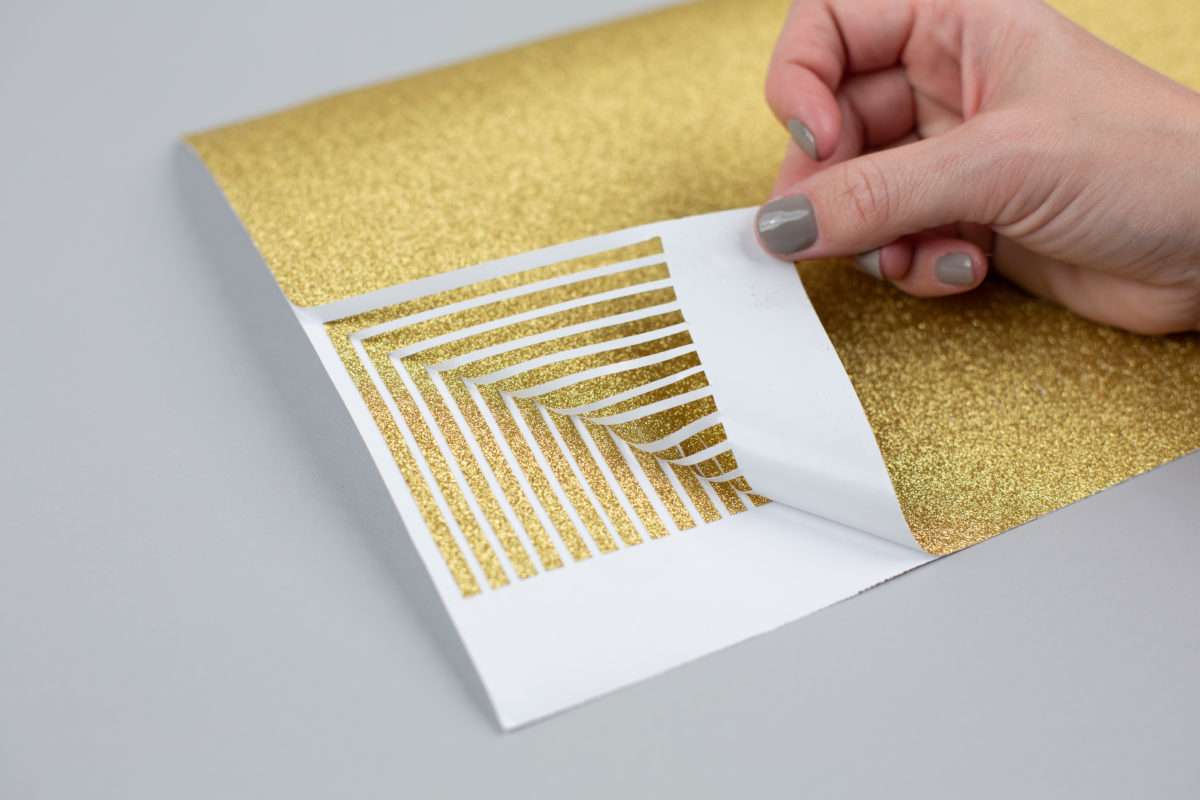
7. Once the vinyl is finished cutting, remove the vinyl from the mat and begin weeding the vinyl.
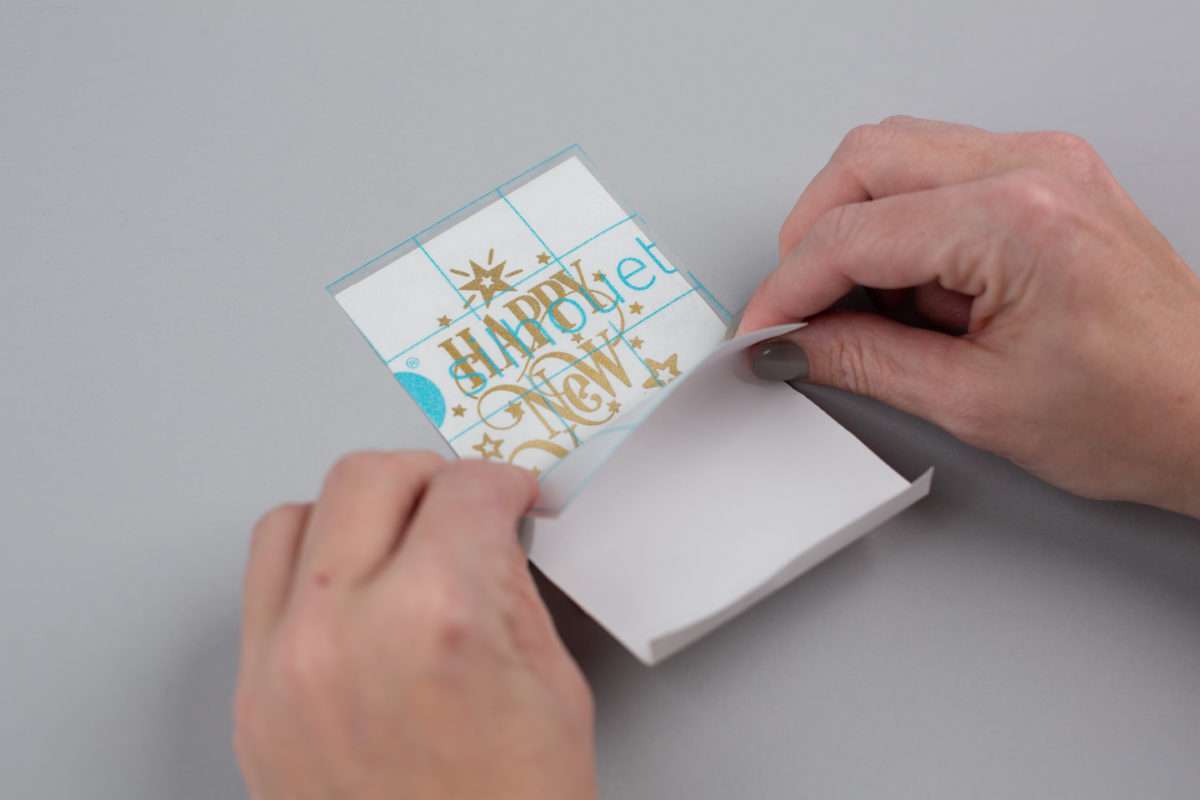
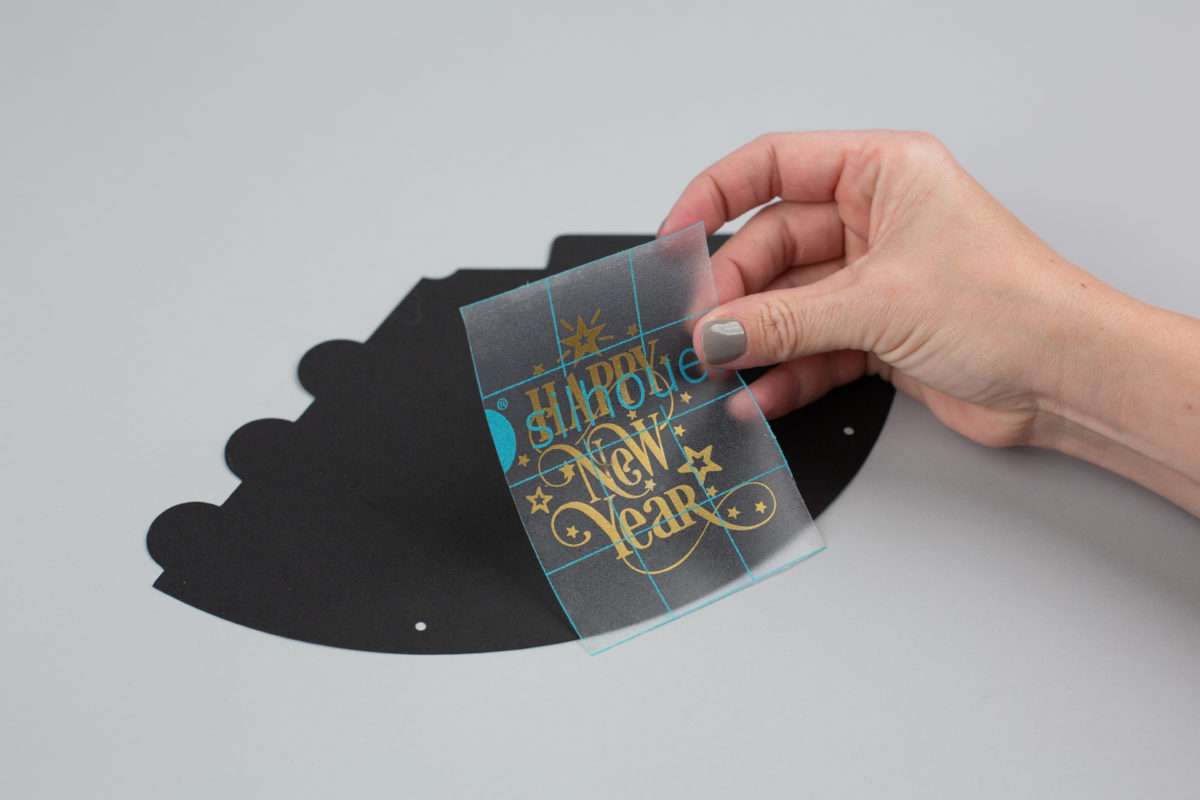
8. When all of the excess vinyl has been weeded, place transfer tape over the design, rubbing the transfer tape firmly over the design to create a firm hold. Now carefully peel the transfer tape from the vinyl backing.

9. Take the transfer tape and place it on top of the unfolded party hat.
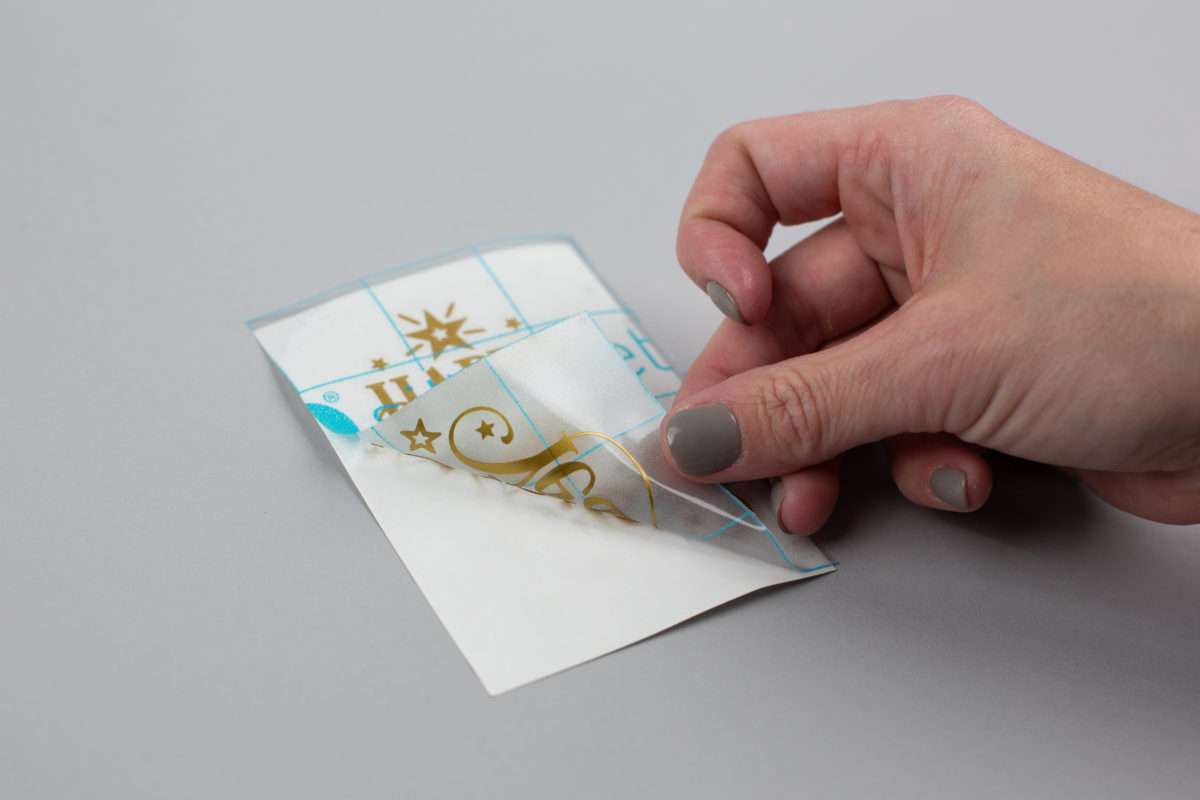
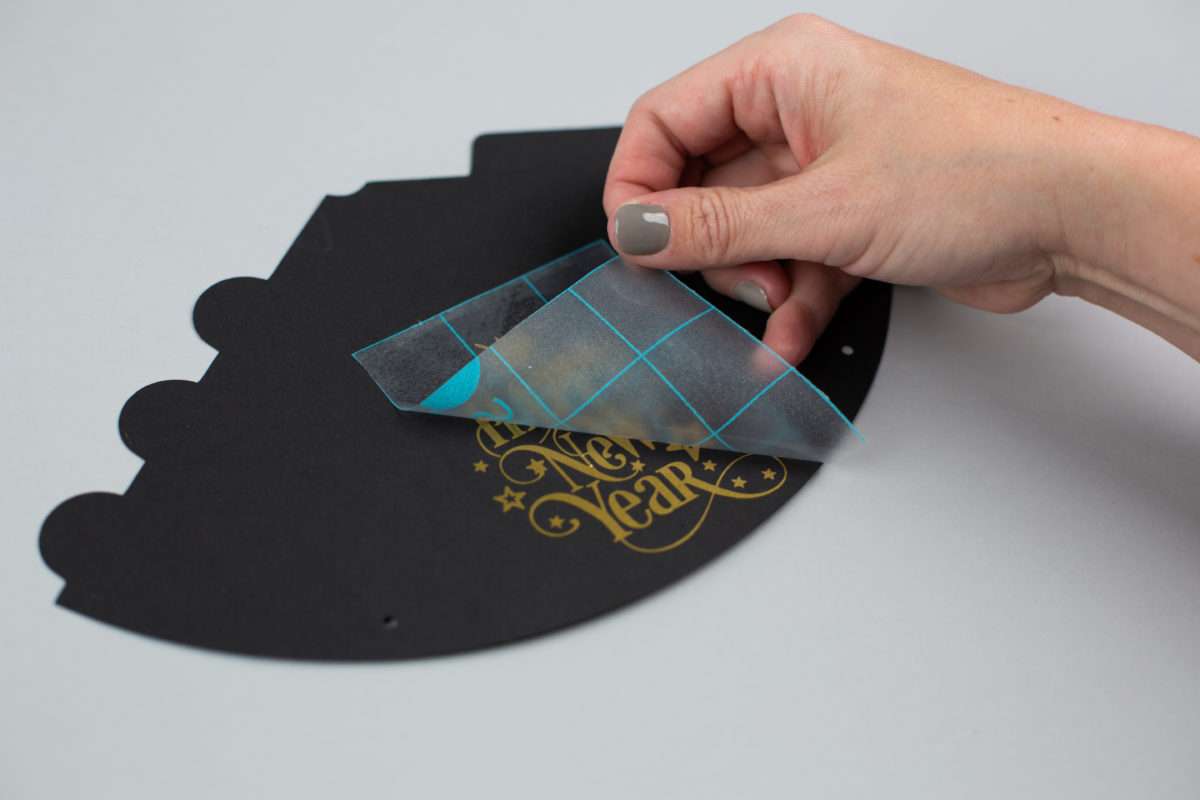
10. Rub the area over the design firmly to transfer the vinyl from the tape to the cardstock. Carefully remove the transfer tape.

Glitter Vinyl Strips
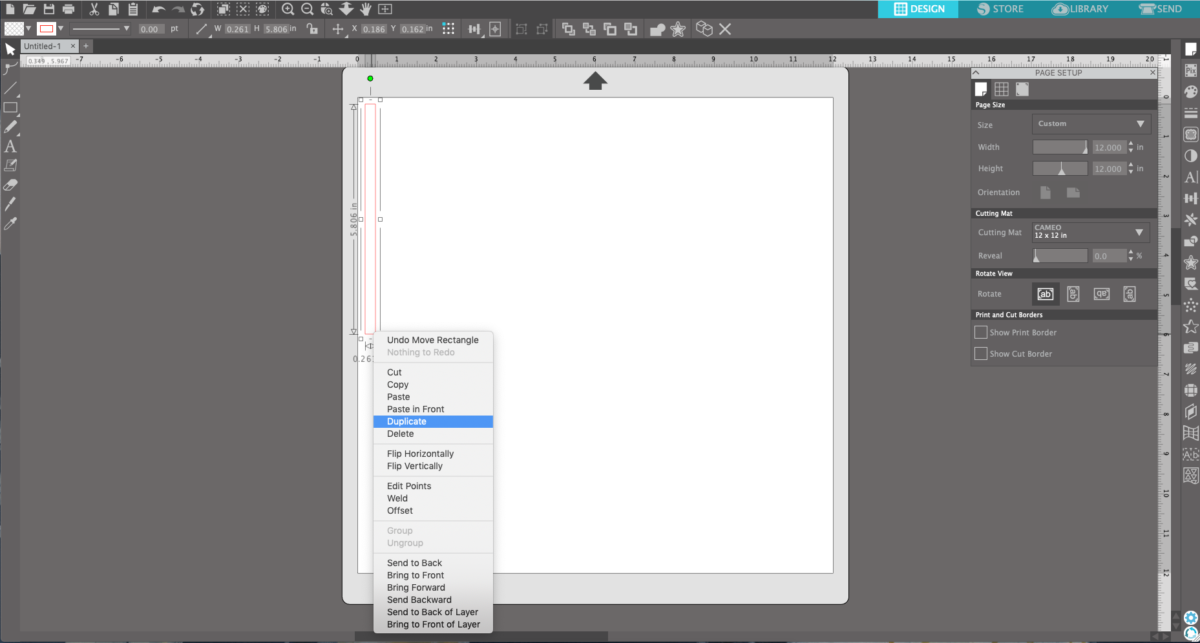
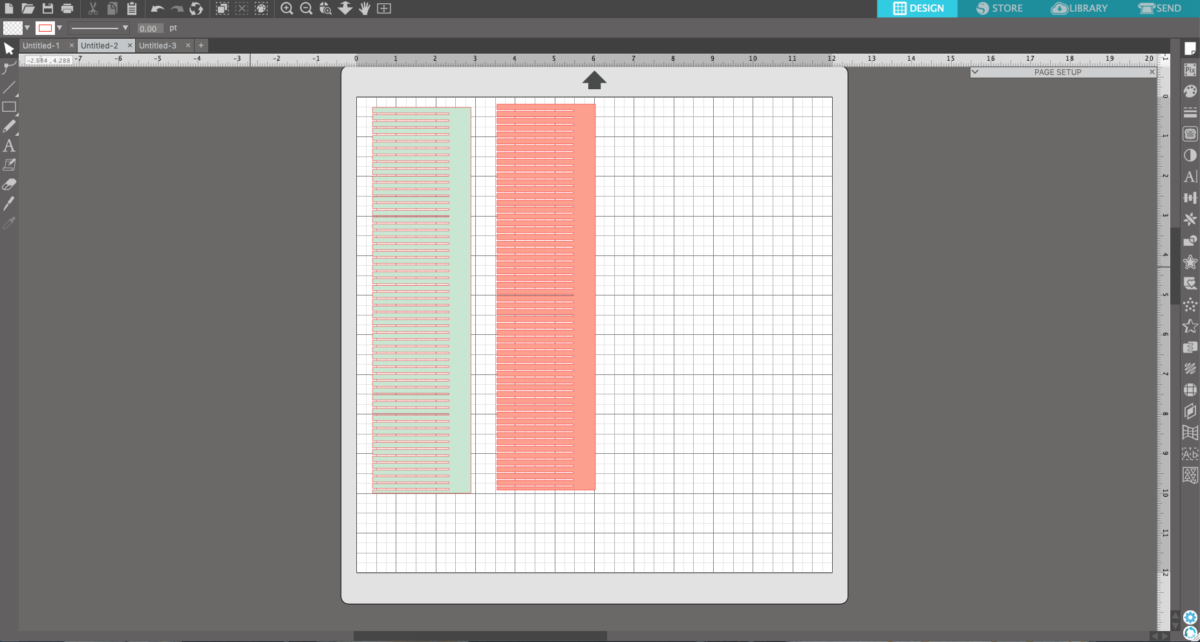
1. For another custom hat, we used the Draw Rectangle function, located on the left-hand toolbar. Click and drag until you have a rectangle shape, and then release the click.
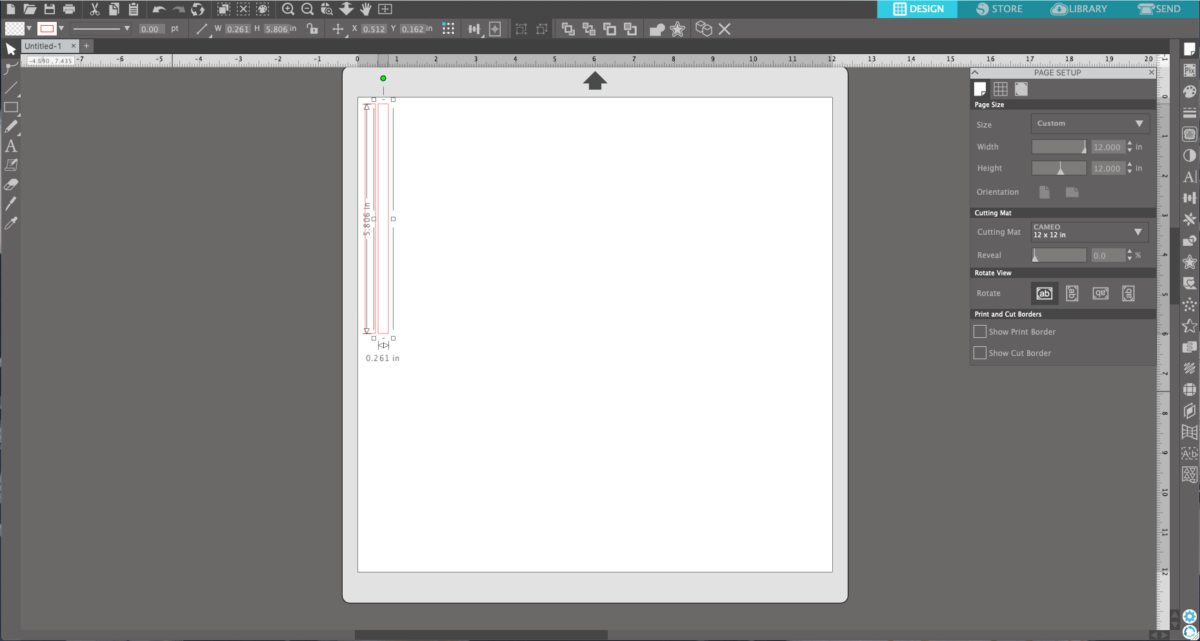
2. Select the shape and duplicate (Control + Left Arrow Key or Command + Left Arrow Key) until you have as many strips as you want.
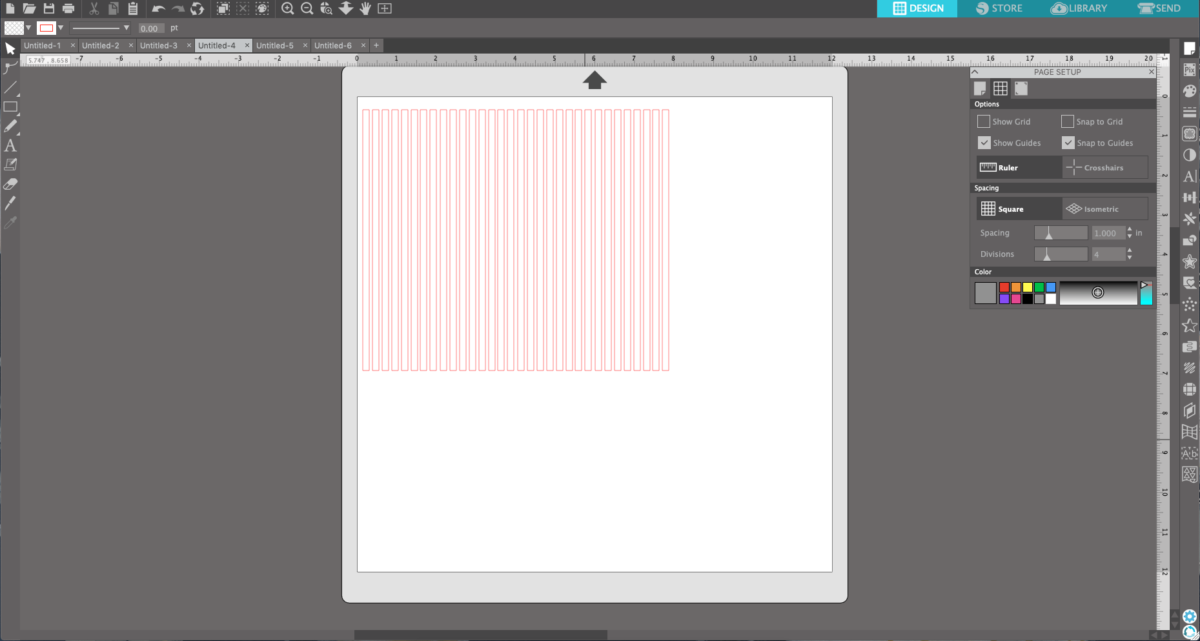
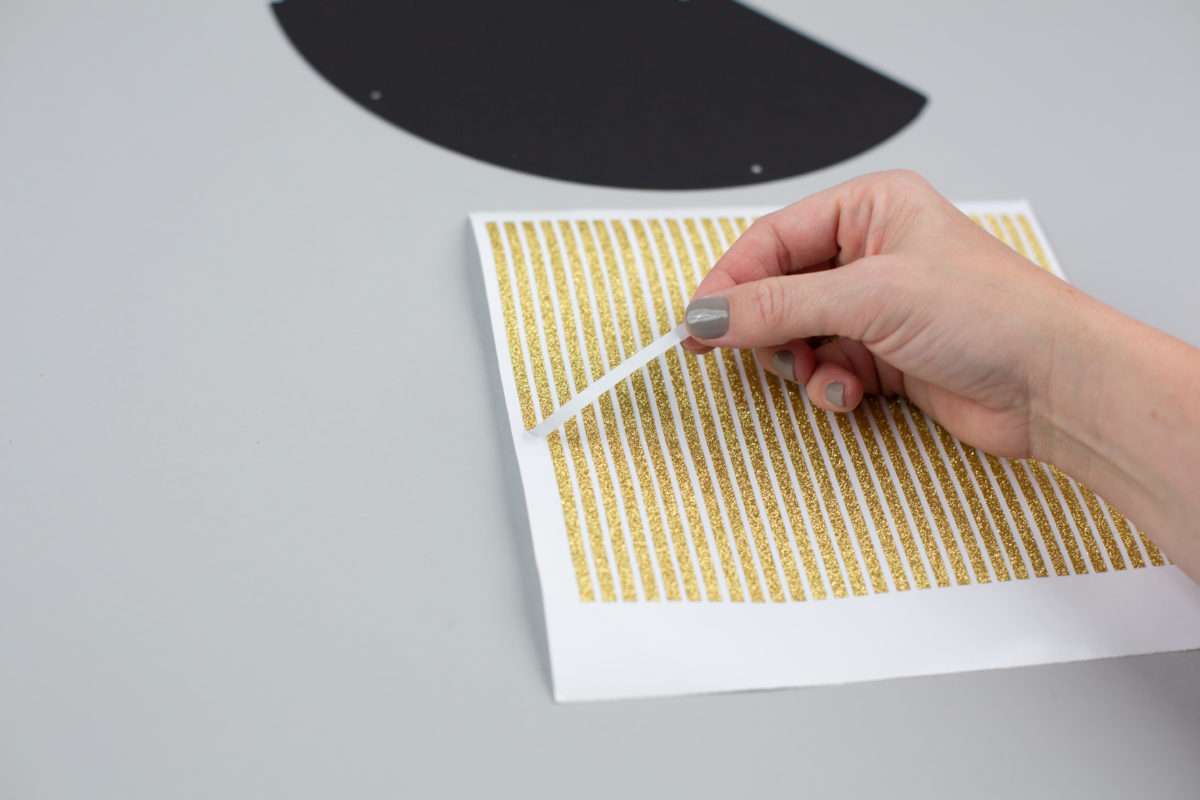
3. We cut these strips with glitter vinyl as the material. Select your cut settings and send the design to your machine. Cut the design and then unload the mat.
4. Weed or remove the excess vinyl.
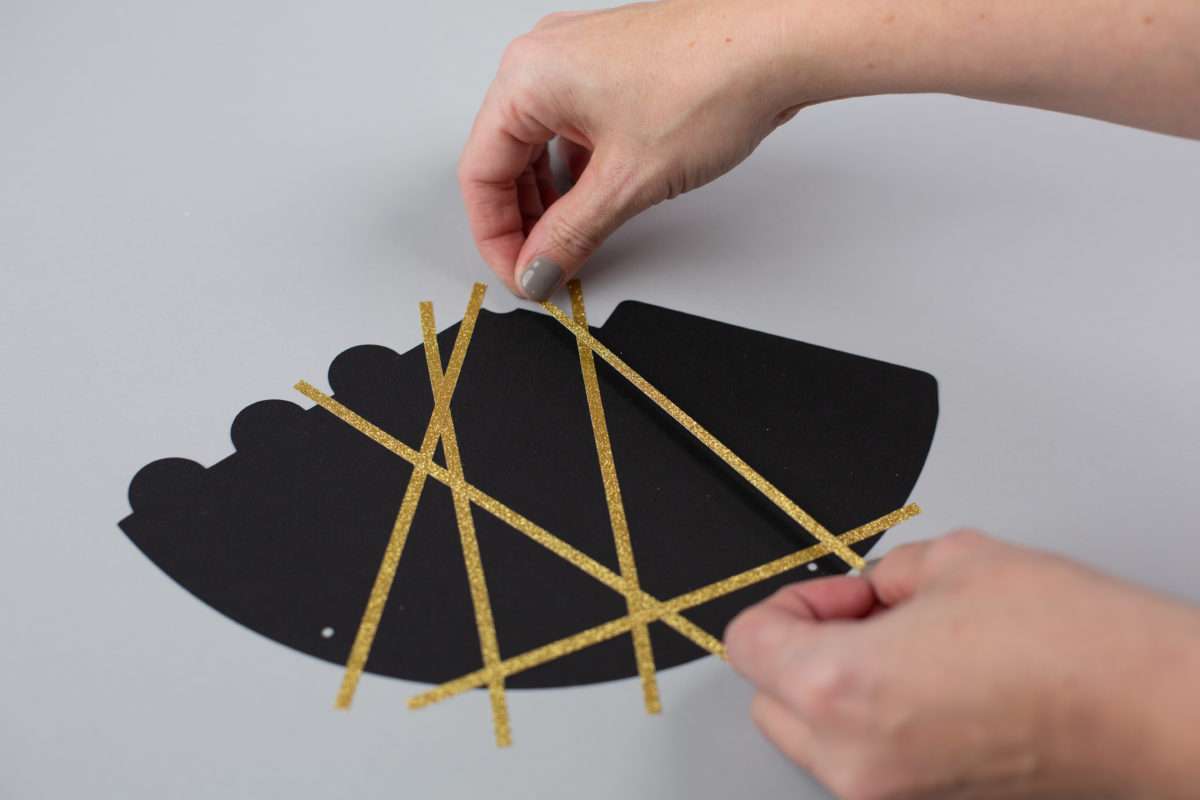
5. Now simply remove the strips like you would a sticker and adhere them to the unfolded party hat. In the design of your choosing.
Tassel
1. Open the Party Tassel design (Design ID #136679).
2. Cut using the “Cardstock, Plain” cut settings and send the design to your machine.
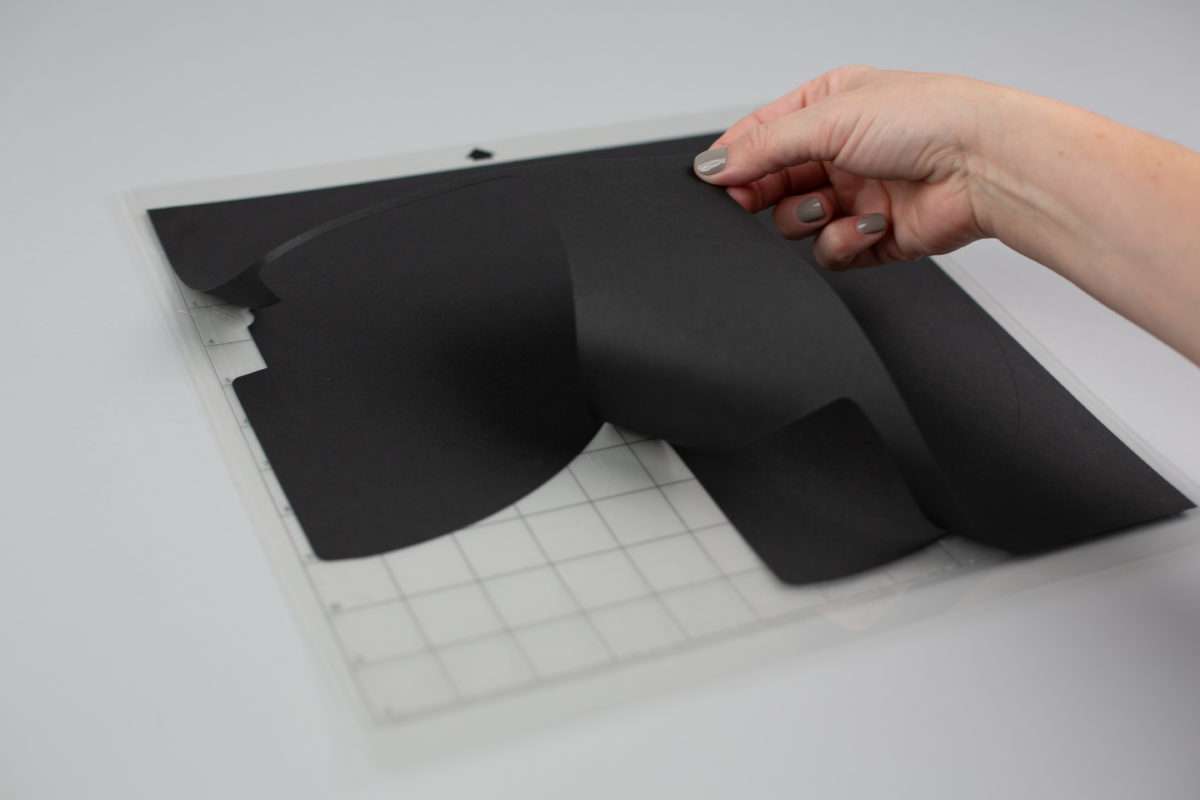
3. Remove the paper from the cutting mat.
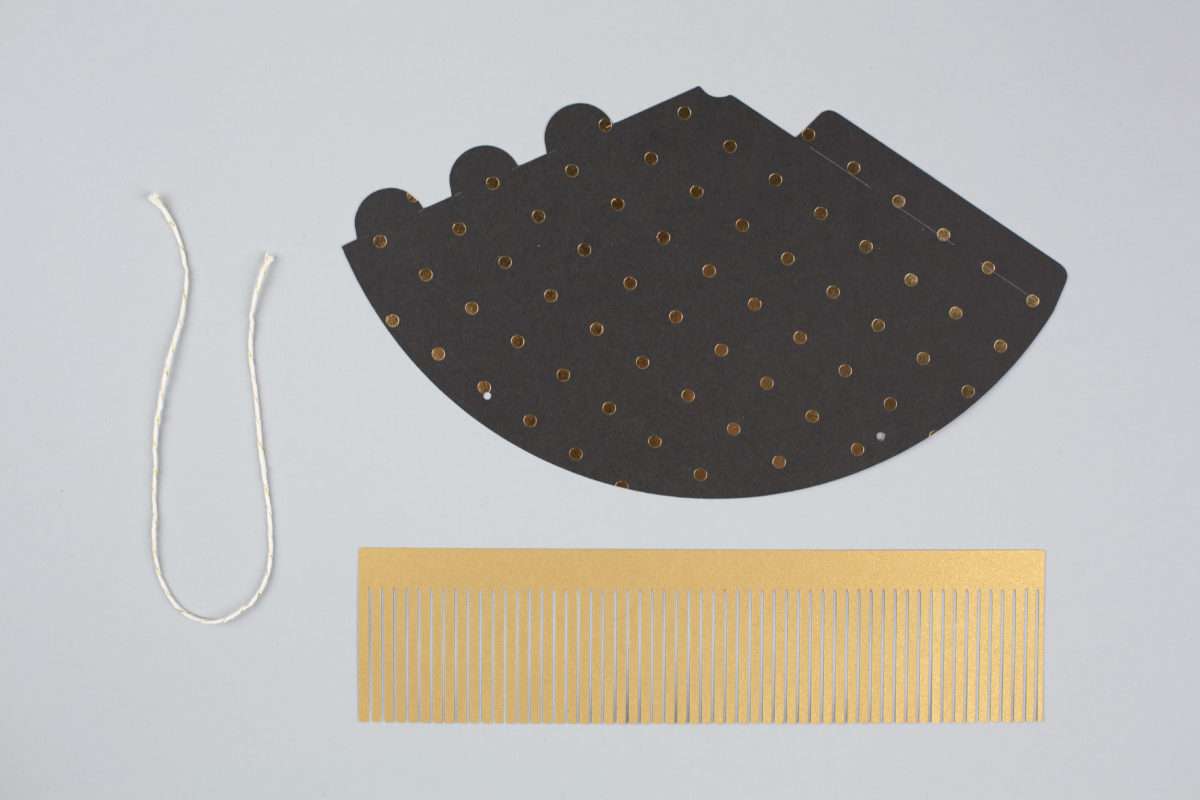
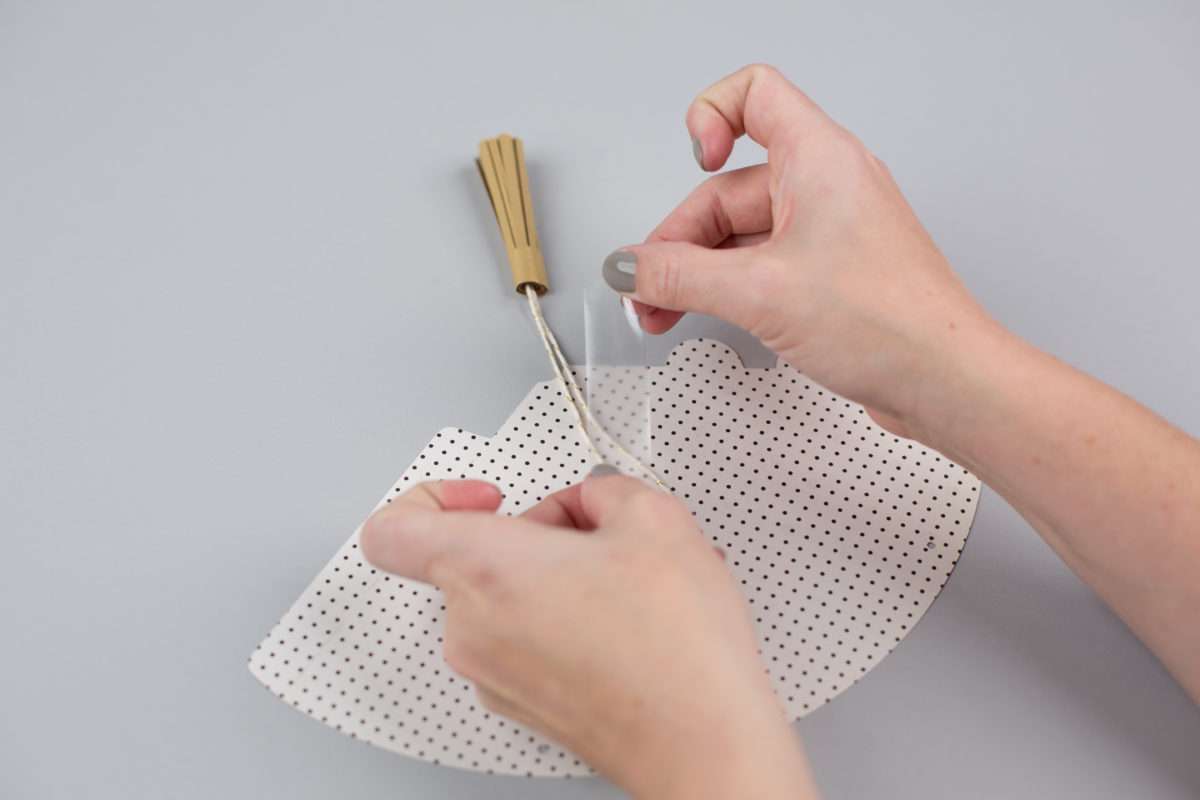
4. Adhere twine to the end of the strip of paper.
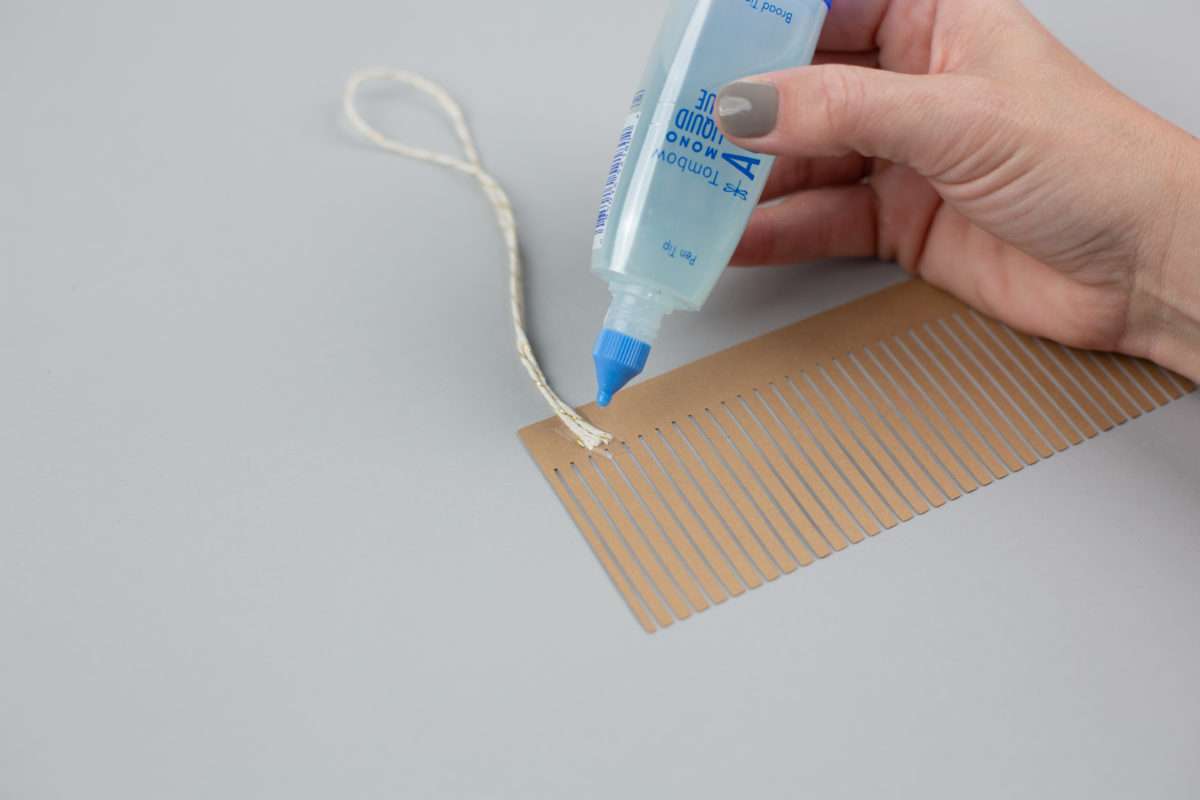
5. Roll up the strip of paper and glue down the end.
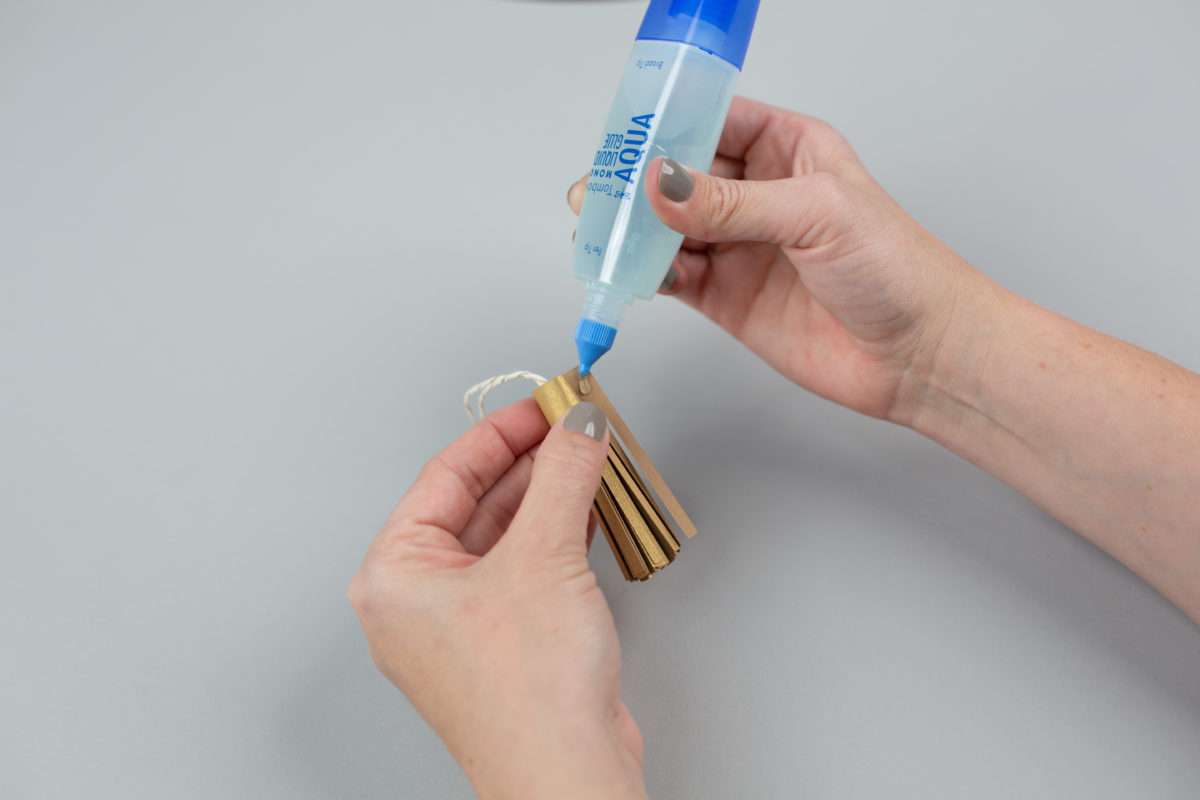
6. Glue the end of the tassel onto the inside top of the party hat.
Step Two: Happy New Year Banner
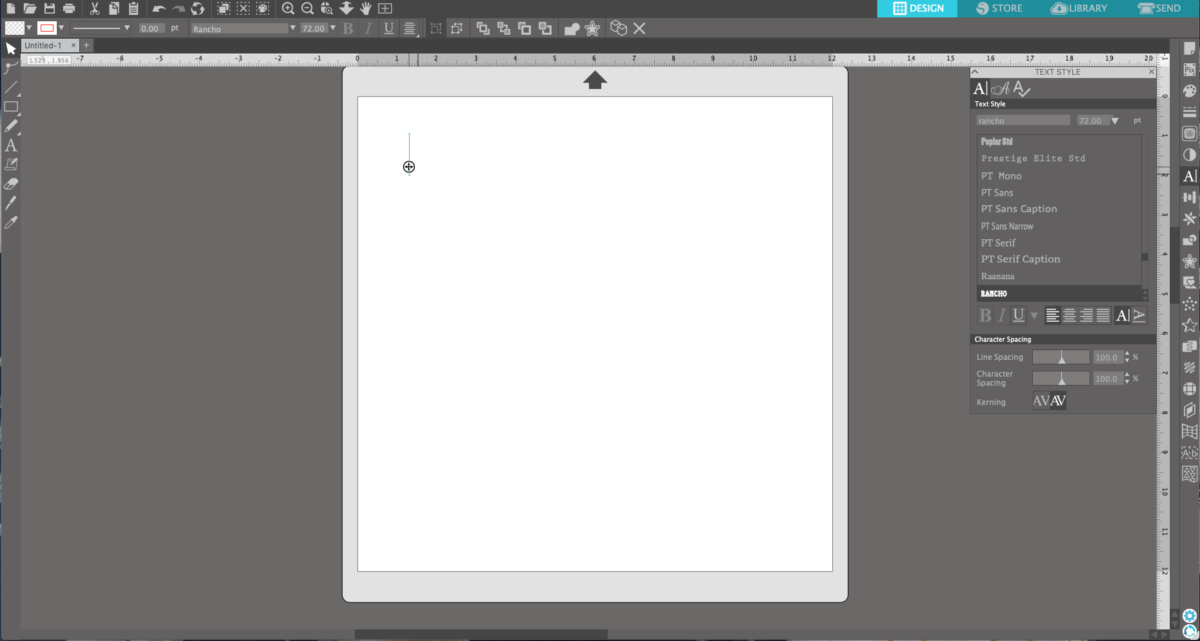
1. For this banner, we used the Rancho Font (Design ID #276060). To download and install fonts, watch here.
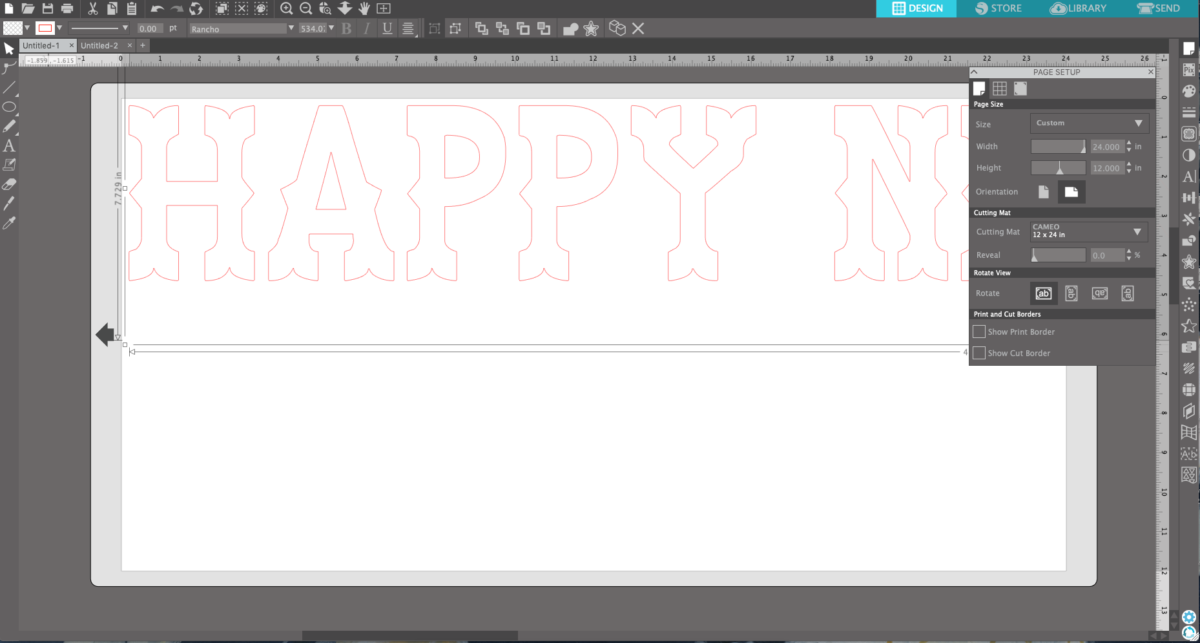
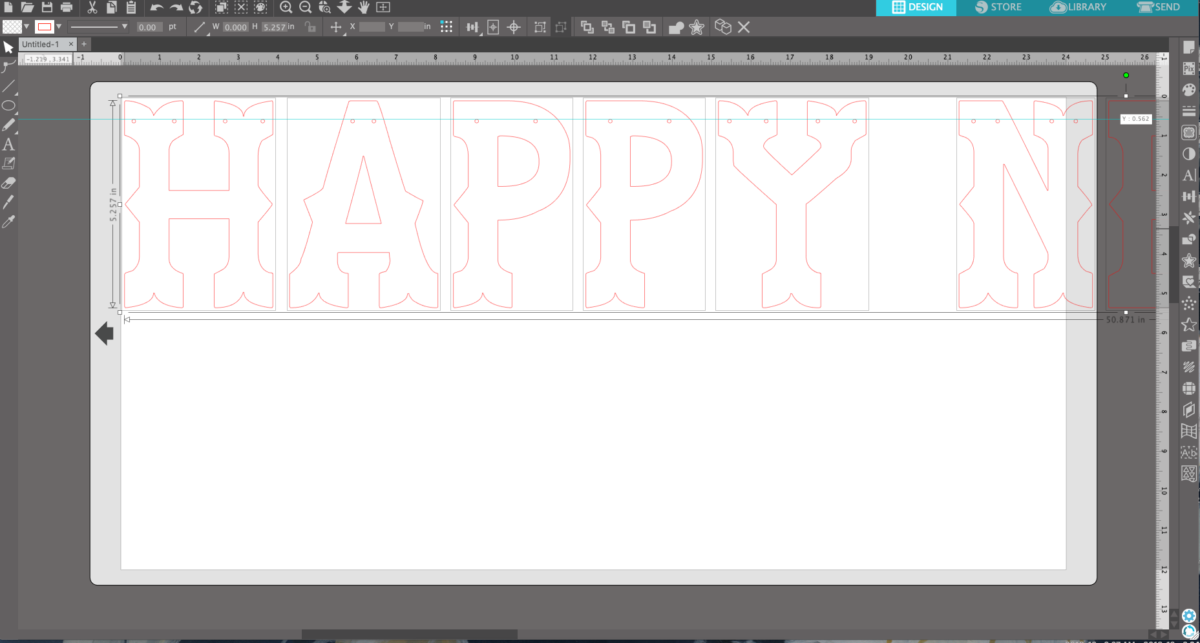
2. Using the Text tool from the left-hand toolbar, type in your phrase.
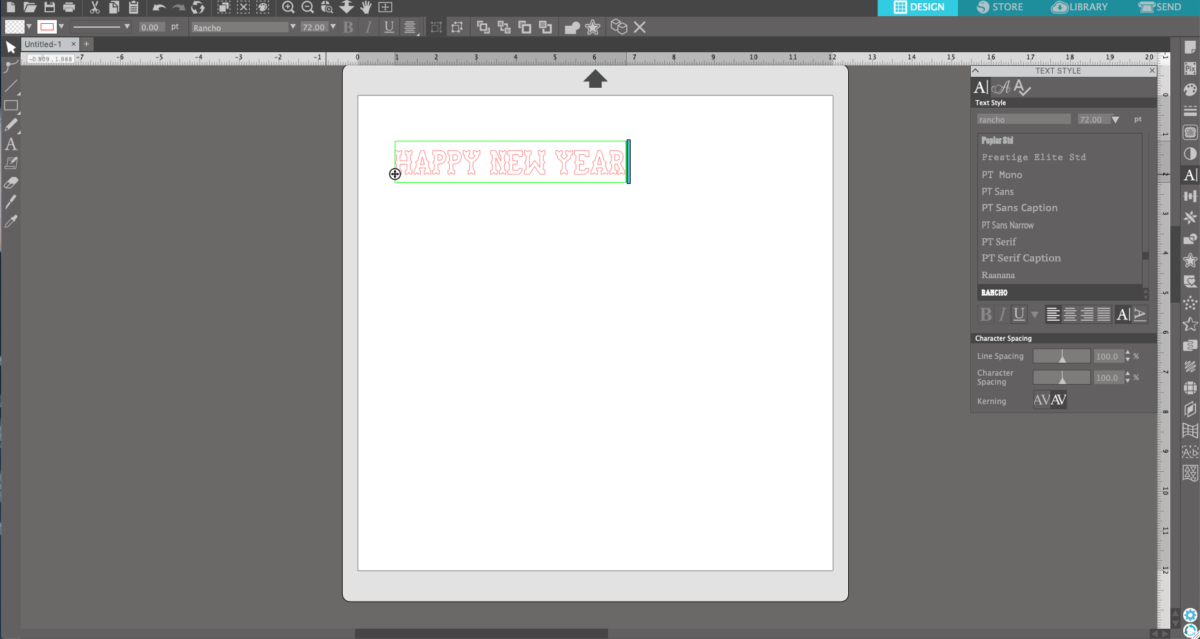
3. Now scale the text to the desired size. We made our letters about 5 inches tall.
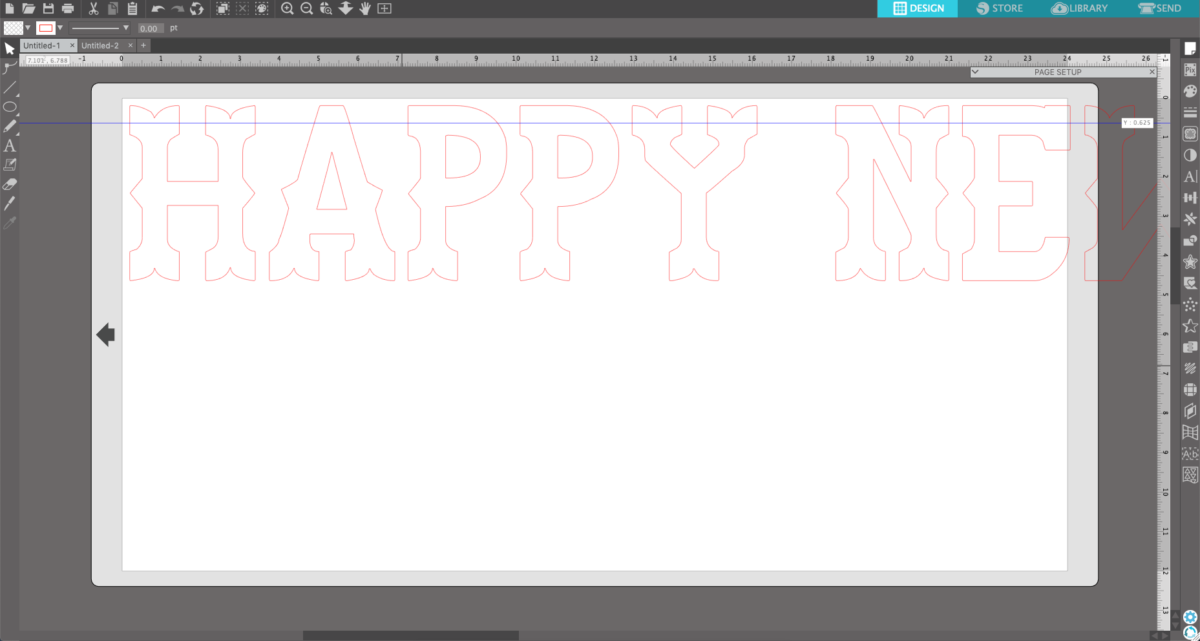
4. To create holes for the twine to pass through, we will start by creating a guide line. If you have Silhouette Studio® Basic Edition, you will have to use the Draw a Line tool, located on the left-hand toolbar. If you have Designer Edition or above, you can click and drag the ruler at the top of your design screen to place a blue guide line. Place the line where you want your holes to be.
5. Now locate the Ellipse tool located on the left-hand toolbar. Draw a circle underneath the guide line on top of your letter where you want the hole to be.
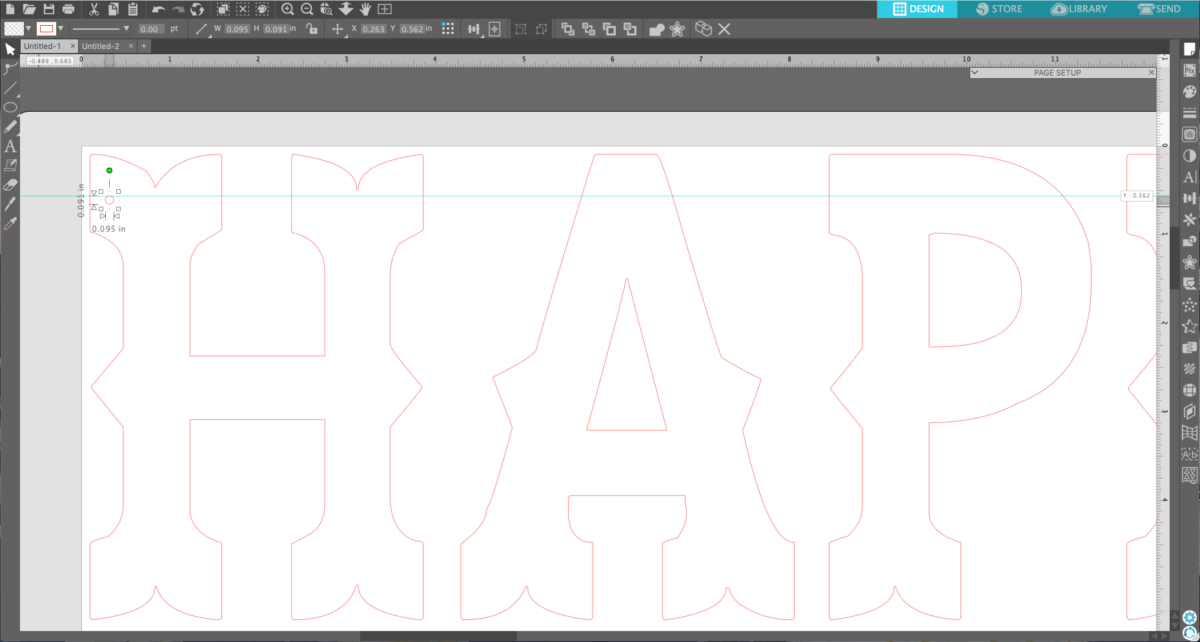
6. Duplicate this circle by selecting it, right-clicking, and choosing Duplicate from the drop-down menu.
7. Continue this process until every letter has holes for the twine.
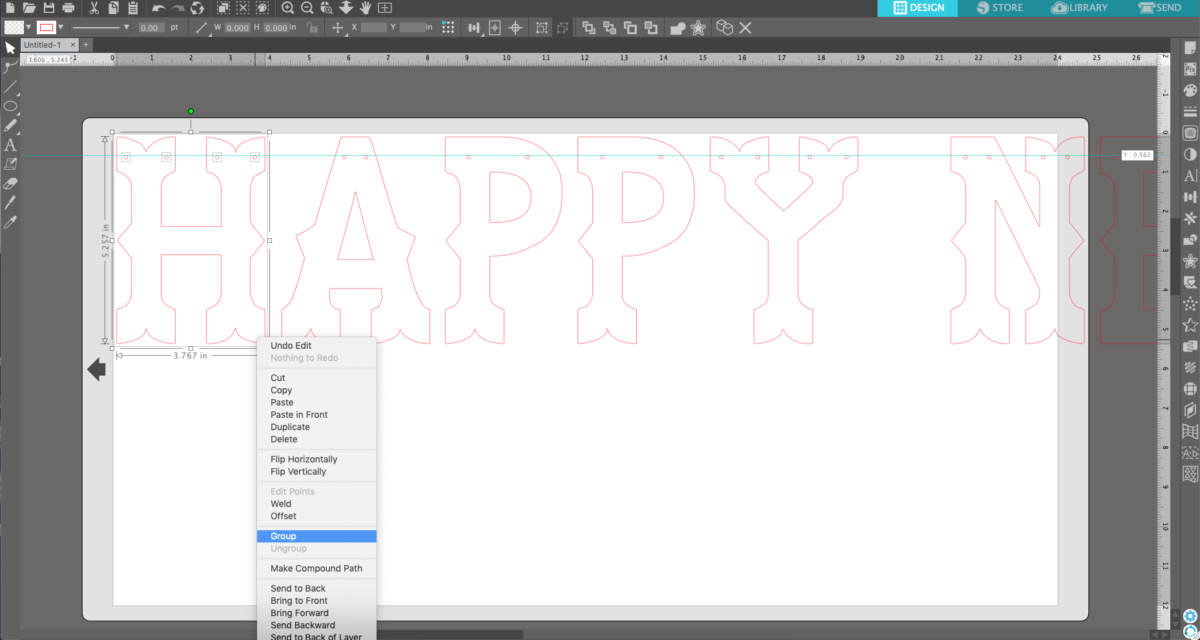
8. Now group the letters and holes so that you can move them on and off the cut field without misaligning the holes. (If you have Basic Edition and used the Line tool, don’t forget to delete your line first.) Click and drag over the letter and holes making sure all are selected. Then right-click and choose Group from the drop-down menu.
9. Now placing the letters into the cut field, remember only those letters fully in the cut field will cut. You will have to do this in sections to cut all the desired letters if you used the same sizes as we did.
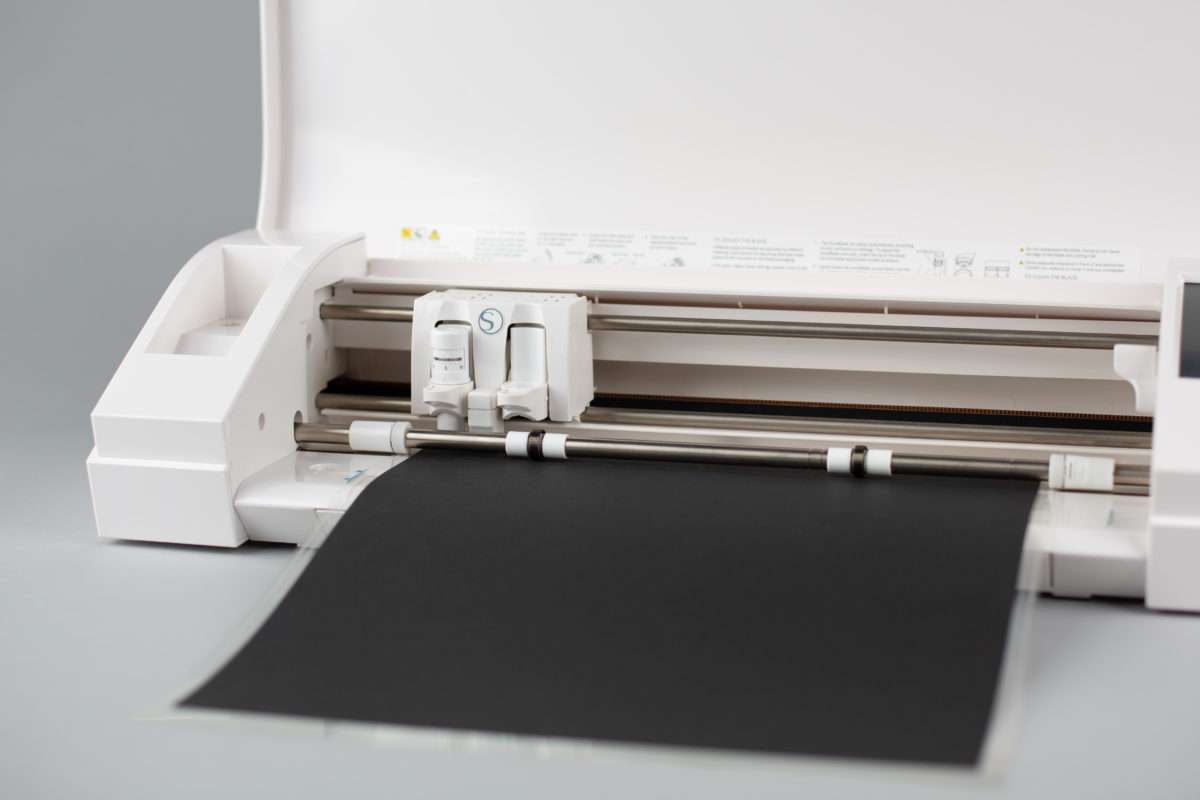
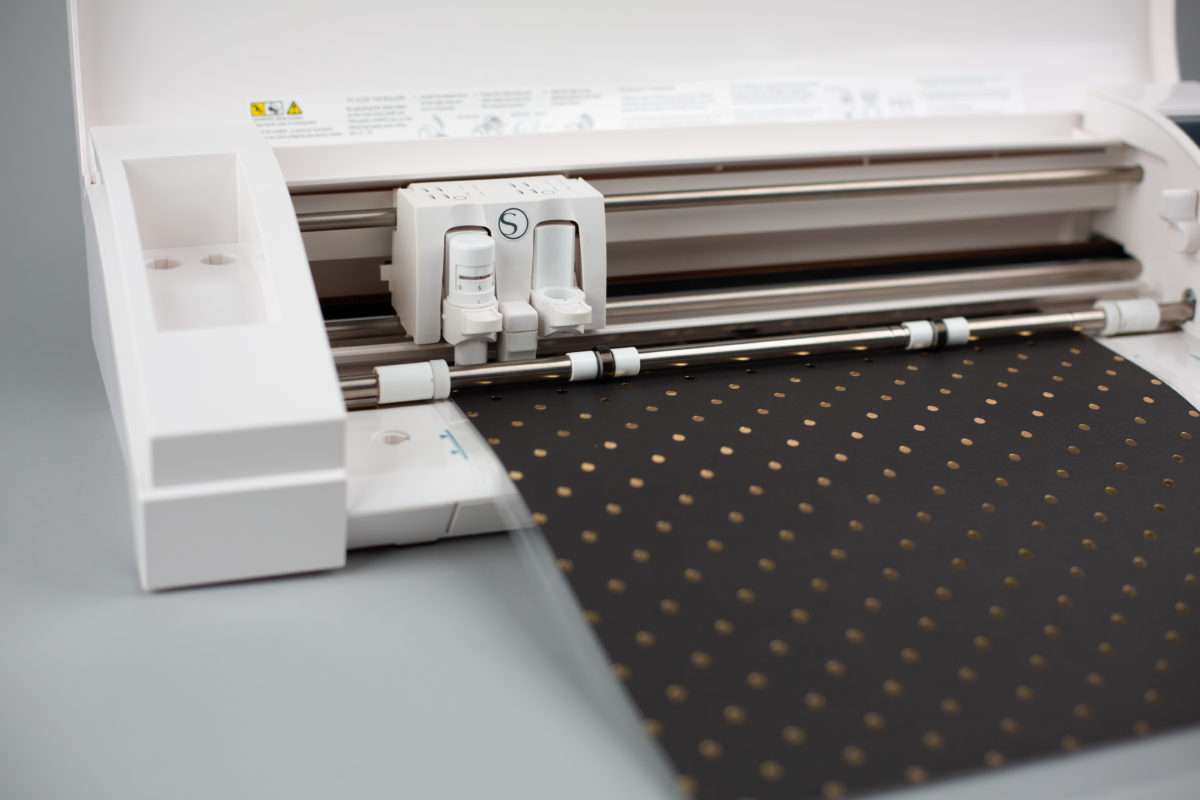
10. Place cardstock onto a cutting mat and load the mat into machine.
11. Send to your machine using the “Cardstock, Glitter” cut settings.

12. When all letters have been cut and removed from mat. Thread the twine onto a large eye needle and sew through the holes in each letter.


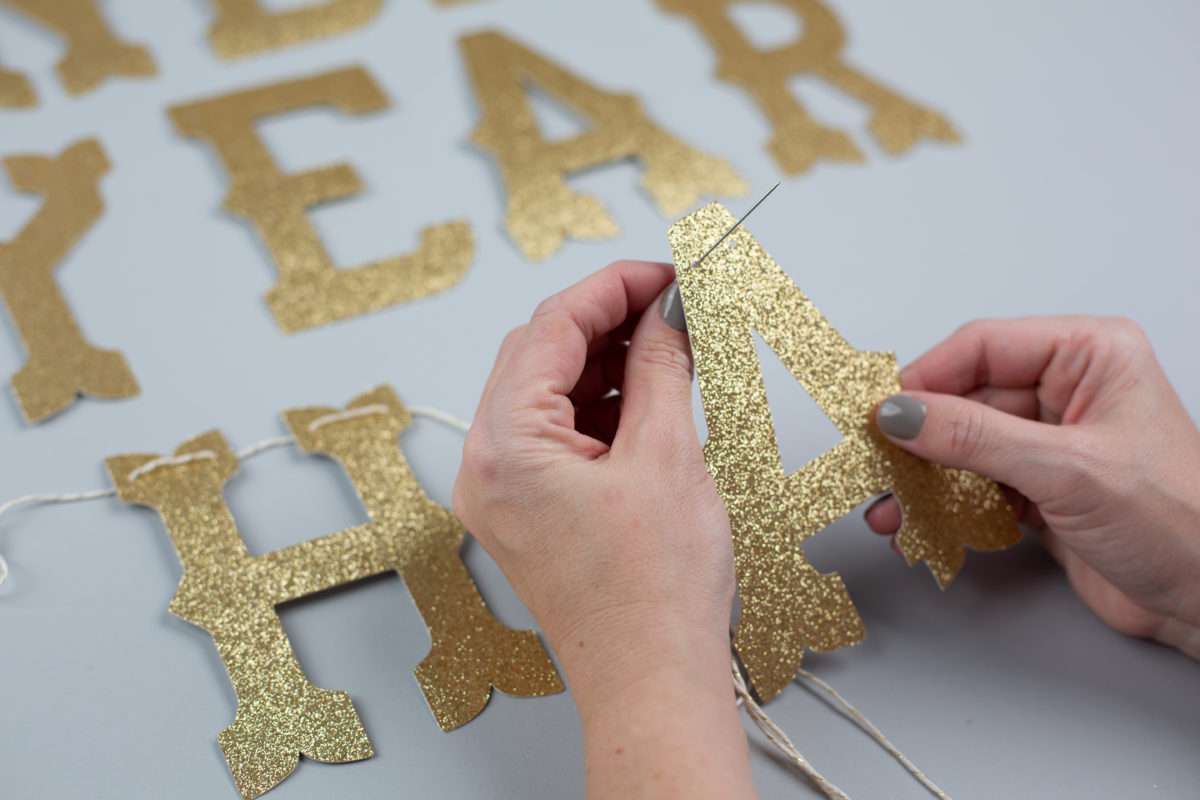
Now hang!

Step Three: Rosettes
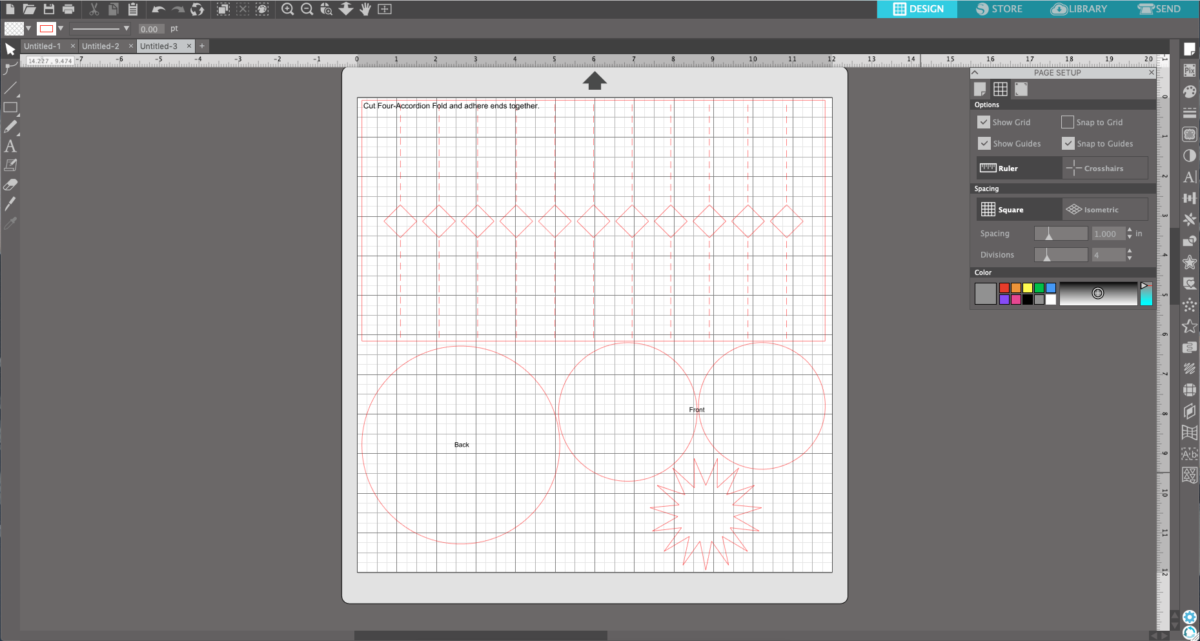
1. Open the 3D Diamond Accordion Wall Circle design (Design ID #58038).
2. Ungroup the design by selecting it, right-clicking, and choosing Ungroup from the drop-down menu.
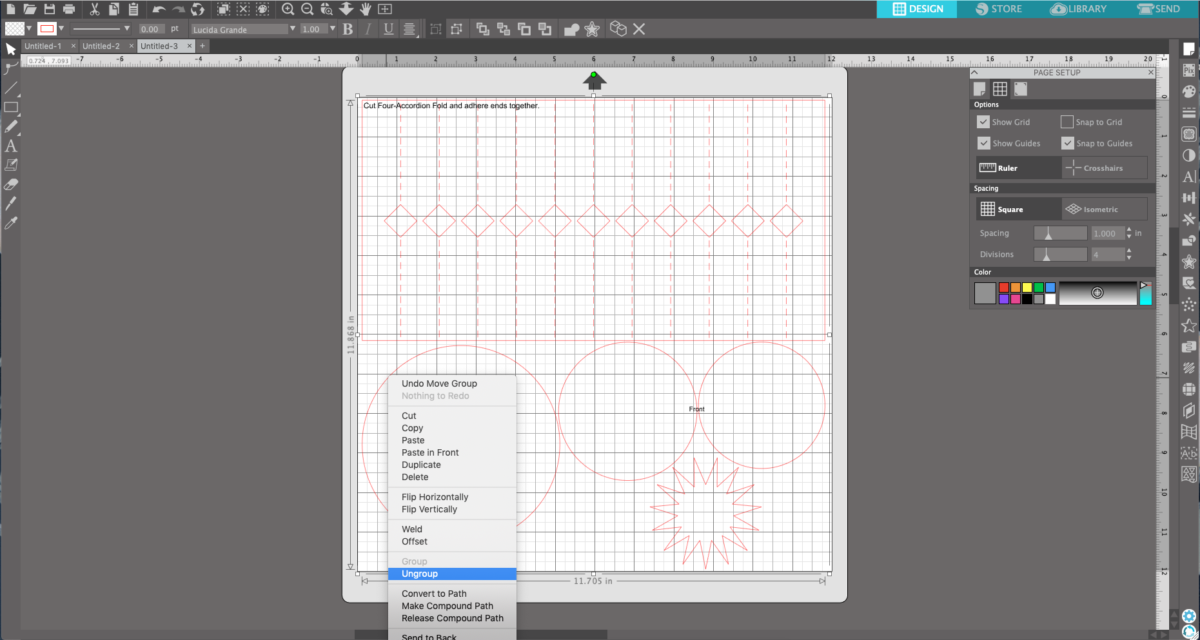
3. Move the circle and star away from the cut area and into the gray holding space. Now select the rectangular piece and duplicate it by right-clicking and choosing Duplicate from the drop-down menu.
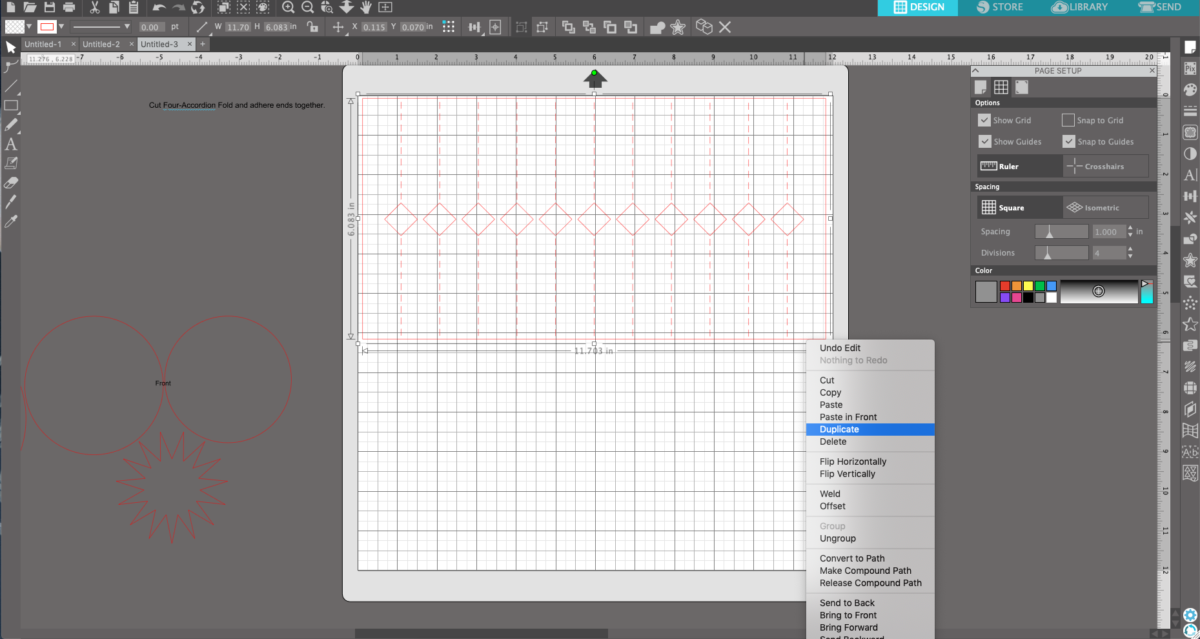
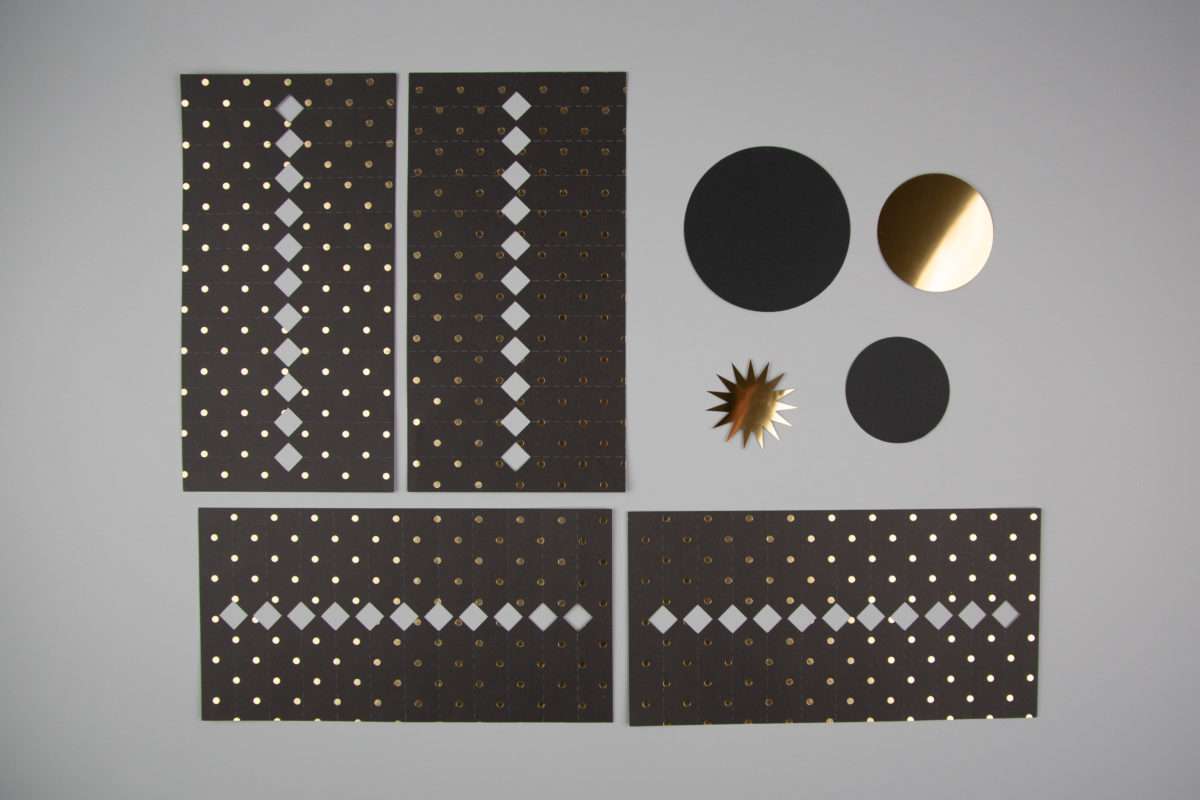
4. As indicated in the instructions, we will need to cut 4 of these rectangular pieces. Send these to your machine choosing the proper cardstock cut settings.
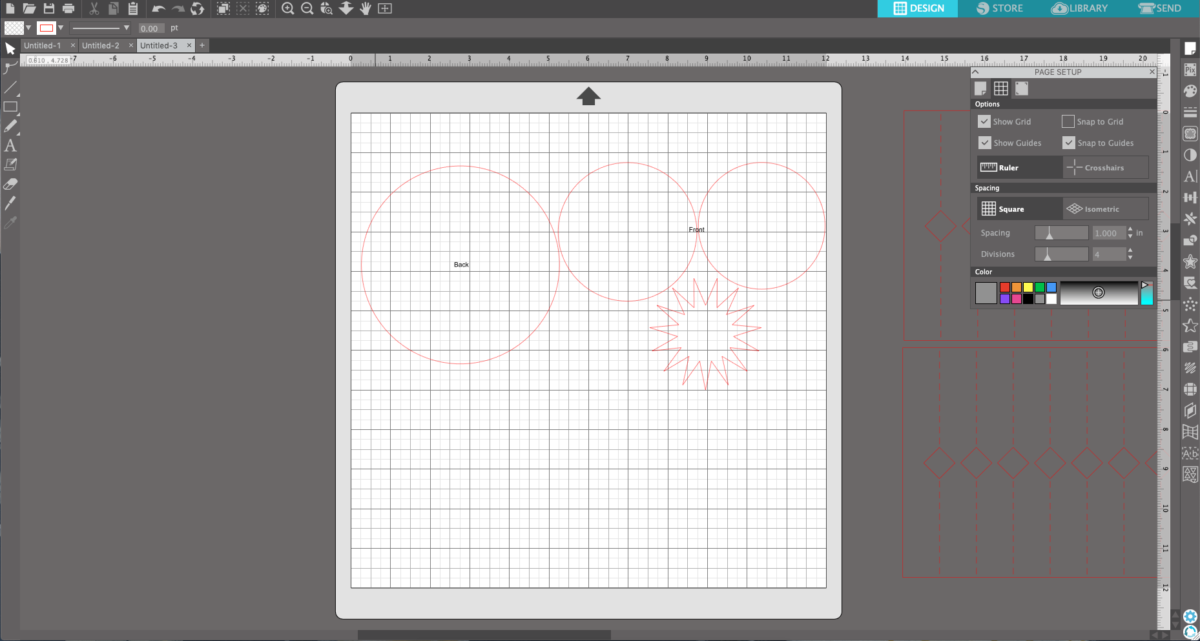
5. Now move the circle and star in to the cutting area. One option we chose was to cut the star from a different material. You can customize this as much as you would like.
6. Send the design to machine using the proper cardstock cut settings. Once all of the pieces are cut, it’s time to assemble all the pieces.
7. Take the four rectangular pieces and fold the crease lines.
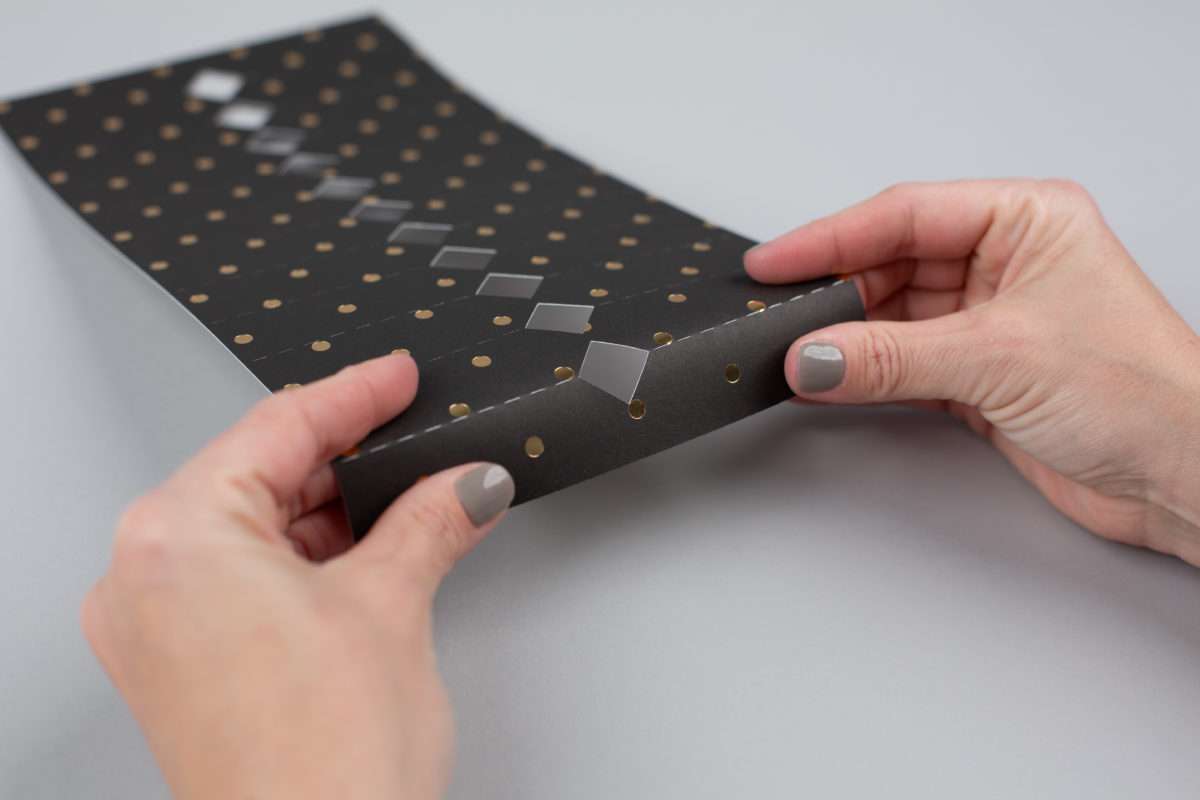
8. Glue each piece to another.
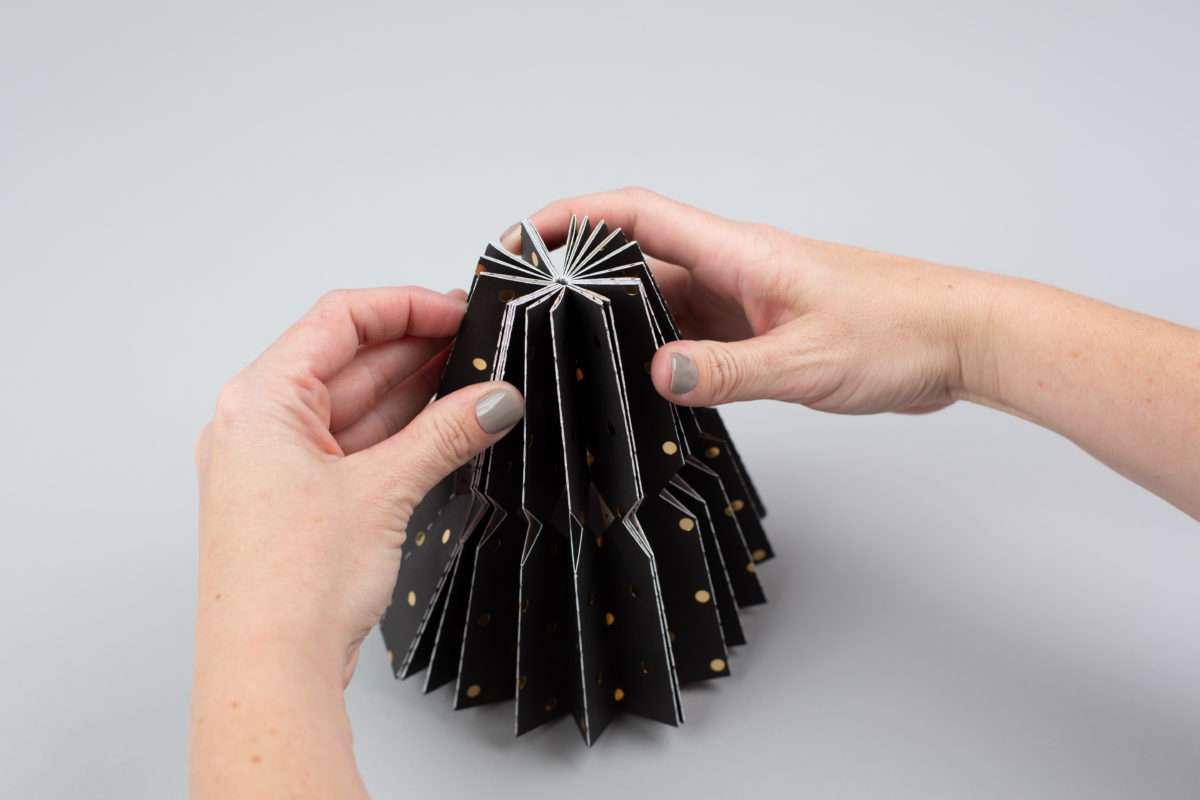
9. When all 4 pieces are glued together in a circle, group the top parts in your hand and slowly press and spread the bottom onto a table top.
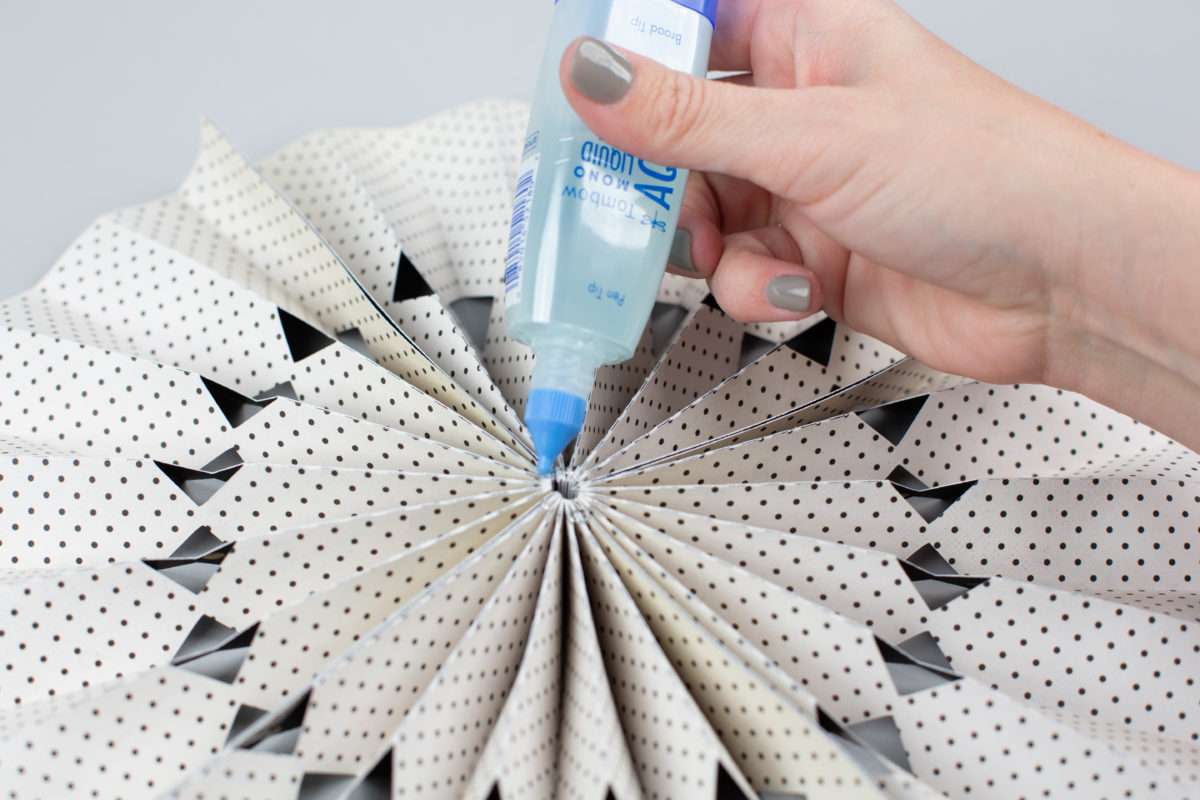
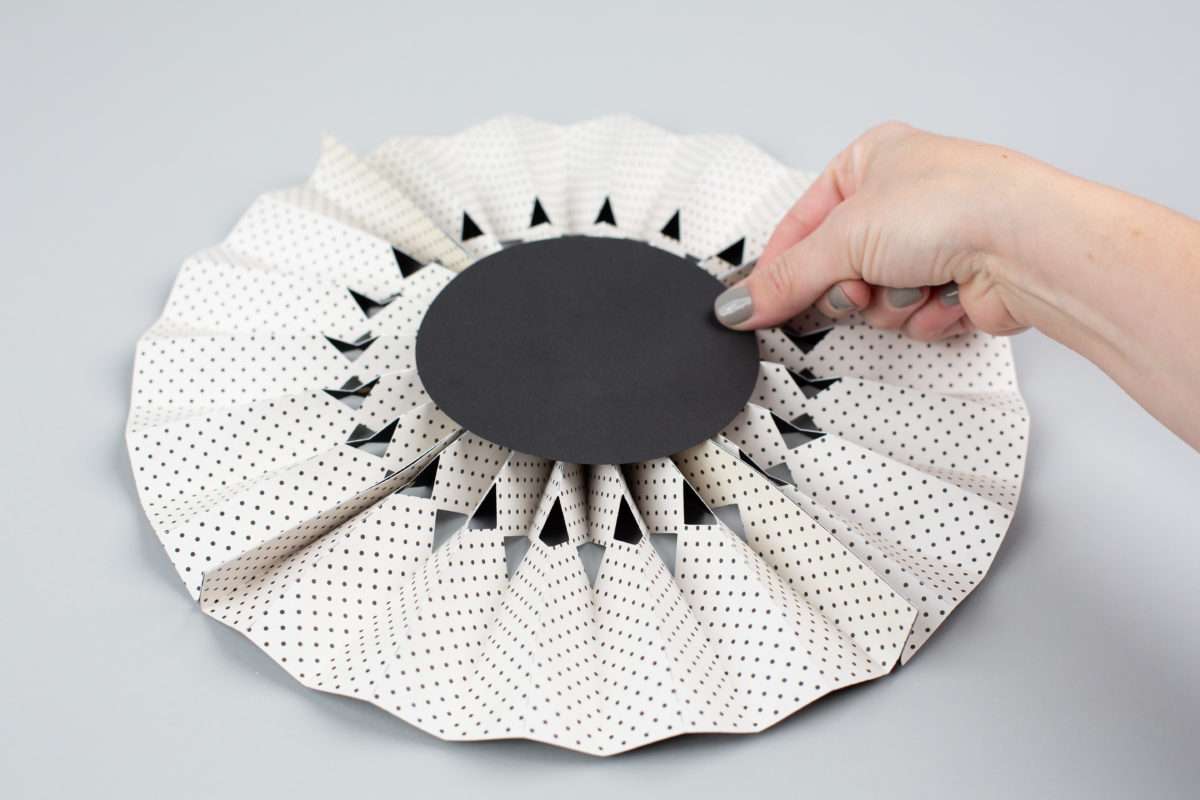
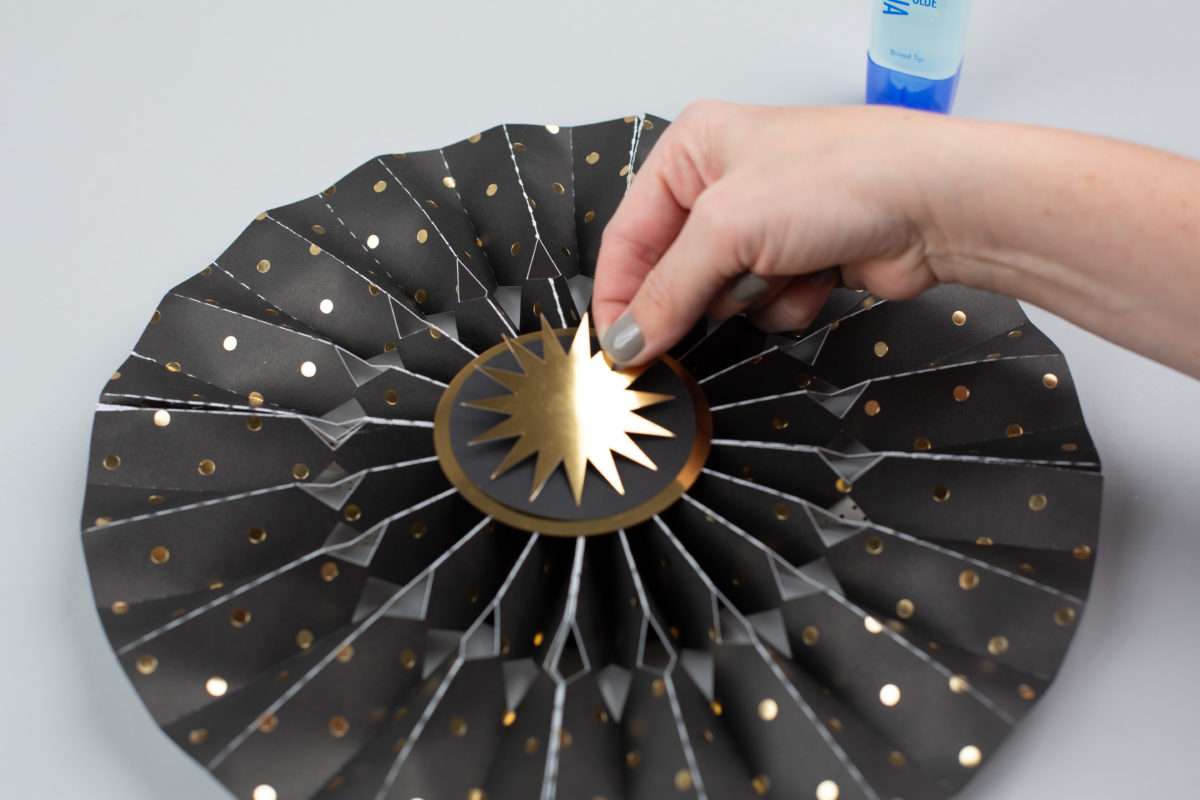
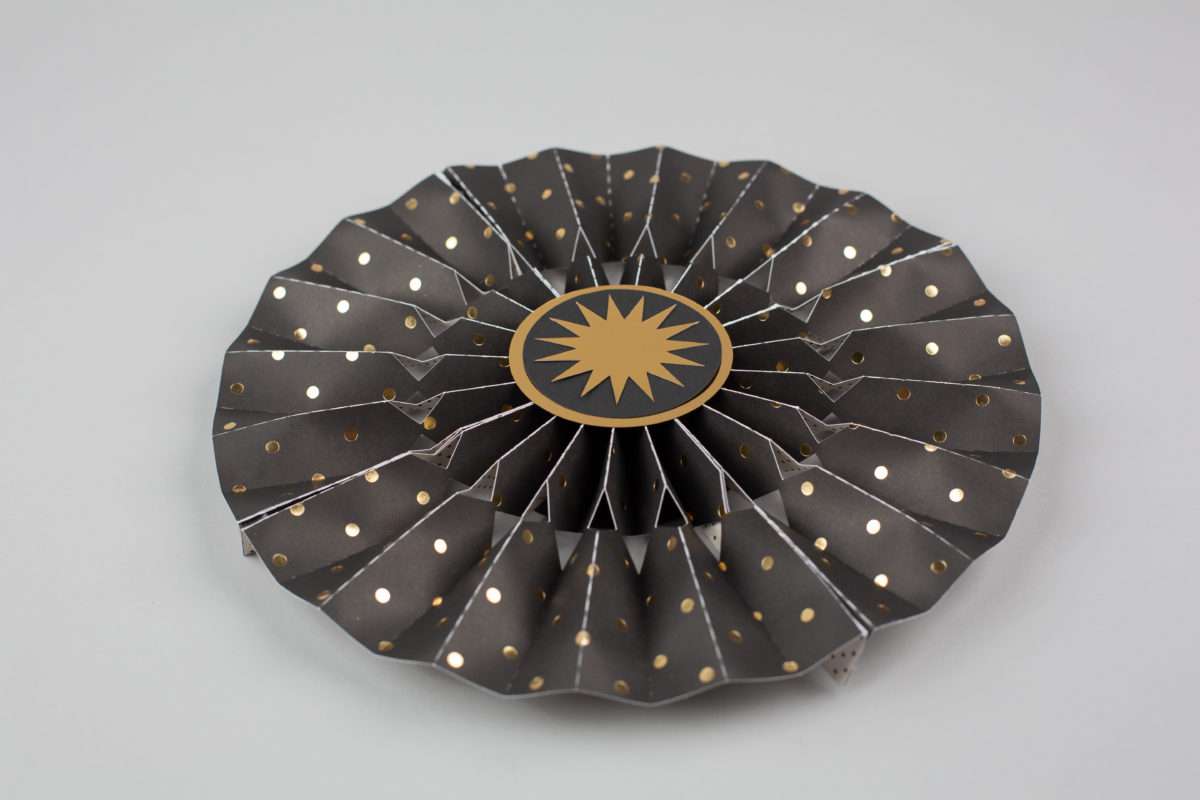
10. While holding the rosette down, put glue on the center and place the circle piece on top. When this is dry carefully flip over and repeat this step.
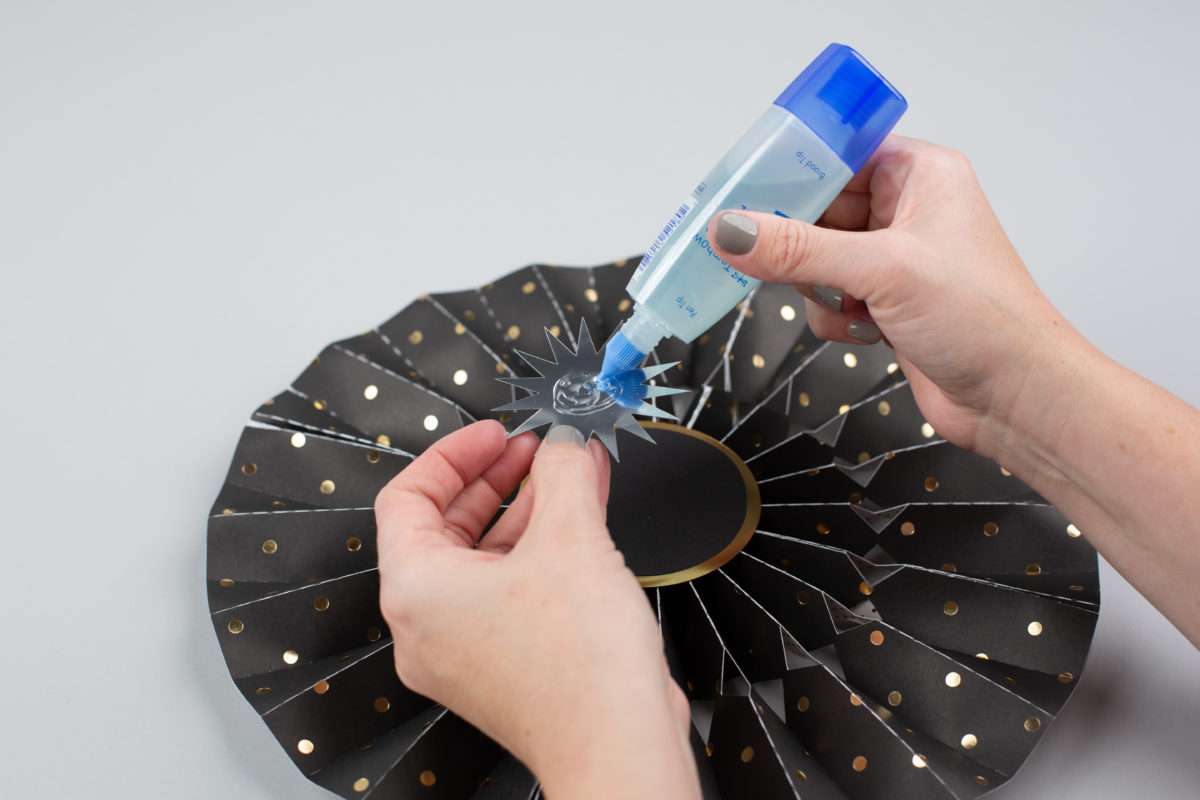
11. Now add the second circle and star. These rosettes can be hung with either tape on the back, twine, or a hook.
Now you have all the fixins for a fantastic and festive New Year’s Eve party! Don’t forget to tell us how you’re going use these decorations for your party in the comments below.