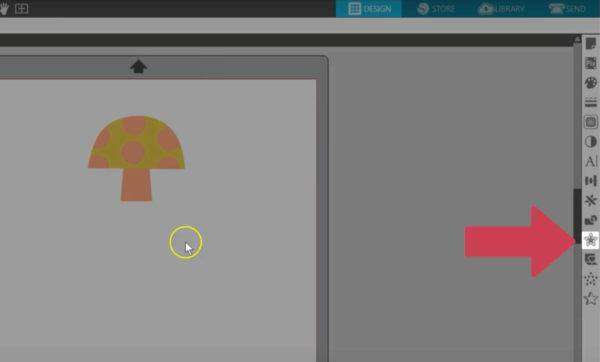
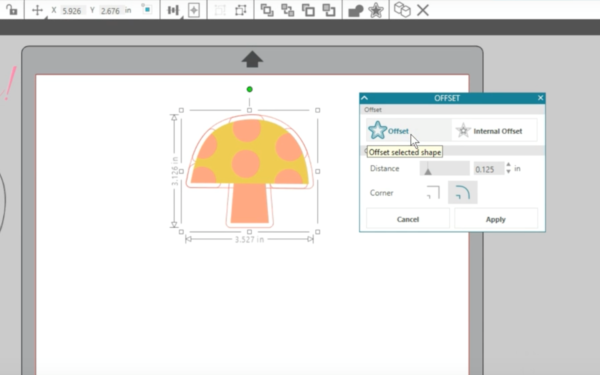
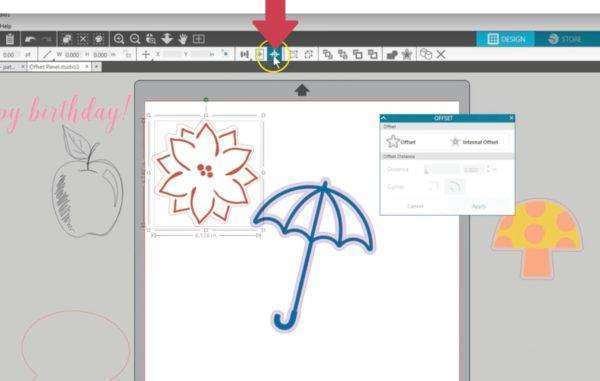
Offset is a really useful tool in Silhouette Studio®. An offset will create an expanded line around an object, giving it a mat effect. You can also create an internal offset to create contoured inner lines for designs. You can find the Offset Panel along the right-hand side of the screen. It looks like a star with an outline.
Or you can find it on the Quick-access Toolbar at the top when a shape is selected.
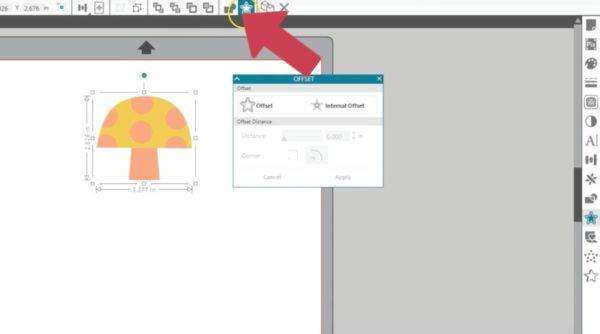
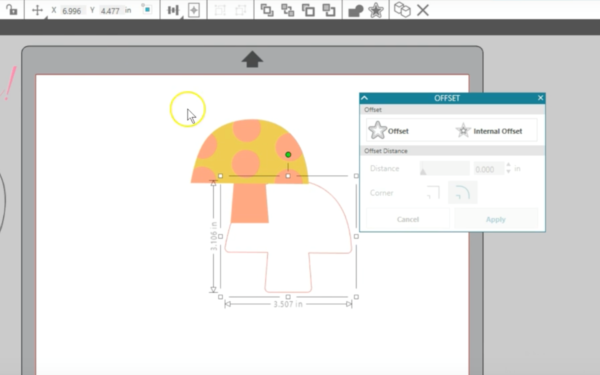
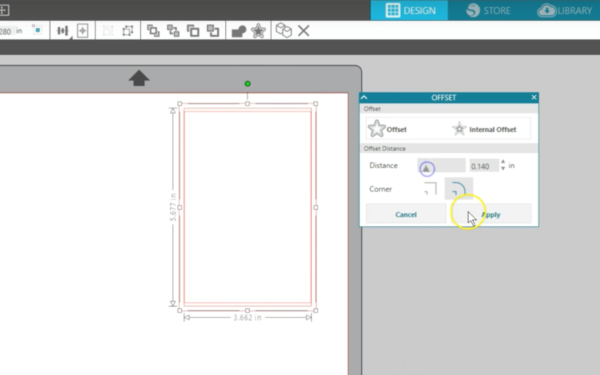
You can see there are two choices when you have a shape selected on your work page: Offset or Internal Offset.
Select your shape, then click Offset.
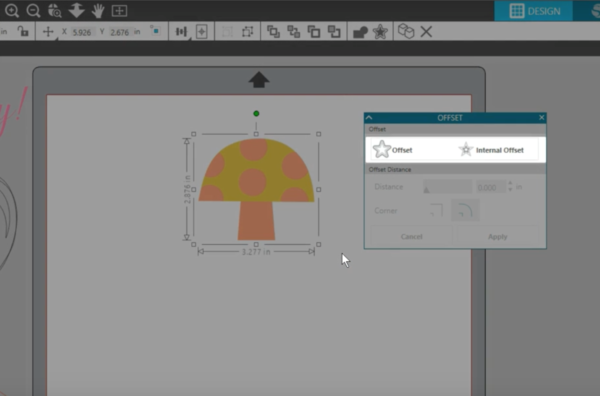
You now have options to customize this offset before applying it, both with Distance and with Corner style.
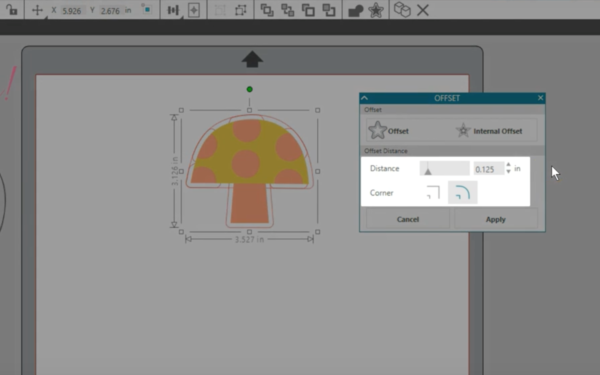
Increasing the Distance makes the outline grow farther from the original image, creating a larger mat effect. Decreasing the Distance brings the outline in tighter to the original image.
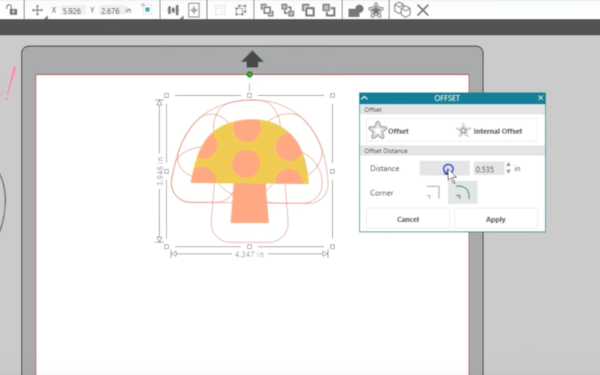
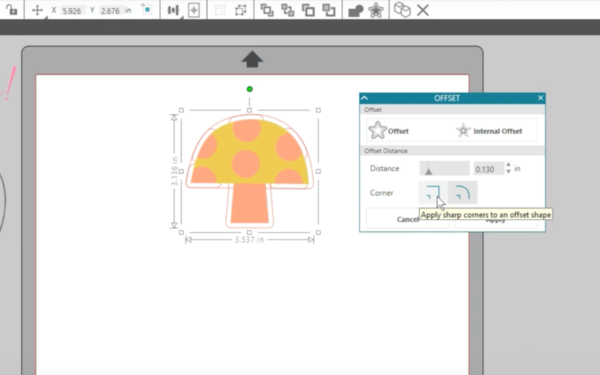
How large you want to create your offset will always depend on the image you’re using and what effect you want it to have in that circumstance. You can also choose sharp or round corners on a design that has sharp corners on it. The default applies round corners, but you do have the choice to keep the offset corners sharp if that’s what you want.
Don’t worry about extra lines in there if you have grouped objects or multiple shapes selected. Overlapped lines will weld together when the offset is applied. Click Apply.

Now you have an offset that can be used as a white-space border for Print & Cut, or a piece that can be cut separately as a mat backing for your design.
You can create an offset around Traced images on the PixScan mat and other Traced images you want to cut with a small border.
Because the mushroom design was solid with no holes in the design, those offset lines fused together to create a single outside line. When we offset a design with separate pieces or a design with holes in it because it’s a compound path, watch what happens as we create an offset. We will use the default 0.125 Distance and click Apply. Now the offsets have their own holes.
You might want to keep the holes if you plan on cutting the offset with another color. Again, it depends on the design and the look you’re going for.
If we want just the outer edge as a cut line for a solid background, we cannot ungroup these inner pieces, but we can right click and choose “Release Compound Path.” Those inner pieces are released and can be deleted.
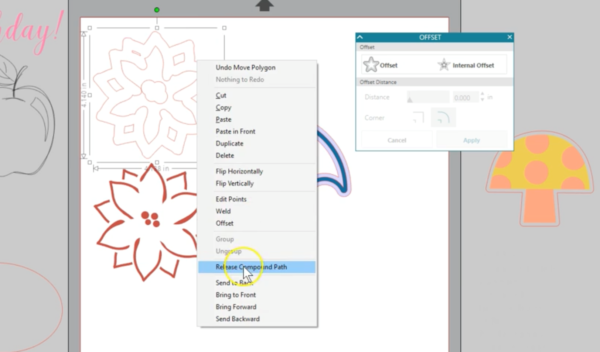
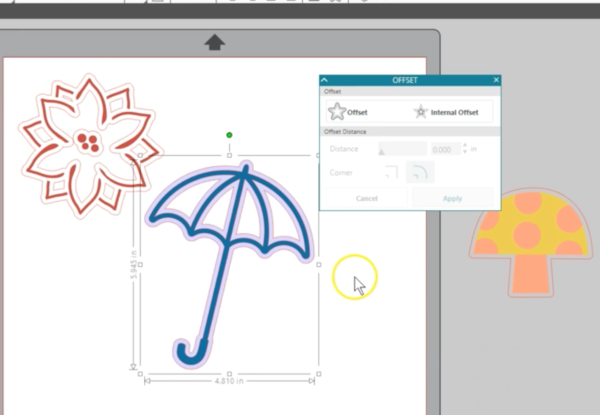
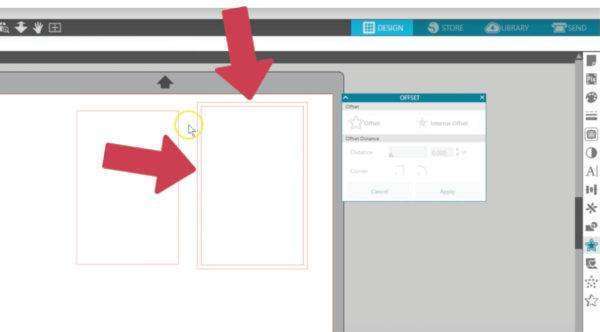
The offset outline can be easily matched back up to the original shape by selecting both and choosing this quick tool for Align > Center, which can also be found in the Transform panel.
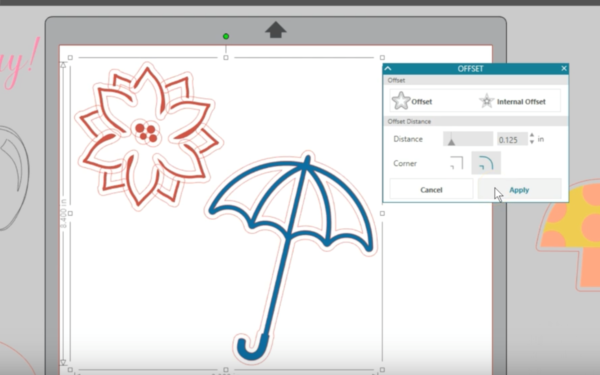
This is a good way to add a cut border for sketch designs, too. Select the design, choose an Offset, and click Apply. Then remove the extra lines by releasing the compound path and just keeping the outline. Note that the offset will take on some properties of the design you are offsetting, such as line color or whether the cut lines are turned on or off in the Send Panel.

Verify cut lines in the Send panel to make sure what you want to cut is correct. To make sure this mushroom will only cut the offset after printing and not all the pieces in the center, I can select it all and choose Cut Edge.

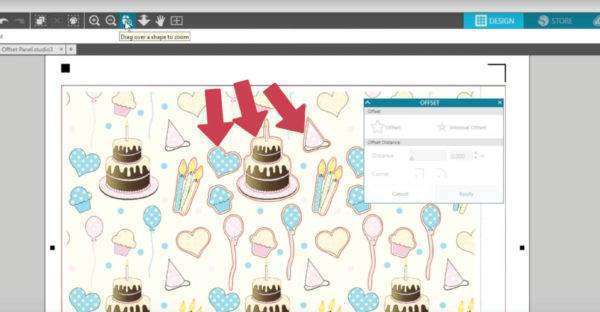
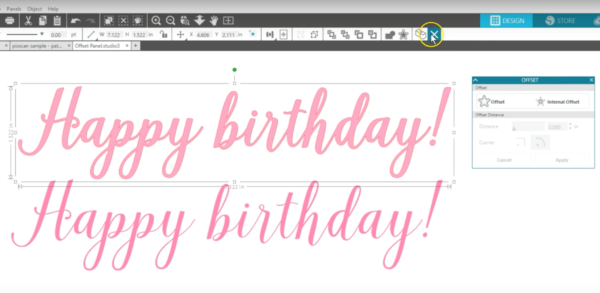
Creating a mat effect is just one way to use Offset. You might also want to use it to thicken up some delicate text so that it’s easier to cut.
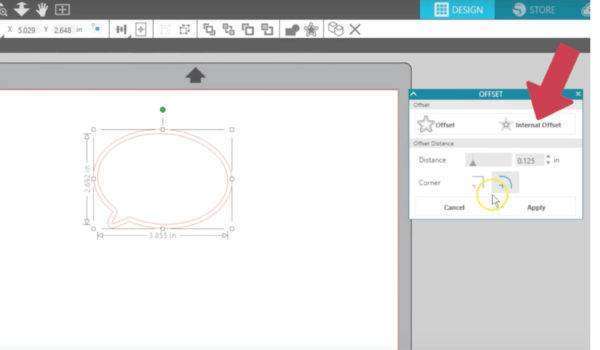
Now let’s look at the Internal Offset. This is useful for slimming down shapes or text.
You also can use it to create a perfect internal offset of a rectangle. If we just draw a rectangle, make a copy, drag a corner handle to resize it proportionately, and align their centers, you can see that doesn’t keep the borders the same distance apart all the way around.
We need the Offset tool to do that. Select this original rectangle, then click Internal Offset, and as we drag the slider we can keep the border the same thickness all the way around.
The Offset tool is a handy but simple design tool that I’m sure you’ll find plenty of uses for.