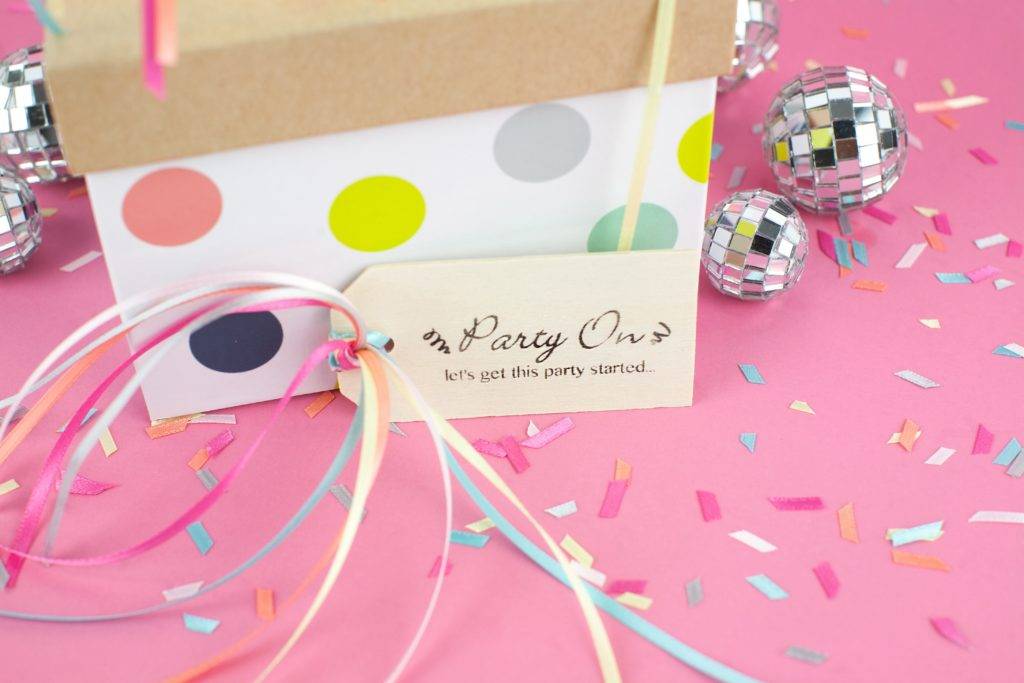
Party on! Let’s get this party started! If you follow my blog or Instagram, you know I love to have fun goodies around to chat about! This custom stamp is no exception. I love to create simple, eye-catching gifts and DIYs for all to enjoy. With so many parties going on all the time, I wanted to have ample gift tags for any occasion. That being said, I made sure to stock up on these tags. These are not only fun, but can work for just about anything. You can also add the person’s name or a short little message on the back for a more personal touch. The possibilities with the Mint are endless! I can’t wait to make my own wrapping paper to coordinate with this stamp as well.
Supplies Needed:
- Silhouette Mint™
- Silhouette Mint Studio™
- 30 x 60 Mint Stamp Kit
- Black Mint Ink
- Wooden Hang Tags
- Ribbon – Multiple Colors
- Hole Punch
- Small Gift Card Envelope
- Gift Boxes
- Design ID #18692

Step One: Prep Your Design
- Start by creating or choosing your design that you’d like to make a custom stamp. I fell in love with Design ID #18692. I located this design in my library in Mint Studio™ and double-clicked on it to bring it into my workspace.
- Make sure that you first select the size of the stamp you’d like to use. For this project, I liked the size of the 30 x 60 stamp. By selecting that stamp size in Mint Studio™, I am able to design within those parameters.
- I tweaked this design just a tad by adding Party On in a different font. I also added the phrase, “Let’s get this party started”. Once I had my design to my liking, I was ready to send it over to the Mint.
Step Two: Create the Stamp
- Select the Mint logo in the top right-hand corner. This will get your design sent to your Mint machine. You’ll notice that your design is automatically mirrored. This is so that when you stamp, your wording is all correctly placed (it would stink to have your stamp look right, just backward).
- Once your Mint machine and software are connected, hit Send.
- Place your stamp sheet into the back of your Mint machine and wait until the machine loads it. When properly loaded, the Mint machine will begin its printing process.
- In less than 60 seconds, the sheet will spit out the front of your machine. You can then grab it and peel away the plastic and cardboard backing.

- Place your stamp on your block (sticky sides together).
- Take your ink and begin to drop it on the text and designs of your stamp. Once your designs is covered, allow the ink to sink into the stamp. I like to wait at least a few minutes. This is what allows you to get up to 50 stamps without reinking!
- After you’ve waited, stamp off the excess ink until the design stamps cleanly. Now you are good to stamp on the tags!
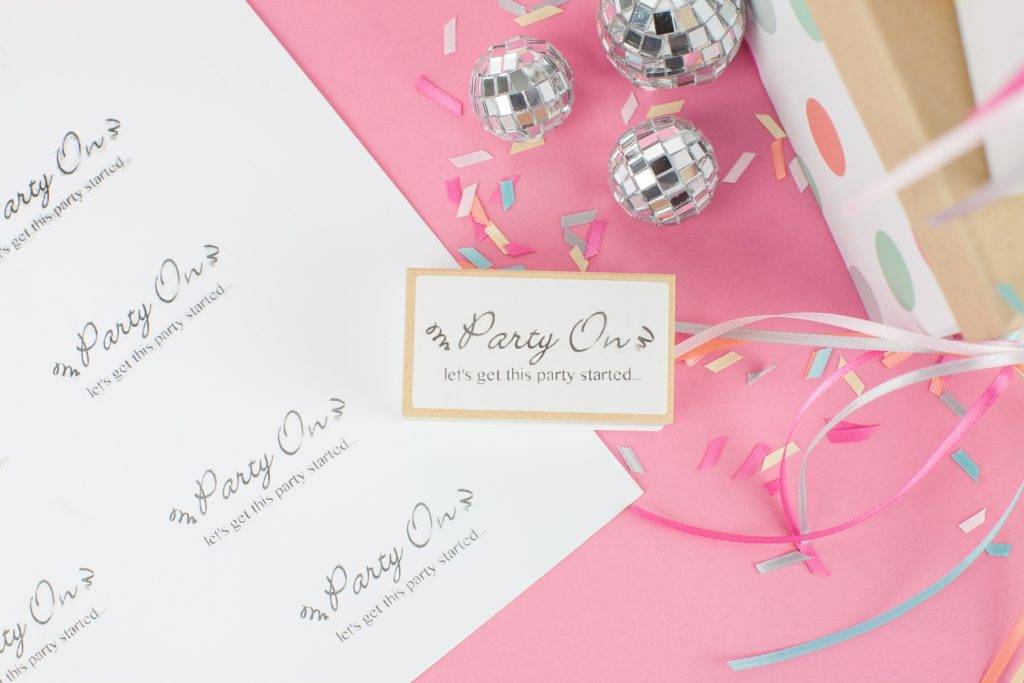
- Now all your tags are completed, and you are ready to stamp away. Let the (stamping) party begin!