The Pop-up Creator is a fun feature you’ll find in Silhouette Studio® starting in version 4.1. This tutorial will cover the basic Pop-up Creator that you can find in all editions of Silhouette Studio®. You’ll find the Pop-up Panel on the right side of your screen with a heart and angled rectangles.
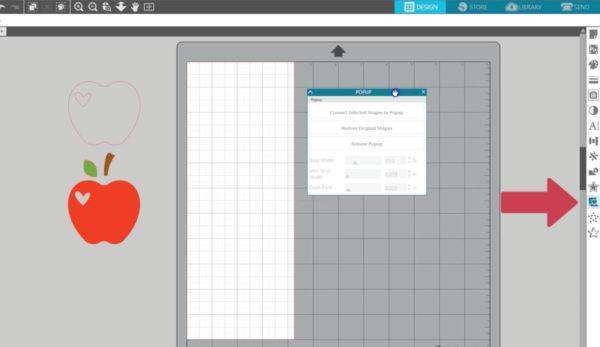
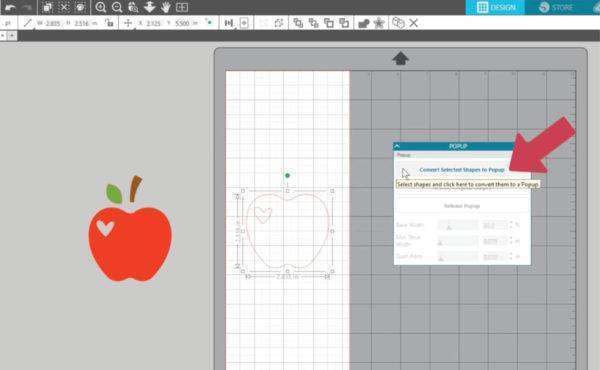
With Pop-up Creator, you can take a flat design and turn it into a pop-up design. We will center a copy of this apple on a page we’ve sized to match the paper. Make sure it’s selected. Choose “Convert Selected Shapes to Pop-up” and you’ll see extra cut lines and perforation lines appear.
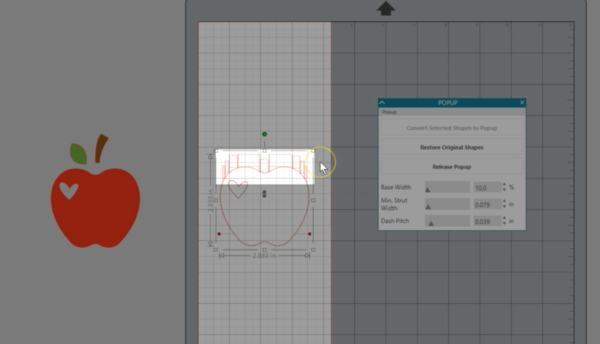
We want this bottom fold line to become the main fold line of the card, so we will drag it to 5 1/2 inches, which is the center line of the page. Drag the red points of the fold line to the edge of the card so that it will fold all the way across.
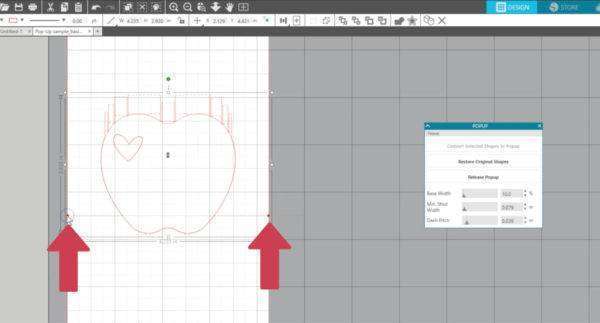
Now you can cut this design as-is, or make some adjustments. Adjust the depth at which it stands out from the page by dragging this double-pointed arrow.
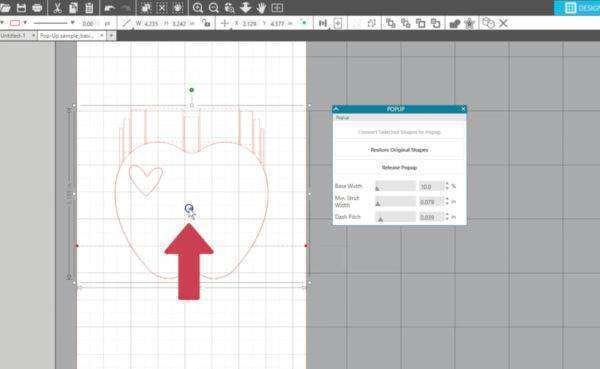
Base width is how much the base of the design is connected to the page.

Minimum strut width will determine how many pop-up connections will be created and how skinny they will be.
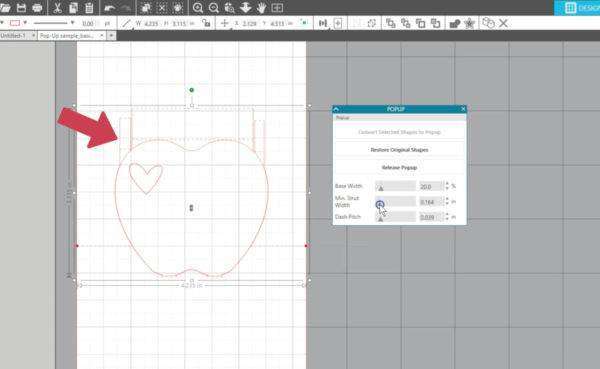
Dash pitch determines the width of the perforation cuts.

At any point you can choose to “Restore Original Shapes” and it will go back to its original state.

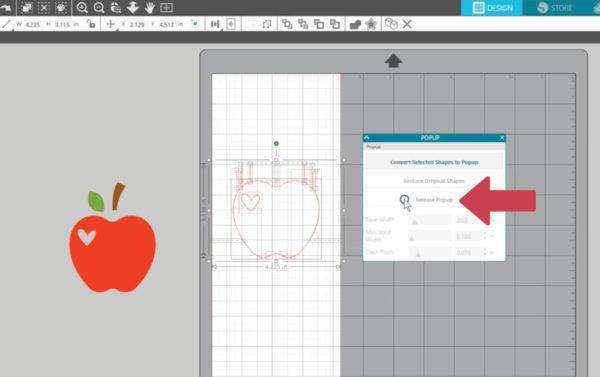
Or choose “Release Pop-up” to convert the lines to standard cut lines that can be moved and manipulated individually.
When we go to the Send panel, we can see what parts of the design will cut. Look for the bold red lines.

Take a look at this finished pop-up card!

If you have Silhouette Studio® Designer Edition or higher, you get a few more features in the Pop-Up Creator, but as you see, there’s a lot you can do with just the basic features.
ameera
October 4, 2018
thanke you