Silhouette Studio® is an awesome, free alternative to professional design programs. Not only is it great for cutting projects, but it’s also a tool to create printables and other digital media.
Today I’ll be showing you how easy it is to create an invitation using the Silhouette Studio® and print it to PDF so you can send them to family and friends or have them printed at a professional print shop.
Why would you need to print to a PDF?
There are a few reason why you would need to do this:
- Silhouette Studio® only saves STUDIO, STUDIO3 and GSP files, which do not open in any other program.
- You need to design an invitation, printable, or other artwork to share.
- You run out of ink or your printer fails and you need to have your project printed elsewhere
- You need to design a logo, business card, or other marketing materials
- You need to create cards, birthday signages, etc.
There are lots of other reasons why you need to learn this handy trick, but let’s jump to the tutorial, shall we?
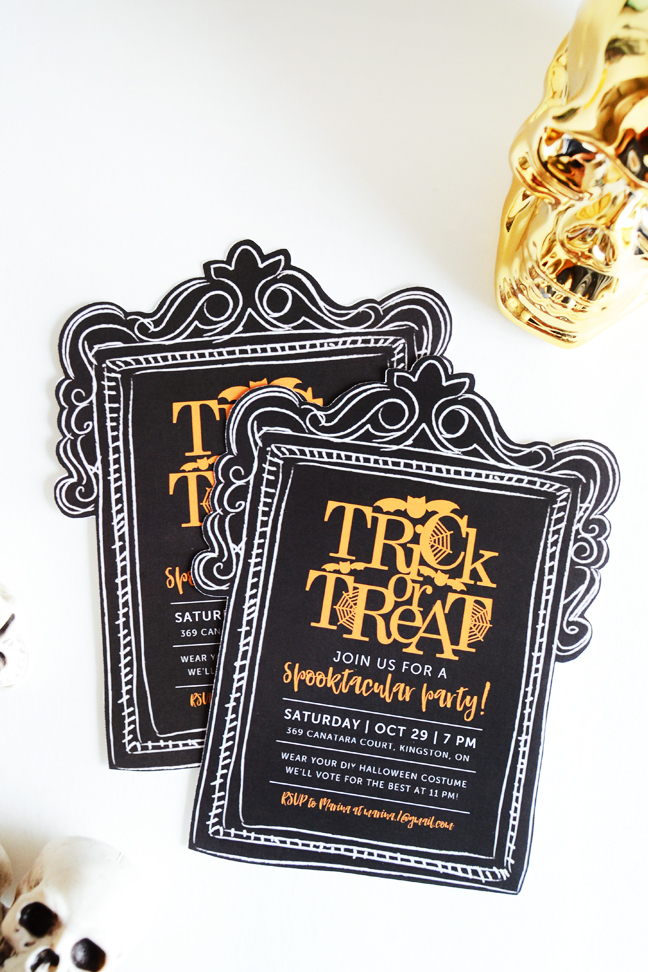
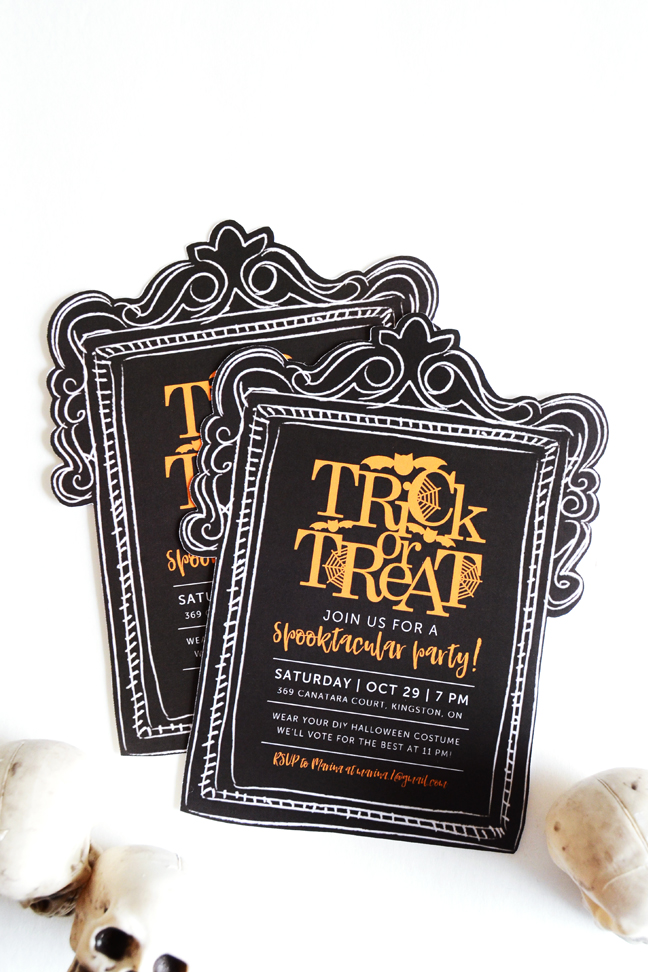
First, let’s create the invitation. I have a simple Halloween invitation that I need printed outside since my printer just died on me (for real).
Design Your Invitation In Silhouette Studio®
1. Choose a background.
I chose this gorgeous chalkboard frame (Design ID #15703) by Loni Harris for my background as I wanted to have a simple chalkboard look. And honestly, this looks awesomely like a headstone! 🙂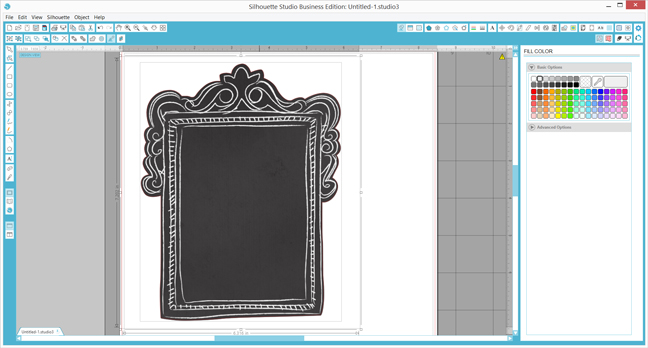
Handy Tip: If you have Silhouette Studio® Designer Edition, you can lock the background by clicking the Layers panel and ticking the box beside the eye of your background layer. This prevents your background from being selected—it’s great, as you won’t be able to shift it while working on your wording!
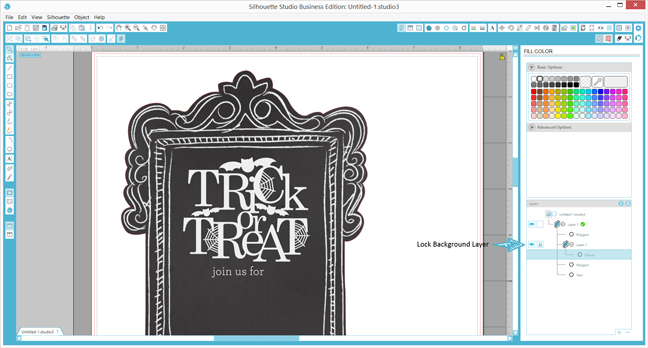
2. Add a good header element.
A good invitation has a good header – I chose this Trick or Treat (Design ID #93548) by Miss Kate Cuttables for my header.

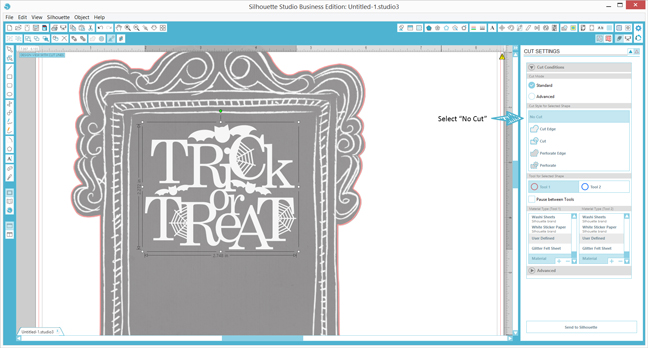
- Choose a fill color. I wanted some color on my invitation so I added some orange.
- Remove the outline color (choose “No Fill” option).
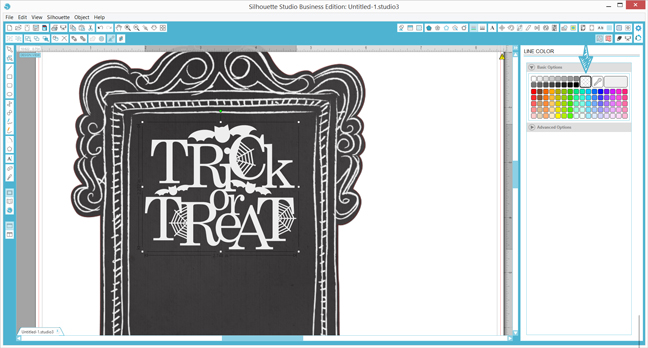
- Do not forget to set your words and elements to no cut (specially if you are doing a Print & Cut).
3. Add the rest of your party details, making sure to repeat the steps above to create a seamless look.
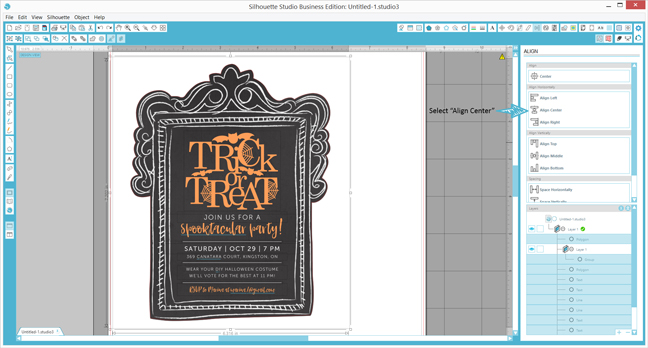
Once you are done, click the Align window and choose “Align Center.”
Print Your Invitation To PDF
If doing a Print & Cut, check out this easy tutorial on how to lay out your design for a Print & Cut project.
1. Lay out your invitation.
This will depend on how many invitations you can fit on a page.

NOTE: If you are not creating printed media, you will want to adjust your page size to the size of the media you are designing.
For example, if you are designing an invitation for emailing instead of printing, set your 5″ in. x 7″ in.invitation on a 5 in. x 7 in. page on the Design Page Settings as well as the Printing Preferences so when you Print to PDF, it saves it at the same size (and not laid out on the paper size you have currently selected).
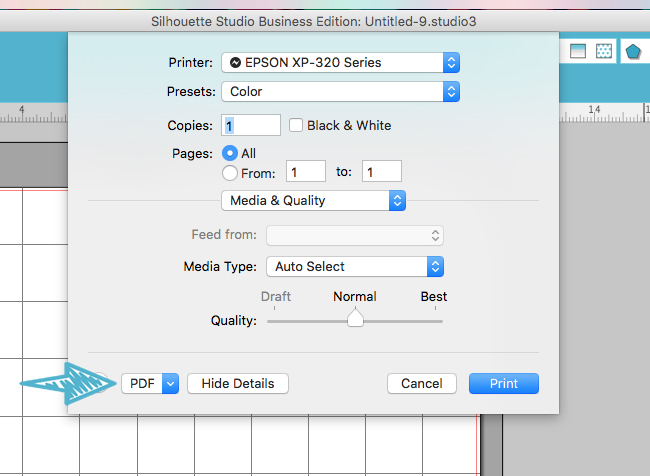
Since Silhouette Studio® does not have the option to save to PDF (as of writing this tutorial), you will have to print to PDF. If you are using a Mac, then it’s very straightforward. For PC users (like me), we have to rely on 3rd party apps that can print to PDF (I use Adobe Acrobat DC).
2. Click on the Print icon.
- On a Mac, Click the PDF button on the left-hand corner of the pop-up, and then click “Save as PDF” on the drop-down menu. Type in your filename and add PDF on the end of the file name, then click “Save.”
- On a PC, click your PDF saving app, click “Apply,” then “Print” and then type in your file name and click “Save.”


And that’s it! Have your invitation printed at a local print shop, Print & Cut (if need be), share and send away!
stephanie
October 6, 2016
I’ve tried saving a print and cut (decorations for a birthday party) but didn’t have much luck with the cut part. I sent the files to be printed at an office supply store but when I got them home and started cutting, the shapes cut out correctly but the locations were offset. Any suggestions?
Kelly Wayment
October 6, 2016
I love these invitations! Great tutorial. 🙂
Aki Altuna
October 7, 2016
Thanks, Kelly! 🙂
Joan
October 7, 2016
Very cool invitations. Thanks for the tutorial. I will try this!
Aki Altuna
October 7, 2016
Thanks Joan – happy designing! 🙂
Martinez
October 7, 2016
Locking the background??!! THIS IS LIFE CHANGING!!!!! Man, this little tip would have saved me many gray hairs! Thanks for this awesome tutorial!
Aki Altuna
October 14, 2016
Glad it was helpful! 🙂
Virginia
October 9, 2016
Thank you for sharing this tutorial. I have the Designer Edition but can’t seem to find the layers panel to lock the background layer, please help.
Aki Altuna
October 14, 2016
Hi Virginia!
It should be the last icon on the second row directly under the Pan (Hands) icon on menu area. When you hover over it, it should say ‘Open Layers Pane’.