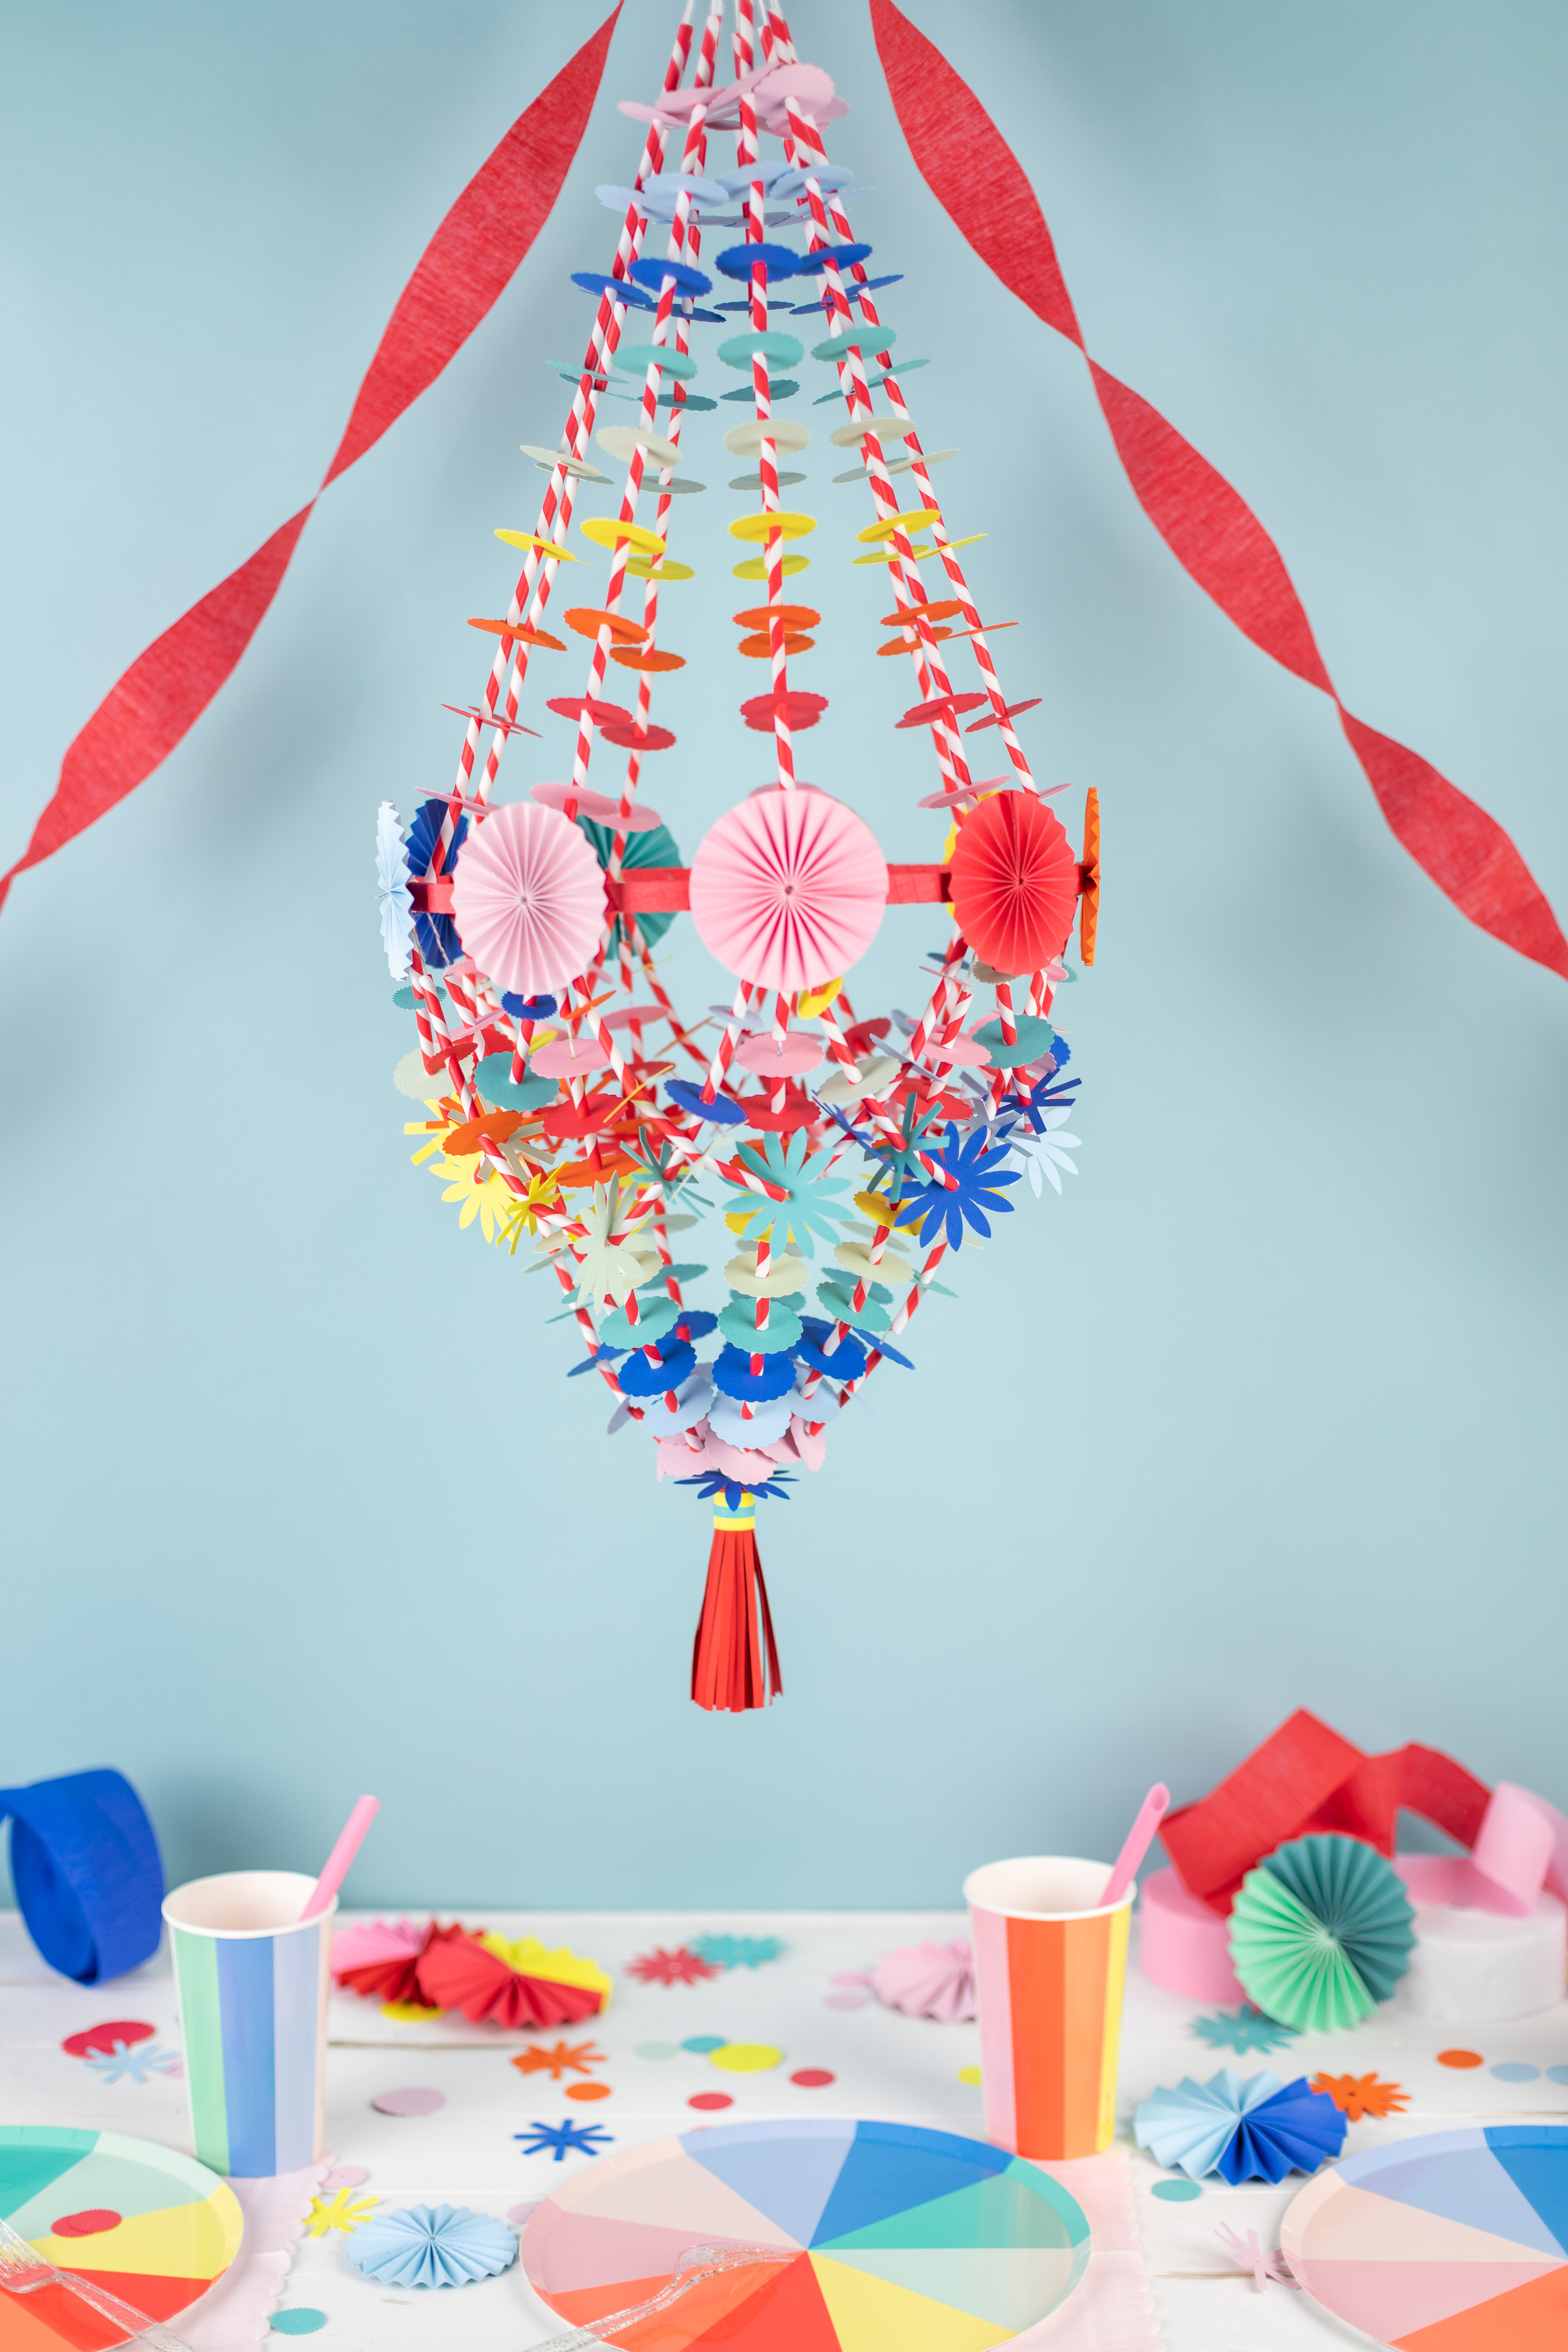
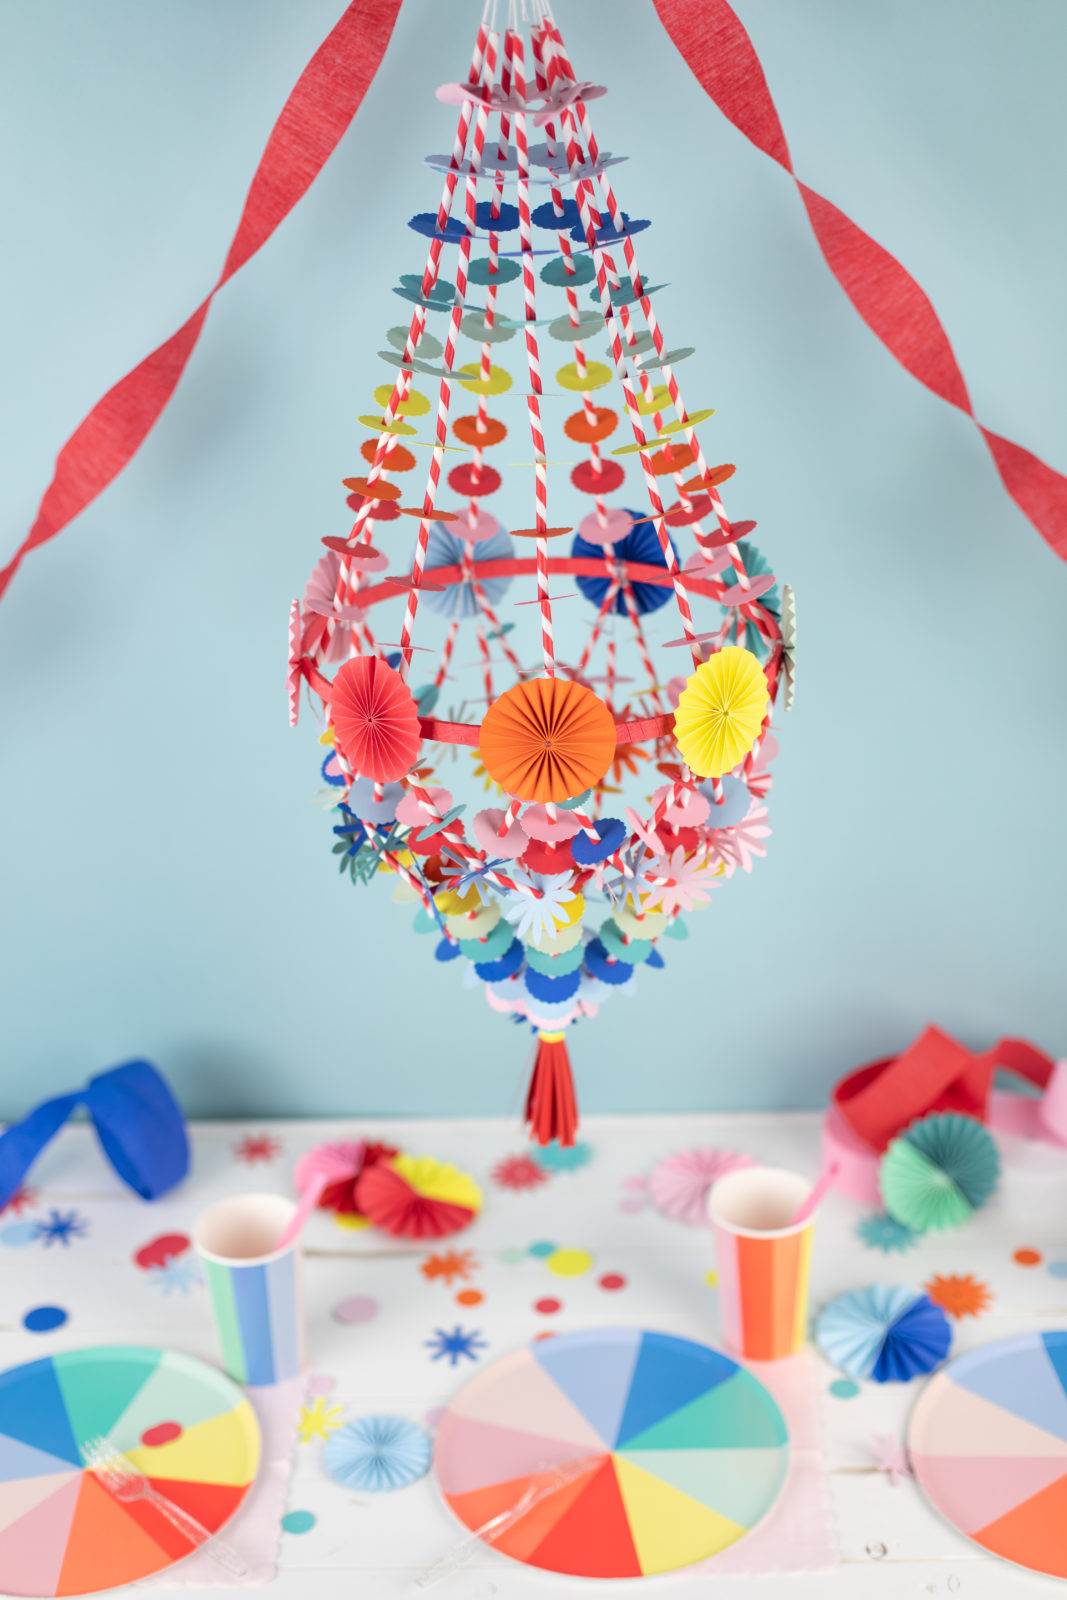
Birthdays, holidays, and special occasions provide a a perfect opportunity to try your hand at some new decor, and what’s more show-stopping than a paper chandelier?! Inspired by a traditional Polish Pajaki, this colorful fixture is primarily made of paper pieces cut out using your Silhouette CAMEO. Add some string, straws, and an embroidery hoop, and you’re in business! This rainbow rendition is fitting for St. Patrick’s Day, but you can easily customize the color palette to fit your needs!
Supplies Needed:
- Silhouette CAMEO® or Silhouette Portrait®
- Silhouette Studio®
- Silhouette Cutting Mat
- Silhouette Cutting Blade
- 9 pieces of 12-by-12-inch cardstock in 9 different shades; we used a rainbow palette: light pink, red, orange, yellow, mint, teal, dark blue, light blue, light purple
- Paper straws
- Twine
- Upholstery needle
- 12-inch embroidery hoop
- Hot glue gun
- Design IDs #129371 and #39141 and a flower included in your library
Step One: Prepare and Cut Your Components
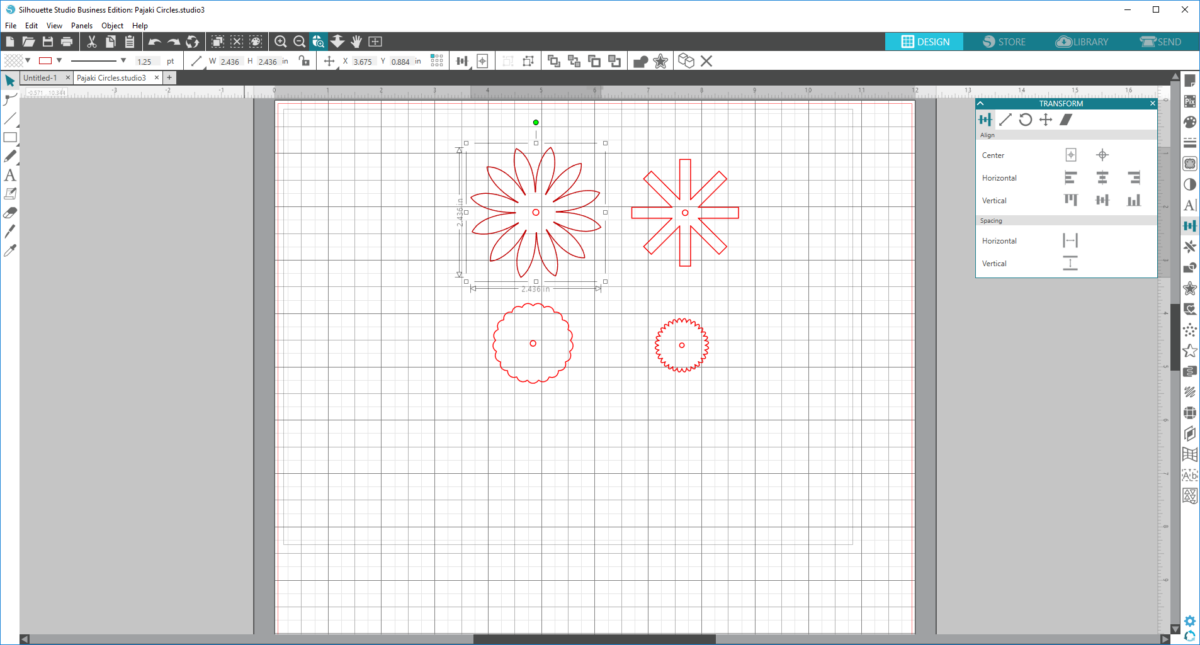
1. Download and open the 4 designs into Silhouette Studio®. Size the shapes to the following sizes: The flower is 2.5-inches tall; the star is 2-inches tall, the scallop circle is 1.5-inches tall, and smaller scallop circle is 1-inch tall.
2. Using the drawing tool, create a small circle that is .1-inches in diameter. Place that circle into the center of one of your 4 shapes and group together. Repeat this process to the 3 other shapes. This will create a hole in the center of each shape so you can thread twine through the shapes.
3. Duplicate the shapes so that you have 1 flower, 2 stars, 20 medium scallop circles, and 2 small scallop circles.
4. To create the medallions on the outer rim of the chandelier, use the drawing tool to create a rectangle with dimensions 1.5 by 11.5 inches.
5. Using the line tool, create dashed lines 1/4 inch apart down the entire length of the rectangle. This creates the fold lines to make the medallion.
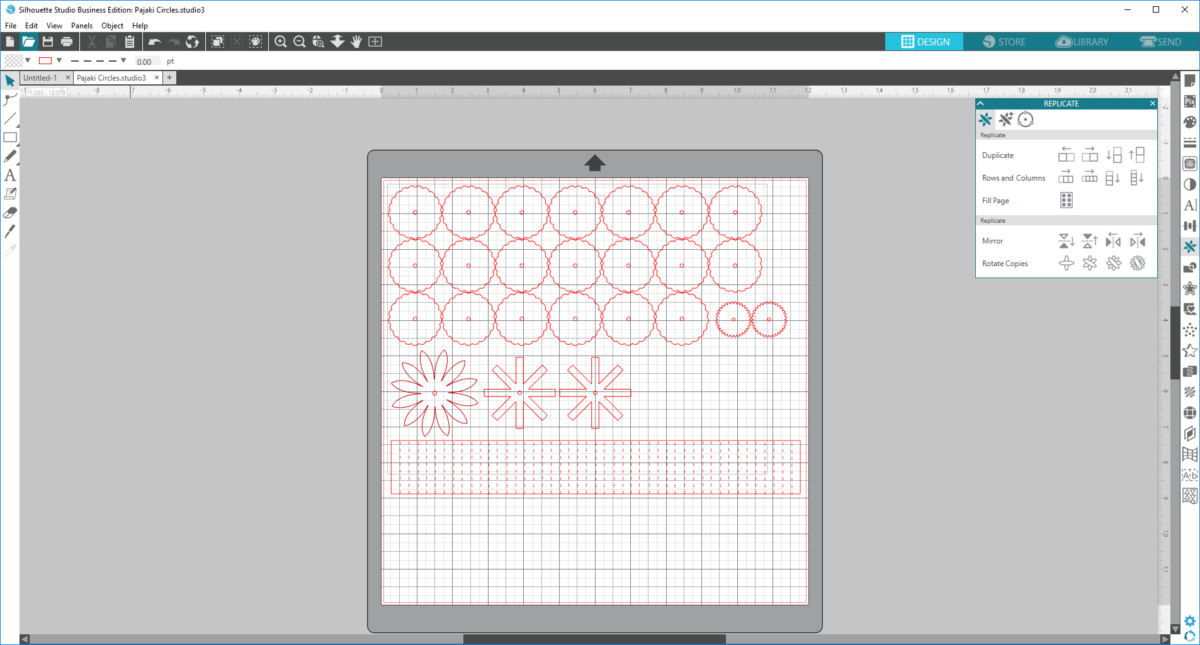
6. Now you’re ready to cut! You want to cut all of the designs shown above for each of your colored cardstock pages (9 total). Load the machine and select the “Cardstock, Textured-Heavy” material, and click the Send button to send the job to your machine.
Step Two: Assemble Paper Medallions and Prep Other Elements
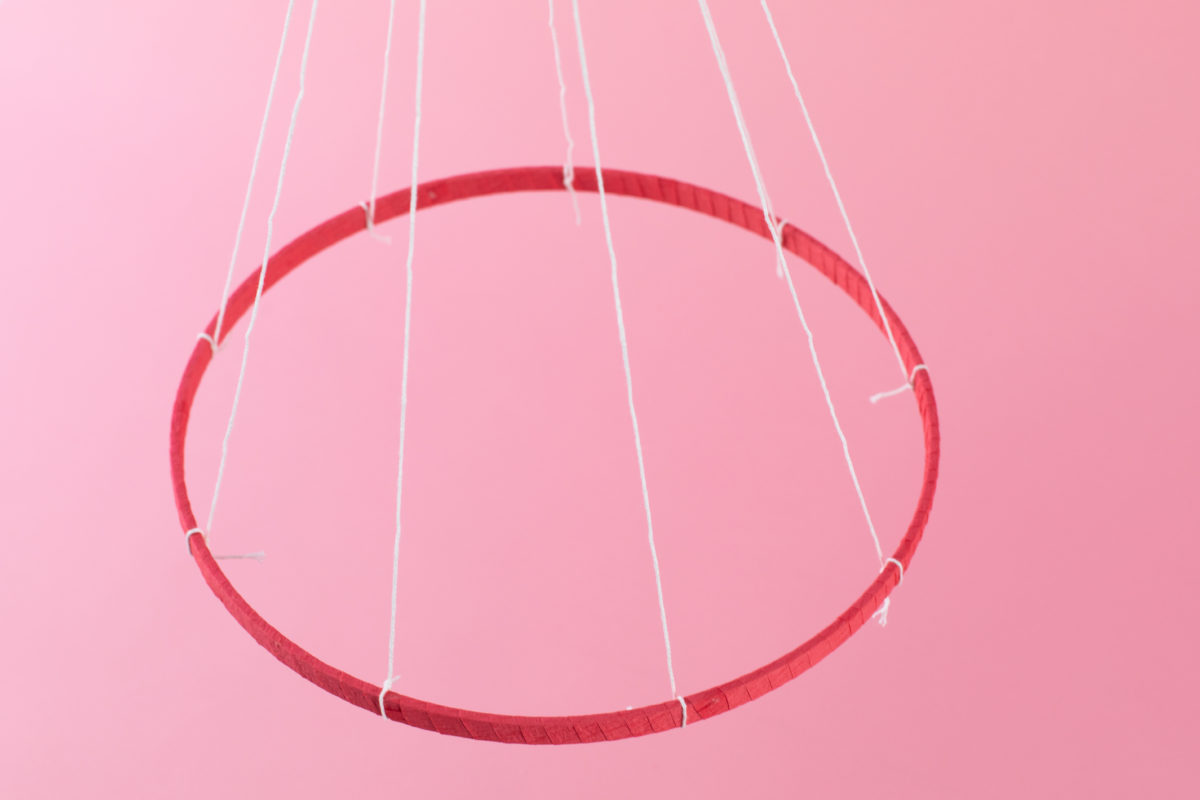
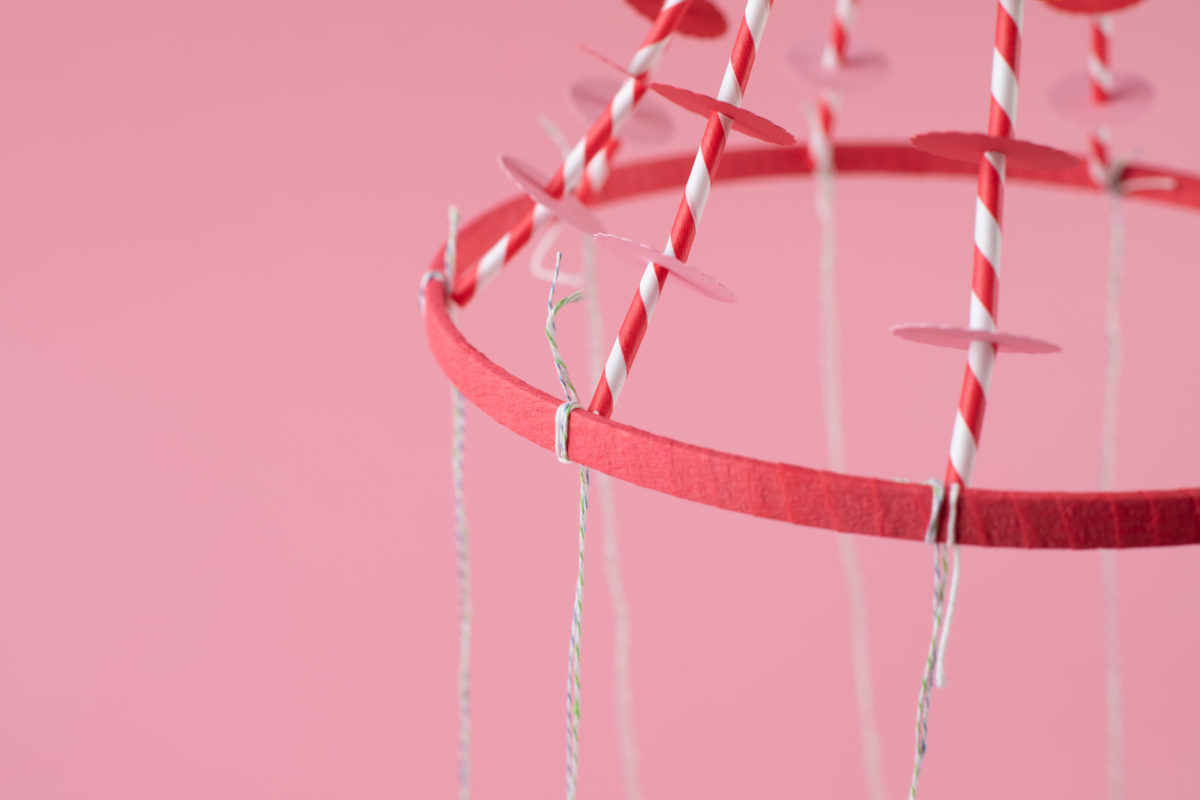
1. Separate the two hoops of your embroidery hoop. You’ll only need the inner hoop without the hardware for this project. Wrap the wood embroidery hoop in yarn, outstretched strips of crepe paper, or simply spray paint it to give it some color. Set it aside.

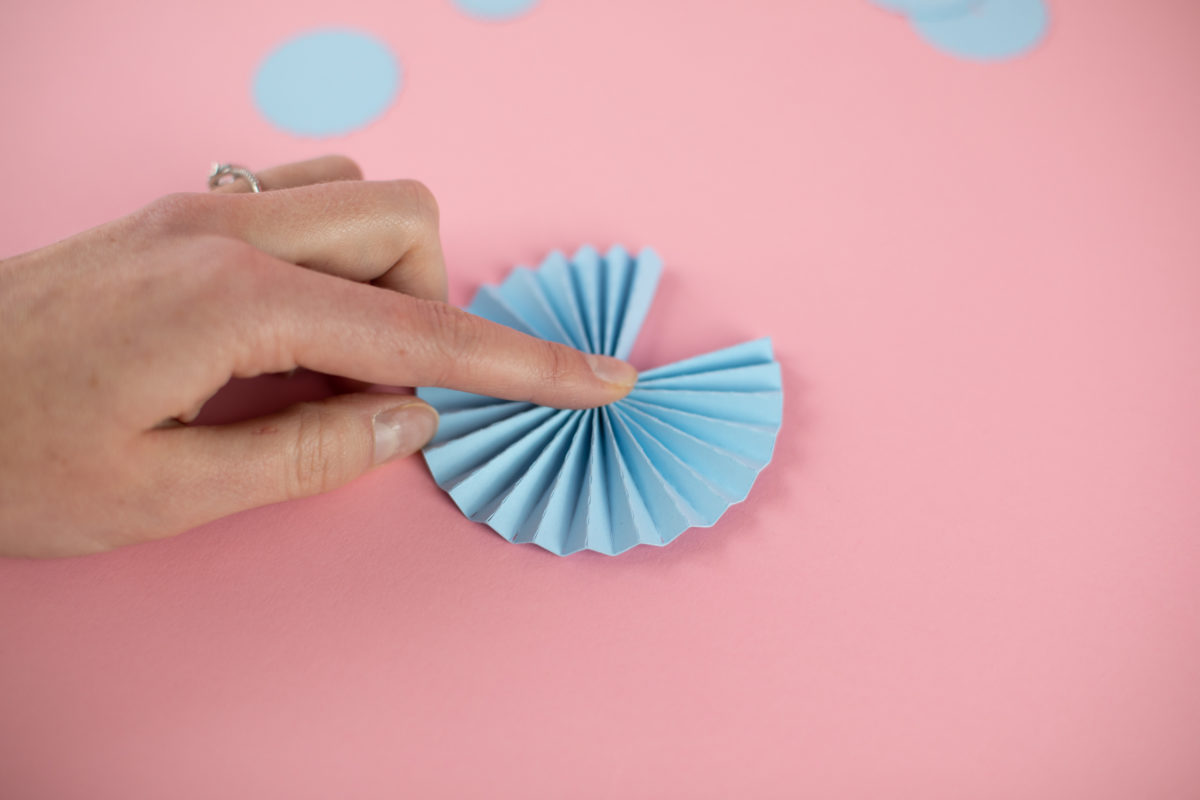
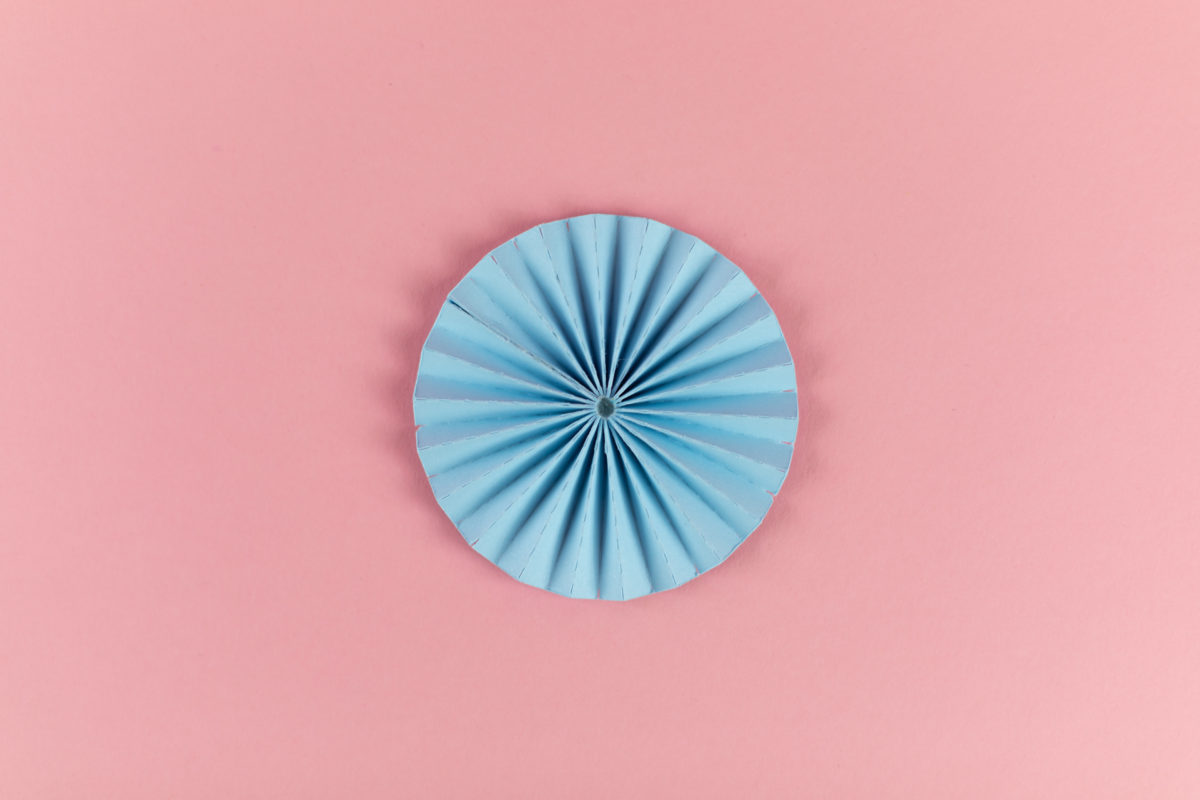
2. Remove the paper pieces from your mat. Accordion fold the scored rectangle pieces.
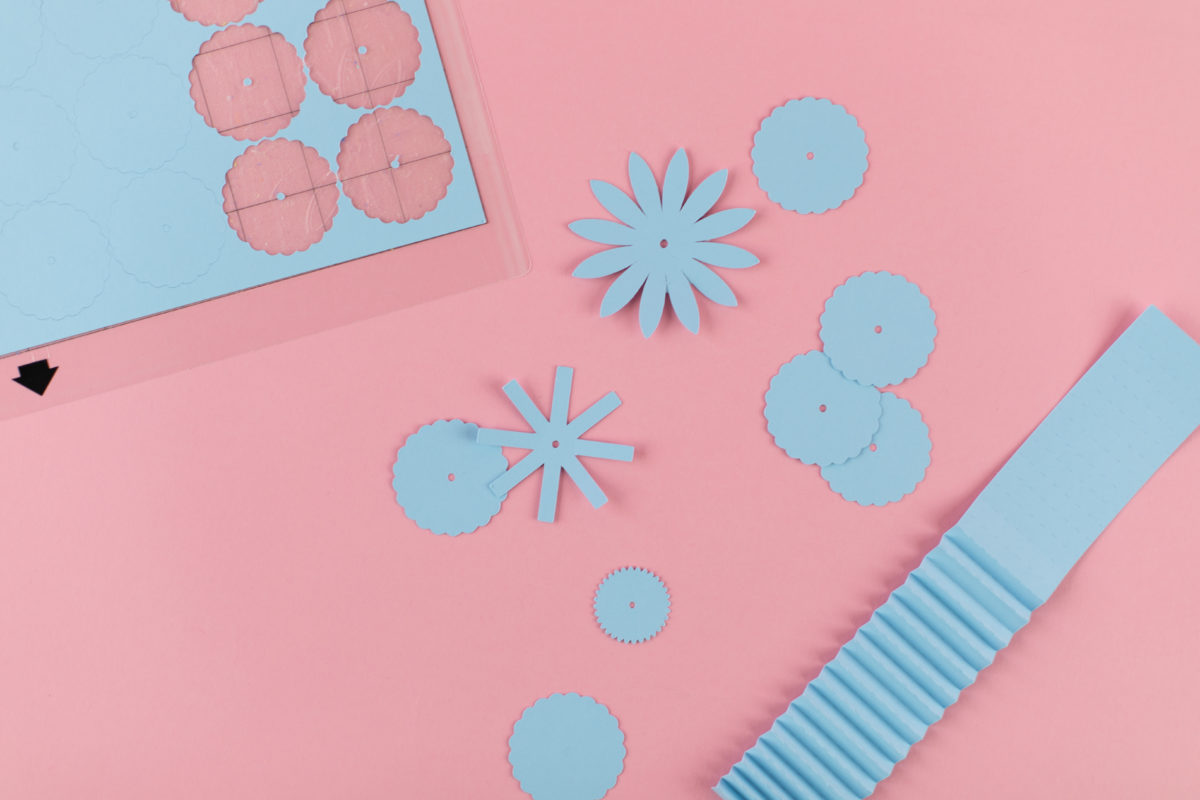
3. Bring the two ends together and secure together with your hot glue gun. Repeat with each color so you have 9 medallions total. Set aside.

4. Now take your paper straws and cut a bunch of them into them into 1.5-inch pieces. You’ll need 162 1.5-inch pieces total. Then take another bundle and cut them into 1-inch pieces. You’ll need 90 1-inch pieces total.
5. Cut your twine into 2 different lengths; Cut 9 lengths at 25 inches long, and 18 lengths 18 inches long.
Step Three: Thread the Strings
1. Tie the 25-inch-long strings around the embroidery hoop equidistant from one another. This is where is gets fun!
2. Thread each string in a pattern alternating 1 straw piece with one 1.5-inch scallop circle, in a rainbow palette: pink > straw > red > straw > orange > straw > yellow > straw and so on and so forth until you’ve used one circle of each color. Repeat this process for each of the 9 strands.
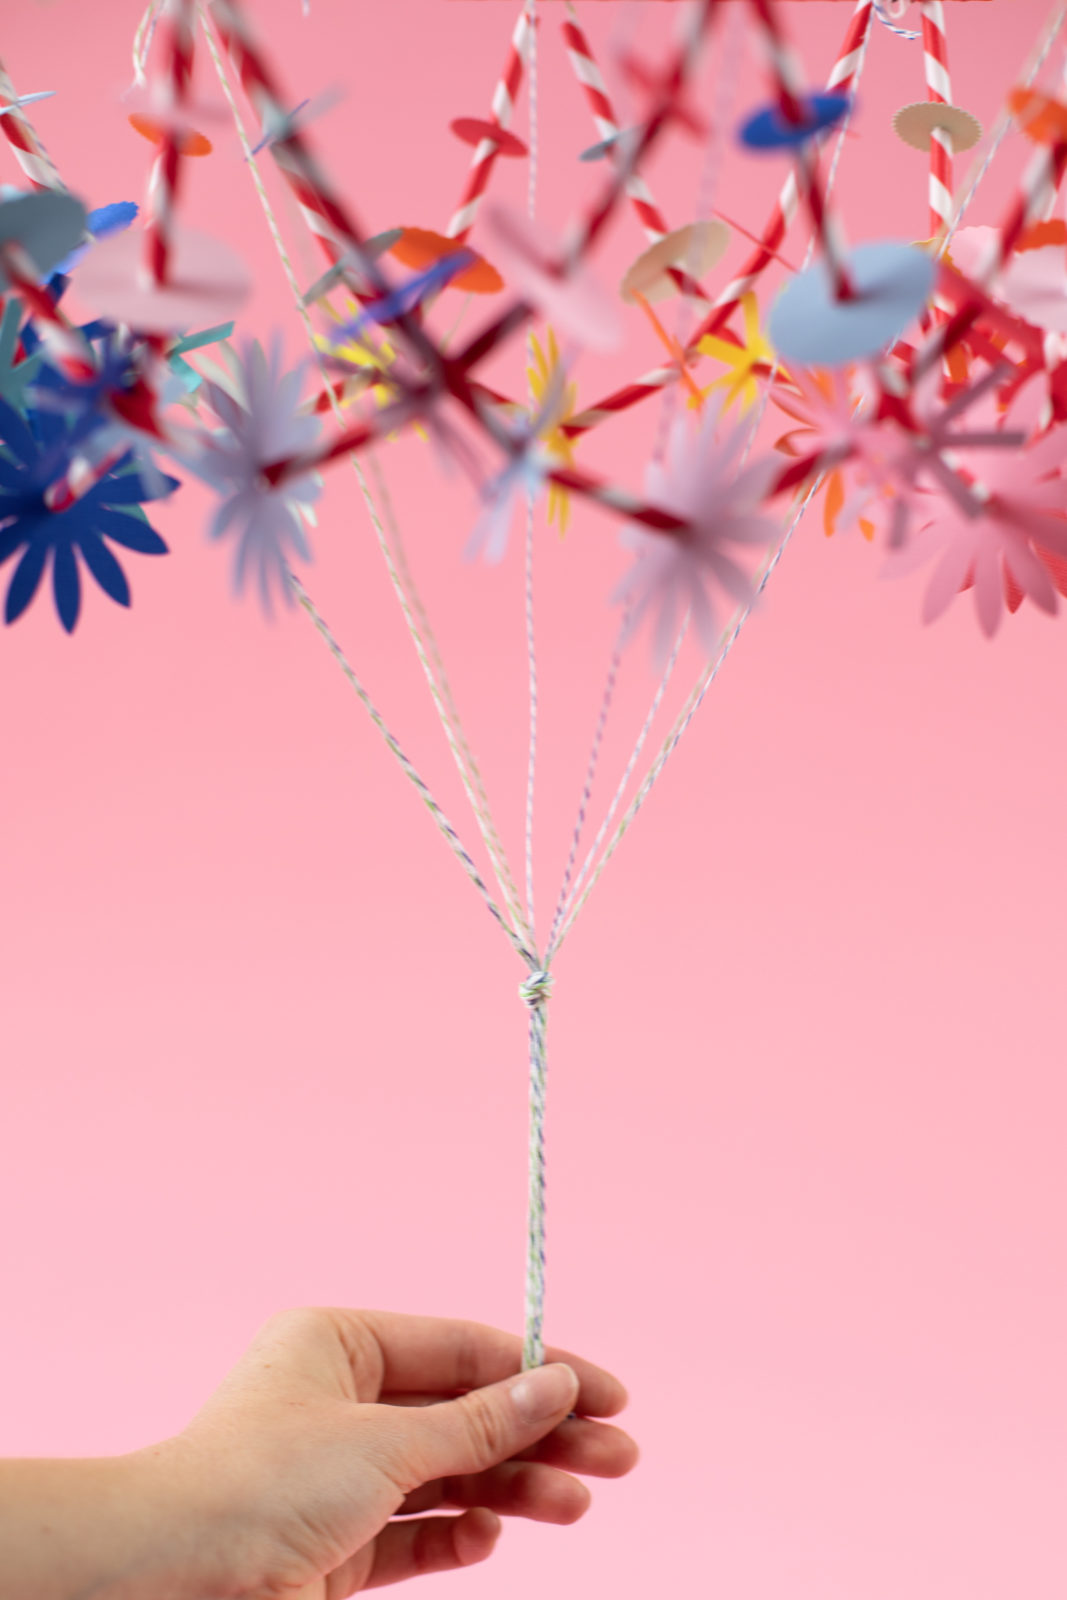
3. Gather the strands together at the top and tie a knot.
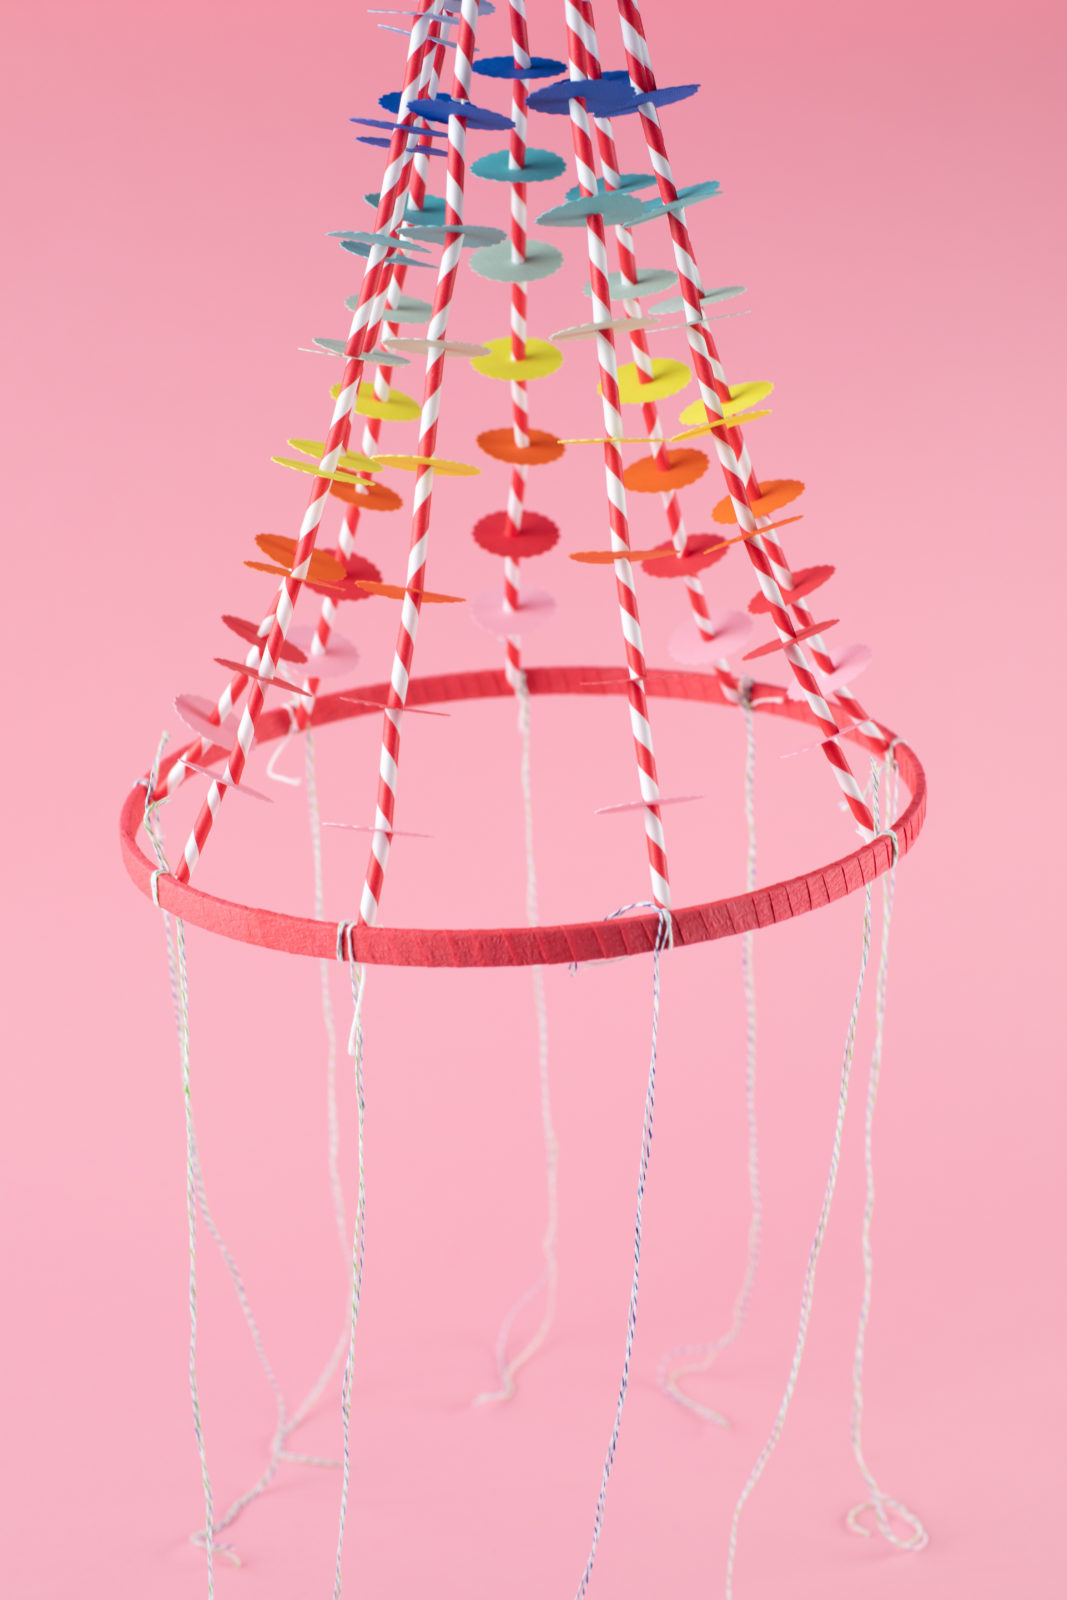
4. Then tie the remaining strands onto the hoop in the same place as the first strings just hanging down in the opposite direction, this time tying two strings at each interval.
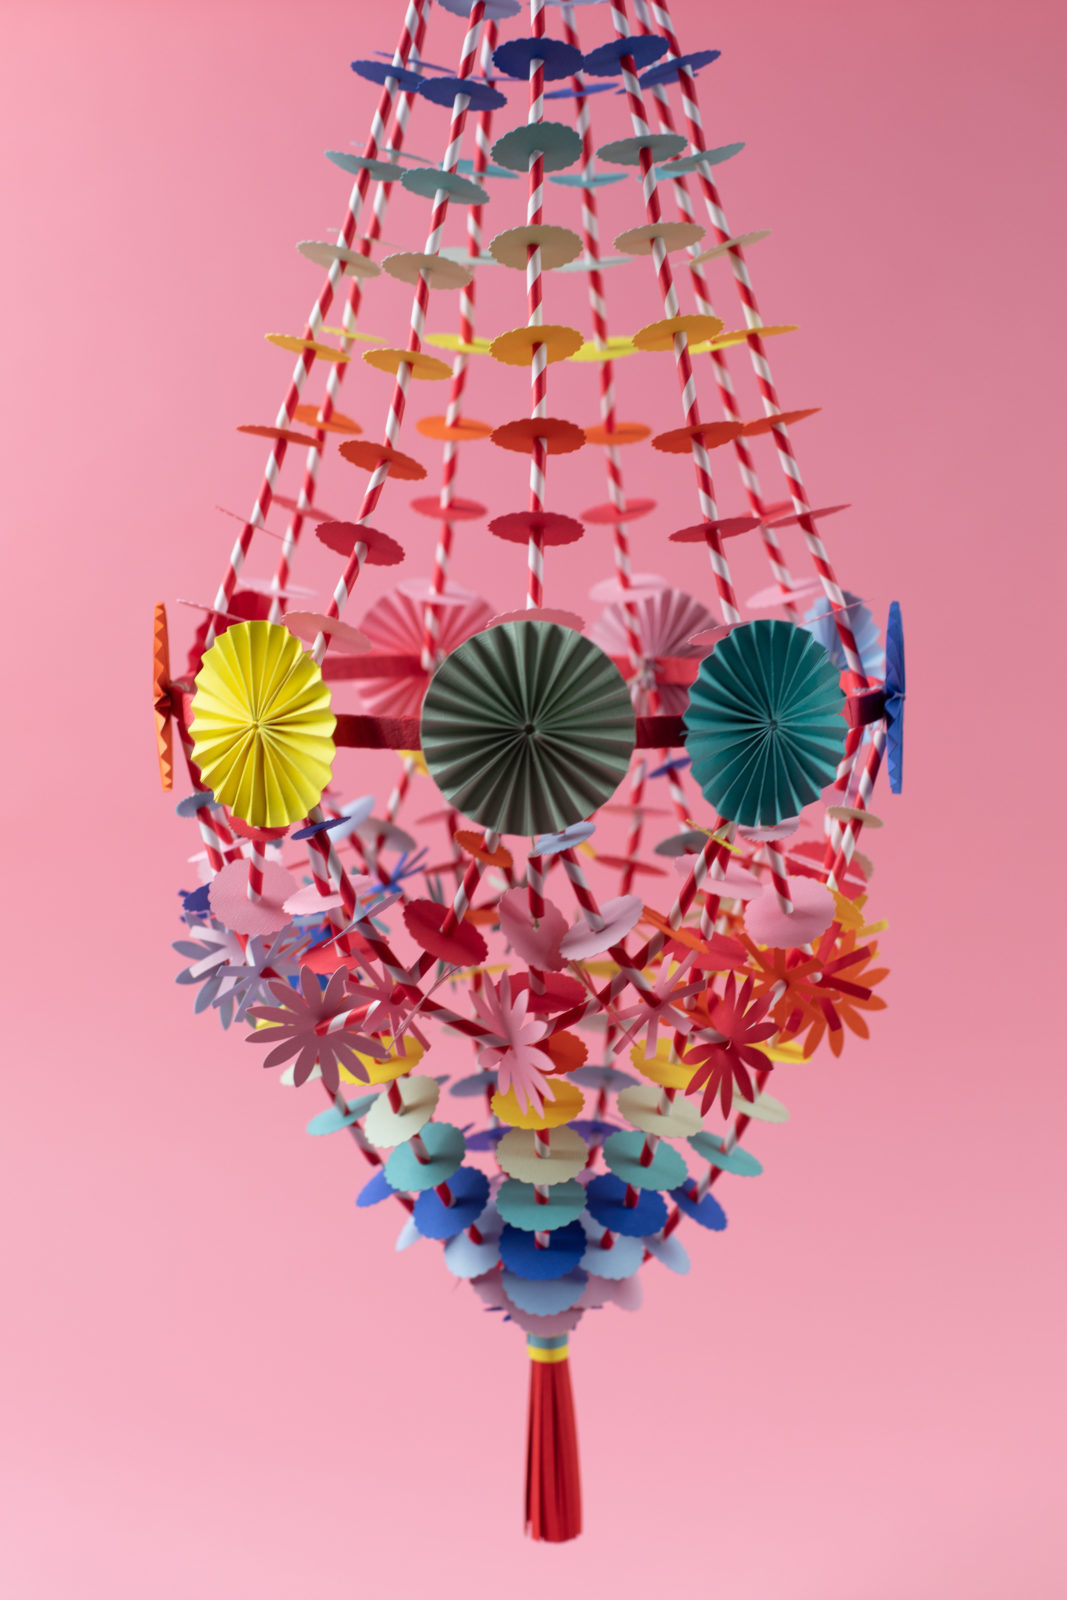
5. For the lower portion of the chandelier, there are two parts. We’re going to start with the outer portion, only using one of the two strings at each point on the hoop.
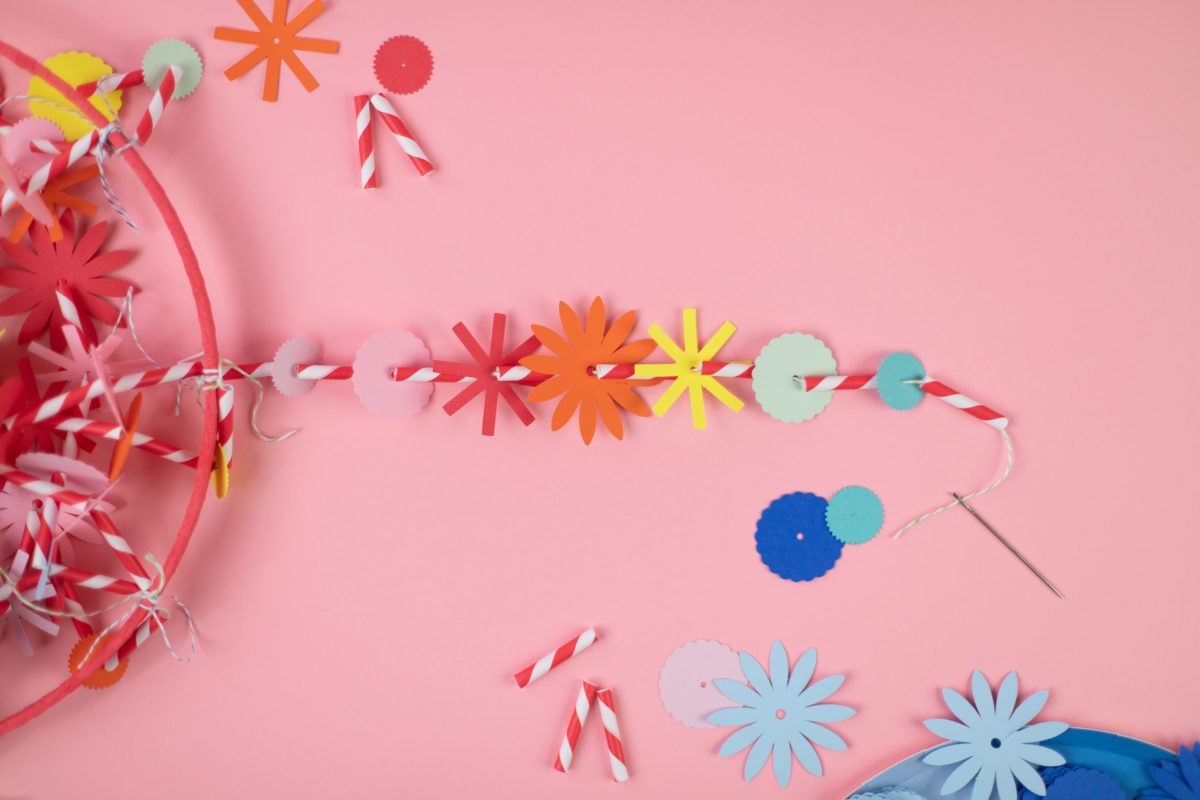
6. Using your needle, thread each string around the hoop with the following pattern: straw > small circle > straw > larger circle > straw > star > straw > flower > straw >star > straw > larger circle > straw > small circle > straw. Do this in a rainbow pattern.
7. Once you’ve threaded the string completely, tie the end of the string back to the hoop, skipping over the string directly to the right of where you started and tying to the next string to create a little swag.
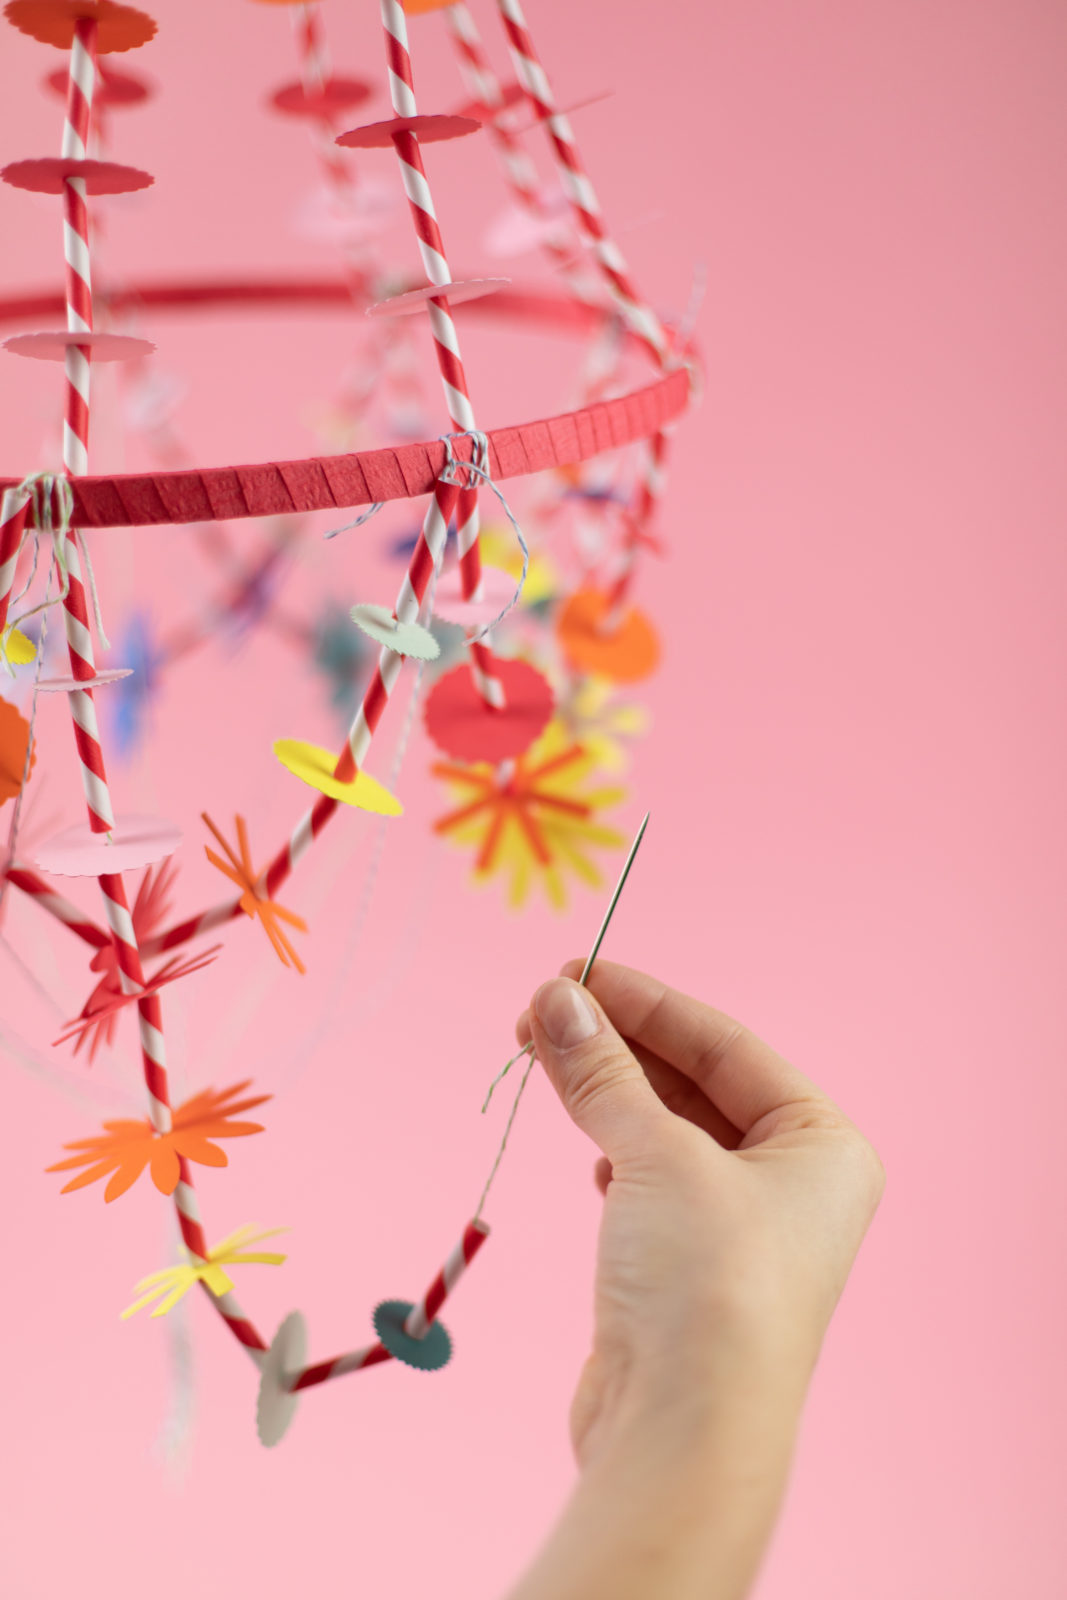
8. Repeat this pattern all around the hoop, overlapping each swag as you go. With each thread, begin your rainbow with the second color in your previous thread. This will allow each flower to be a different color of the rainbow.
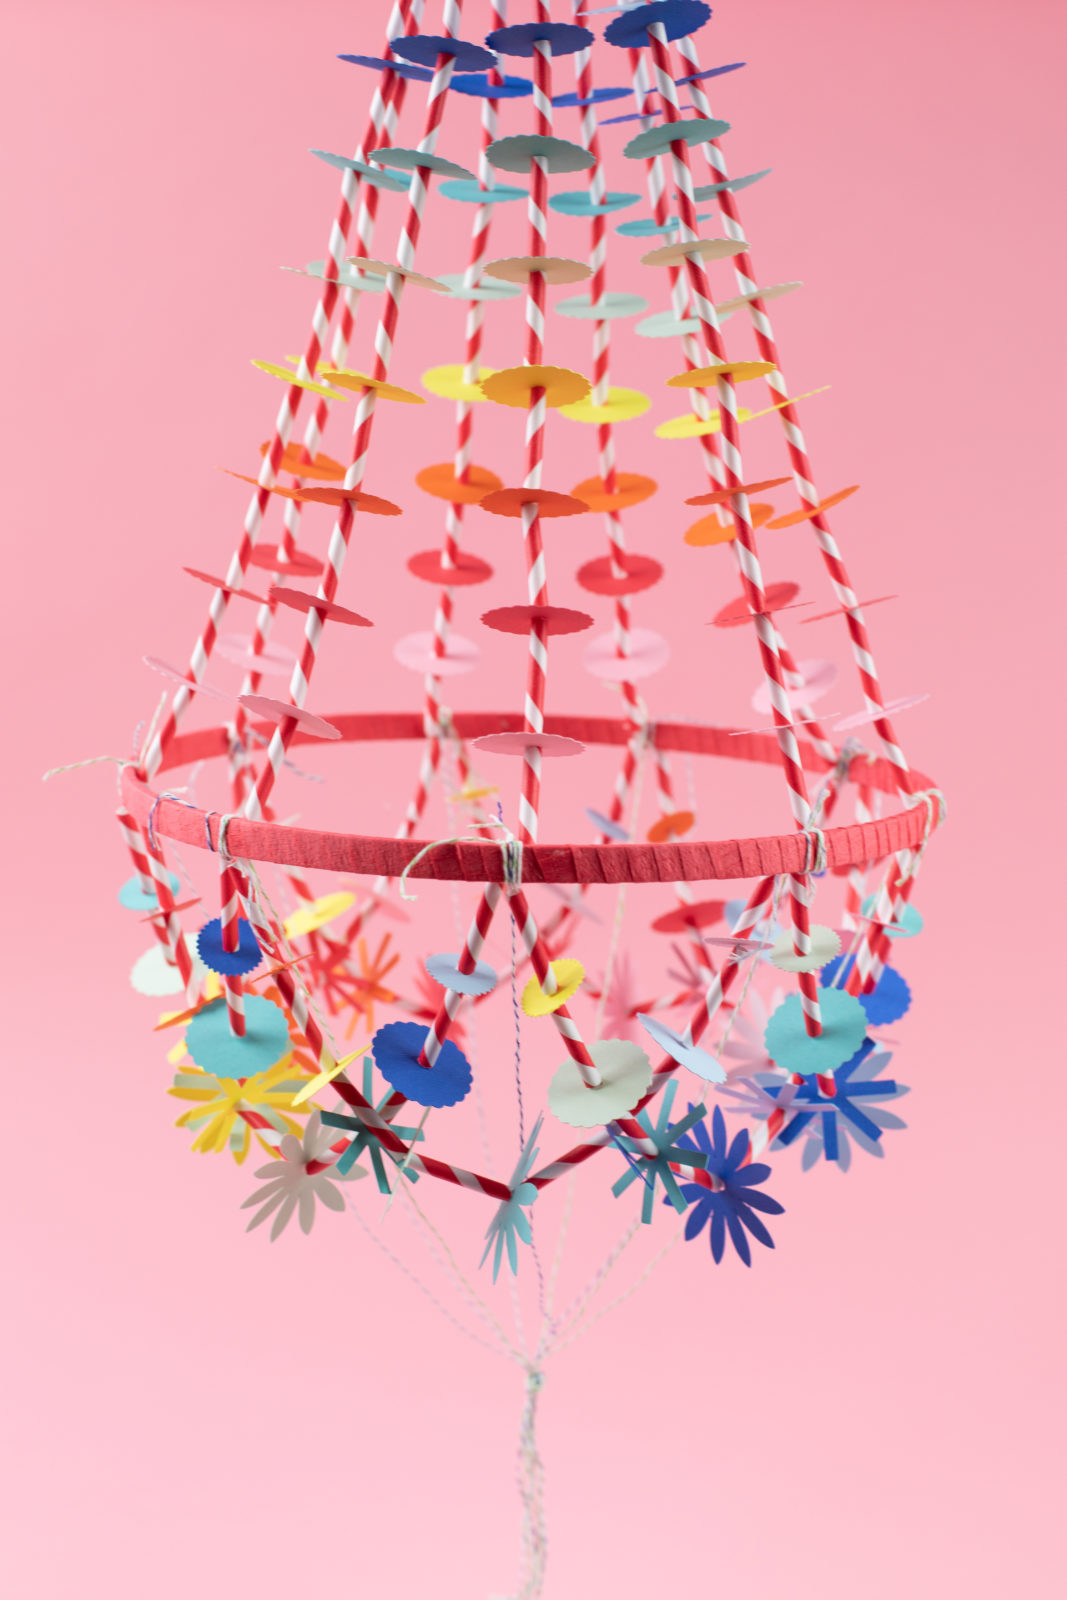

9. Now you just have the last section of the chandelier left: The lower inner portion. This portion is almost identical to the first portion, but with the 1-inch straws.
10. Thread each string alternating the larger scallop circles with the 1-inch straws, beginning with pink and ending with purple. Repeat for all remaining strings. Gather the ends together and tie the strings together in a knot.
11. Glue the medallions around the outer edge of the hoop, covering the string knots. Trim the tails of the knots of the strings if visible.

12. The finishing touch is a paper tassel! Cut a 4-by-12-inch piece of paper and fringe the long edge of it by cutting 1/8-inch slits into the paper, being careful to not cut all the way through.
13. Place the tail of strings on one end of the paper piece. Glue in place. Then roll up the tassel tightly, so the string remains in the center of the tassel. Once you’ve rolled it all the way up, glue it in place so it doesn’t unroll. Add some detail by wrapping the top of the tassel with paper strips and gluing.
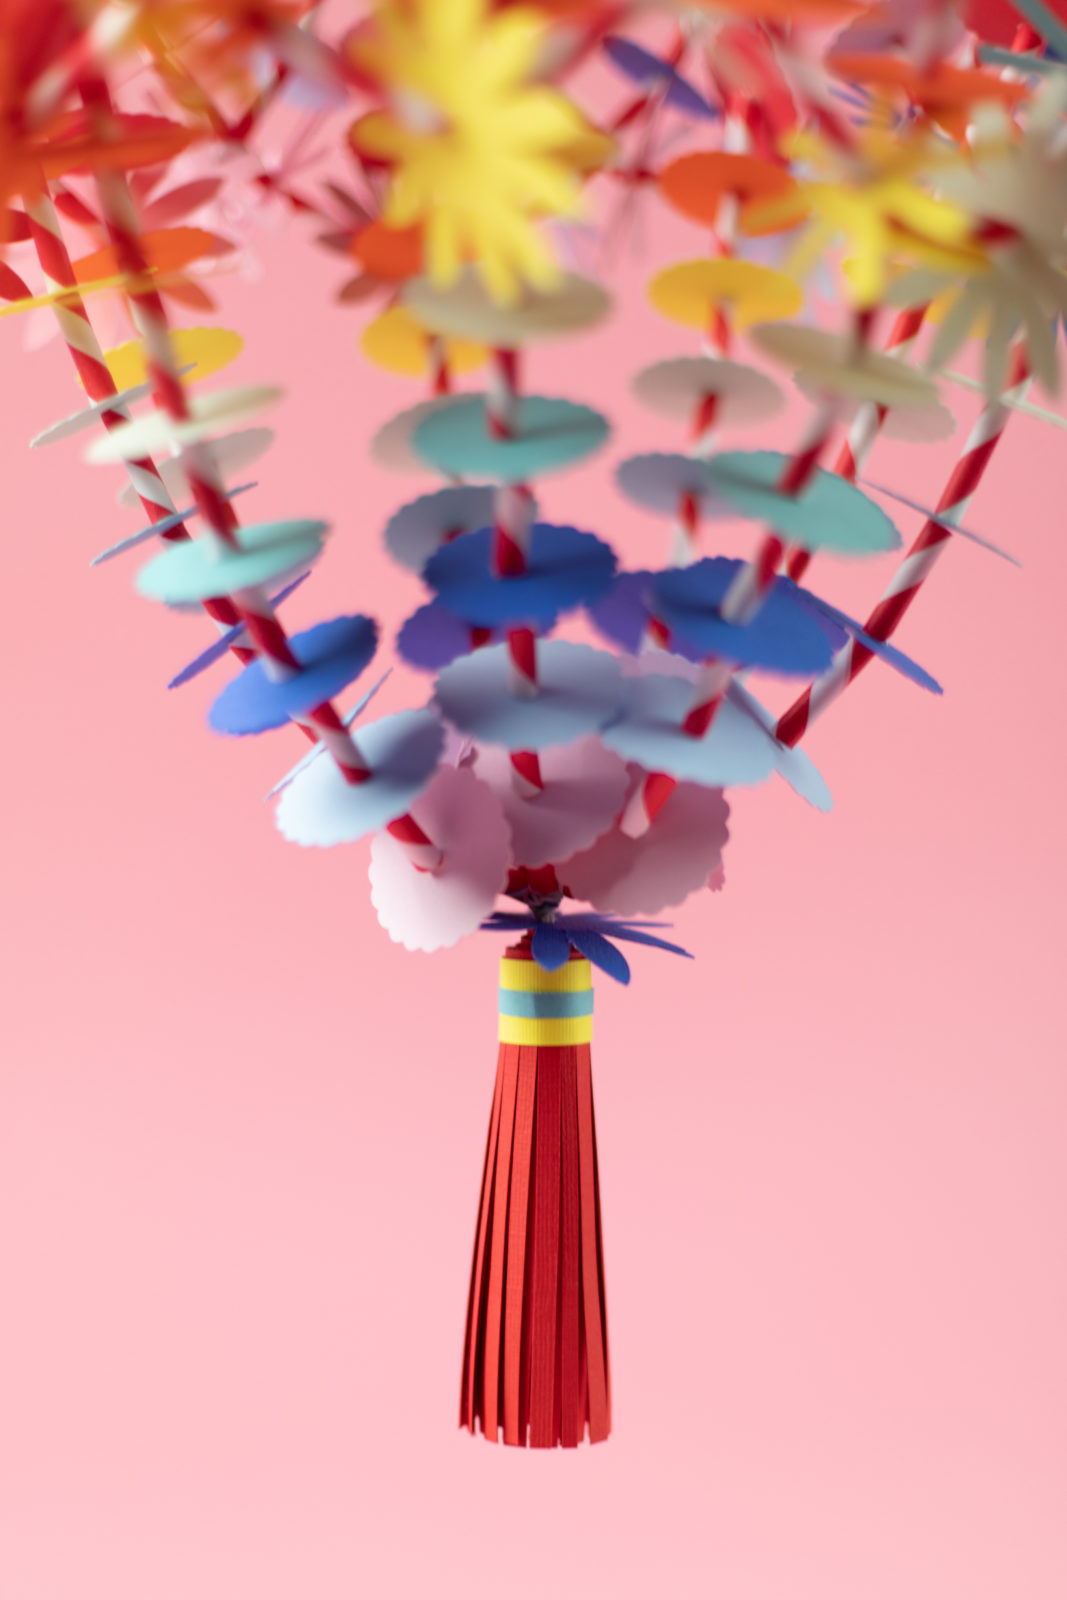
And now your paper chandelier is done! Hang it where everyone will have a chance to admire your handiwork.
Christine Lustig
March 20, 2019
This is SO beautiful!! I can only imagine all the hard work going into this masterpiece!