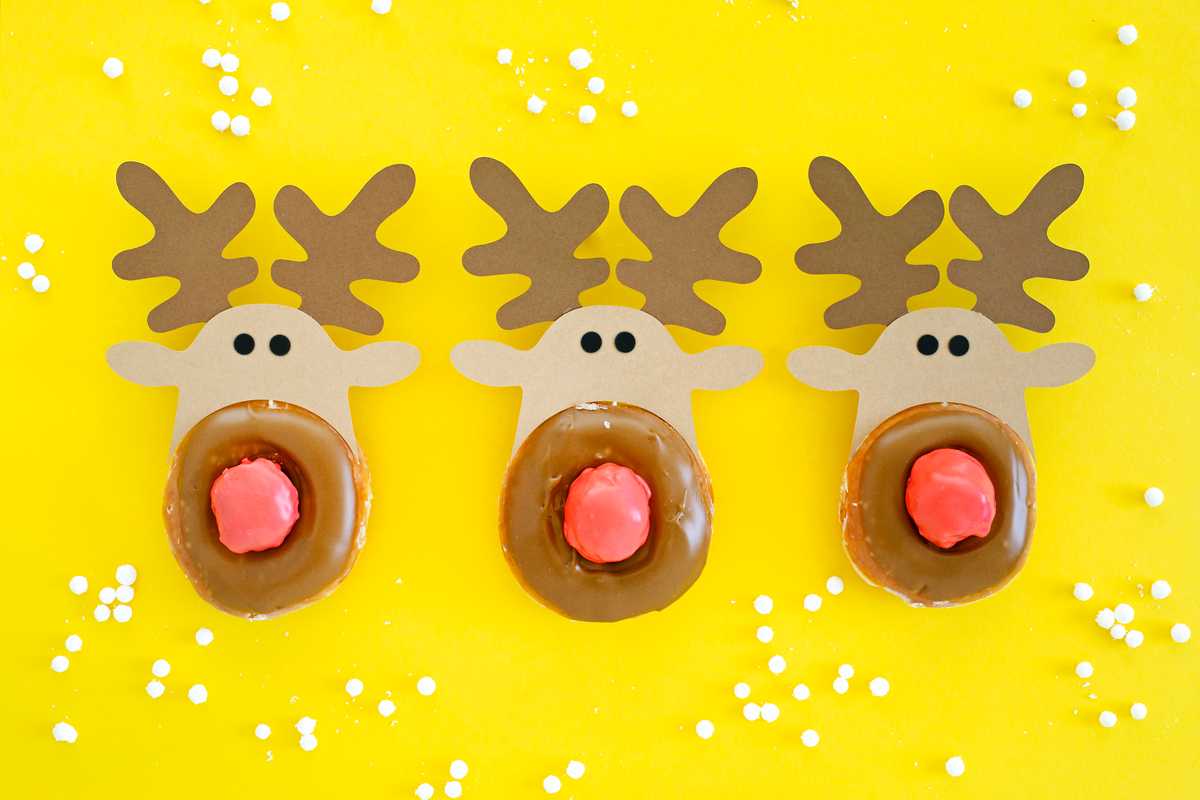
I absolutely love turning donuts into fun characters. I’ve made flamingos, sharks, pineapples, clowns, but I’ve never made a donut dressed up as a Christmas character! Well, today is the day. I’m super excited to share with ya’ll the holly jolly details on this cute Christmas reindeer donut. This would be such a cute addition to any holiday party, and I know the kids (and probably the adults as well) will just love these adorable dudes.
Supplies Needed:
- Silhouette CAMEO®, Silhouette Portrait®, or Silhouette Curio™
- Silhouette Studio®
- Silhouette Cutting Blade
- Silhouette Cutting Mat
- Toothpicks
- Maple or chocolate donuts
- Donut holes
- Red glaze
- Brown cardstock
- Black cardstock
- Glue gun
- Design ID #104632
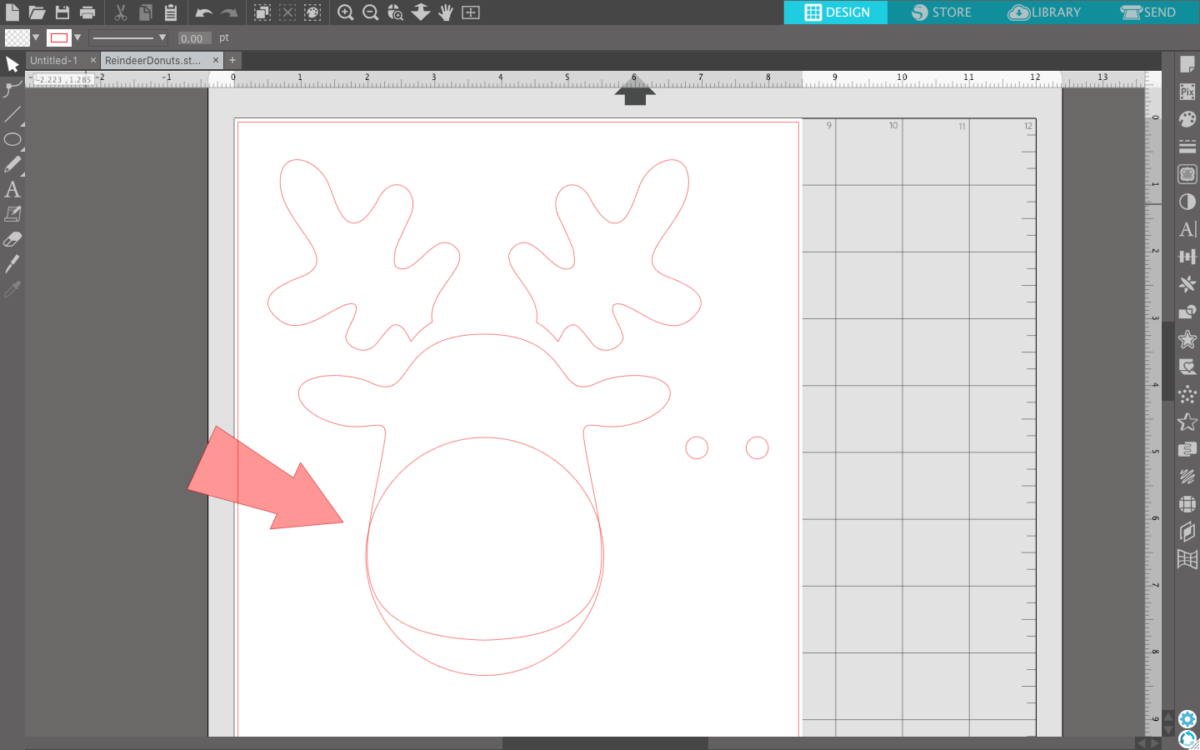
Step One: Insert Design
1. In Silhouette Studio®, create a 3.5-inch circle, which is about the size of an average donut.
2. Open Design ID #104632, and size it down to fit (just barely) inside the circle, where you would like the reindeer’s nose to go.
Step Two: Use the Modify Panel
1. If you haven’t played with the Modify panel, you should try it! It’s one of my most used tools in Silhouette Studio®.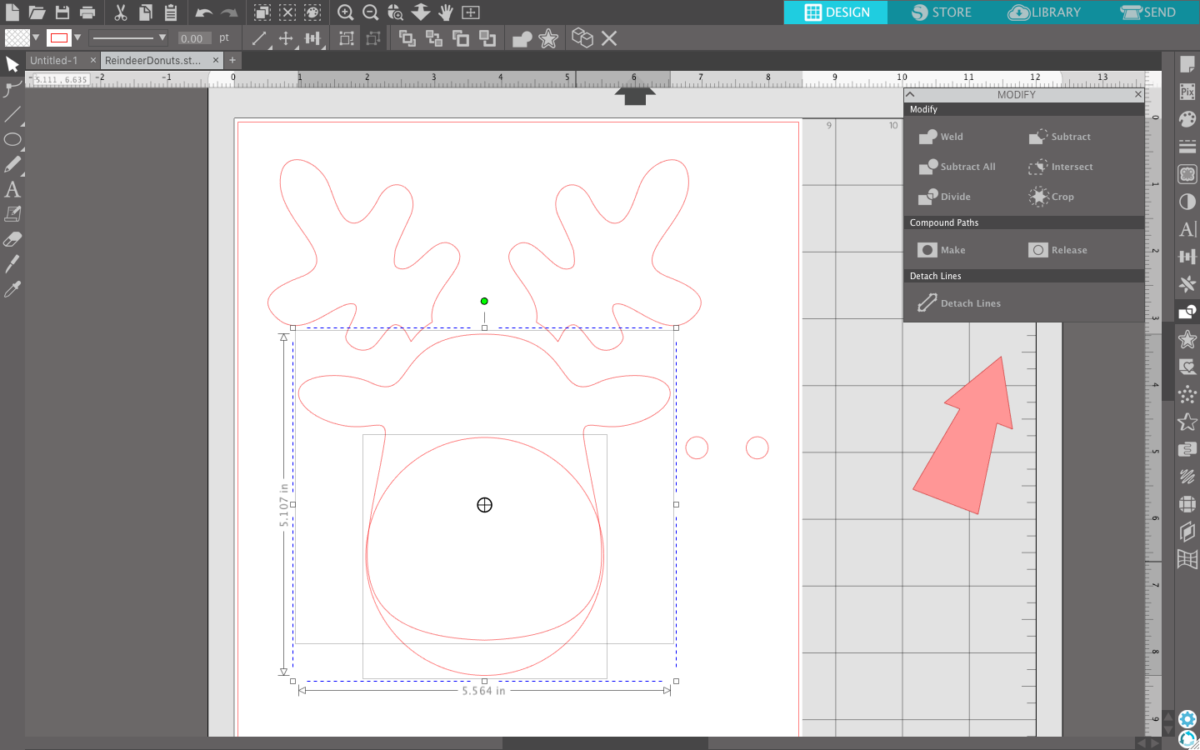 2. Once you have the reindeer’s face inside the circle, select both the circle AND the reindeer’s face and click Subtract. This will subtract the circle and give you the perfect outline for your donut.
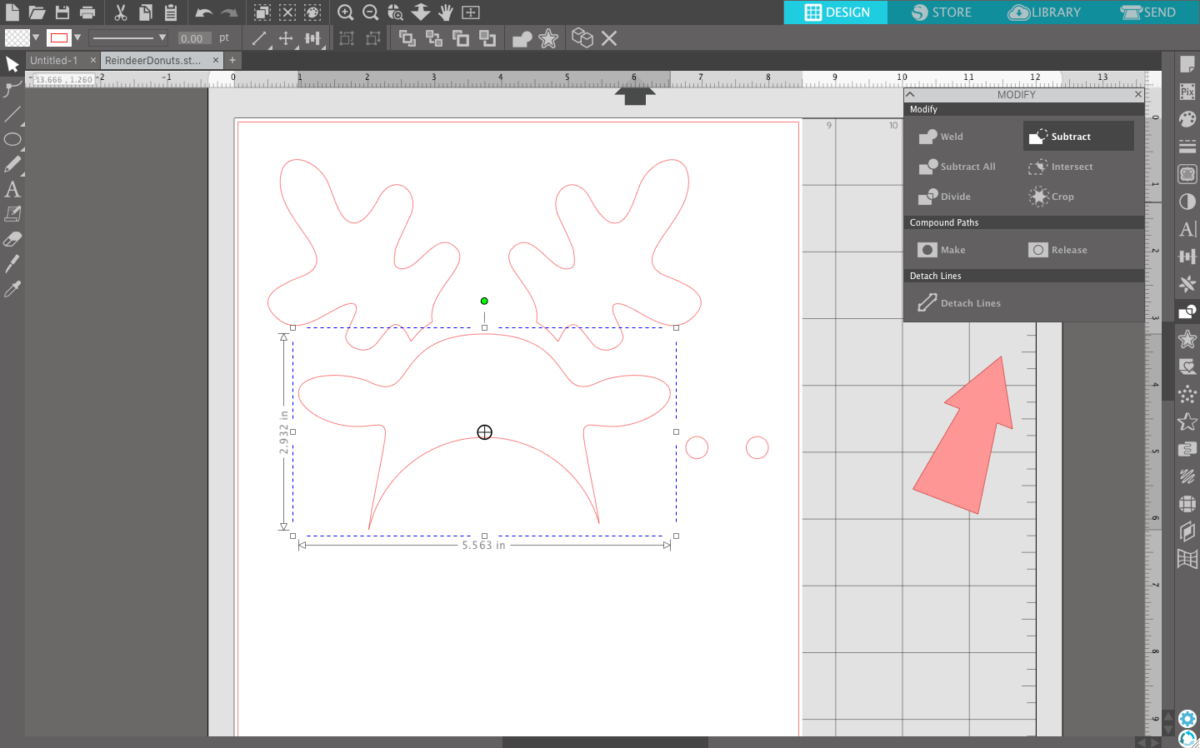
Step Three: Put Together the Donuts
1. Cover the donut holes with a light red glaze by simply mixing milk, powdered sugar, and red food coloring until you get the consistency you want. Then pour the glaze over the top of the donut holes.
2. Let the freshly glazed donut holes sit until the glaze hardens a bit.
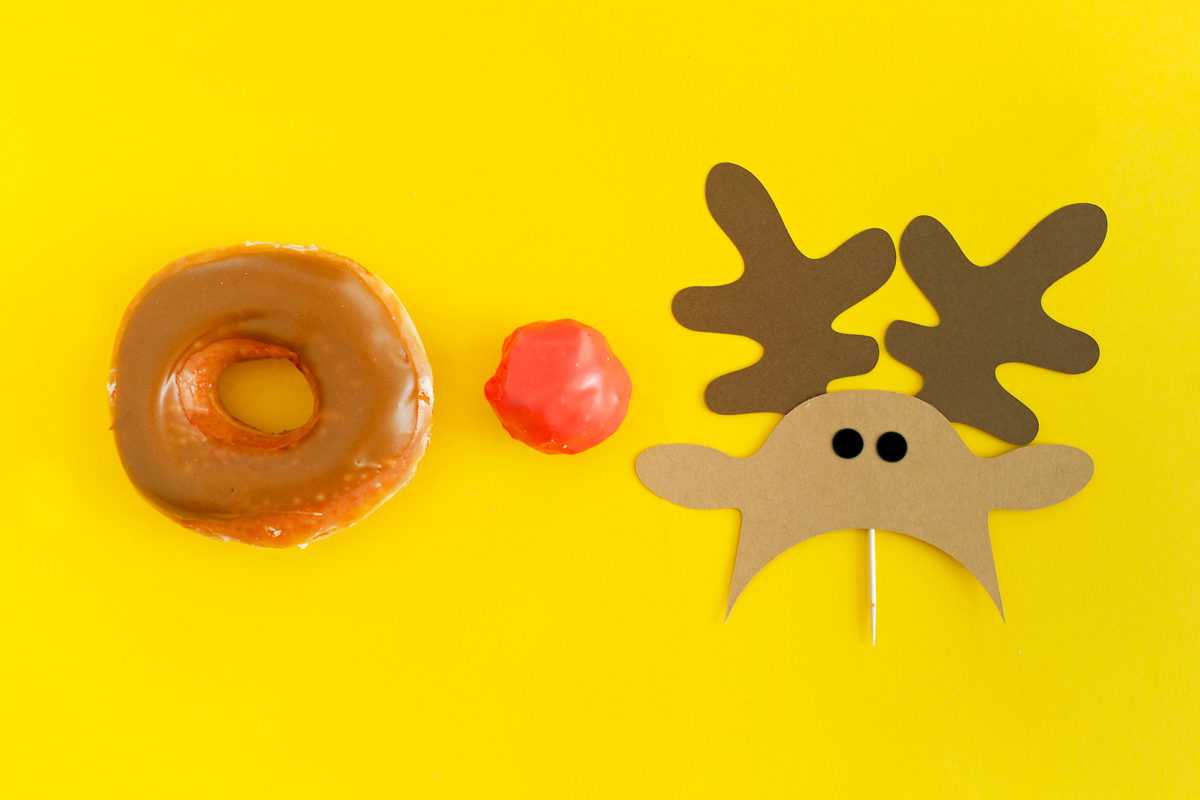
Step Four: Assemble the Reindeer
1. While the glaze is hardeing, assemble the reindeer.
2. Start by attaching the antlers/eyes to the reindeer’s face, with a small dab of hot glue.
3. Place the donut hole in the center of the donut, and stick the reindeer’s face through the top of the donut.
4. Voila! Now repeat steps 1–4 and create whole herd of cute reindeer donuts placed one-by-one on a festive platter.

Donut you think (I had to have at least ONE donut pun, right?) your guests will love these? I sure do!