Mint Studio™ has a selection of shapes and frames you can use while designing your custom stamps. These are found among the other drawing tools along the left.
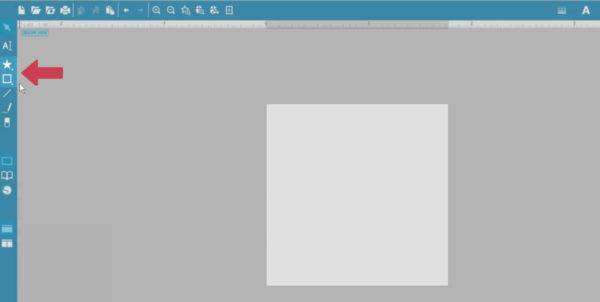
This tutorial will show how to draw and adjust these shapes and frames in Mint Studio™. Let’s start with all the shapes.
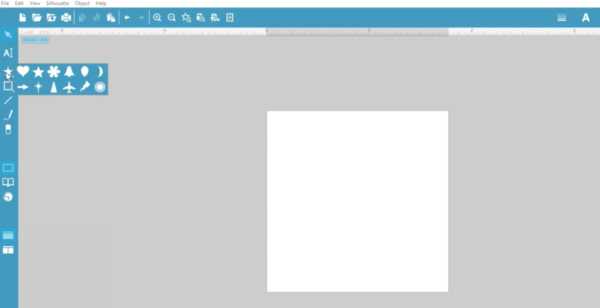
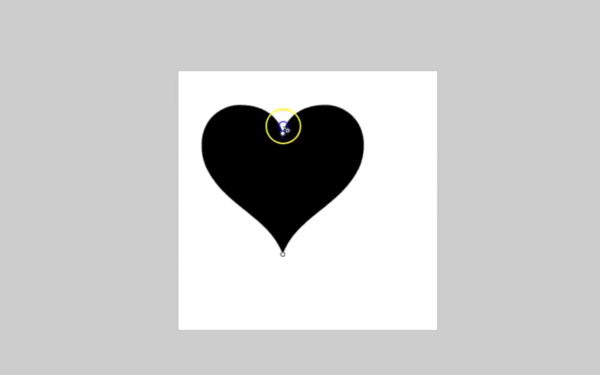
Select the heart, and then click and drag it to make it the size you want. The bottom tip snaps to 90- and 45-degree angles as you drag it.
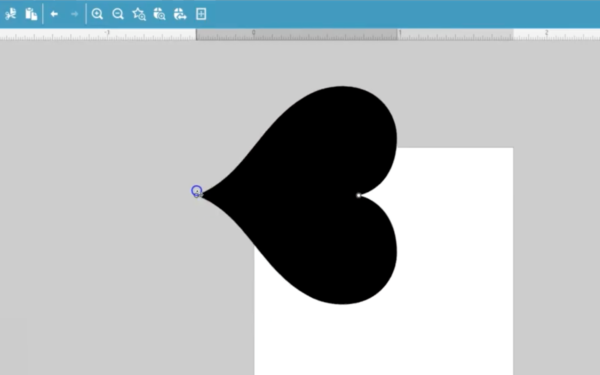
The white adjustment nodes allow you to continue resizing and rotating it after it has initially been drawn.
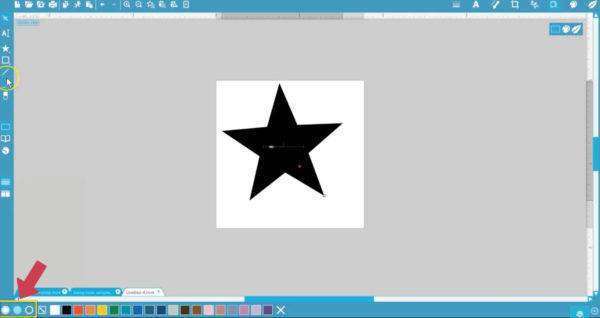
Click and drag a star shape next. It does not snap to any invisible angles. The white adjustment node allows you to continue to resize and rotate it after it’s drawn.
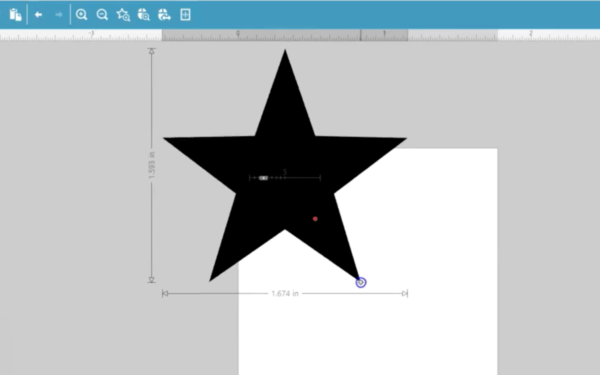
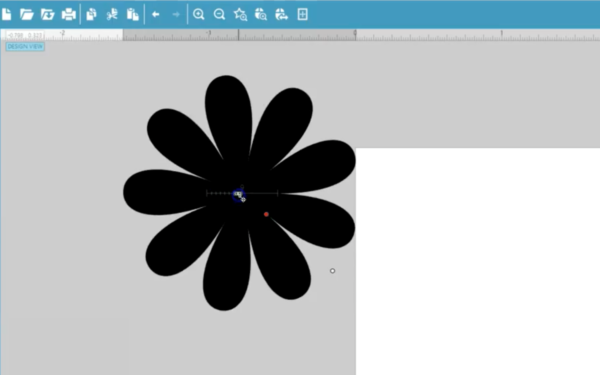
The slider in the middle lets you choose the number of points.
The red adjustment node changes the depth of the arms in the star shape.
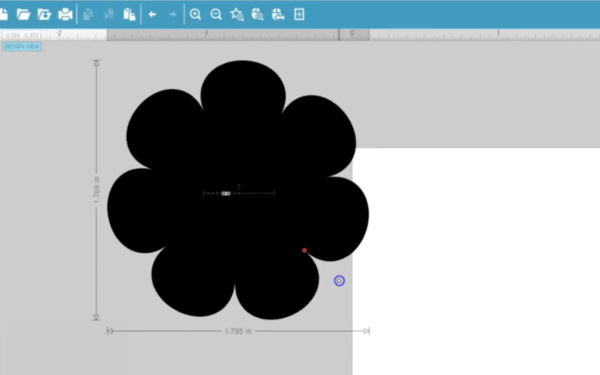
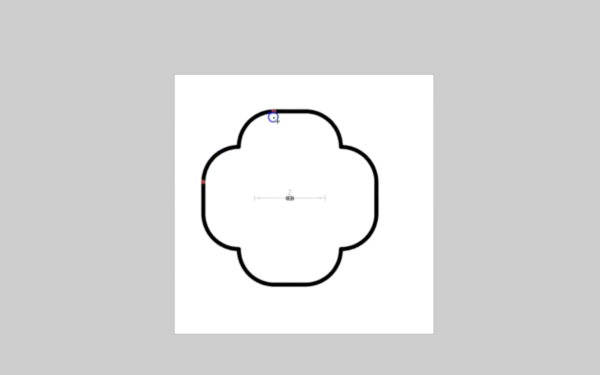
The flower is similar to the star, but it has rounded petals instead of pointed tips. The adjustment nodes behave the same as with the star.
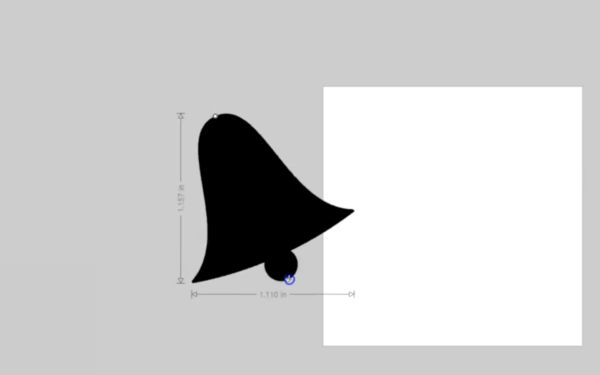
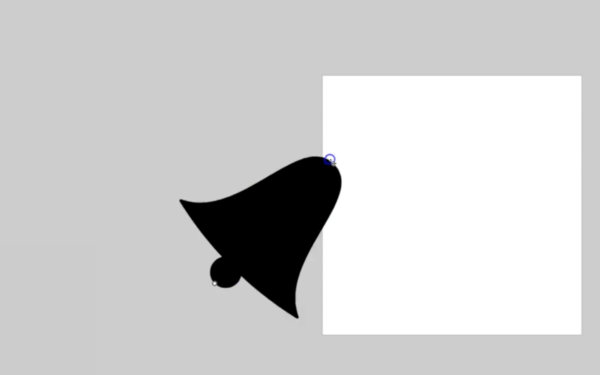
The bell behaves the same as the heart, where the white nodes are for resizing, and it snaps to 90- and 45-degree angles.
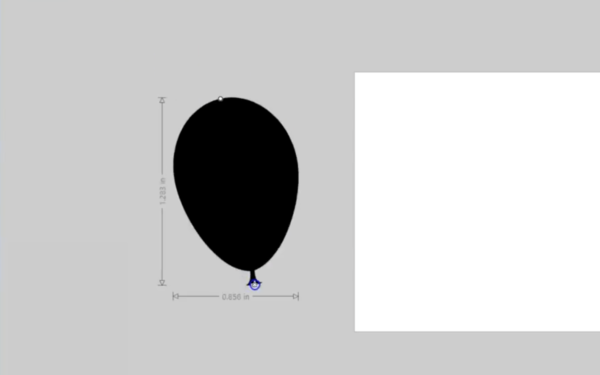
The balloon behaves about the same as the heart and bell.
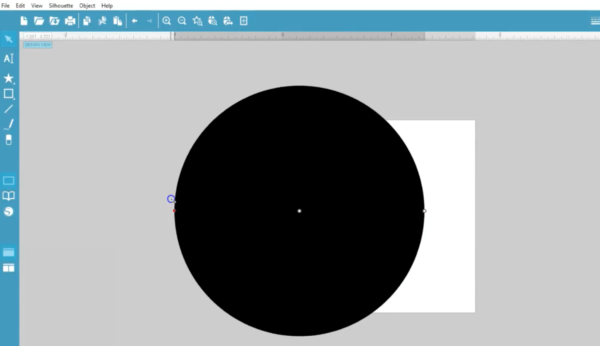
The moon snaps to those common angles with the white adjustment nodes.
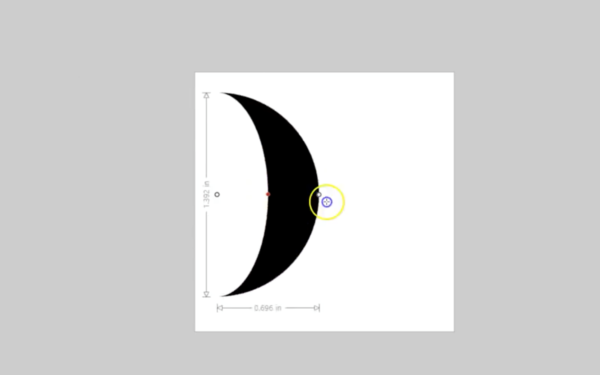
Dragging the red node gives you the phases of the moon, all the way from a solid circle down to a tiny sliver.
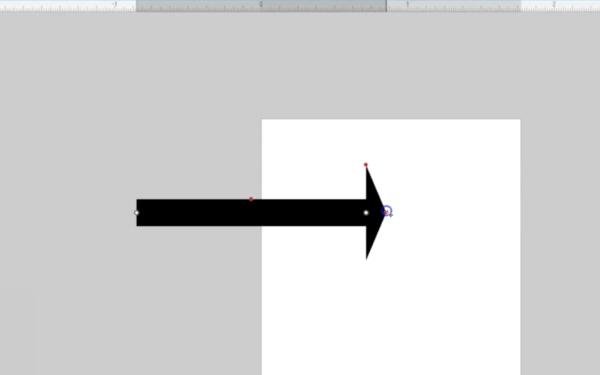
The arrow shape is quite versatile. The white nodes adjust the length of the tail and snaps the full shape to common angles.

Then you have three red nodes to fine-tune the width of the tail,
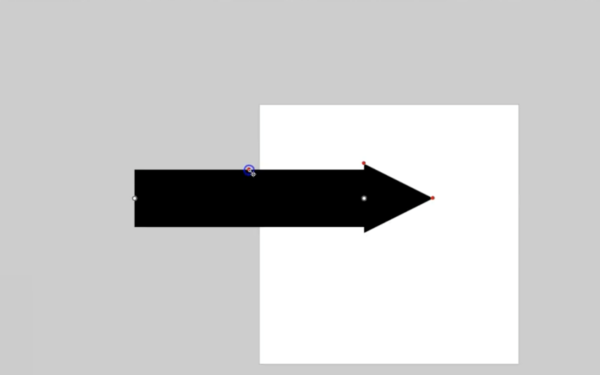
the size of the arrow head,
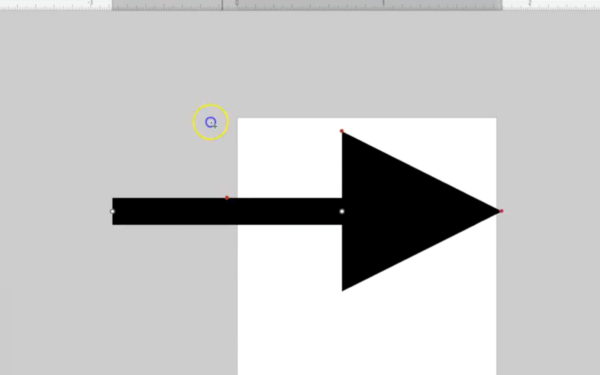
and the length of the arrow head.
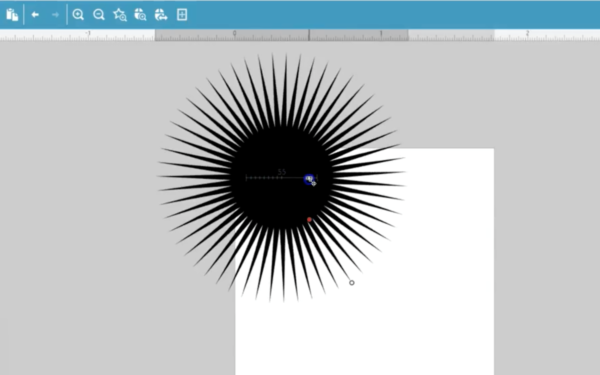
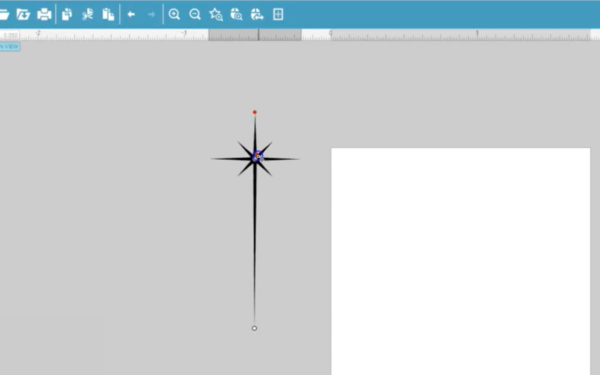
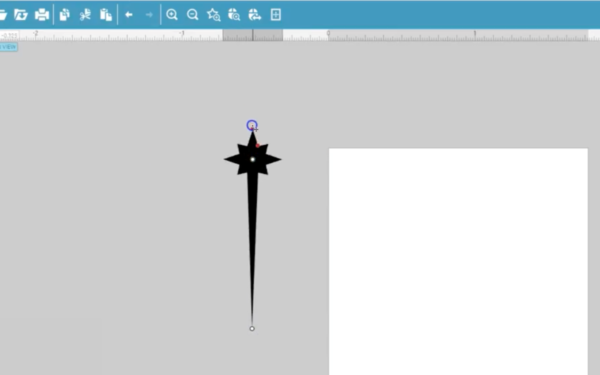
The starburst here has an adjustable tail with the white node, and two red nodes to adjust the length and thickness of the other points.
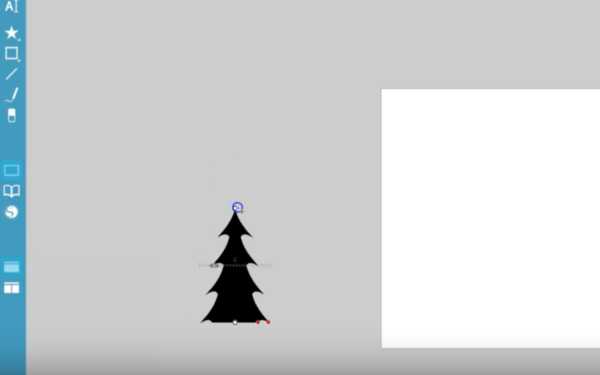
This evergreen tree has a slider to choose how many levels of branches,

an inner red node to adjust the width of the tree,
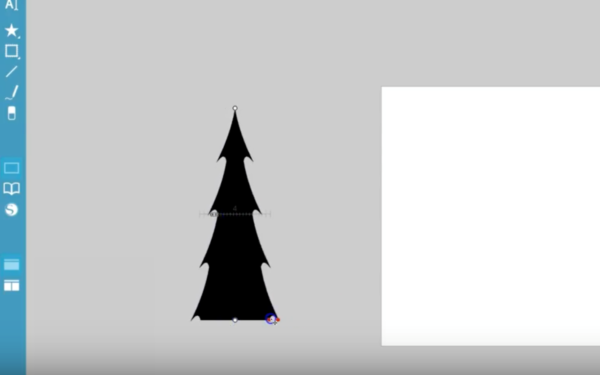
and a second red node to adjust the length of the branch tips.
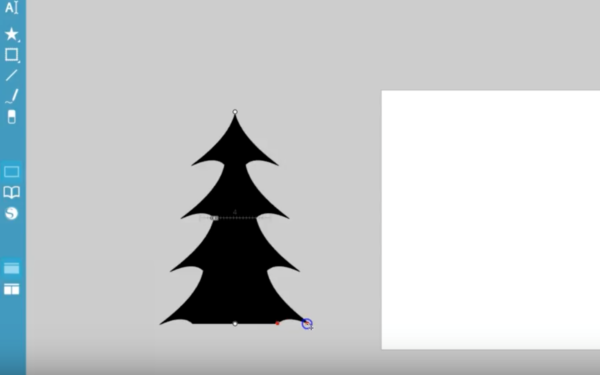
The white nodes are for resizing.
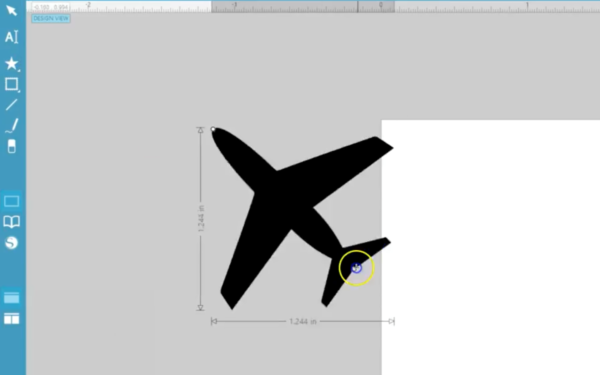
This airplane is like the heart and bell, where the white nodes are for resizing.
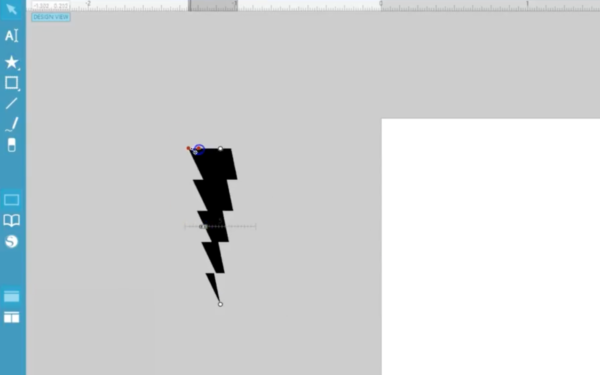
The lightning bolt has several adjustment options similar to the tree.
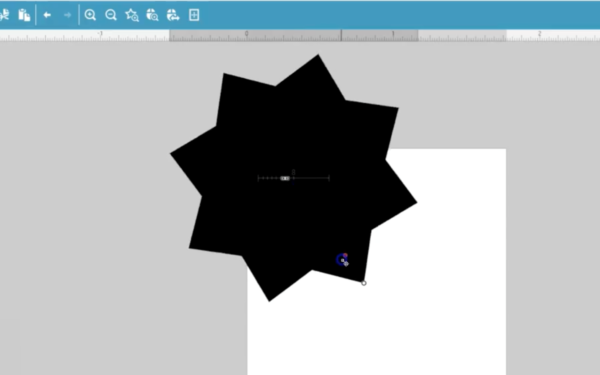
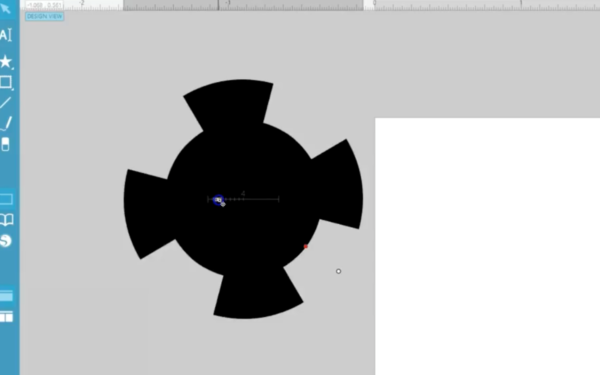
This last shape you can see has nodes and sliders comparable to the star and flower for adjusting the number and depth of the arms.
Let’s move on to the frames. Here you’ll find basic shapes like rectangles, rounded rectangles, and circles.
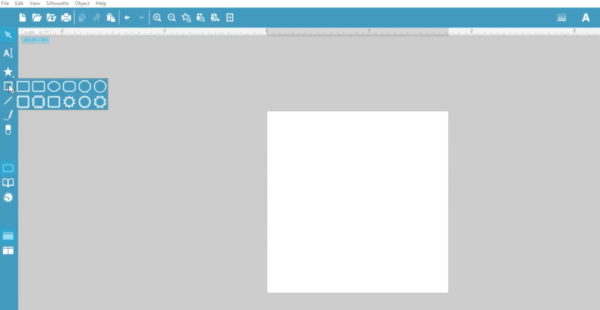
Hold your Shift key while drawing to get perfect squares and circles.

Hold your Alt key while dragging to make your cursor the center of your object and expand outward from there.
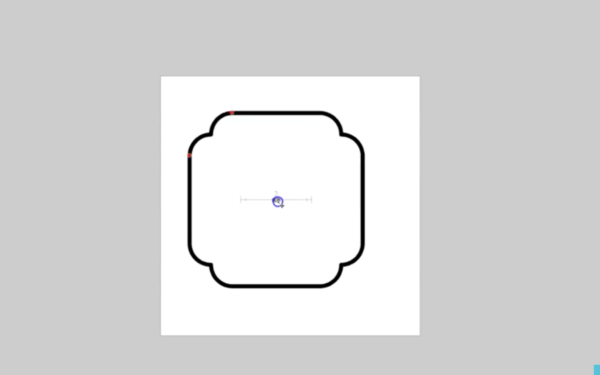
There are a lot of other fun frames. When you see two red adjustment nodes, they can be adjusted individually, or hold your Shift key to adjust both corners equally.
Watch for sliders in the center to add or remove extra detail at the corners.
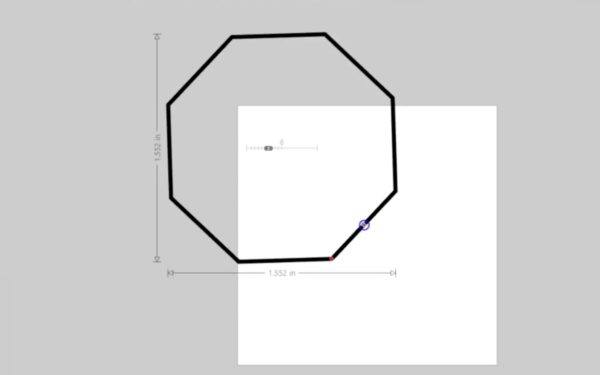
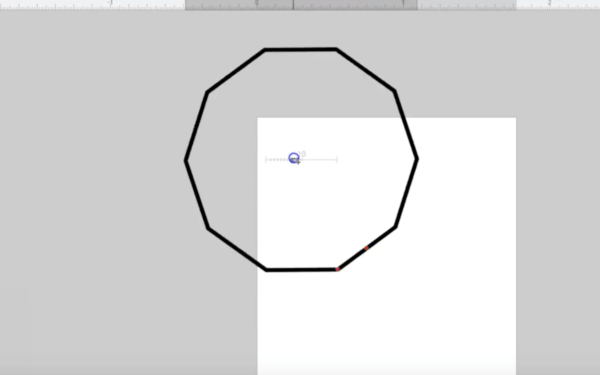
This polygon tool behaves the same as in Silhouette Studio®, where you can select the number of sides, and then use the red nodes while holding the Shift key to snap either the edge or the corner to common angles.
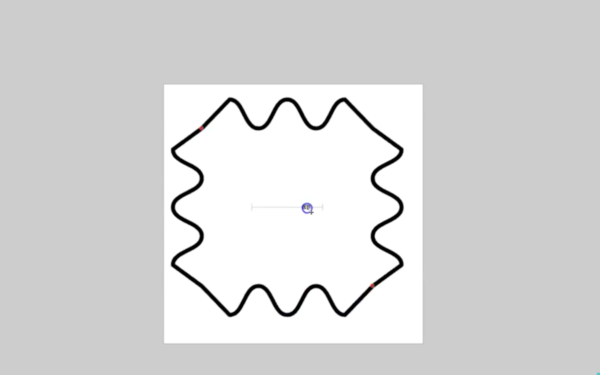
Here’s a rounded zig zag frame. The red nodes simply resize the frame,
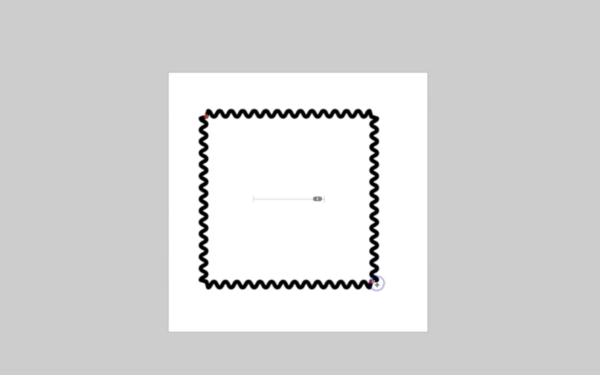 while the slider adjusts the number of points between corners.
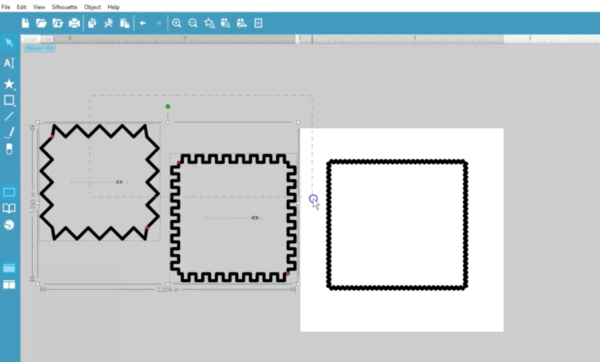
This chunky frame is similar. And again with this pointed zig zag frame.
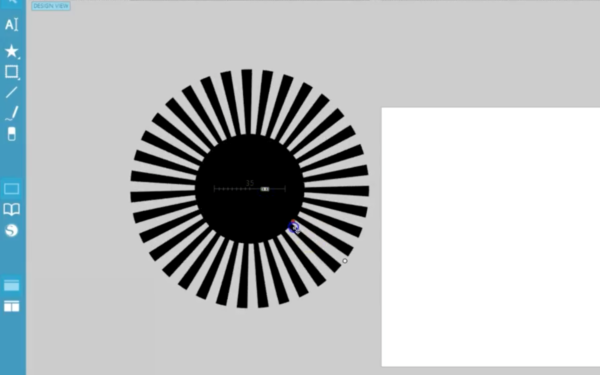
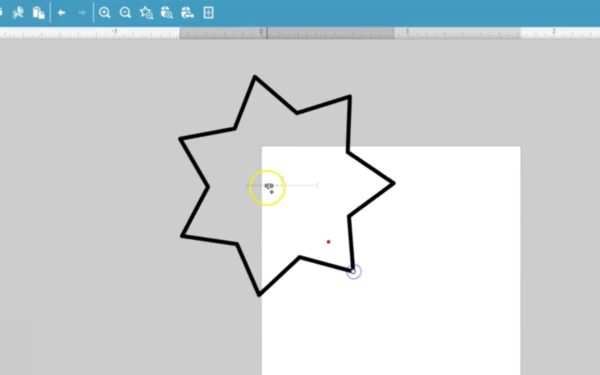
The star, flower, and sunburst are the same as their solid versions among shapes, as far as adjusting them, but these are outline frames.
Frames and shapes can be converted to filled or unfilled by using the outline or fill selections here at the bottom.
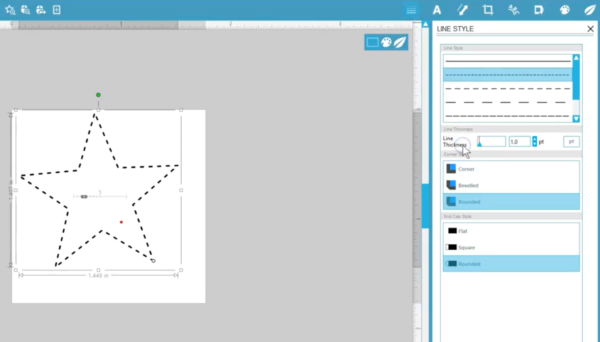
Any shape or frame in outline form can be adjusted with the Line Style panel options, like dashed patterns and line thickness.
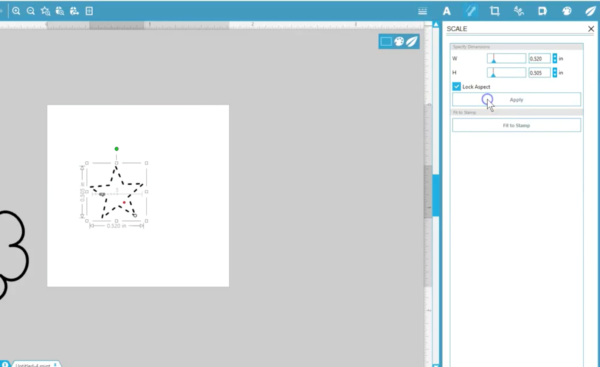
All shapes and frames can be resized with the normal corner handles and Scale options.
That’s it for shapes and frames in Mint Studio™!