My Silhouette machine is my sidekick when it comes to cardmaking, with the cut feature as my secret weapon. It’s the best way to get precision cuts, especially for intricate designs. This time, I’m taking my cardmaking game to the next level by using Silhouette’s Sketch Pens. This tutorial shows you how to take a sketch design file and use it in a couple of ways, from creating a seamless pattern to turning the sketch file into a die-cut embellishment. The hardest part is figuring out which Sketch Pen colors to use! Follow the steps below to make your own Sketch Pen card masterpiece!
Supplies Needed:
- Silhouette CAMEO® or Silhouette Portrait®
- Silhouette Cutting Mat
- Silhouette Cutting Blade
- Silhouette Studio®
- Silhouette Sketch Pens in colors of your choice
- Cardstock in white and other colors of your choice
- Silhouette Vellum
- Scissors or paper slicer
- Scrapbooking adhesive
- Foam dimensional adhesive
- Silhouette Rhinestones
- Craft glue with pointed tip
- Design ID#155566
- Design ID#67203
- Design ID#235171
Step One: Create the Card Base
- Use scissors or a paper slicer to cut a piece of white cardstock into a 5.25 inch-by-10.5-inch rectangle and fold in half so that it becomes a 5.25-inch-by-5.25-inch folded card.
- Optional step: Cut a 5 inch by 5 inch square from two different colored cardstock and trim each to make two right triangles. Then, put together one right triangle of each color to make a square and center it on top of the main card. Secure to main card by using scrapbooking adhesive.
Step Two: Manipulate the Sketch Designs into a Sketch Pattern
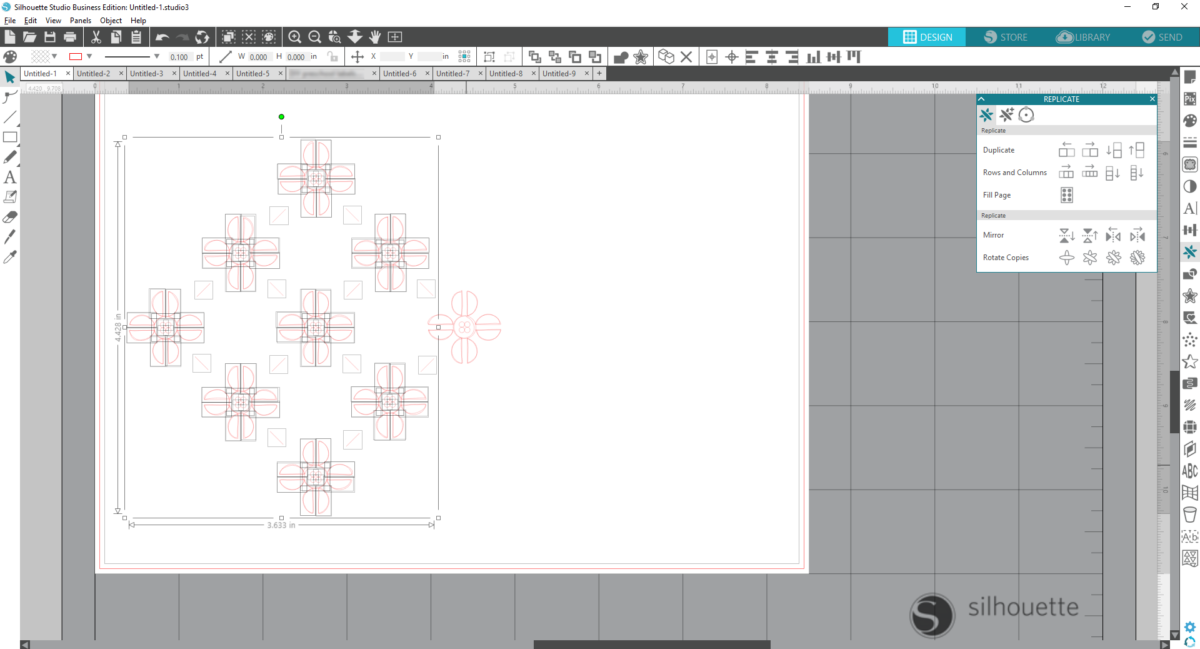
- Open Design ID#67203.
- Right-click on the design and select Ungroup until everything is completely ungrouped.
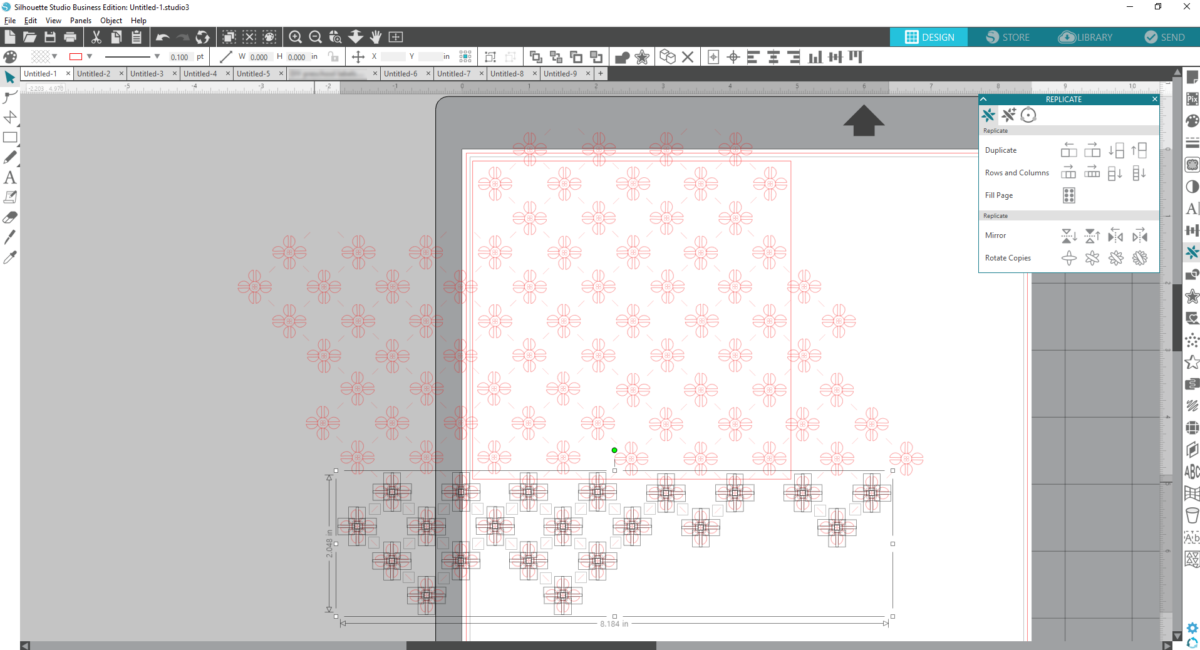
- Select everything except the far-right emblem, and Mirror the design to the right (you can do this in the Replicate Window).
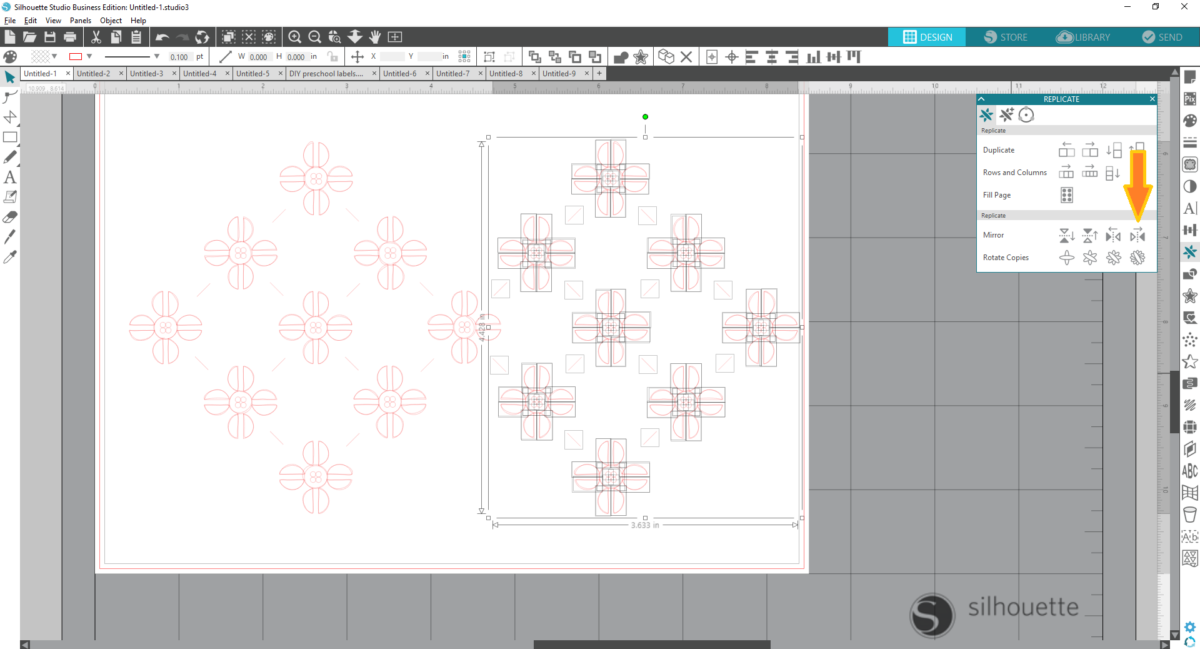
- Select everything again and group together by right-clicking and choose Group.
- Copy and paste the grouped objects, and then drag the copied objects below to start creating a pattern.
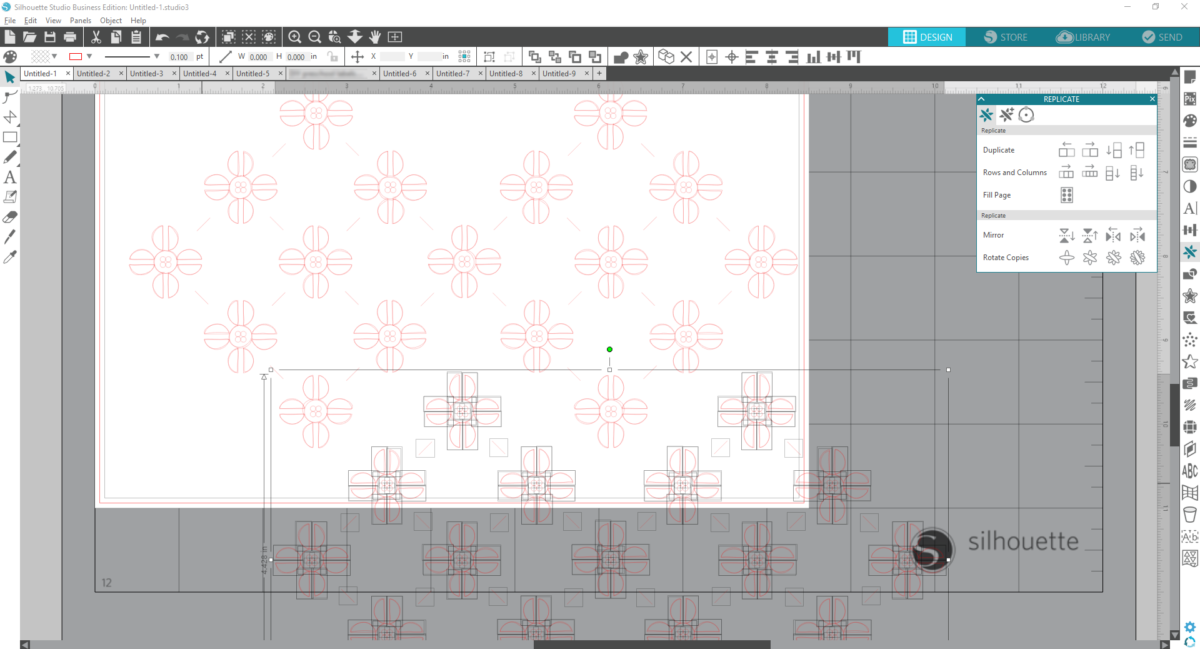
- Repeat Step 5 a couple times to create a patterned background. NOTE: Some pieces may need to be individually copied and pasted to complete the patterned background.
- Select all the designs and group all the objects to keep the objects organized.
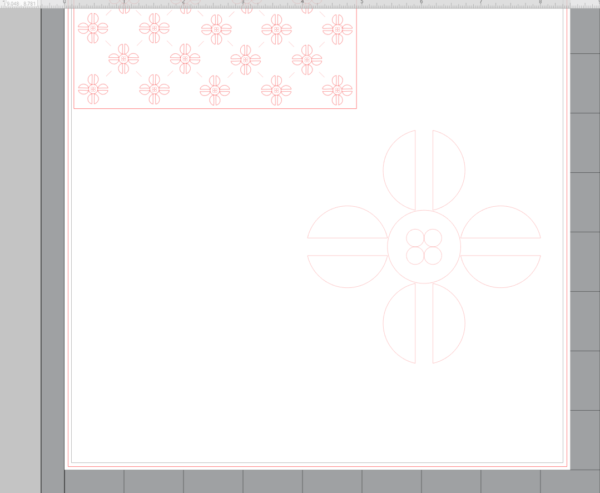
- Draw a 4.75-inch-by-4.75-inch square.
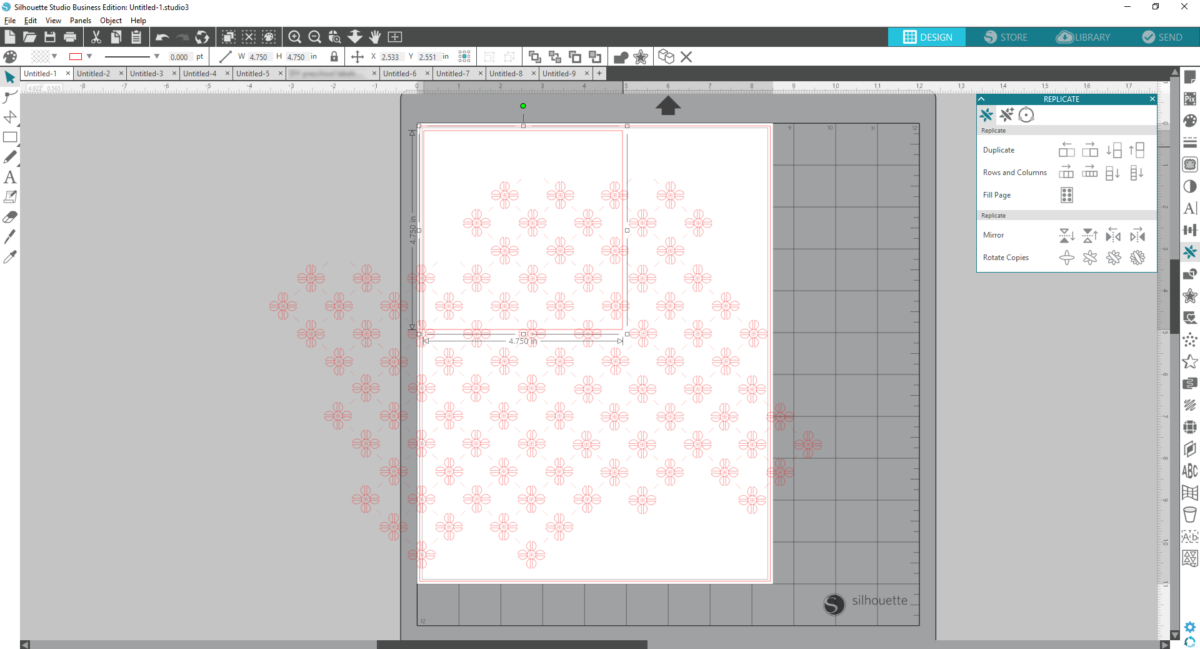
- Next, resize the grouped pattern so that five emblems fit across the top and down the side.
- Ungroup the patterned background and remove the excess objects.
- The card design is complete and ready for sketching!
- On the Send panel, under Action tab, set up your Silhouette machine to recognize the two actions we will use: sketch and cut. We will sketch the pattern and cut the 4.75-inch square.
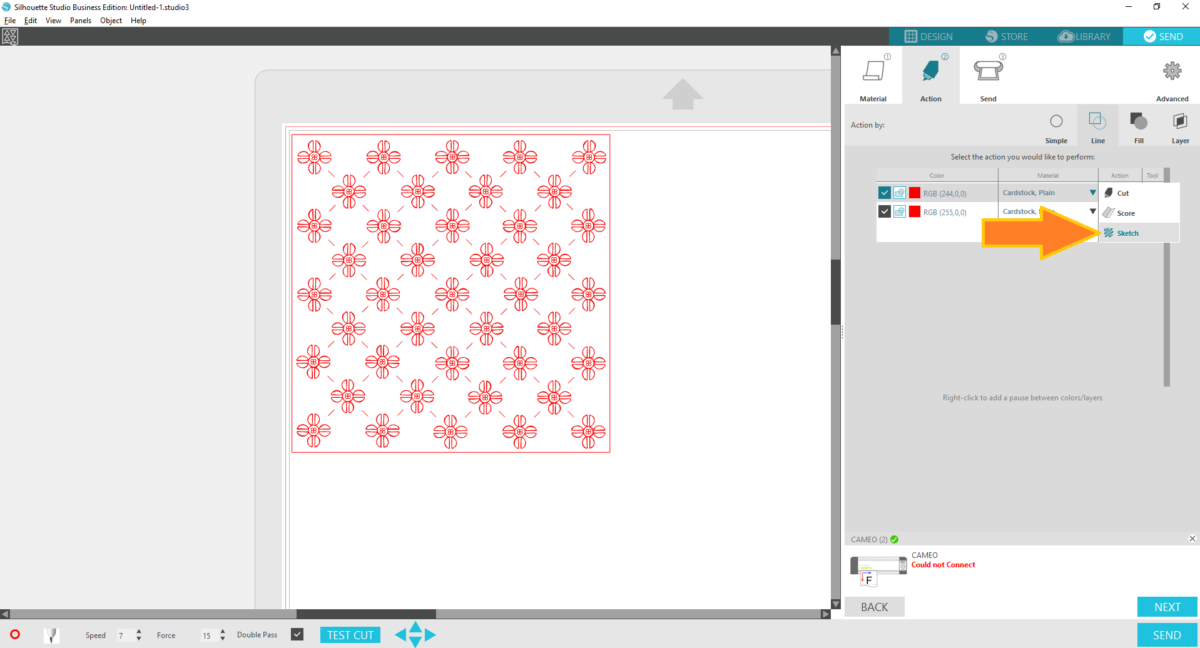
- Insert your desired sketch pen color, set your blade to correct blade depth, and send to Silhouette. Tip: Prior to sending to Silhouette, scribble ink on the colored paper you’ve selected to make sure ink is visible and to make sure ink flow is smooth. I also recommend selecting Double Pass on the Send panel to get adequate ink coverage when sketching.
- Use scrapbooking adhesive to layer this 4.75-inch square patterned piece on top of the card base from Step One.
Step Three: Manipulate sketch design into a cut design in Silhouette Studio ®
- Open Design ID#67203.
- Again, right-click and ungroup until everything is completely ungrouped.
- Delete all but one emblem and resize it so it’s larger and easier to see.
- Remove wiggly lined objects until a clean emblem remains.
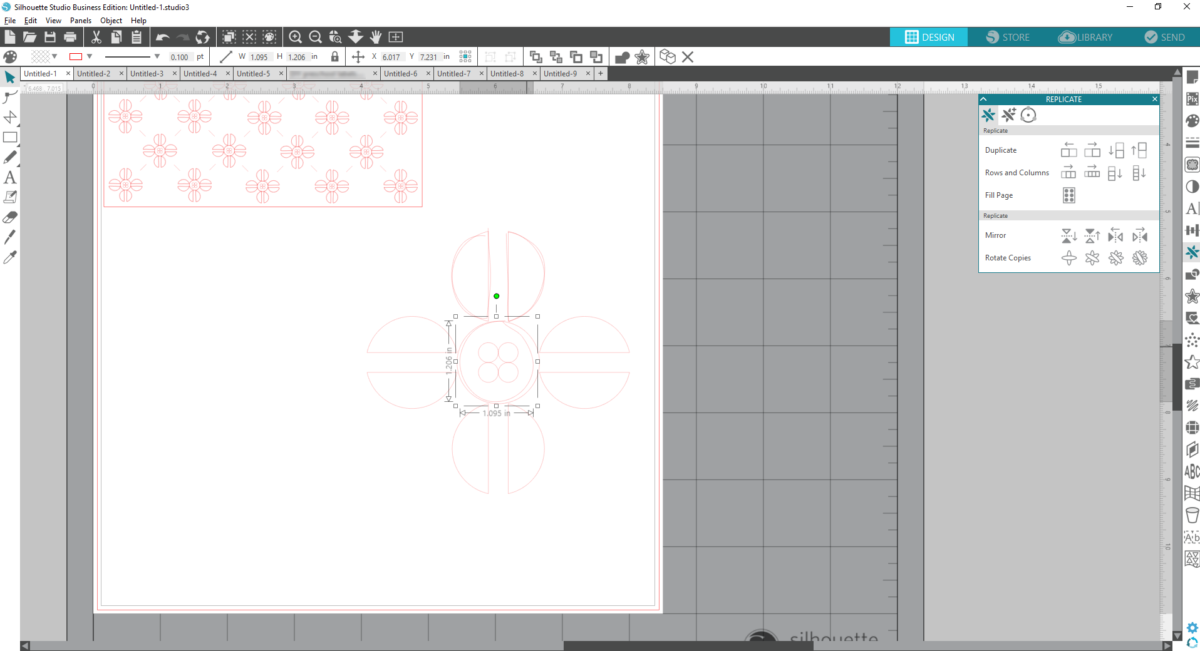
- Select the emblem and Offset by 0.08in with sharp corners and click Apply.
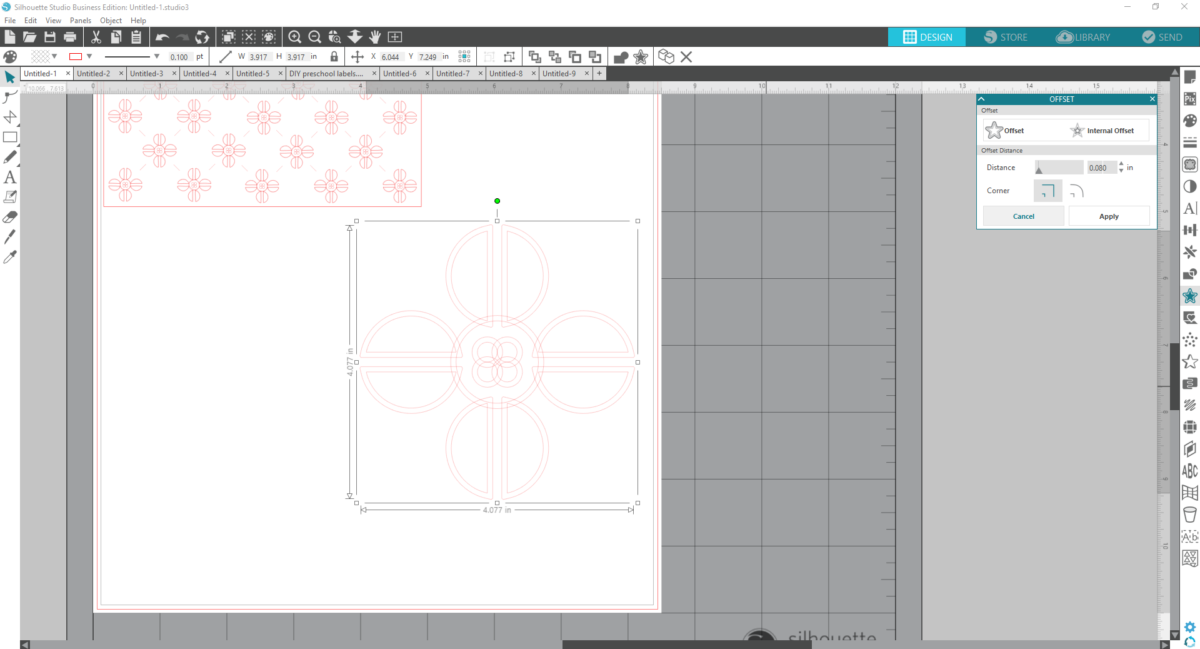
- Remove the four inner circles.
- Place your cardstock color of choice on the Silhouette cutting mat and send to Silhouette.
- Resize the emblem slightly larger. Place Silhouette vellum on the cutting mat and send to Silhouette.
- Use craft glue to apply the two emblems on top of the card.
Step Four: Add final embellishments
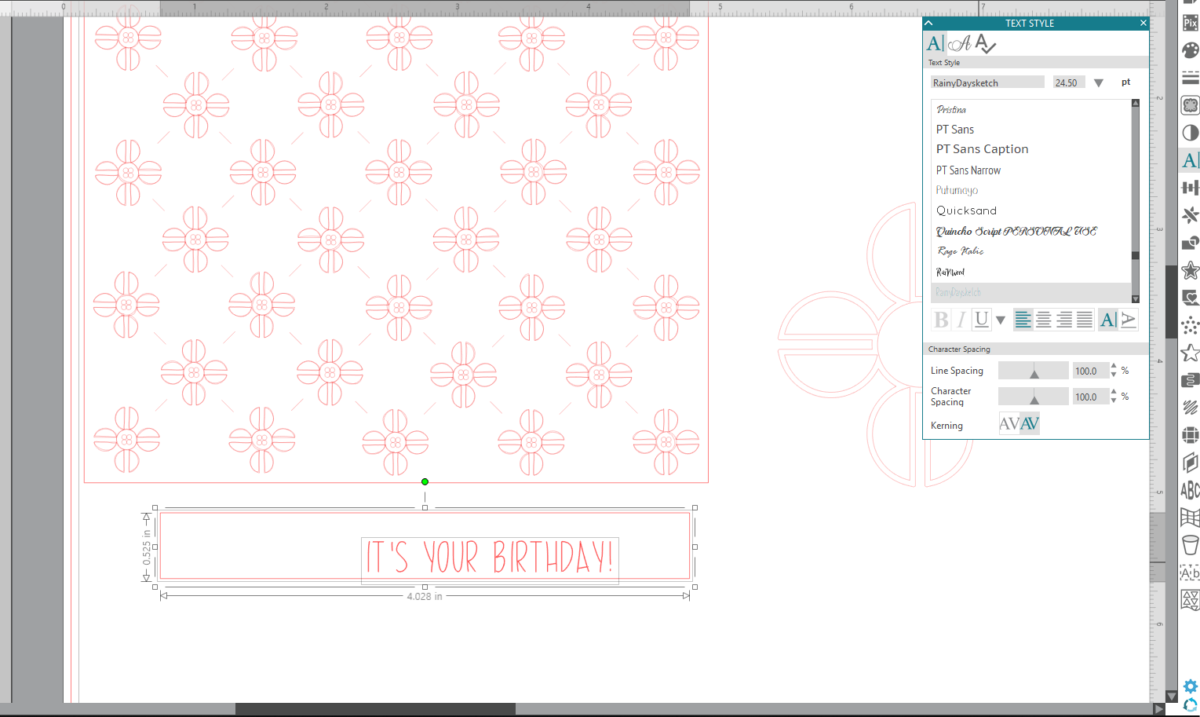
- Add “It’s Your Birthday!” sentiment by using Rainy Day Sketch Font (Design ID#155566) and drawing a long rectangle around the sentiment, making sure to leave a larger margin on top. Send to Silhouette to sketch and cut.
- Use Willow Bloom Font (Design ID#235171) to create the word “celebrate.” NOTE: I used a fancy “c” from the Glyphs window.
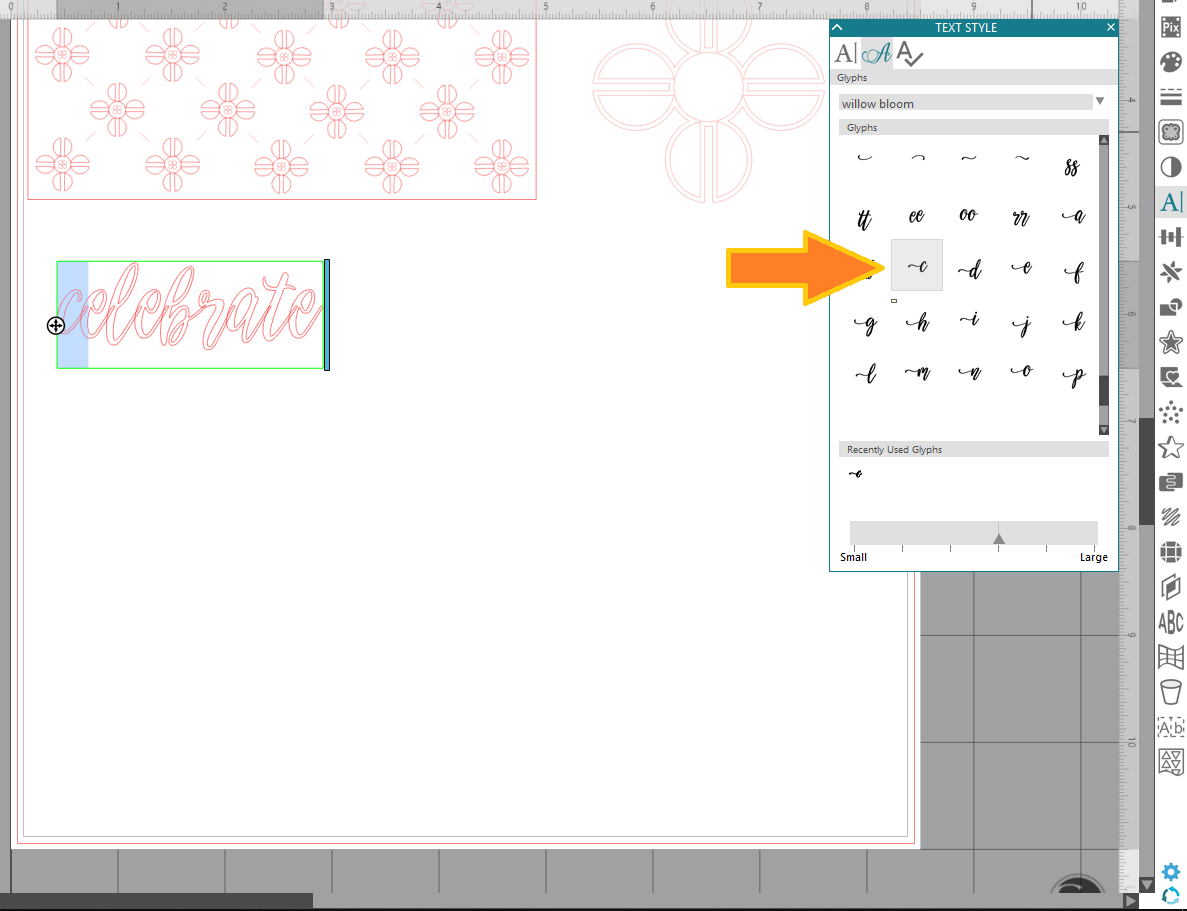
- Resize as necessary to fit the card, weld letters by choosing Weld in the Modify Window, and send to Silhouette with proper cut settings using cardstock of your choice.
- Apply craft glue on the “celebrate” die cut and adhere to the “It’s Your Birthday!” sentiment piece.
- Apply foam dimensional adhesive to the back of the “It’s Your Birthday!” rectangular piece and layer on top of card.
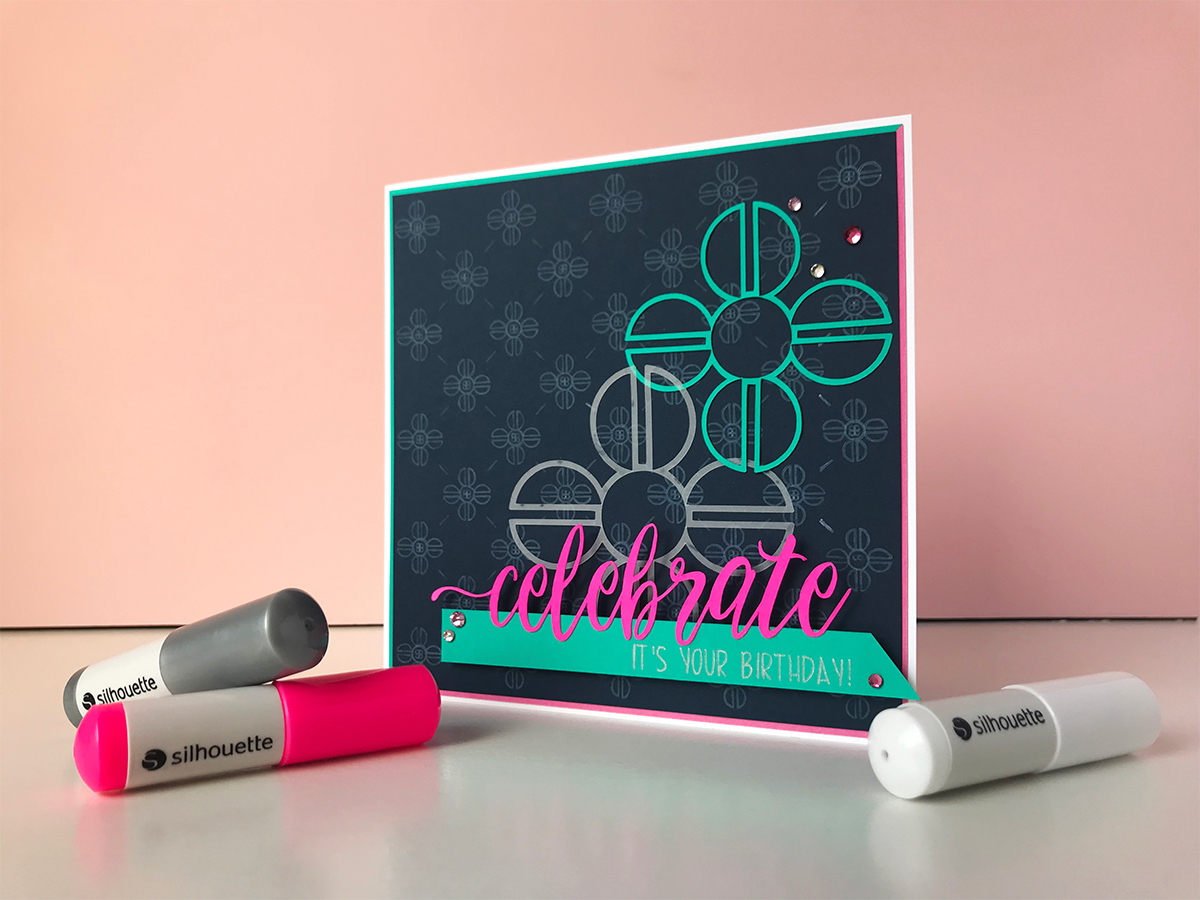
- Lastly, add extra flair to your handmade card with Silhouette rhinestones. Use craft glue to apply wherever your card needs a little sparkle!
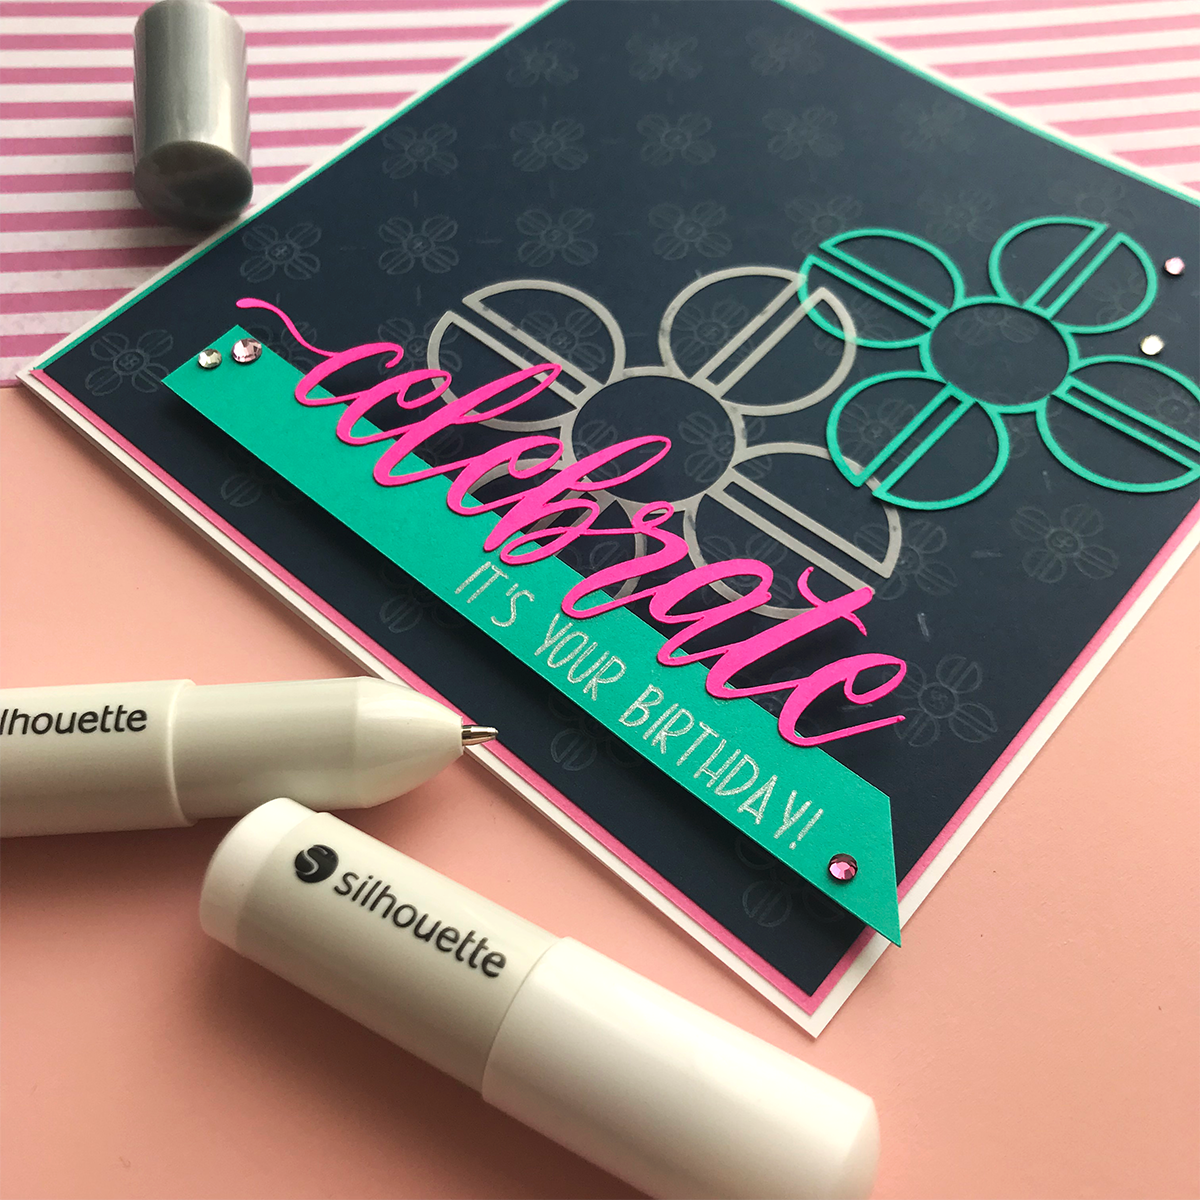
In addition to the amazing cutting machines, Silhouette offers a variety of specialty materials, like rhinestones and vellum. I was thrilled to be able to incorporate these into this card! It’s these simple little additions that make big visual impact. I hope this project encourages you to play around with design files to make them work for your craft projects!