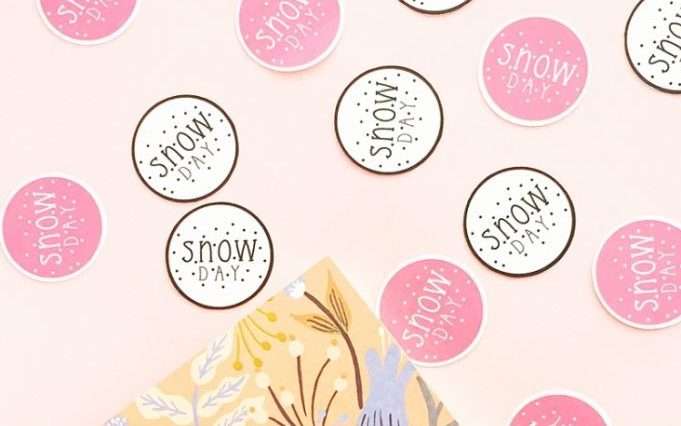
Today we are sharing these quick and easy Print & Cut DIY Snow Day Planner Stickers. This post is for those of you who love to decorate your planners with pretty stickers. Read on to make your own!
Supplies Needed:
- Silhouette CAMEO® or Silhouette Portrait® or Silhouette Curio™
- Silhouette Cutting Mat
- Silhouette Cutting Blade
- Silhouette Studio®
- Silhouette Printable White Sticker Paper
- Printer
- Design #ID #167734
Step One: Create the Design
- In Silhouette Studio®, open your Snow Day design (Design #ID #167734).
- Ungroup the design. To ungroup, select the object and either click the Ungroup icon, which is located along the top left-hand side of the screen, or right-click and select “Ungroup.”
- Change the color of the filled circle. To change the color of the object, go to the Fill panel by clicking on the Fill icon, which is located on the right-hand side of the screen.
- Group the Snow Day (the text with the snowflakes). To group, select the objects and either click the group icon or right-click and select “group.”
- Place that group in the middle of the circle. To center the snow day text and the snowflakes in the circle, you need to go to Transform panel by clicking on Transform button, which is located on the right-hand side of the screen. Select all and click on the target icon in the Transform panel.
- Resize the entire design to the size of stickers for your planner. In order to resize your design, you will need to select it and then drag in the outer corners.
- Add a border by thickening the line and changing the line color (we used black and white). To change the thickness and color of the line, go to the Line Style panel, which is located on the right-hand side of the screen.
- Group everything together and make as many copies as you need. Group all the stickers together.
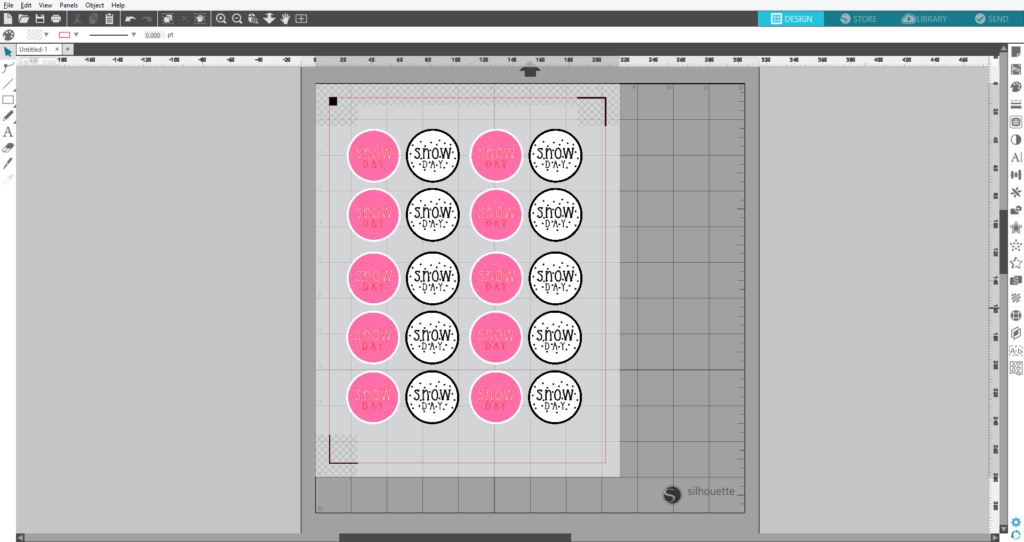
Step Two: Add Registration Marks and Print & Cut
- Add the registration marks. Open the Page Setup panel. Click on the Registration Mark icon and select the style of registration marks. You will note that there are now crosshatched areas on three corners of your work space. Make sure that your design does not overlap into the crosshatched area or else your Silhouette will have trouble reading your registration marks.
- Once your design is ready to go, print your job to your regular printer by clicking on the Print icon in Silhouette Studio®.
- Load your printed material into your Silhouette using a cutting mat. Select “Sticker Paper, White” from the material list of the Send panel and adjust your blade accordingly (unless you use a CAMEO 3 or a Portrait 2 with an AutoBlade, which adjusts automatically).
- Go to the Action panel and click Cut Edge (in such situations, the Silhouette will cut only the outer lines of the circles).
- Click “Send,” and your Silhouette will begin scanning the page for the printed registration marks. After the registration marks are found, the Silhouette will proceed to cut as usual.
- Unload the sticker paper and remove it from the cutting mat.
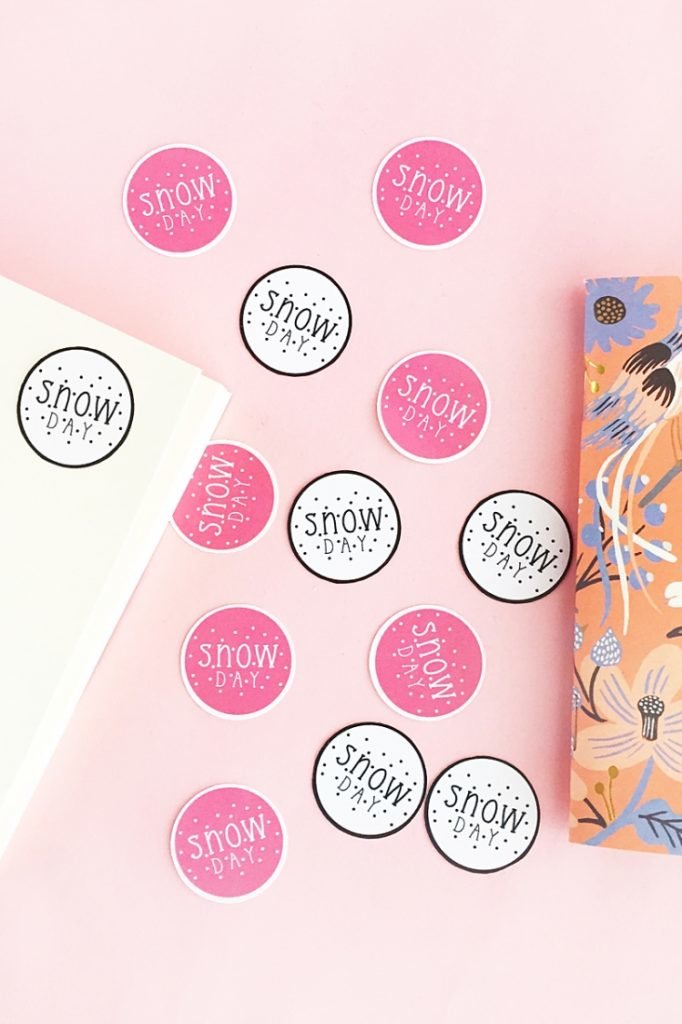 And that’s it! You now have some cute stickers to mark your productive and fun snow days. What colors did you use?
rosealy godin
February 4, 2018
My registration marks don’t register what I’m I doing wrong
Kelly Wayment
February 13, 2018
Rosealy, please see the video for “Print & Cut Troubleshooting” on Silhouette’s YouTube channel here https://youtu.be/1Oi-t5tGVJA