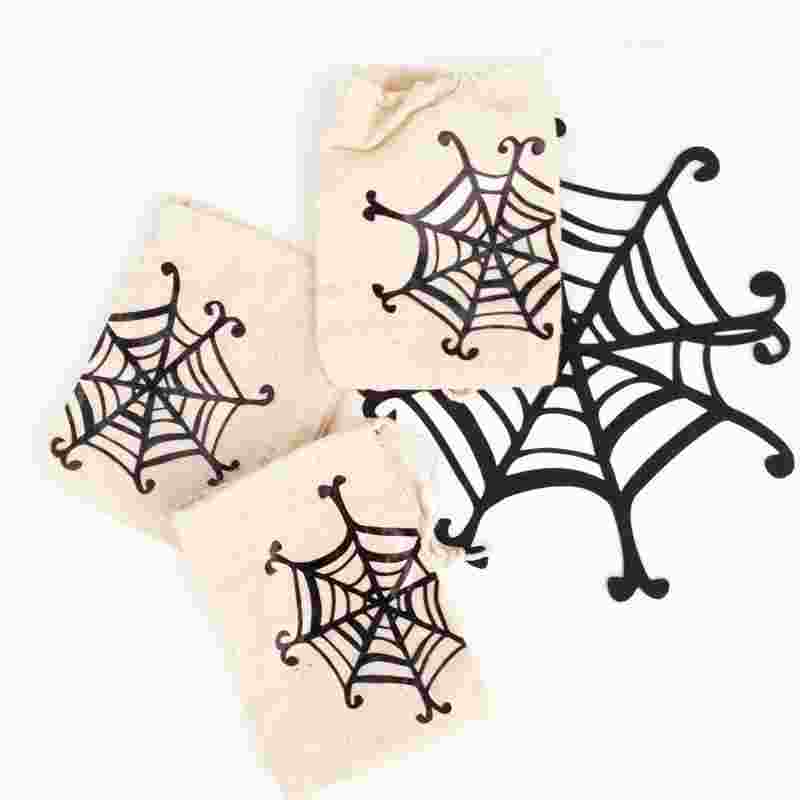
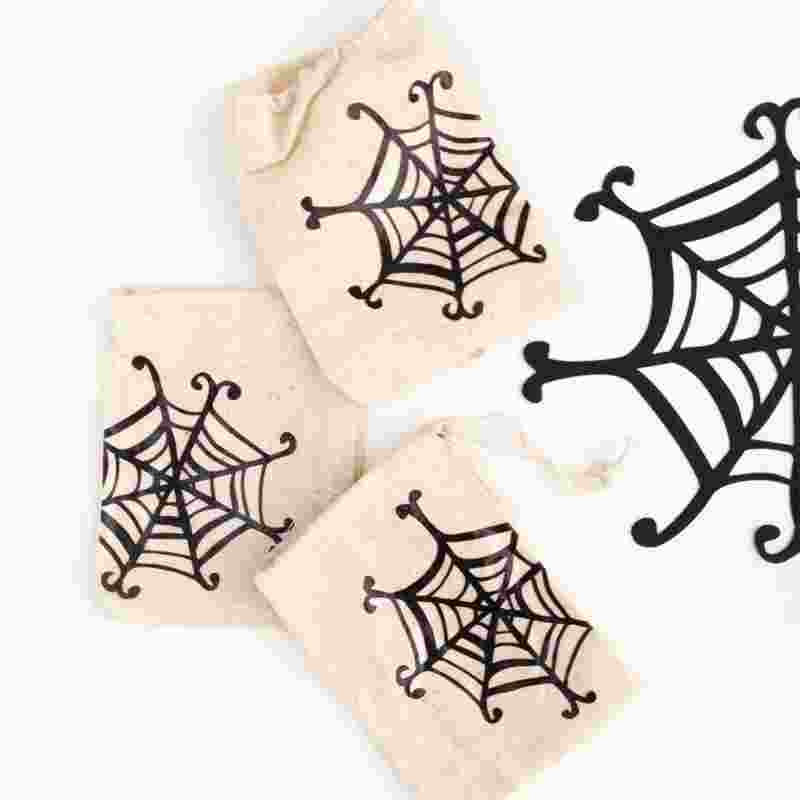
How about we make DIY Treat Bags today? It’s all in the name of Halloween, of course. The Silhouette Design Store has this whimsical spider web that I could not resist. I used Silhouette’s Temporary Tattoo Paper to transfer the design onto the bags. Want to make some too?
Supplies Needed:
- Silhouette CAMEO® or Silhouette Portrait® or Silhouette Curio™
- Silhouette Cutting Mat
- Silhouette Cutting Blade
- Silhouette Studio®
- Temporary Tattoo Paper
- Printer
- Muslin Bags (3 x 4 inch)
- Design ID #67914
Step One: Set Up the Design
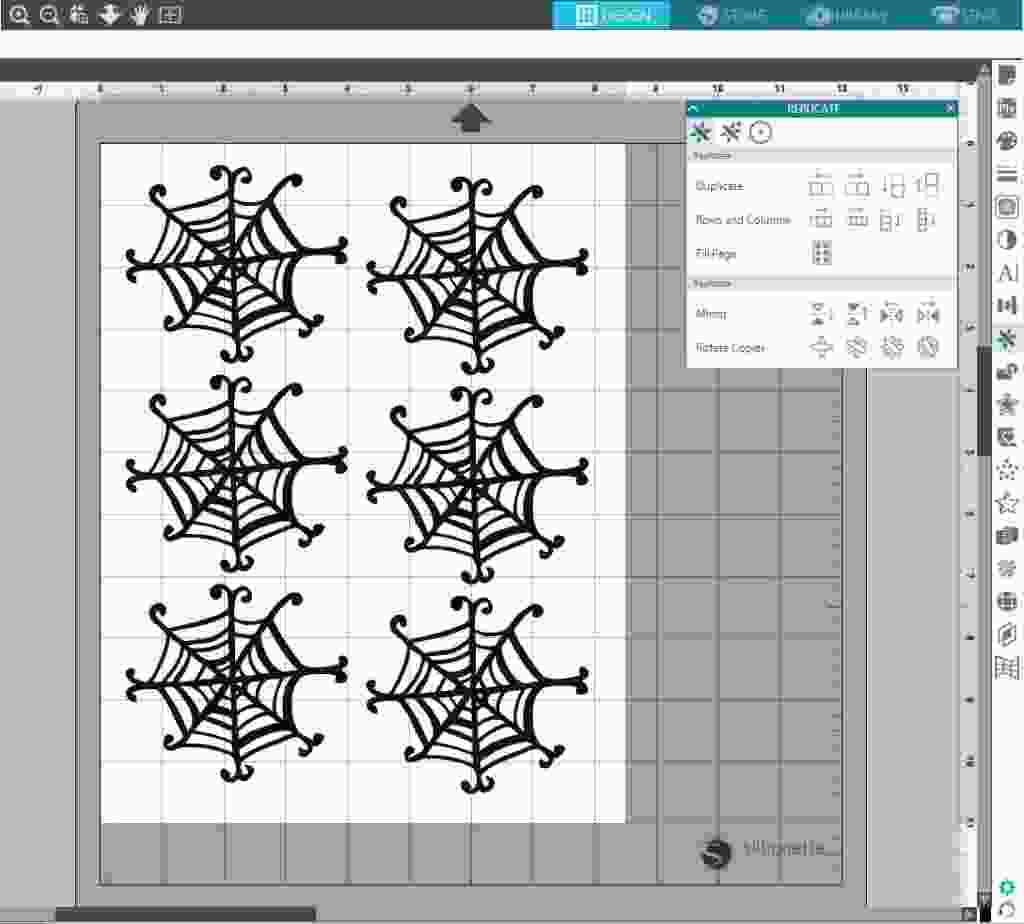
- Download and open the Design ID #67914 in Silhouette Studio®.
- Resize the spiderweb shape so that it fits onto your muslin bag. My muslin bag is 3 inches by 4 inches, so the design needs to fit within those dimensions.
- Use the Replicate Tool located on the tool bar on the right-hand side to fill your page with your spider web shape.
Step Two: Print and Adhere Your Design
- Load your tattoo paper into your printer.
- Print (on the shiny side) of your tattoo paper.
- After the ink dries, apply the adhesive sheet onto the top of the tattoo paper (ink side up), using the scraper to smooth it out.
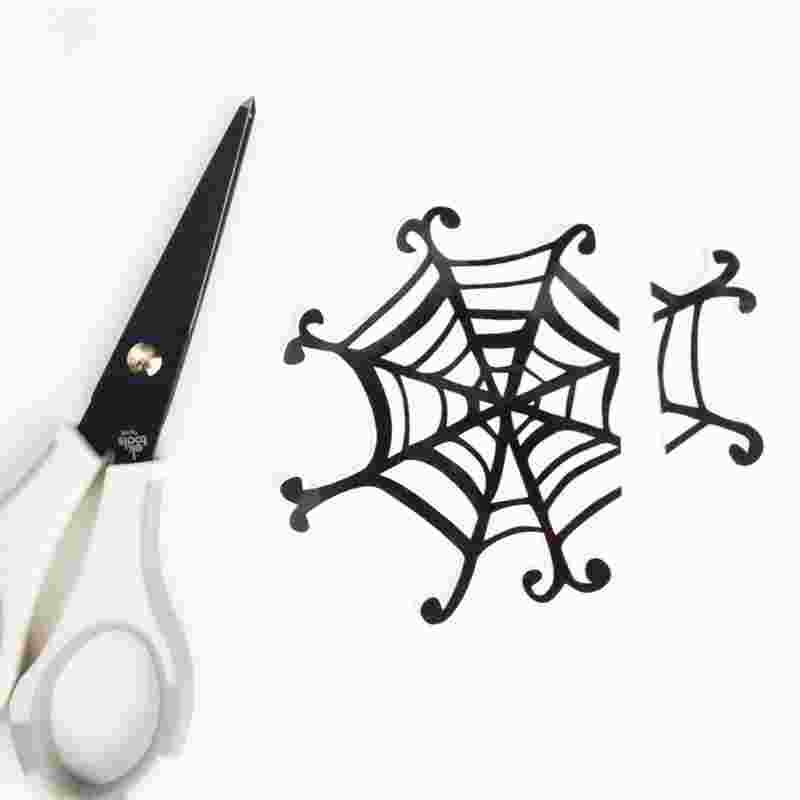
- Cut around each of the spiderweb shapes.
- Peel away the clear adhesive layer. Finally, apply the image face down and dab with a wet cloth. The paper backing will begin to be able to be pulled away and your image will have adhered to your bag.
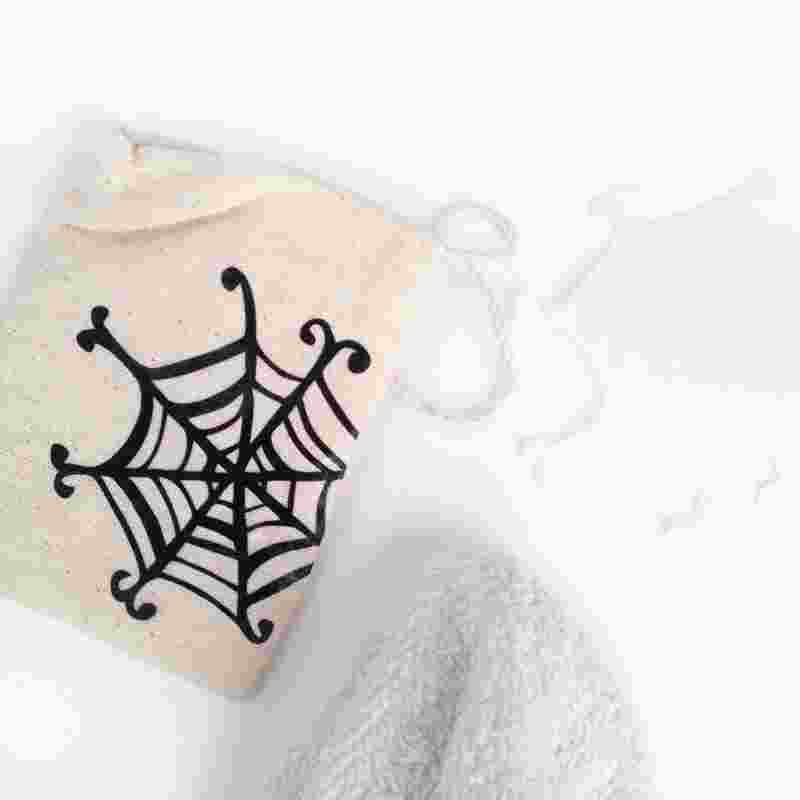 How will you fill your cute spooky treat bags?
Sandu
October 12, 2017
The link to the spider web takes you to the site, but it seems as though this cut file is no longer available. Too bad! It’s really cute!
Kelly Wayment
October 31, 2017
That file is no longer available, but check out design #153325 that has a similar look.
Jane
October 25, 2017
I also tried to buy the design but sadly it is not on the online store.
Kelly Wayment
October 31, 2017
That file is no longer available, but check out design #153325 that has a similar look.
Kelly Wayment
October 30, 2017
Sadly, it appears this designer has left the design store and her cut files are no longer there. However, I found design #153325 has a similar look to the one used in Maritza’s post.