Did you recently get the Silhouette Mint™ like I did? And after you made a stamp or two, did you have to make more? Because they look so pretty on paper that you want to stamp everything? Well, you probably shouldn’t stamp everything—but today I’m going to show you the Five Surfaces You Might Not Think To Stamp. Here we go!
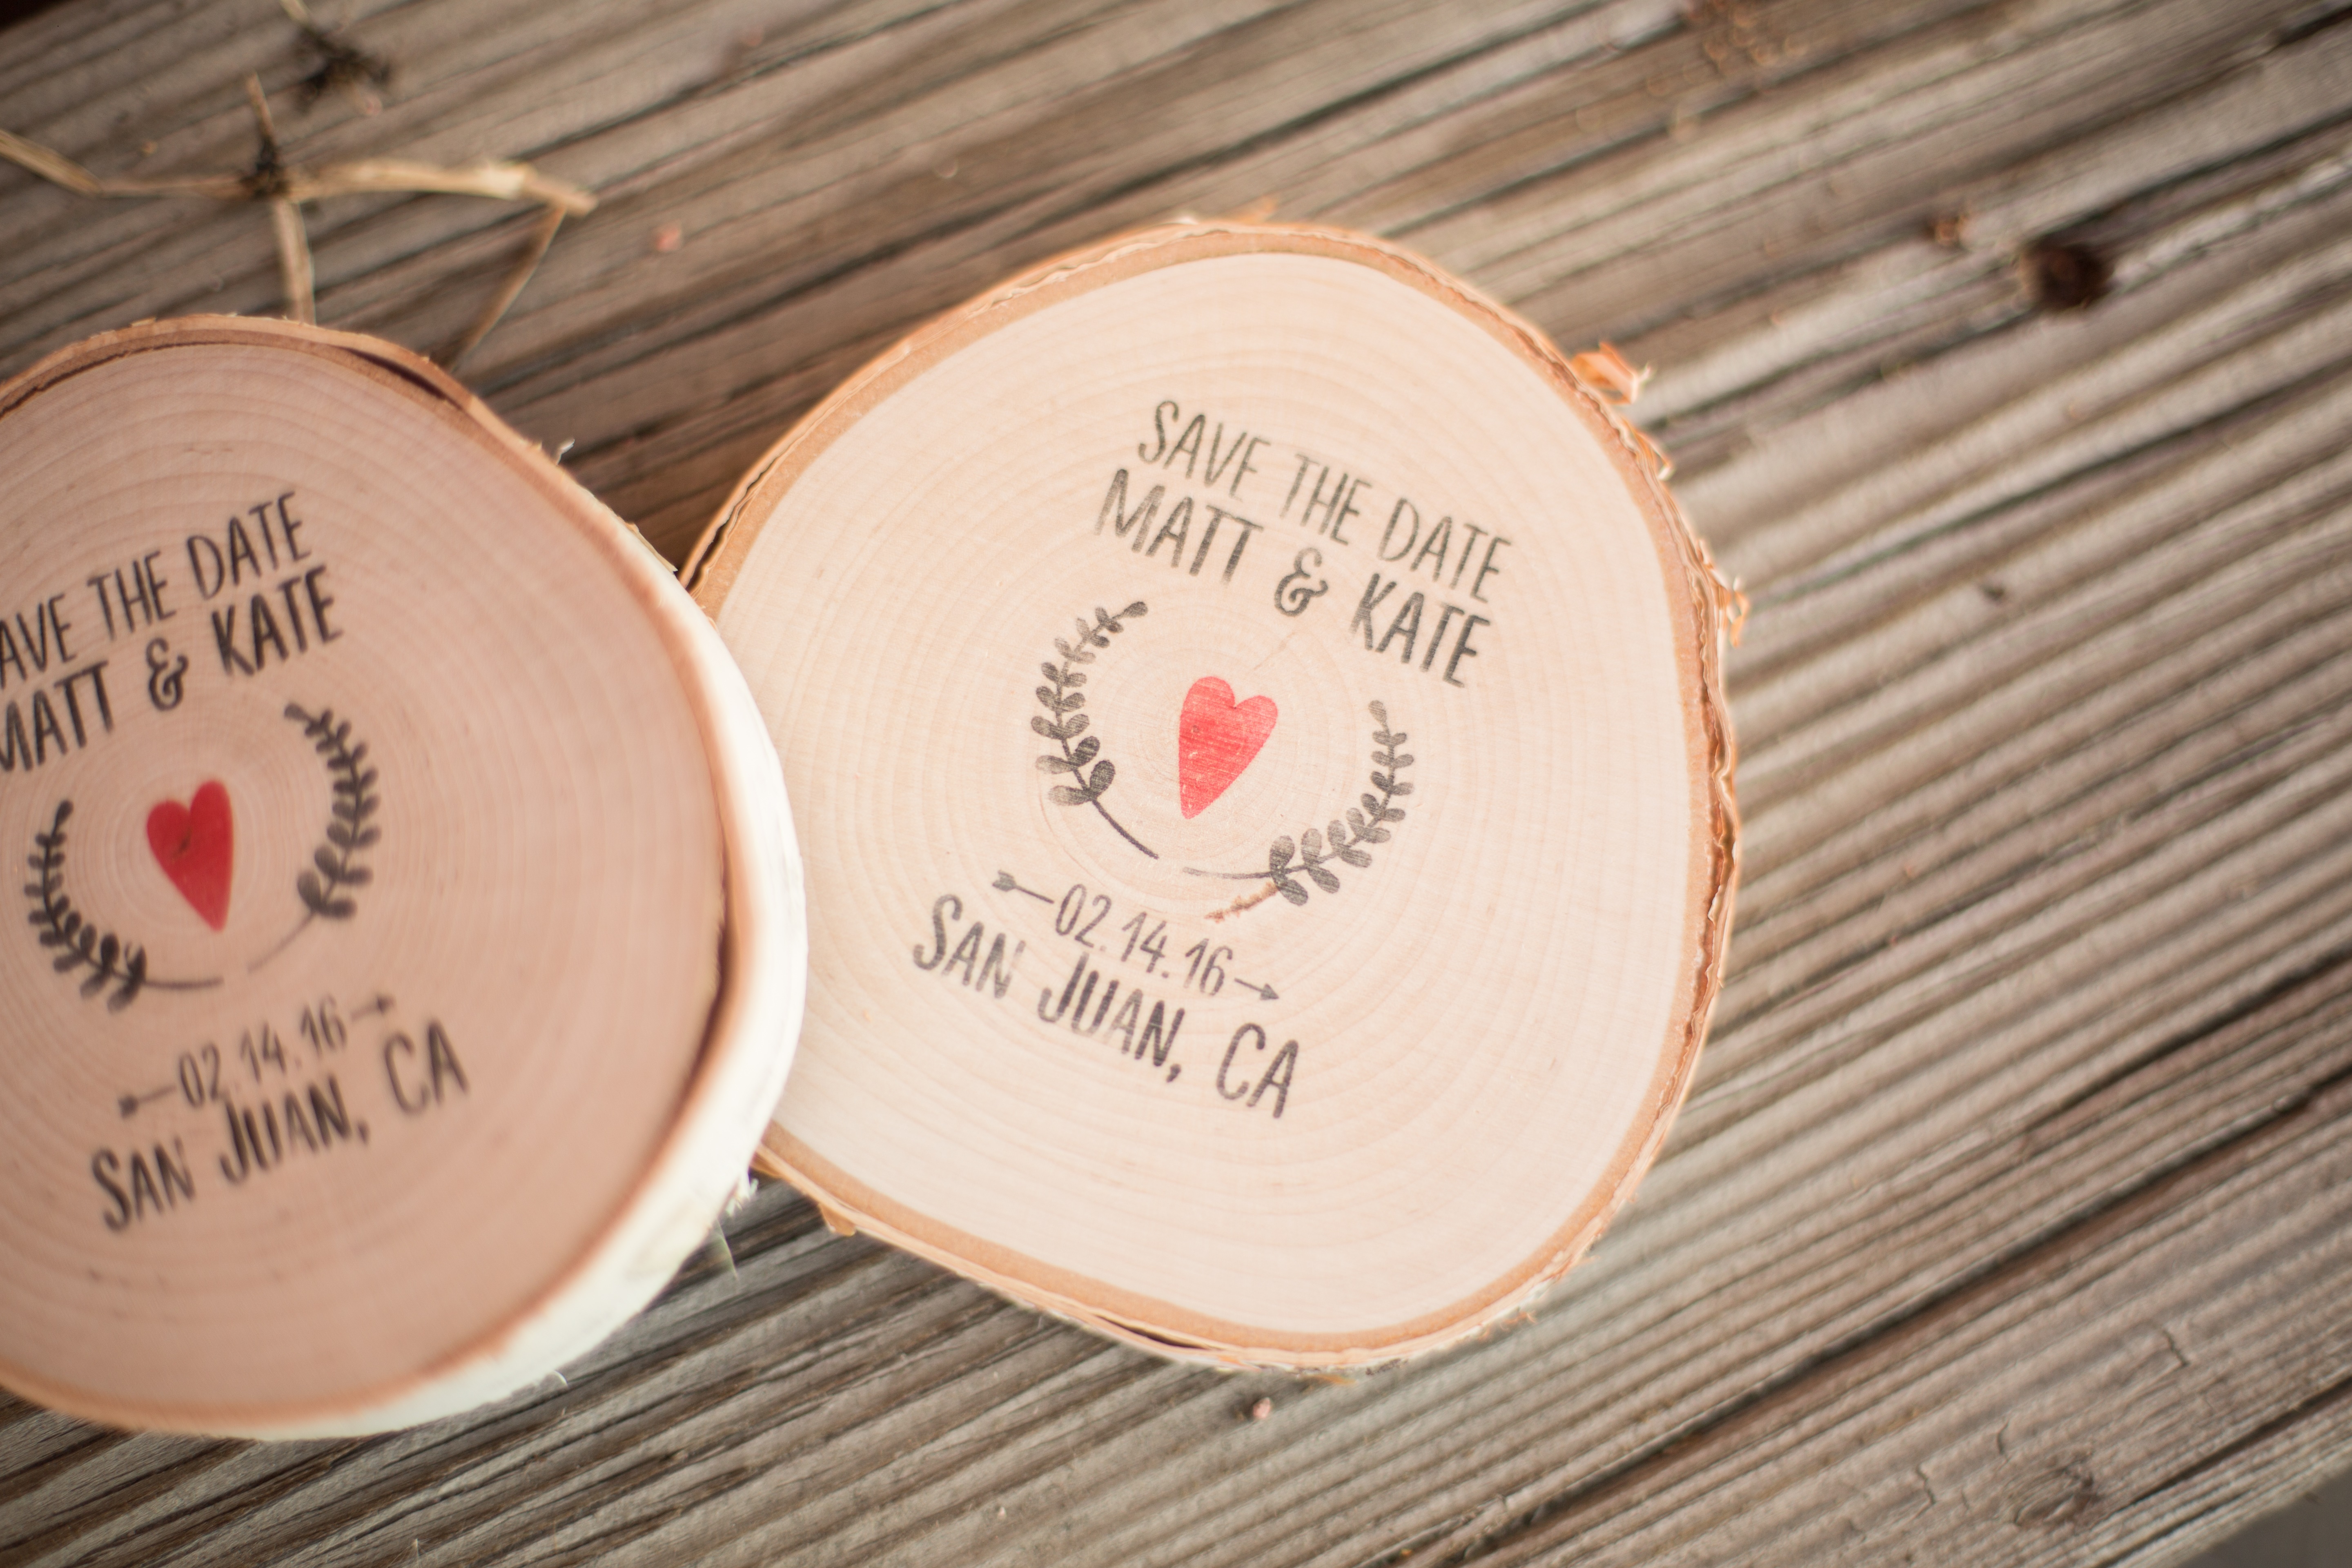
Wood
Getting married or throwing an anniversary party? These wood rounds are darling and will add the perfect touch to your table styling or vignette.
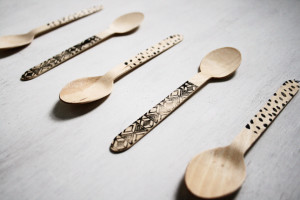
Check out Brittany’s tutorial for stamped wooden spoons So cute and so many pattern possibilities!
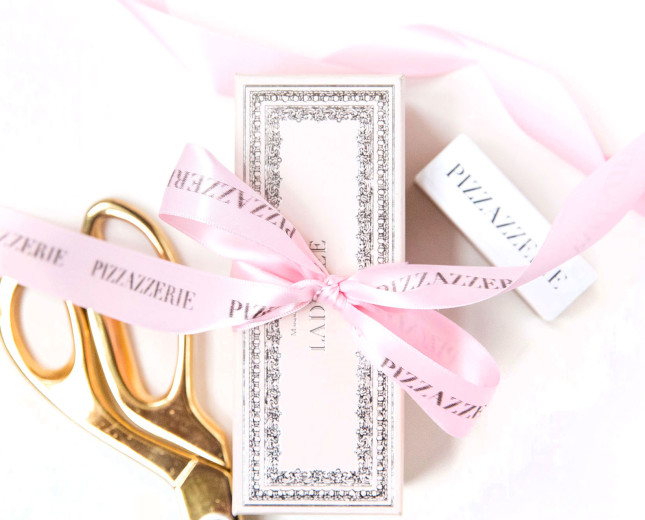
Ribbon
Yep! You can customize ribbons for your business or for gifts! Here’s how.
Fabric
There are several options here, so I tried two different things to see how the Mint stamp would look on thicker, more textured fabric like a linen lampshade and canvas shoes. Check it out!

The design is not quite as crisp as it would be on paper (because of the texture), but I love it.
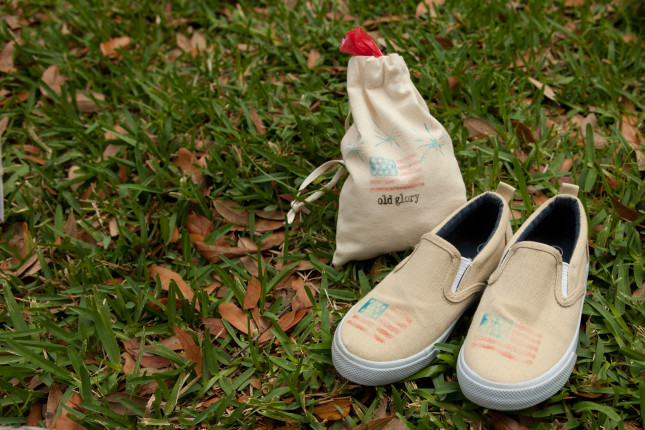
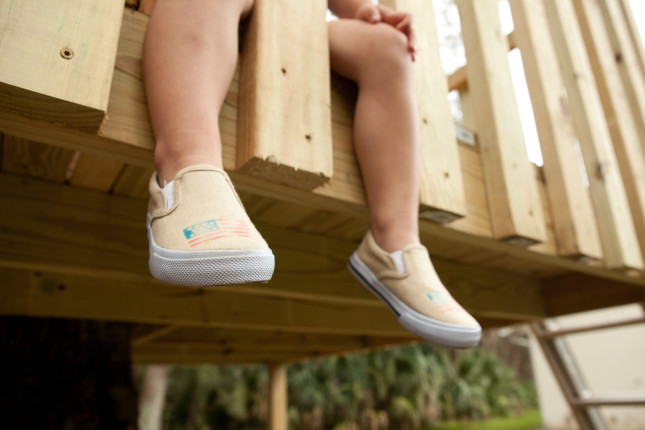
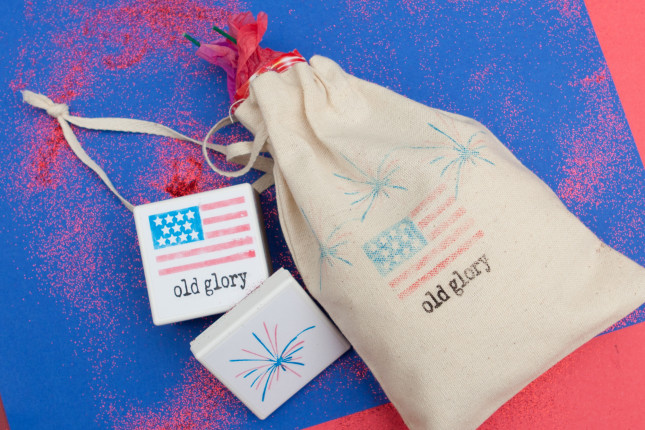
For upcoming Memorial Day or a 4th of July picnic this summer (and just for kicks!) I also stamped my little guy’s canvas shoes and a fabric bag full of firecrackers. You could also consider stamping a table runner, place mats, banners, or bunting!
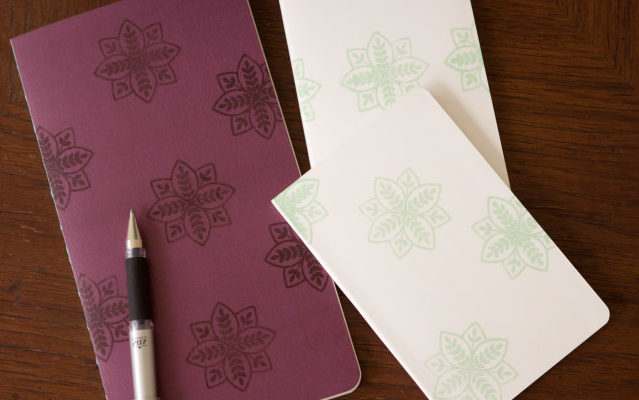
Journal covers
I like to make stamps that will give me multiple uses, so here I used the same stamp that I used for the lampshade.
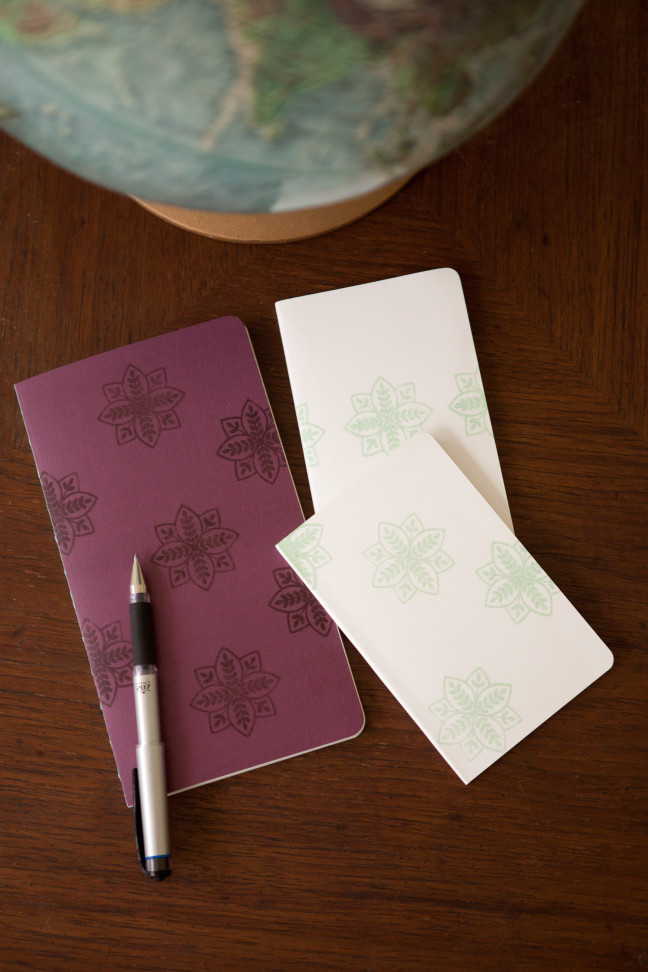
Oh, and did you know you can use the same stamp with different colored inks? Just stamp out all the excess ink, and apply your new color!
Napkins
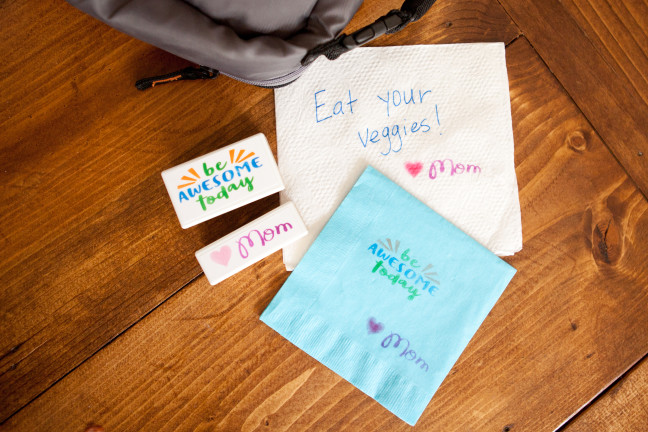
Do you like to send lunchbox notes and jokes to your kids on napkins like I do? Stamping makes it super fast on those busy mornings—I know they love them because they don’t even use them to wipe their peanut butter hands; they bring them home to save 🙂
TUTORIAL TIME
Now that you have some new ideas for stamp surfaces churning in your head, let’s go through how to make your stamps. For this tutorial, I’m going to make the patriotic stamps used above.
Supplies you will need:
- Silhouette Mint™
- 45 mm x 45 mm stamp base
- Flag design and firework design (or a design of your choice)
Directions:
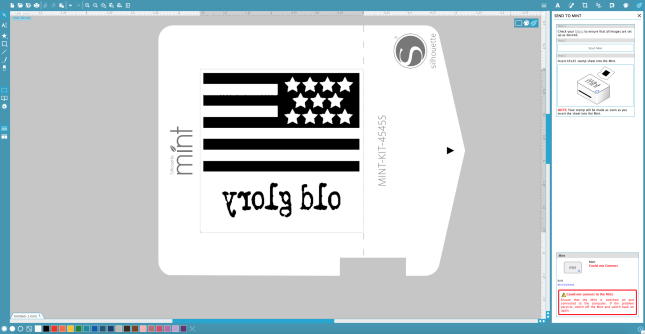
Open Mint Studio™ and select your stamp size (45 mm x 45 mm).
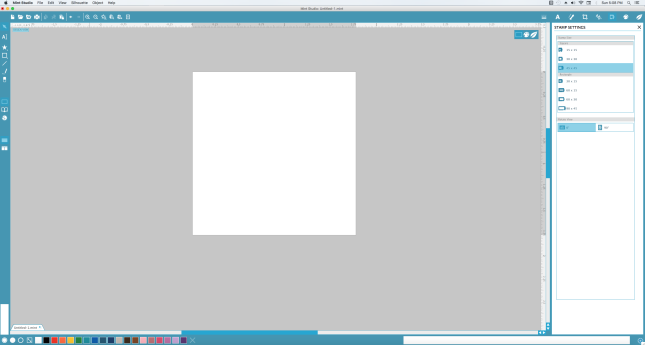
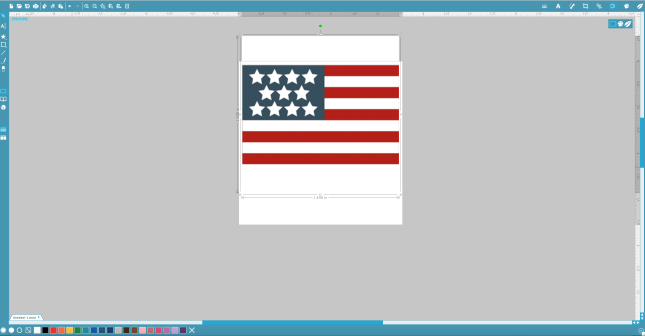
Select your design and resize it to fit your artboard—that’s the white workspace shown above. In Mint Studio™, the artboards are seven specific sizes. Each artboard size matches a stamp sheet size, so you don’t have to worry about your design fitting on the actual stamp sheet.
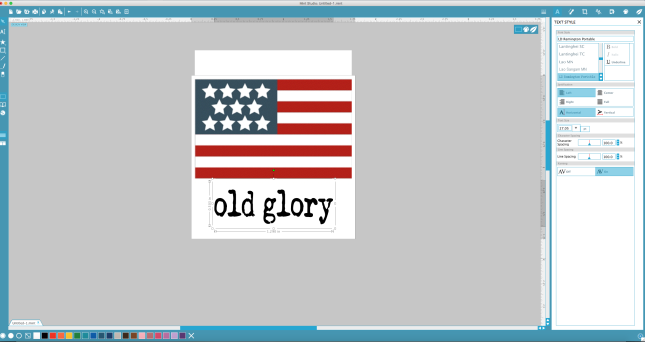
Select your font and add your text using the text tool. Resize the font to fit beneath the flag shape.
If you’re satisfied with the placement, click “Send to Mint.” (It’s the little leaf icon, shown above in the right hand corner.)
If you get the red pop up box (bottom right) that tells you your Mint isn’t connected, you’ll have to plug yours in like I did! 🙂 After you plug it in you should be good to start Minting.
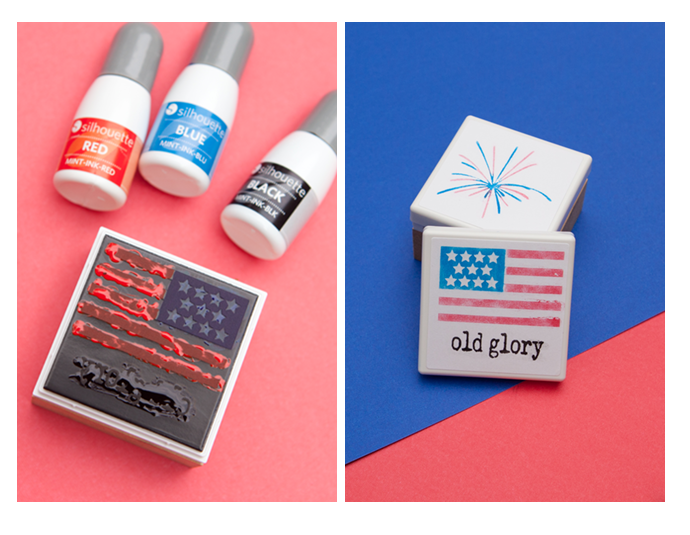
After applying your finished stamp to your stamp base, slide it onto the stamp. From there, all you have to do is apply the Mint ink directly to the stamp, and blot out the excess by stamping it over and over again.
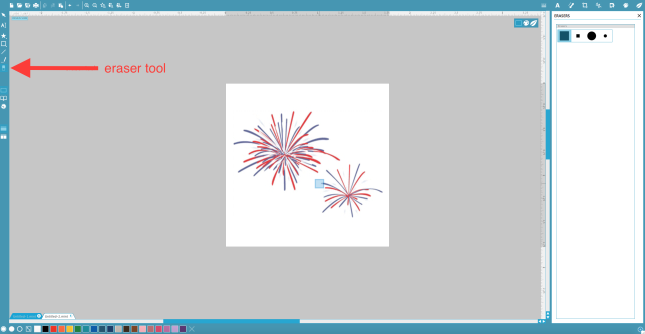
Follow the same directions to make your firework stamp, using the firework art of course. The original design had two firework shapes but I only needed one, so I used the eraser tool to get rid of the one I didn’t want.
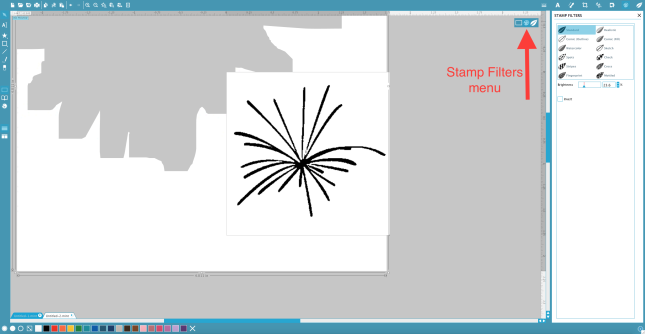
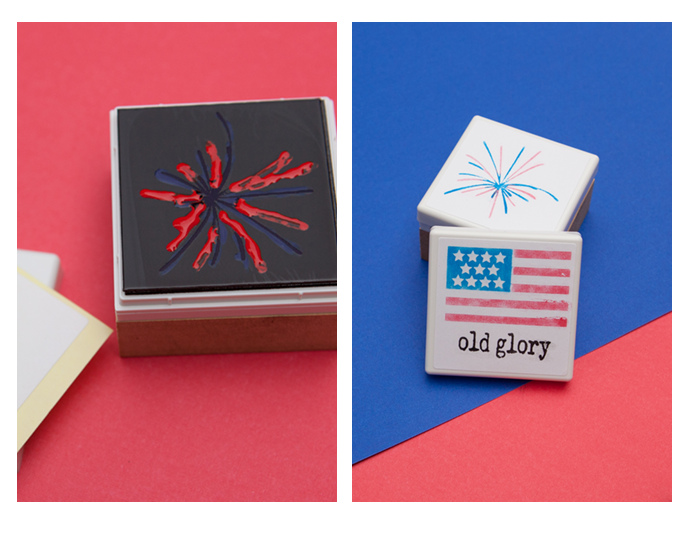
Before I sent the design to the Mint, I went into the Stamp Filters menu and lowered the brightness so all of the lines were more visible.
Mint it, ink it, and you have your two stamps ready to go!
Jennifer Frank
April 1, 2016
I love love love this!!! Janet, these are fabulous ideas and I’m dying to try some of these projects!
Annie W
April 1, 2016
The shoes are adorable…love all of the ideas here!
Kelly Wayment
April 5, 2016
So fun to think outside the box for mint stamping. I think the lunch box napkin stamps are my favorite. I used the Mint to create name stamps for my kids to stamp the outside of their lunch sacks, but I’m sure they would totally love a note inside, too,