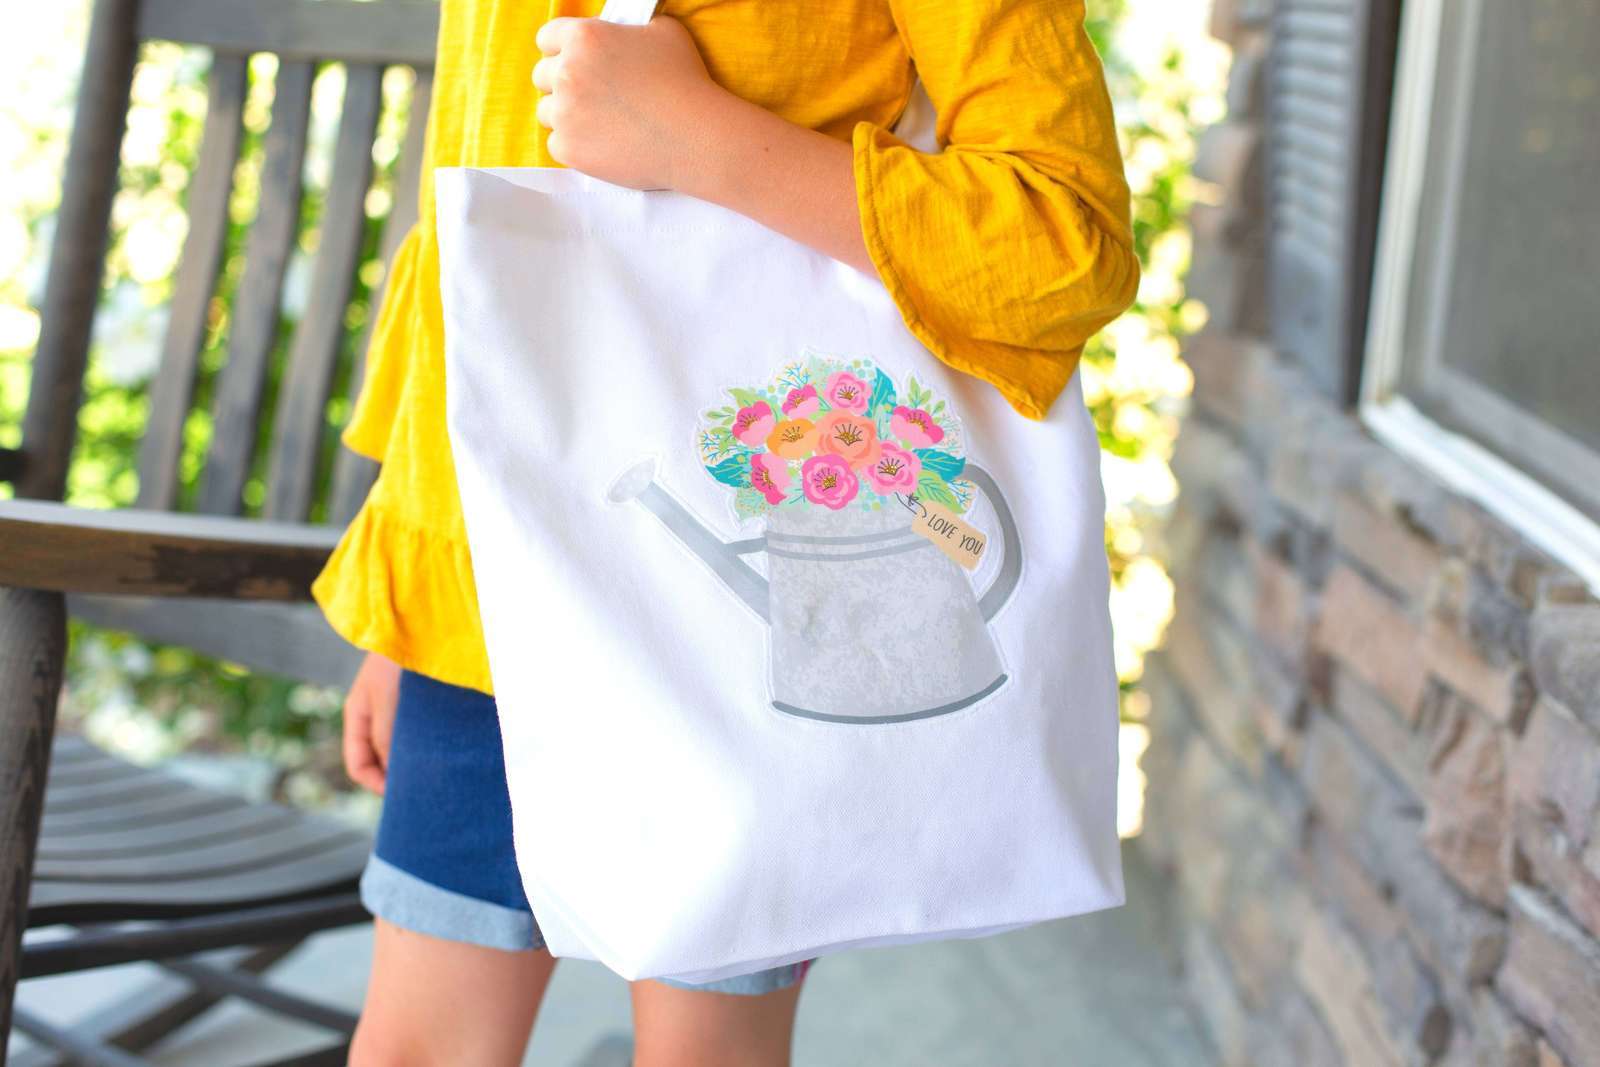
Did you know that Silhouette has a printable cotton fabric product? These cotton sheets are perfect for printing and don’t require a special stabilizer to cut and apply to other fabric surfaces. So these sheets are perfect for creating custom designs for apparel. If you want to learn how to create your own cotton fabric applique, follow the steps below.
Supplies Needed:
- Silhouette CAMEO® or Silhouette Portrait®
- Silhouette Cutting Mat
- Silhouette Cutting Blade
- Silhouette Studio®
- Silhouette Cotton Fabric
- Silhouette Heat Transfer – Glitter Gold
- Tote
- Sewing machine
- Iron
- Design ID#271646
Step One: Prepare the Design
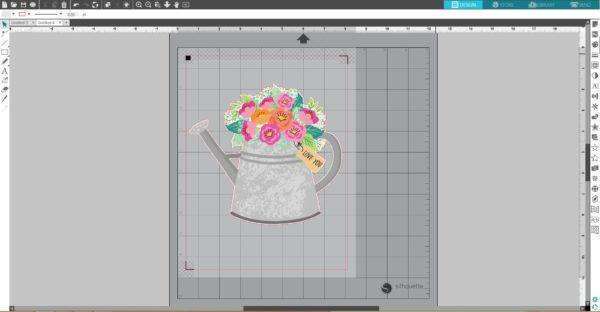
1. Open Silhouette Studio®. In the Page Setup panel, change page size to Letter. Then go to the Registration marks tab and turn on registration marks by setting the style to Type 1.

2. Open the Watering Can with Flowers designs (Design ID#271646) by locating it in your library. Resize it so that it will fit your tote but not overlap the registration marks borders.
3. If you think you will need a wider offset border around your design (it will give you more room around your design when you will sew it to the tote), you can delete the existing offset line and go to the Trace panel. Click “Select Trace Area” and click on the working space near the image, and drag the rectangle around the image. This will define the trace area. Adjust the threshold to the 90% mark

and click the Outline tab,
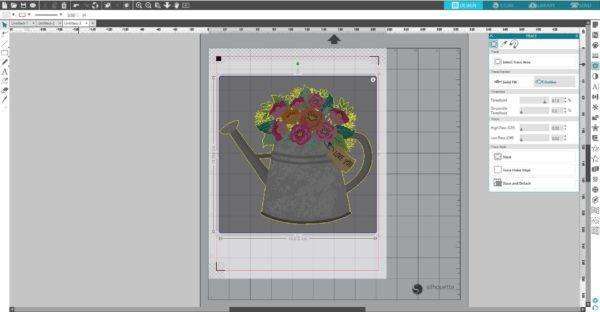
and then click the Trace tab. Now we have an outline of the watering can.
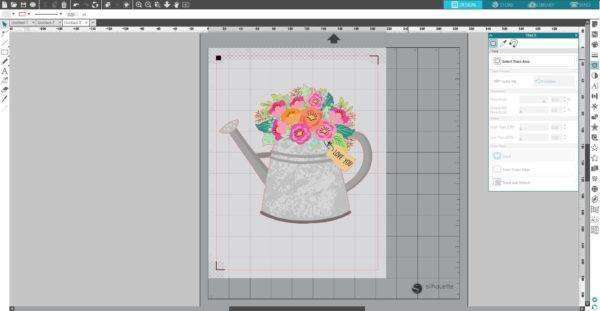
4. Go to the Offset panel. Place your design aside the trace outline. Select the trace outline and click Offset. Adjust distance to the 0.090 inch mark and click Apply.
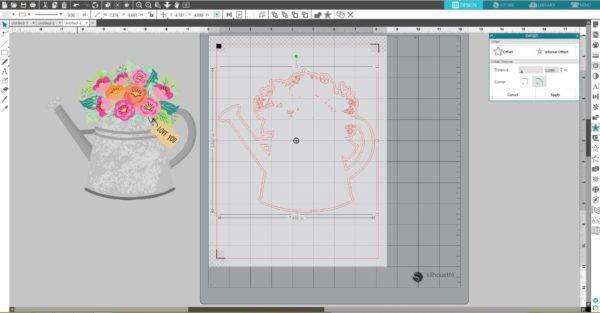
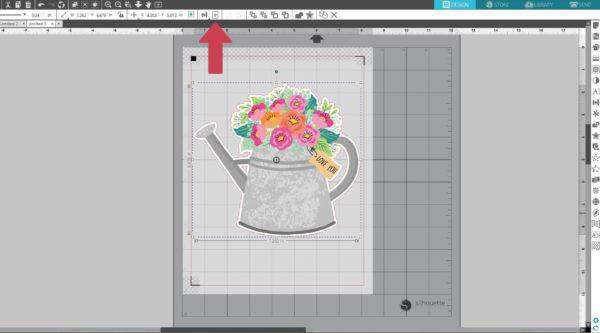
5. Delete the inner part (the traced outline) and place your design in the middle of the offset line. To center the offset line and design, select them both and click the Center tab on the top tool panel of your screen.
Step Two: Print & Cut
1. Print out your design on the Silhouette Cotton Fabric by selecting the printer icon.
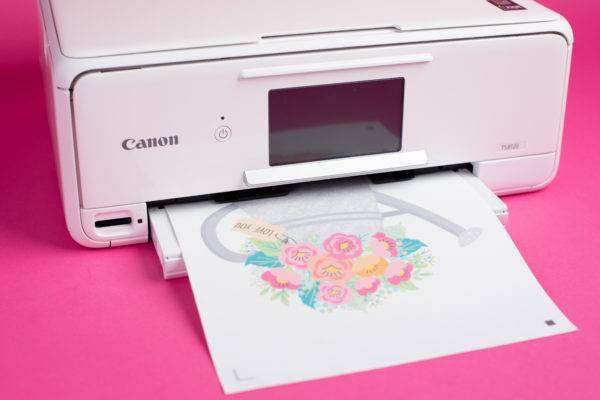
2. Place the printed sheet on your mat and feed it into your Silhouette machine.

3. Go to the Send panel. Choose “Cotton Fabric, Printable” as your material type. Adjust your blade if necessary and send your cut job to your Silhouette machine.
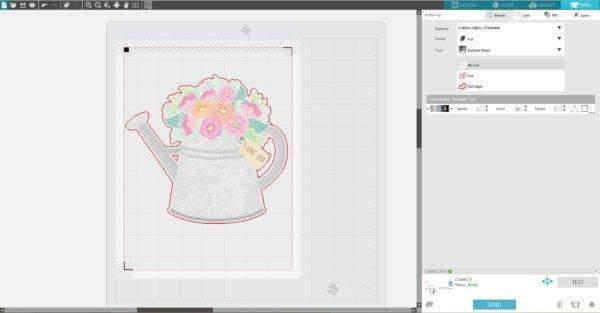
4. After cutting the designs, remove the designs from the cutting mat.
Step Three: Sew on the Design
1. Sew your design on the tote.
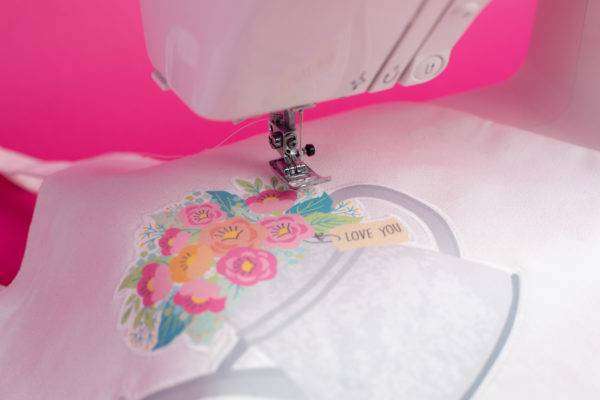
2. You also can add a little cute touch by applying gold glitter heat transfer to the flower centers. To trace the flower centers, use the Trace by Color and Point Editing features. To learn how to apply heat transfer material, check out this video.

And that’s how you create your own custom fabric applique! The Print & Cut feature makes everything so easy for you.
What are you going to apply your fabric applique to? Tell us in the comments below!