
School starts here in just 4 days! My kids have mixed emotions and, truth be told, so do I. So in honour of summer not being completely over just yet, I created this layout from one of our family times together this past summer—making S’mores.
My kids were very excited to start a fire (which I have never done on my own before but had to this time because my hubby wasn’t with us!) and roast marshmallows for some delicious S’mores. Of course, I had my camera with me and had to take a few pictures. (I must say, I don’t really like S’mores. It’s fun to roast the marshmallows but they’re way too sweet for me. I’d rather just eat the chocolate!)
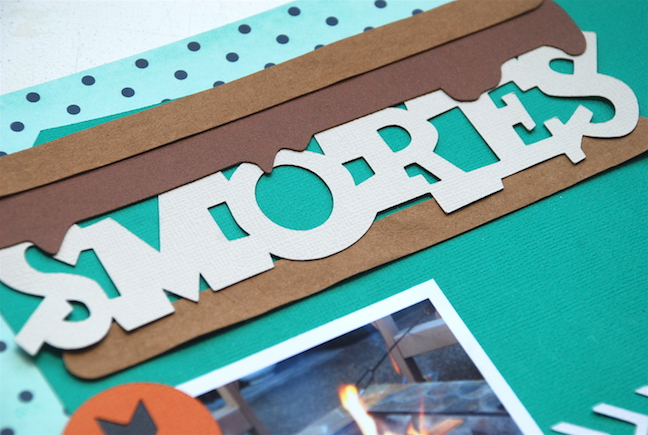
For this scrapbook layout I found this super cute title, Smores Word, that was just perfect for my layout. The large Marshmallow On A Stick file was also an excellent feature to add.
I also wanted to add some kind of texture to my page because I don’t like it when my layouts are completely flat. So I decided to use some Faux Leather Paper in Natural color.
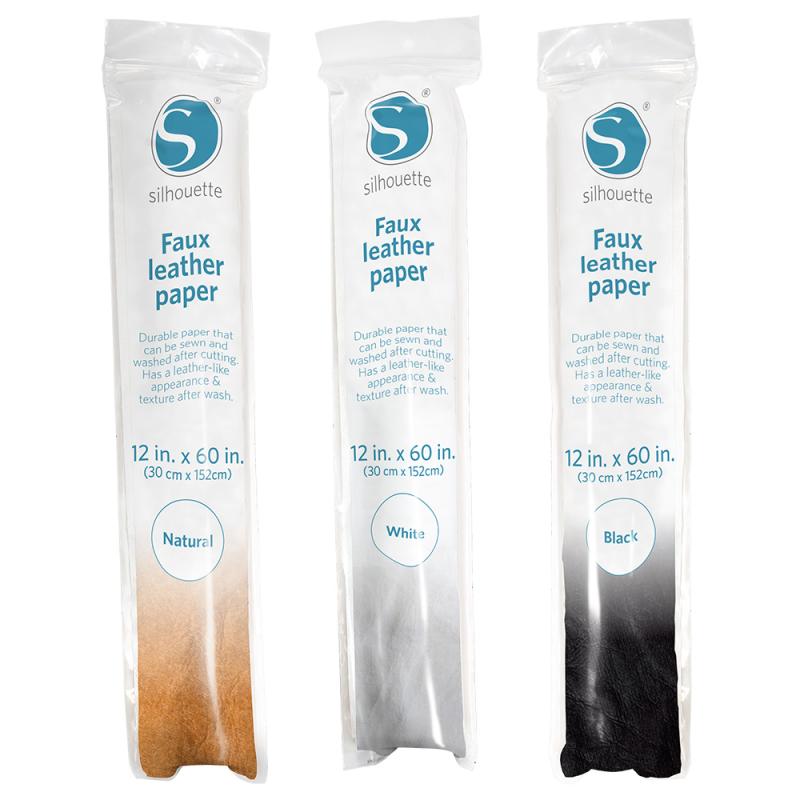
You can order it online in the Silhouette America Online Shop.
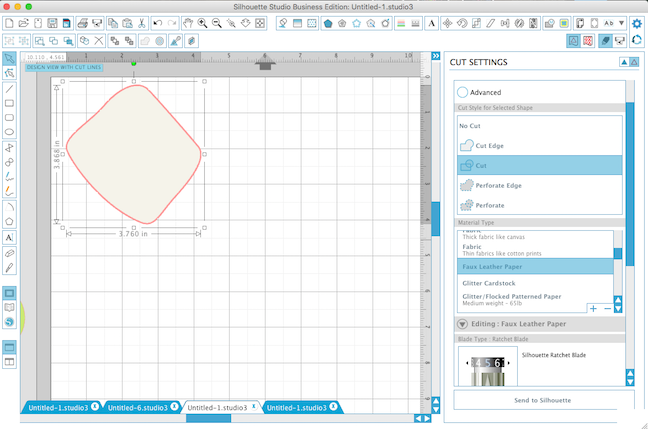
Before I even think of cutting out designs, I will usually create my layout in Silhouette Studio®.
I like to play with the shapes and designs to see how they together before I randomly cut things out. Below you can take a look at the page I designed in Silhouette Studio®.
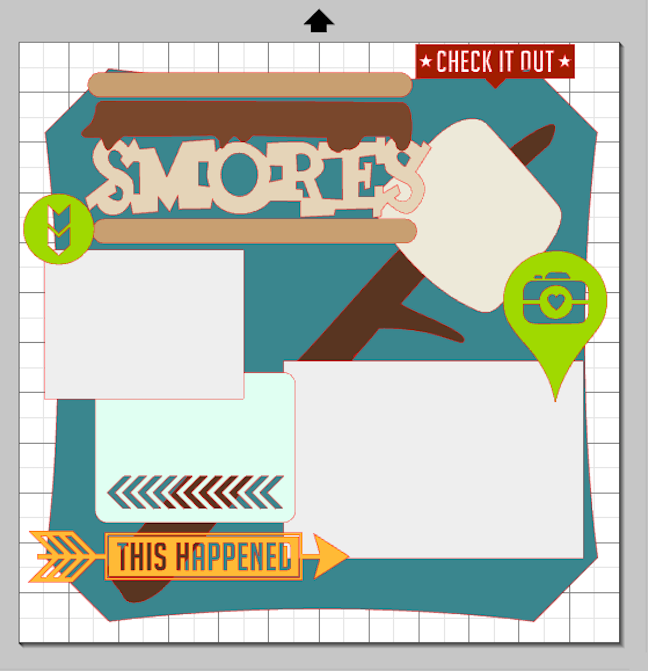
I use the layout for reference as I cut out pieces and then place them as I’m assembling my layout.
Now I am ready to cut all the pieces using my Silhouette.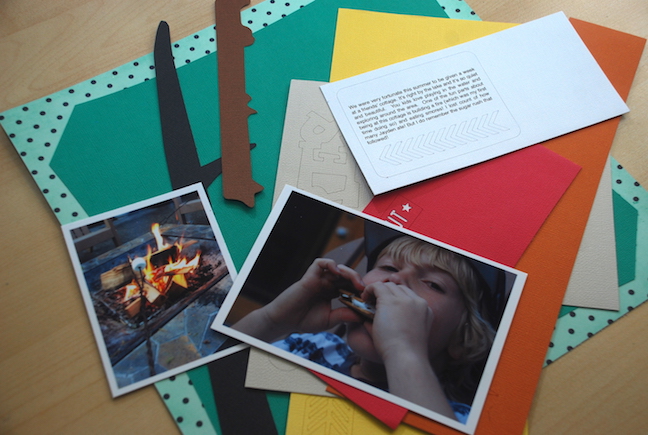
I also wanted to add journaling to the page, so I did that as well. As you can see on this journaling piece I used my printer to add journaling, but handwriting is also a great way to journal.
Now here’s the fun part of my layout.
Using the Faux Leather Paper.
I cut out the marshmallow shape from white faux leather paper and then the ‘graham crackers’ from the natural coloured faux leather paper.
Make sure when you are ready to cut out your shape you select the correct settings under “Material Type (select Faux Leather Paper).” And don’t forget to change the depth of your blade before cutting.
Once these were cut out, I just followed the instructions on the package. You can leave them as is and they will just look like paper, but if you want that leather look you need to hand wash them.
1. I simply ran the pieces under warm water and scrunched them in my hand.
You going for the crinkles and creases in the paper as that gives it an authentic leather look.
2. Then I flattened the pieces out and let them dry.
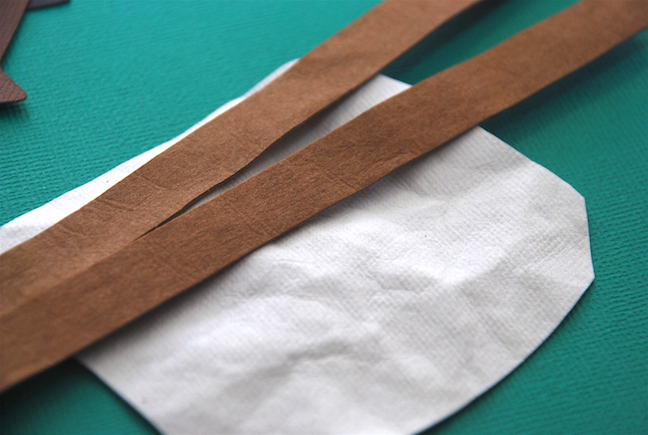
It doesn’t take too long. You can see the difference between the Adhesive Backed Cardstock and the faux leather paper in the picture below.
Once the faux leather paper was dry, it was time to assemble my layout!
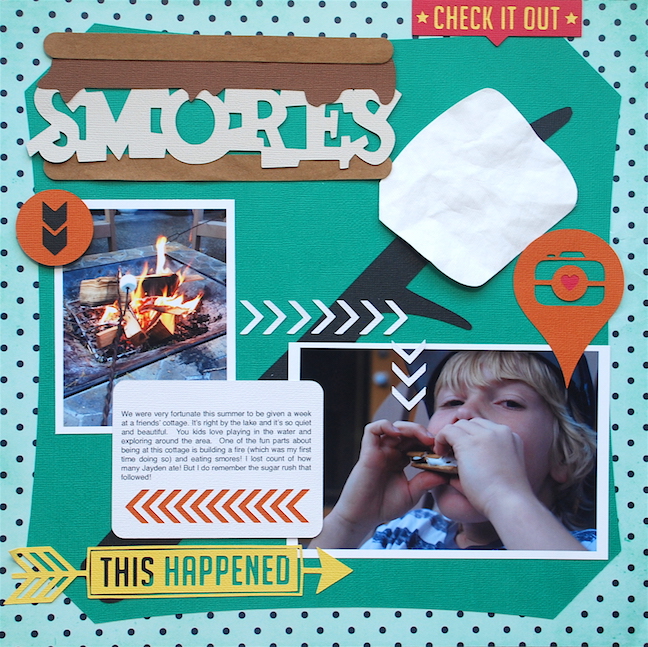
I like the added dimension that it gives. I also like to find ways in which to use some of the negative images of a cut-out design, so I used the little white chevrons/arrows to draw attention to the S’more my son was devouring! (Pretty sure this was his 4th one!)

On some of the cut-out labels I used coloured cardstock on the backside to give a bit more color to the designs.
Here’s the finished project.
On some of the cut-out labels I used coloured cardstock on the backside to give a bit more color to the designs.
Here’s the finished project. Such great memories! Now I’m wishing I could do summer all over again.
I hope that I’ve inspired you to try out some new products that you haven’t yet used. Don’t be shy or scared. It’s so easy to use the faux leather paper and the possibilities are endless.
Kayla Brasher
September 2, 2016
Cute, as always! S’mores are my weakness!
Cari Locken
September 9, 2016
Thanks Kayla.
Kelly Wayment
September 2, 2016
Love it, Cari! I really should do more scrapbook pages since Studio makes it so easy to design and arrange it all before cutting and gluing it down. And I’m with you on the roasted marshmallows. I just like the roasting part and then give them away. 🙂
Cari Locken
September 9, 2016
Yah, they are just so sweet. But fun to make!
janet
September 3, 2016
Wonderful layout and love the look of the faux leather paper! Thank you for highlighting it 🙂
Cari Locken
September 9, 2016
Thanks for the comment Janet.
DSimmons
September 3, 2016
Fun tutorial Cari. Great layout. If you wanted to use your silhouette to cut your photos, what cut settings would you use for the heavier material that photos are typically printed on?
Cari Locken
September 9, 2016
Cutting photos is similar to the thickness of cardstock so I would use that setting. You could also use the setting for textured cardstock as well. Good luck!
Brenda
September 3, 2016
Love the layout and hadn’t heard of the faux leather paper before but love the texture it gave your layout, will have to try that.
Cari Locken
September 9, 2016
I hope that you can give it a try! It is super fun to work with!
Jane
September 4, 2016
I love it, this is the first time I heard about the faux leather paper but I think it’s a good idea to give it a try.
Cari Locken
September 9, 2016
Jane, you will love the faux leather paper. It is so fun & easy to use! Hope you’re able to get some and play with it! 🙂
Rk
September 13, 2016
New to studio, love your layout! Do you have to have the elements already purchased to plan your layout OR you are designing those elements as well?
Cari Locken
September 25, 2016
Hi RK,
The designs I used are purchased from the Silhouette Online Store.