Recently, a blog reader asked a really great question about the Trace tool:
“Everyone says turn on the High Pass Filter but no one explains what the High Pass Filter is. What is actually the function of those sliders? I’d love to see more in-depth instruction/learning of all the functions so that there is purpose behind using them and not simply trial and error.”
If you have ever used the Trace tool you’ll know that, because every image/design/text has different attributes, it requires some trial and error with the sliders to get the trace you want. Let me help speed up the process by showing you the purpose of each of those sliders.
Let’s get to it!
What can I trace?
First things first. Ideally, you want to choose an image that is:
1. High quality
AND
2. Has clear, crisp edges
(However, you can work with images of a lower quality. More on that later in the post.)
Silhouette Studio® doesn’t recognize color when tracing so a black and white image is great, but a high contrast color image can work too as long as it isn’t too detailed. This includes photos, clipart, and text.
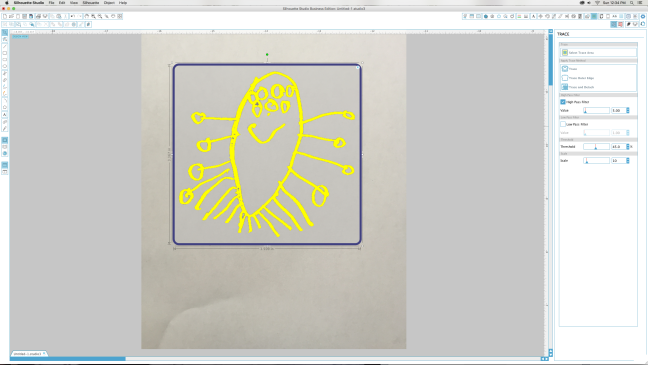
1. After you have imported your image into Silhouette Studio®, open the Trace window and “Select Trace Area.”
2. Drag the box around the area that includes everything you want to trace. The default trace settings will apply automatically, highlighted in yellow, with the High Pass Filter checked.
What Does The High Pass Filter Do?
The High Pass Filter finds the details of the edges of the image and works from the outside in, making a frame around the pieces of the image.
If you move the Value slider lower, the frame becomes thinner, less detailed.
If you move it higher, it finds more detail and usually results in a thicker frame.
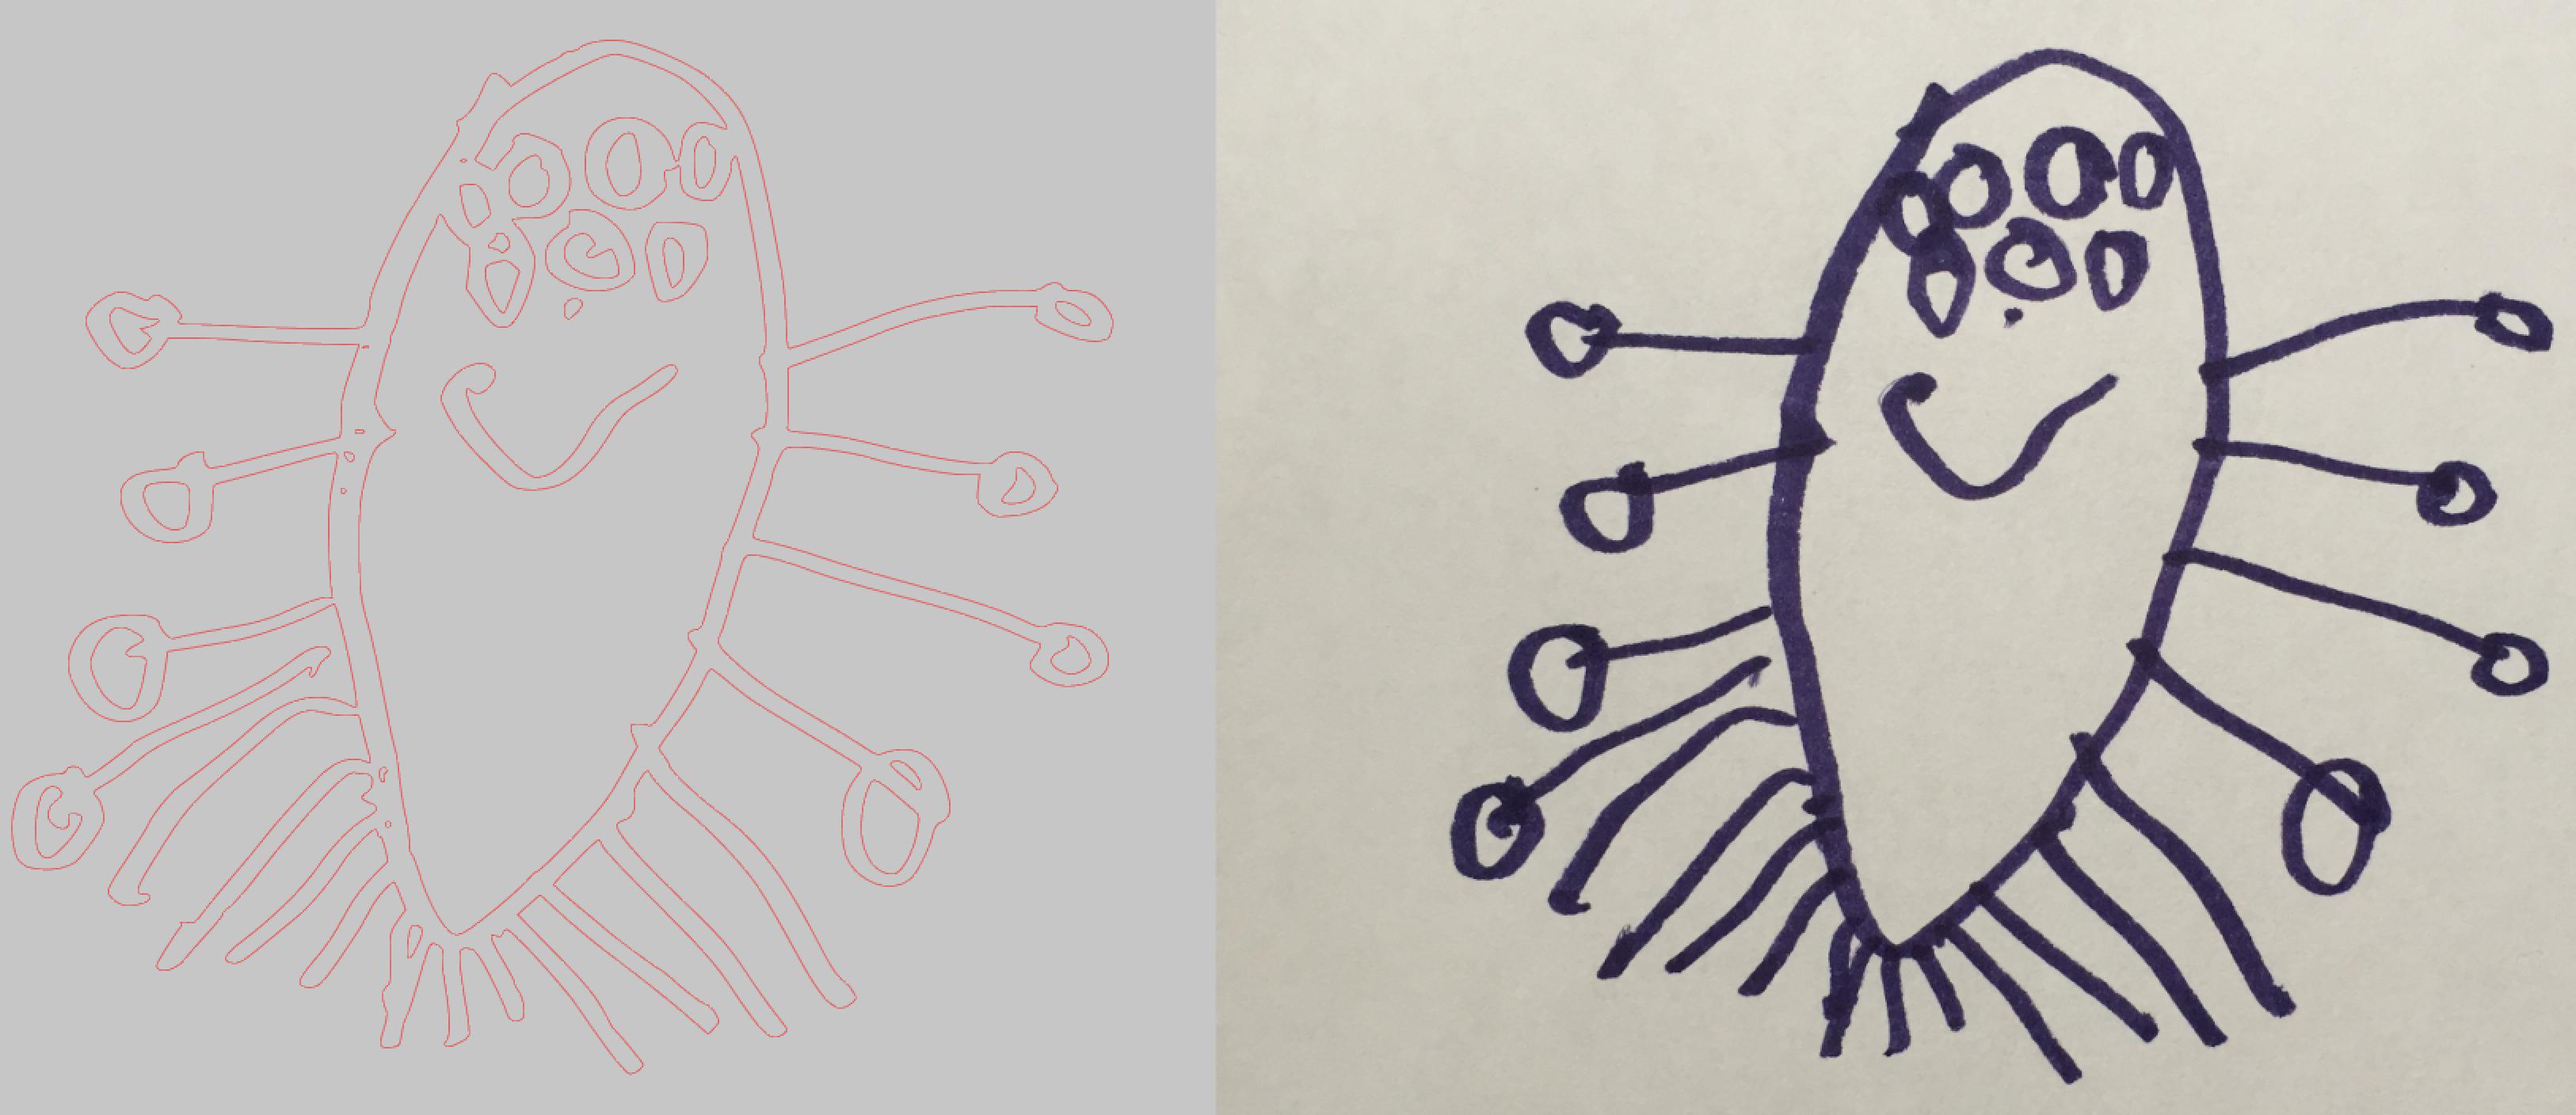
The High Pass Filter is useful when tracing line art—like this awesome monster drawing by my son.
What Is The Purpose Of The Threshold Slider?
How you adjust the threshold slider depends on how broadly you want to apply the trace tool to your image.
The lower the slider, the more dark areas are included.
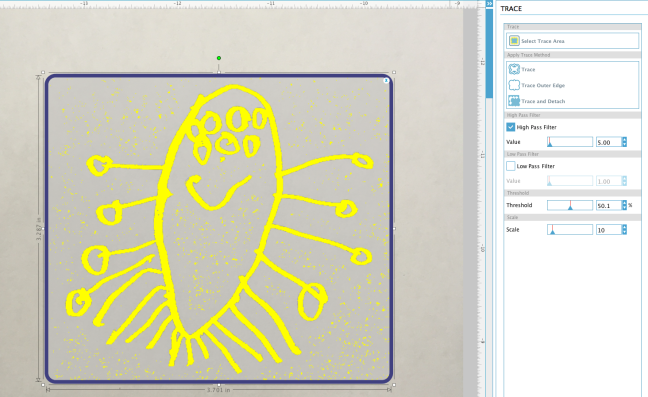
The higher the slider, the more light areas are included.
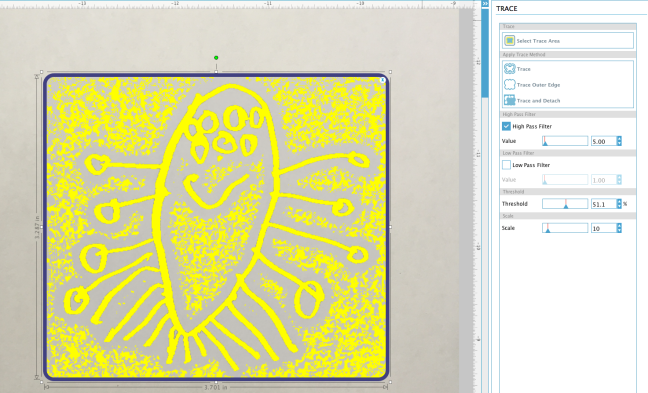
You can see that as I increase the threshold, the more details the trace tool finds in the shadows of the selected area.
Applying The Trace Tool To Your Highlighted Image
There are three ways you can apply the Trace tool:
- Selecting “Trace” will cut all of the edges inside and outside of the image
- “Trace Outer Edge” traces just the outer edge.
- “Trace and Detach” works like a cookie cutter and punches out the traced image.
All of these methods come in handy for printing and cutting stickers, cake toppers, and anything else you want to cut in one piece.
I used the basic “Trace” option, and this is what I ended up with:
Now I can cut out the design and use Silhouette Heat Transfer Material to make him a t-shirt or pillow of his very own monster.
What Does The Low Pass Filter Do?
The Low Pass Filter works the opposite of the High Pass Filter. Tracing begins at the center of your image sections working its way out. It also smooths the tracing lines, resulting in a cleaner cut (see the example below).
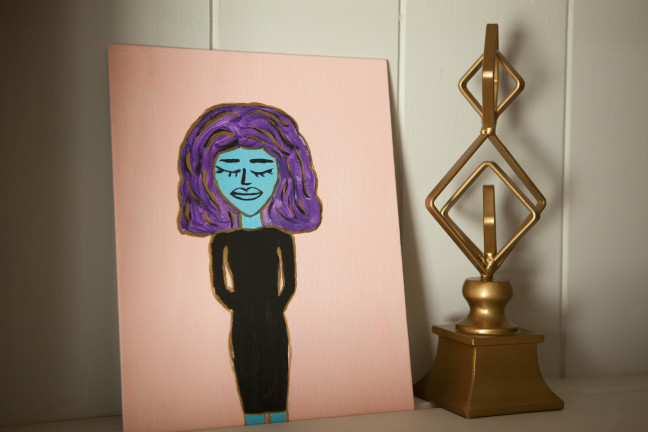
This painting by my daughter serves as another a good example of how to use the Low Pass filter. I want to Print & Cut this eccentric blue lady with purple hair without the pink canvas behind her.
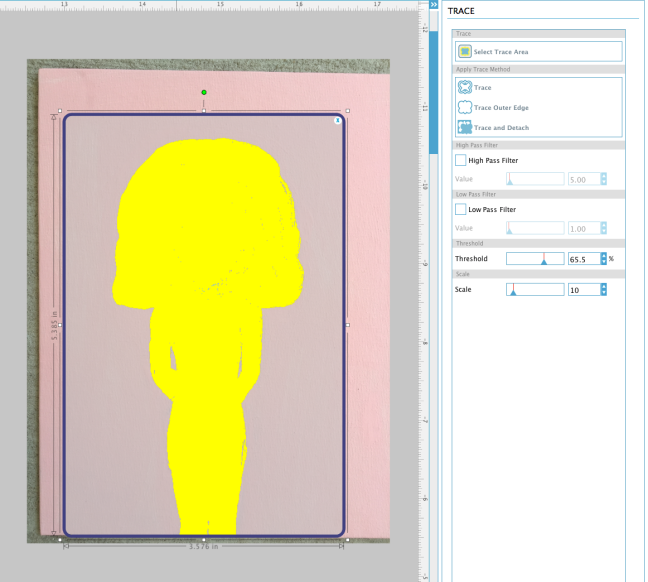
1. After I selected my trace area, I unchecked the High Pass Filter because I don’t want a “frame” around her.
2. I bumped up the threshold to include the entire image, but stopped before it included the space between her arms and her torso.
3. I selected “Trace and Detach” to create the cut lines. “Trace and Detach” punches her out so I can make an entire sheet of stickers if I want to, or one big one for a notebook cover.
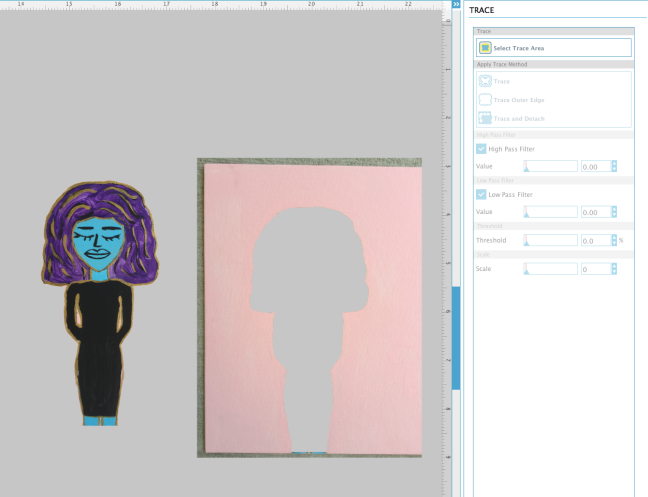
Now the design is ready to cut using PixScan™. (Click here to for a tutorial on Silhouette’s PixScan™ technology.)
Using The Trace Tool To Create Personalized Projects
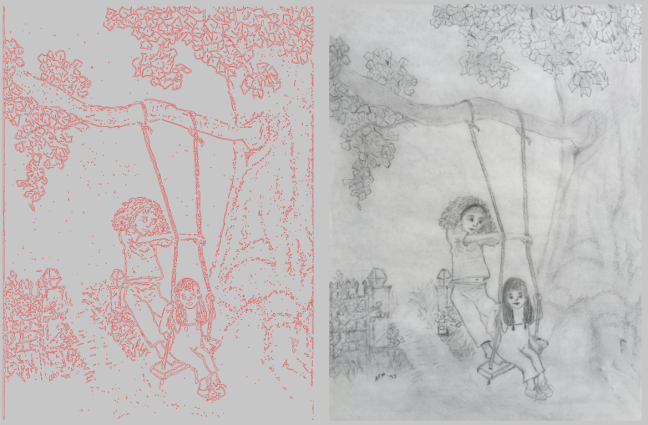
This is a pencil sketch my older sister gave me during her first year of college, away from home. (She’s the curly-haired one.) I wanted to turn it into etched metal art to give to her.

The pencil sketch might not be an ideal image to trace because it is borderline busy and has a lot of shadows and I wanted to include some of background elements, but I tried it anyway.
To pick up those tiny, busy details, I used the Scale slider to adjust for the low quality pixels.
Controlling The Size Of The Trace Pixels With The Scale Option
The Scale slider controls the size, and as a result, the smoothness of the pixels in your image. It’s usually only necessary to adjust the Scale slider if your image is low quality, highly pixelated, or extremely busy, like the pencil sketch I used here.
I traced the pencil sketch in Silhouette Studio®, sent it to my Curio, and here’s how it turned out! 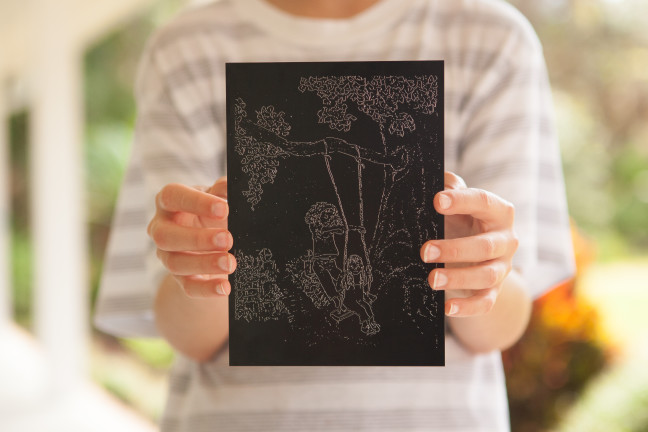 (Learn how to metal etch with your Silhouette Curio™ here.)
And this is just the tip of the iceberg with the Trace tool. But now that you know the basics, you are ready to play around with it and get crafting!
How do you use the tracing tool?
Kate
September 8, 2016
I love the trace tool. It’s easy and very powerful. I use Trace and Detach for print and cut (my last project was all 150 +1 of the original Pokemon). I’ve made cutting files of other images. I’m impressed at the quality of the final results.
Thanks for the info about the slider. A few times I’ve had the program slow down so much that I thought the program had crashed when trying to trace an image without a clear boundary. I’ll try playing with that.
Dawn McCloskey
September 9, 2016
Like many users, I didn’t understand the purpose/function of the sliders. Thanks for the detailed explanations of the sliders; I appreciated your graphic examples, as well. I had wondered why the program would be “speedy” sometimes and other times go so smooth that, I too, thought the program had crashed. I appreciated your post – thanks!
Kelli
December 16, 2016
That’s a wise answer to a tricky qusioetn
Dottie J
September 9, 2016
Finally! I’ve had these questions ever since the first person said to turn on the High Pass Filter. When I asked why, she said she didn’t know but it worked. Thanks so much for these clear explanations. You have sparked some ideas for a few new projects and experiments. Thank you!
Sonia
September 9, 2016
Thank you. I love the in depth explanation of it. I would love to see more of these instructions.
Sally
September 10, 2016
Great tutorial. Thank you. Look forward to more explanations as clear and concise as this one.
Angie
October 6, 2016
Hi, I am trying to trace a image of the Kentucky State Police patch. My husband is a Trooper and I would like to put this on a coffee cup. I have tried to follow several tutorials and its apparent that I am not doing something right.
Janet Henderson
October 19, 2016
Hi Angie!
Try this tip: In Silhouette Studio, do two separate traces of the patch and then combine them. Some parts of your image may need a High Pass Filter trace, while others may need a Low Pass Filter. Let me know if that works!