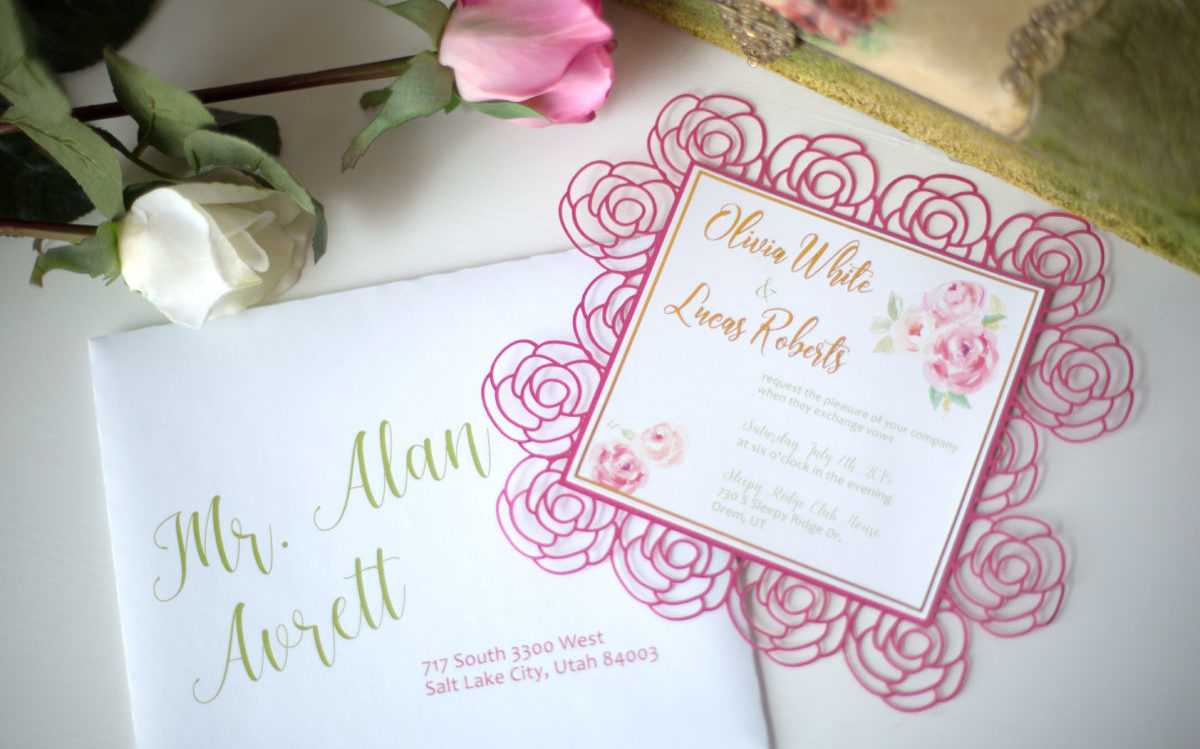
Have you ever wanted to make your own unique wedding invitations? The Silhouette CAMEO® and Silhouette Studio® software will help you make something beautiful that all of your guests will be sure to love. To make your own invites patterned after ours, follow along with the tutorial below!
Supplies Needed:
- Silhouette CAMEO®
- Silhouette Cameo Cutting Mat 12 in. x 12 in.
- Silhouette Cameo Cutting Mat 12 in. x 24 in.
- Silhouette Cutting Blade
- Silhouette Studio®
- Metallic vinyl – gold
- Cardstock – white (8.5 x 11)
- Cardstock or text paper – white (11 x 17)
- Metallic Paper – Azalea
- Printer
- Design ID #243829
- Design ID # 174193
- Design ID #175372
- Design ID # 243943
- Design ID #69054
- Design ID #245584
Step One: Preparing the Invitation Design
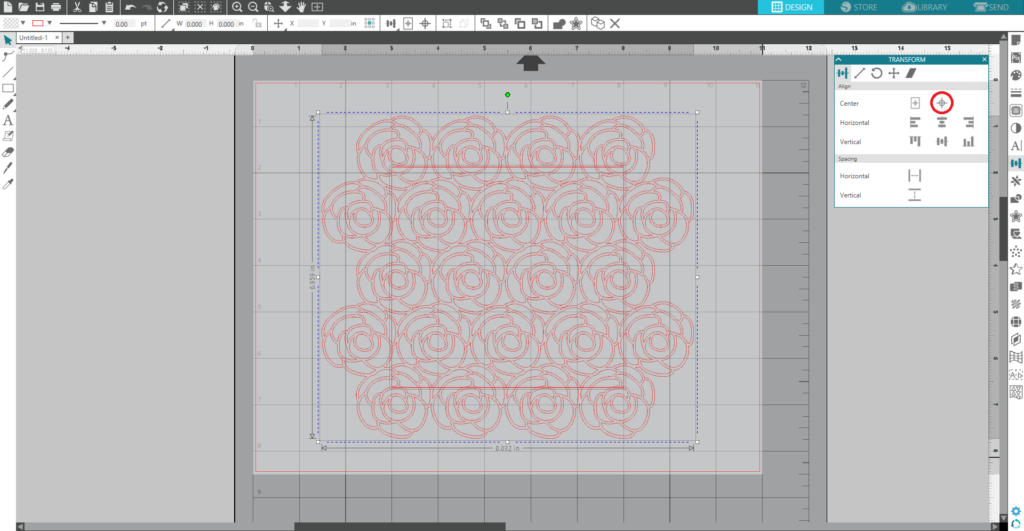
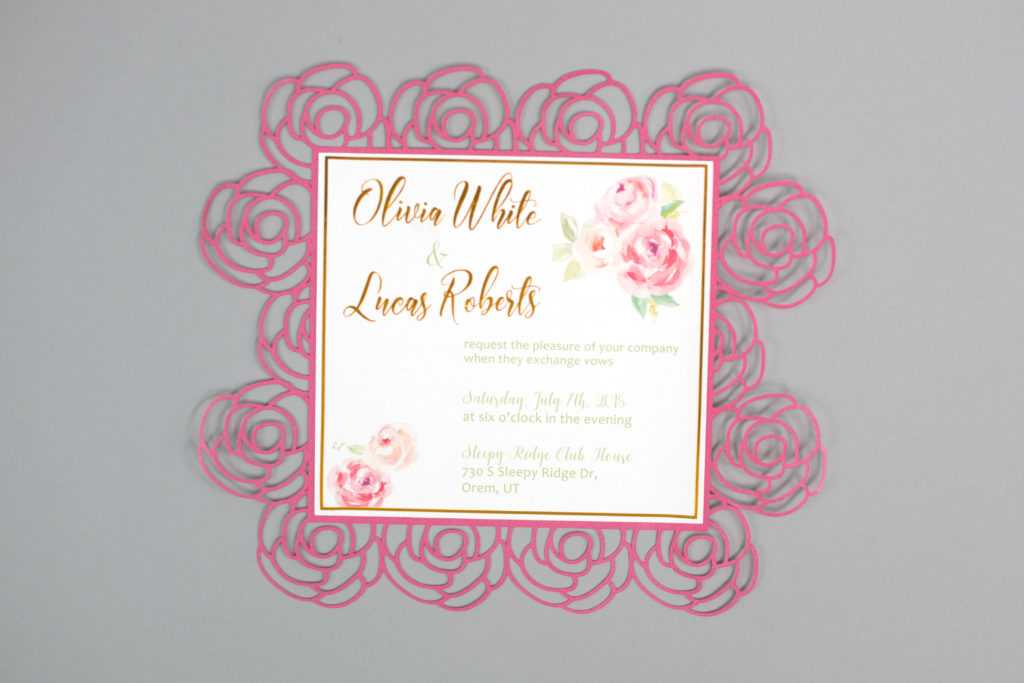
1. Open the Rose Background design (Design ID #243829) in Silhouette Studio®. It will be the base of our invitation. For this project, we need to resize the design to 6.5 in. x 7.5 in. Draw a rectangle (4.75 in. x 5 in.) and place it in the middle of the Rose Background design. To center the rectangle in the Rose Background design, you need to go to the Transform panel by clicking on Transform icon, which is located on the right-hand side of the screen. Select the rectangle and the background, and click on an icon that looks like a target in the Transform panel.
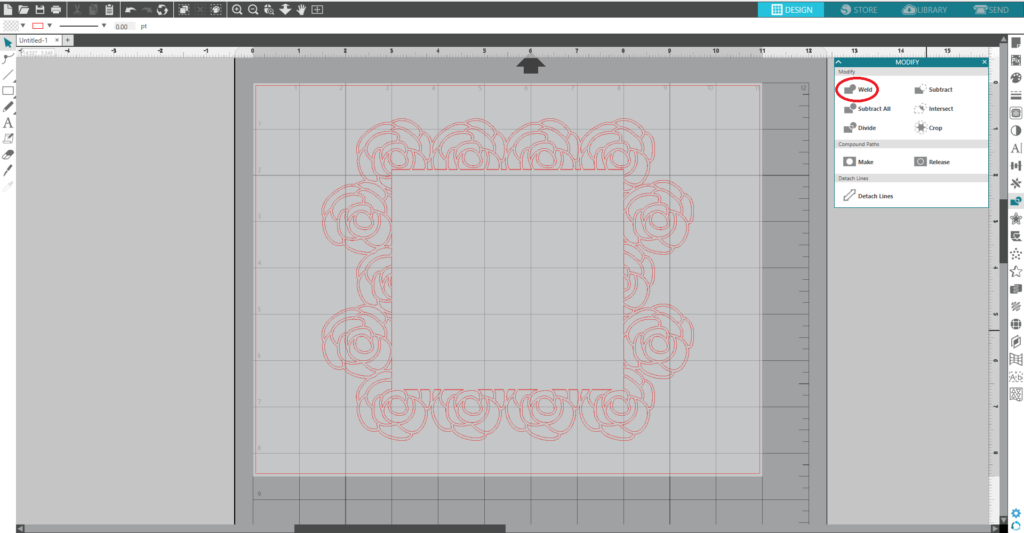
2. Select both designs, go to the Modify panel and click on the Weld icon to embed rectangle into the background.
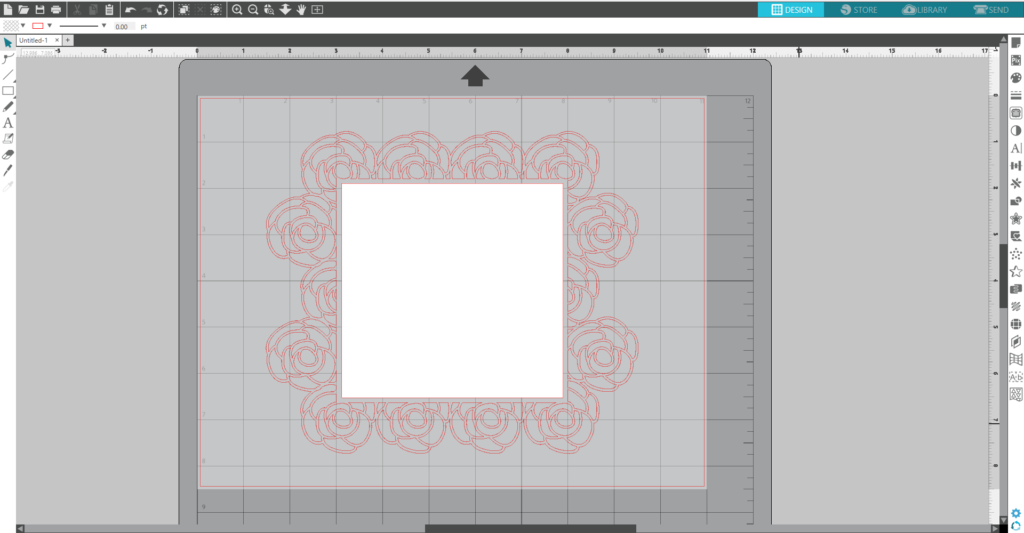
3. Draw a rectangle inside the base (color it in white for your convenience).
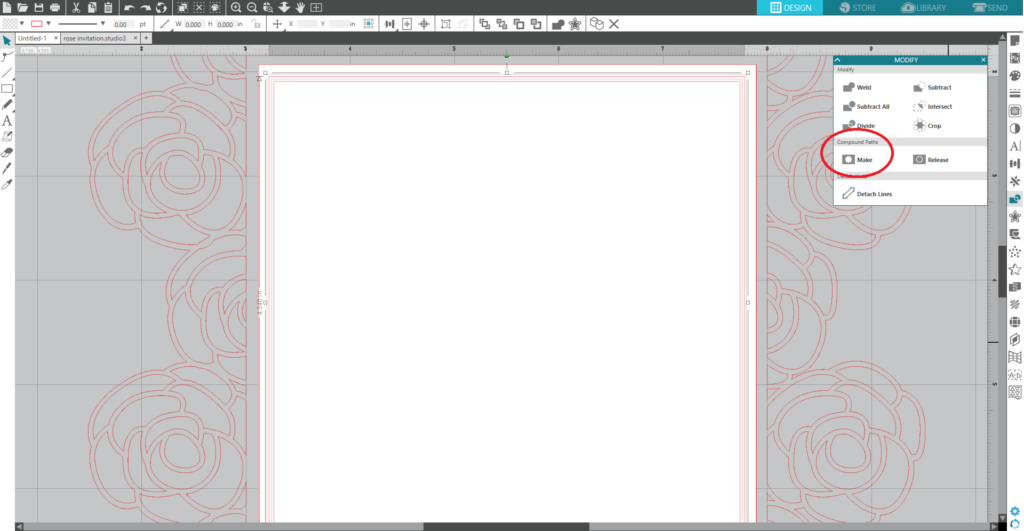
4. Inside this white rectangle, draw two smaller rectangles to create the frame. Select these two rectangles, right-click, and select “Make Compound Path.” You can also access the compound path feature through the Modify panel.
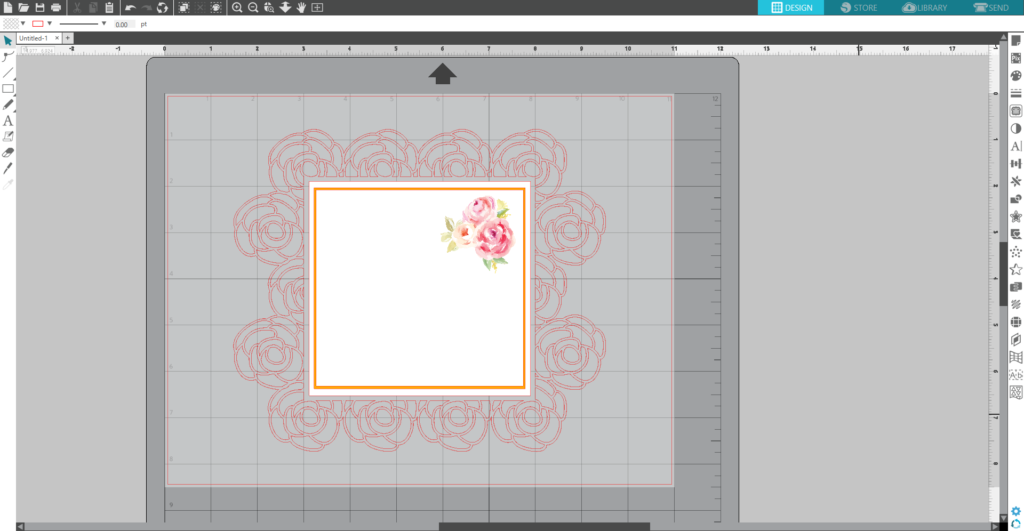
5. Open the Watercolor Rose Bouquet design (Design ID #174193) in Silhouette Studio®. Resize it, ungroup it, and delete the cut line. (Tip: When you work with such heavy designs it is better to turn off Antialiasing, which is located in Preferences in the Display menu.) Place the design in the right corner of the insert.
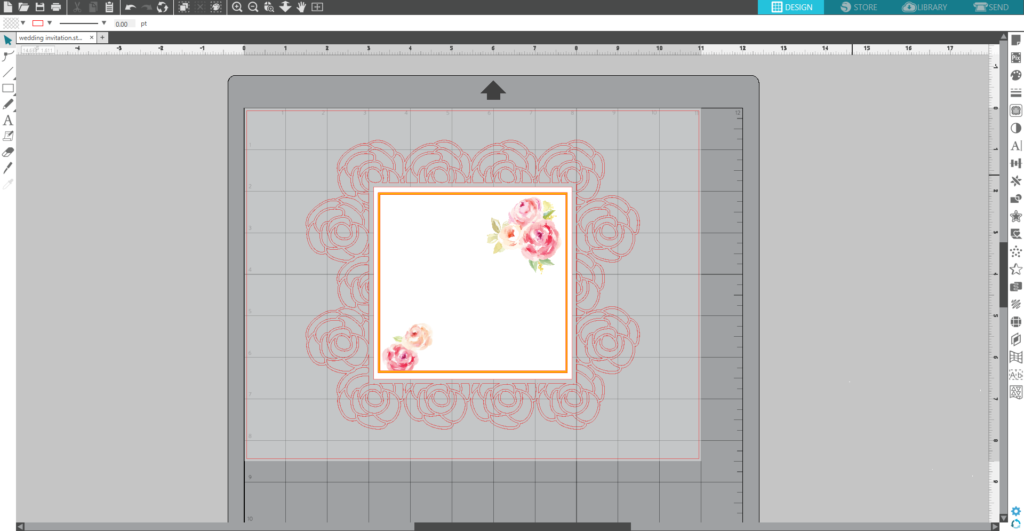
6. Open the Roses Are Red Watercolor Flower Pattern design (Design ID#175372) in Silhouette Studio®. Resize it and place it aside. We will need two roses in the left bottom corner of this design. You can erase everything around them or go to the Trace panel, select Trace Area, move the threshold bar up to 100%, click outline, and trace the outer edge. Then Select All, go to the Modify panel, and click Crop. Delete any unnecessary parts and erase any pieces if needed. Place roses in the bottom left corner of the design.
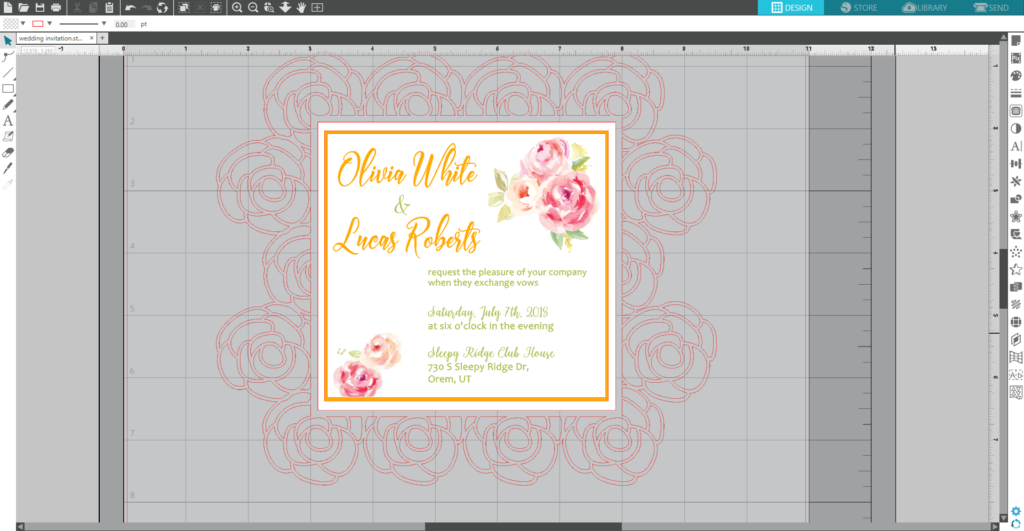
7. Download the Carlington font (Design ID #243943) and follow the font installation instructions. Type the names of the bride and groom and any other information you want to emphasize using this font. For the rest of the information, we used the Candara font, which is most likely one of the fonts on your computer.
Step Two: Preparing the Envelope Design
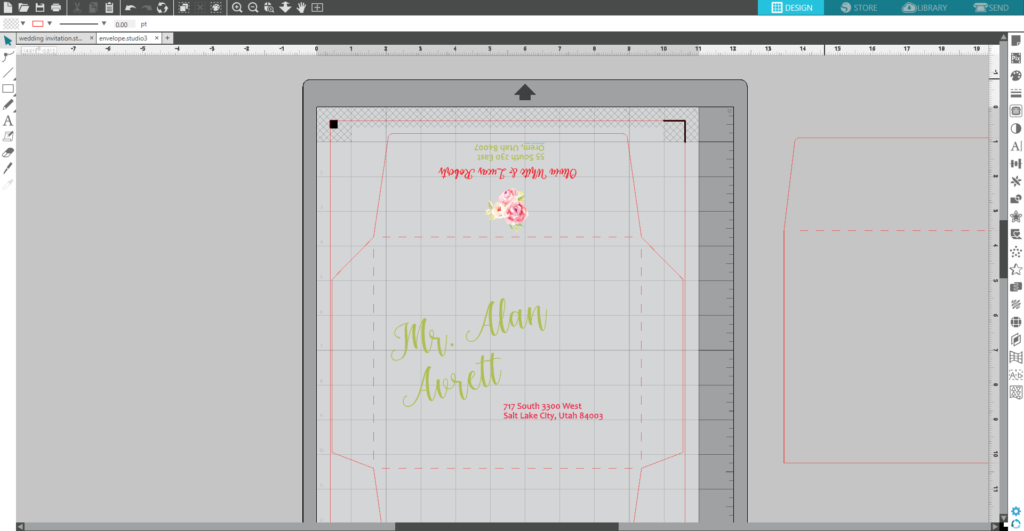
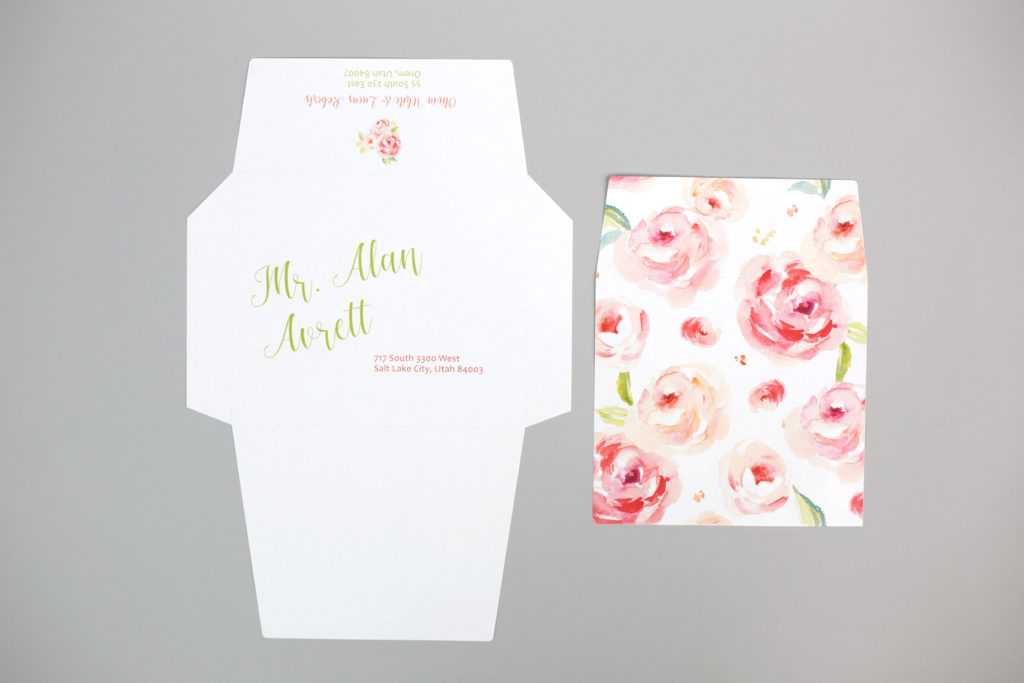
1. Open the A2 Envelope Flap design (Design ID#69054) in a new document. For this project, we will print on the 11 in. x 17 in. paper. So resize the page size to 11 in. x 17 in. and choose the CAMEO 12 in. x 24 in. cutting mat. In the Page Setup window, turn on the registration marks by setting the style to Type 1. Resize the envelope so that the invitation will fit in it and so the design fits inside the registration marks. If a design is left outside of those marks, then it will not be cut properly. Add the recipient and the bride and groom’s address. For the envelope, we used the Bigshine (Design ID #245584) and Candara fonts. Add the Watercolor Rose Bouquet design above bride and groom’s address.
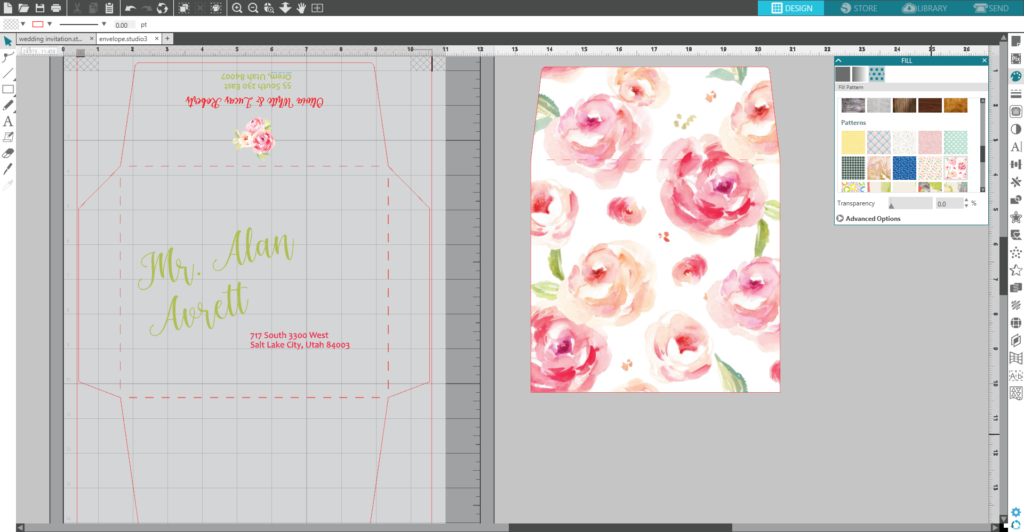
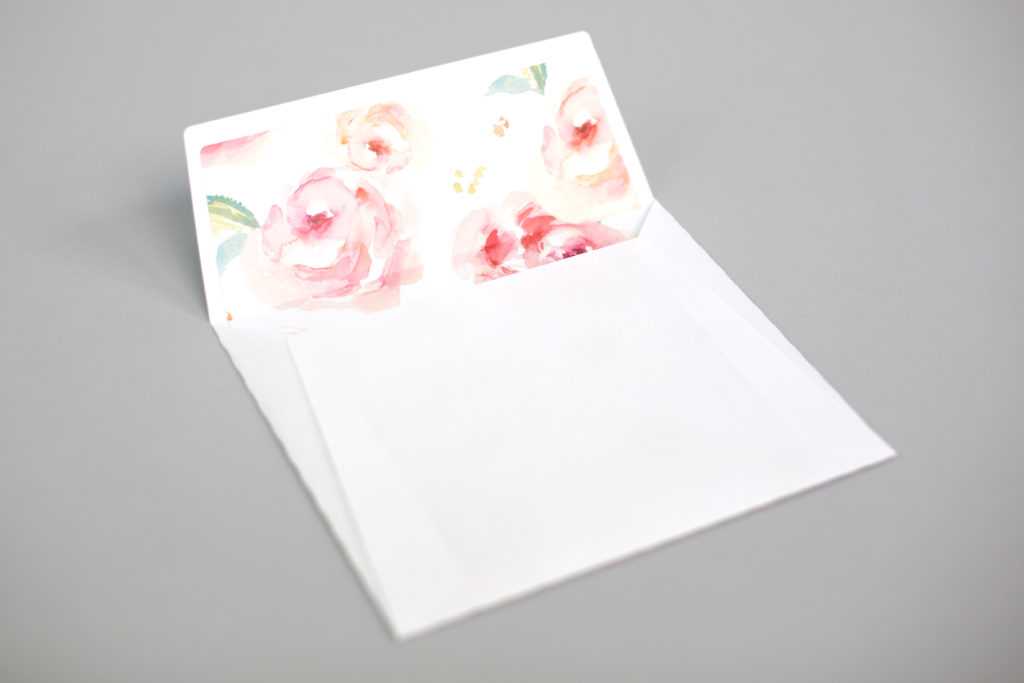
2. Also you can fill the envelope insert with a pattern. To do so, select the envelope insert, go to the Fill panel, click on Fill pattern icon, scroll down, and click on the desired pattern.
Step Three: Cutting the Designs
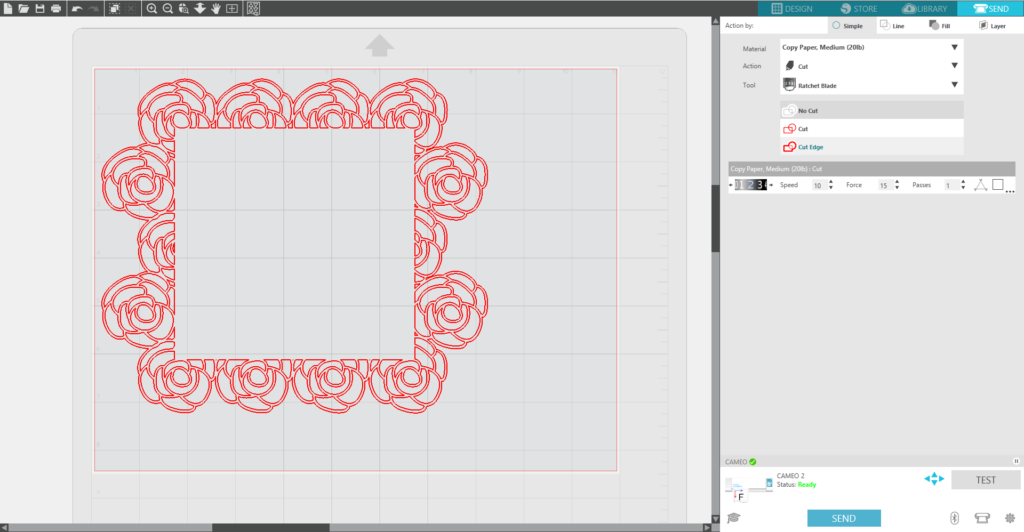
1. Place the rose background on the working space. Place the Azalea metallic paper on the cutting mat and load it into the Silhouette machine. In Silhouette Studio®, go to the Send tab, choose “Copy Paper, Medium” as the material, and click Send.
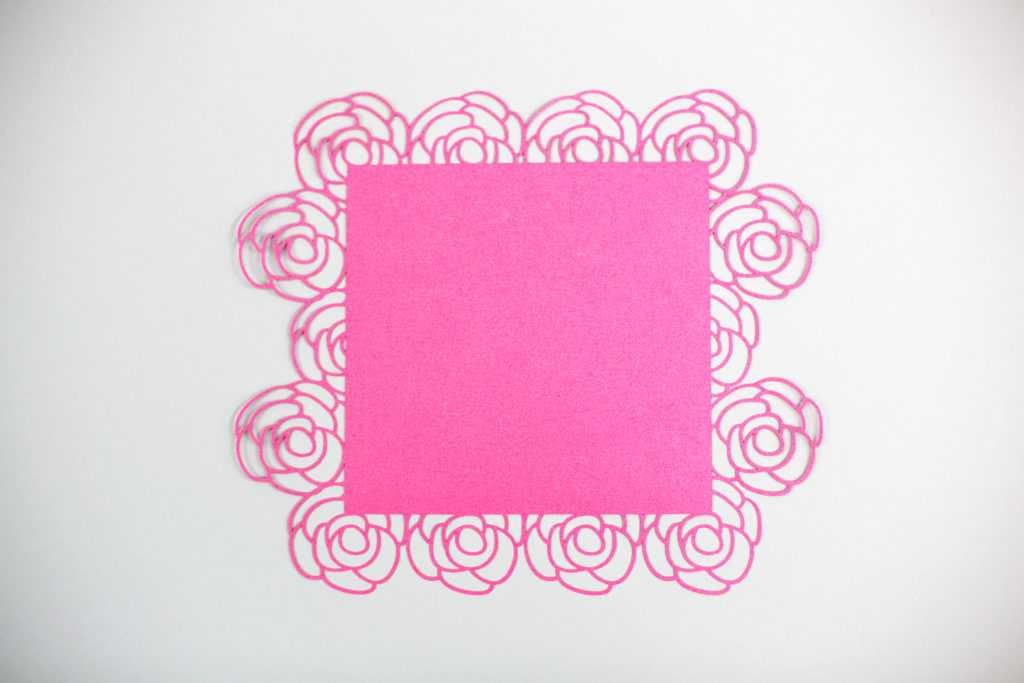
2. Remove the cut design from the cutting mat.
3. Place the frame and the bride’s and groom’s names on the work space. Place the gold metallic vinyl on the cutting mat and load it into the Silhouette machine. In Silhouette Studio®, go to the Send tab, choose “Vinyl, Metallic” as the material, and click Send.
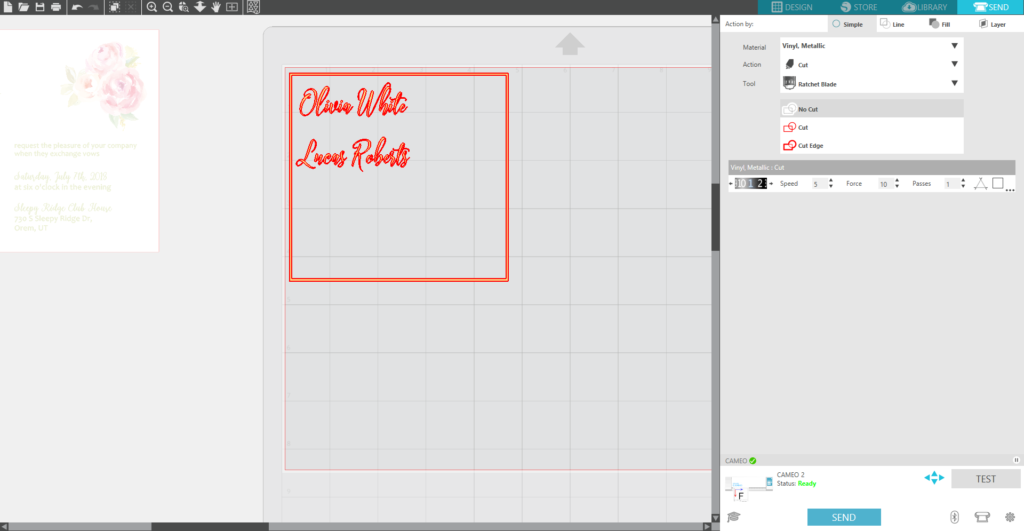
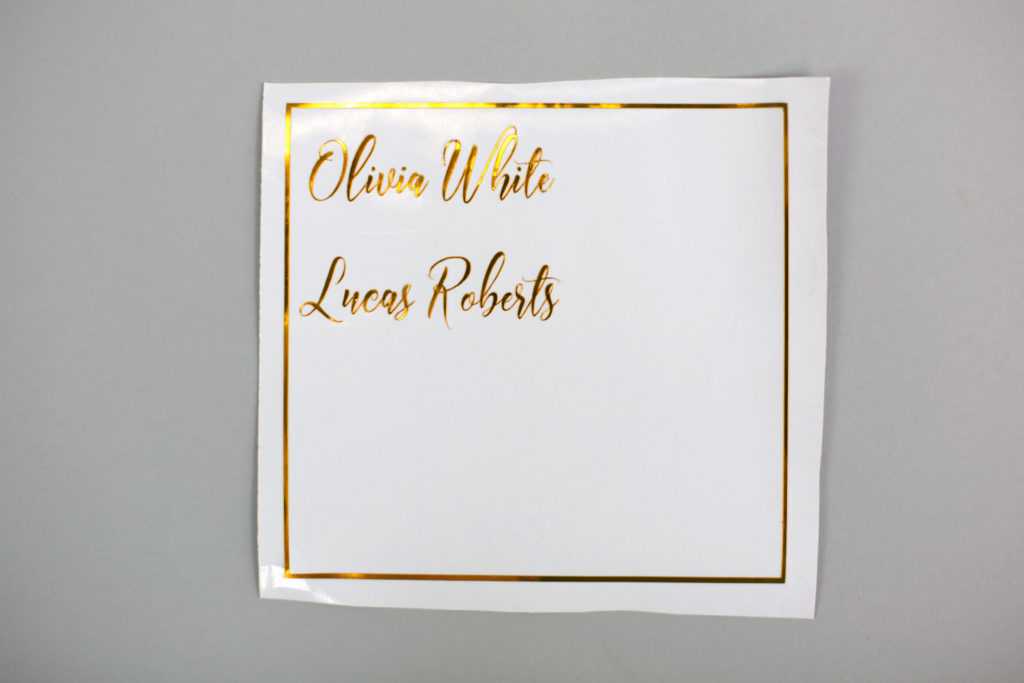
4. Remove the cut design from the cutting mat and weed the vinyl.
5. Place the remaining design on the work space. Make another copy and add registration marks.
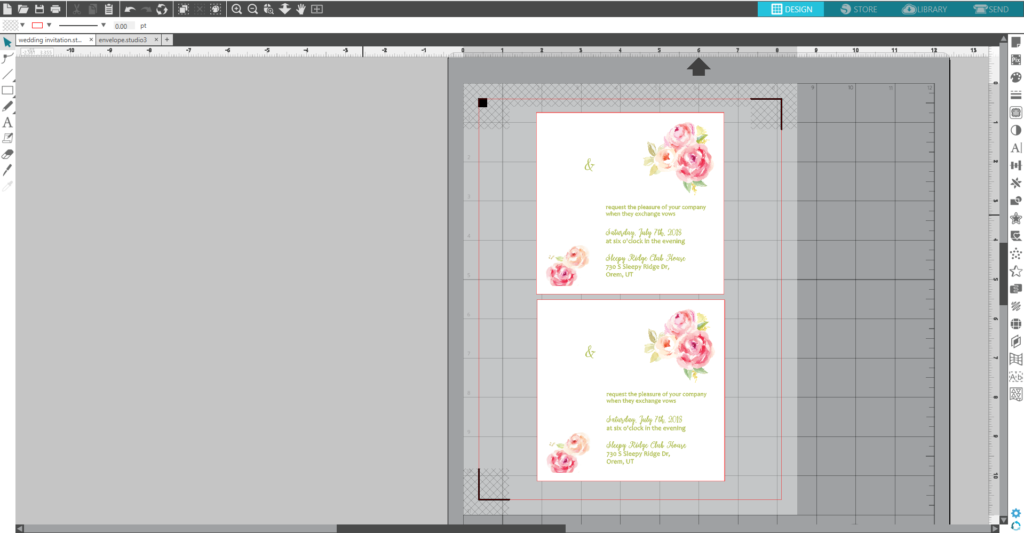
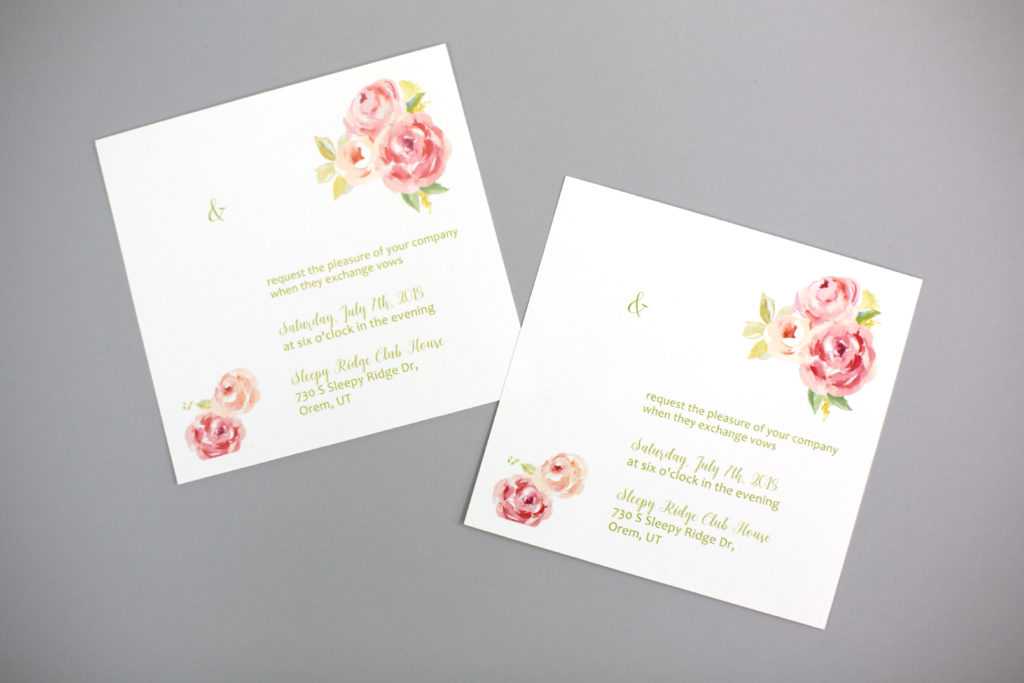
6. Print the design on white cardstock or text paper.

7. Place the printed sheet on your mat and feed it into your Silhouette machine. In Silhouette Studio®, go to the Send tab, choose “Cardstock, Plain” or “Copy Paper” (it depends on material you cut) as the material, and click Send. Remove the cut designs from the cutting mat.
8. Print the envelope design on 11 in. x 17 in. paper, place it on the CAMEO 12 in. x 24 in. cutting mat and feed it into your Silhouette machine. In Silhouette Studio®, go to the Send tab, choose “Copy Paper” as the material, and click Send.
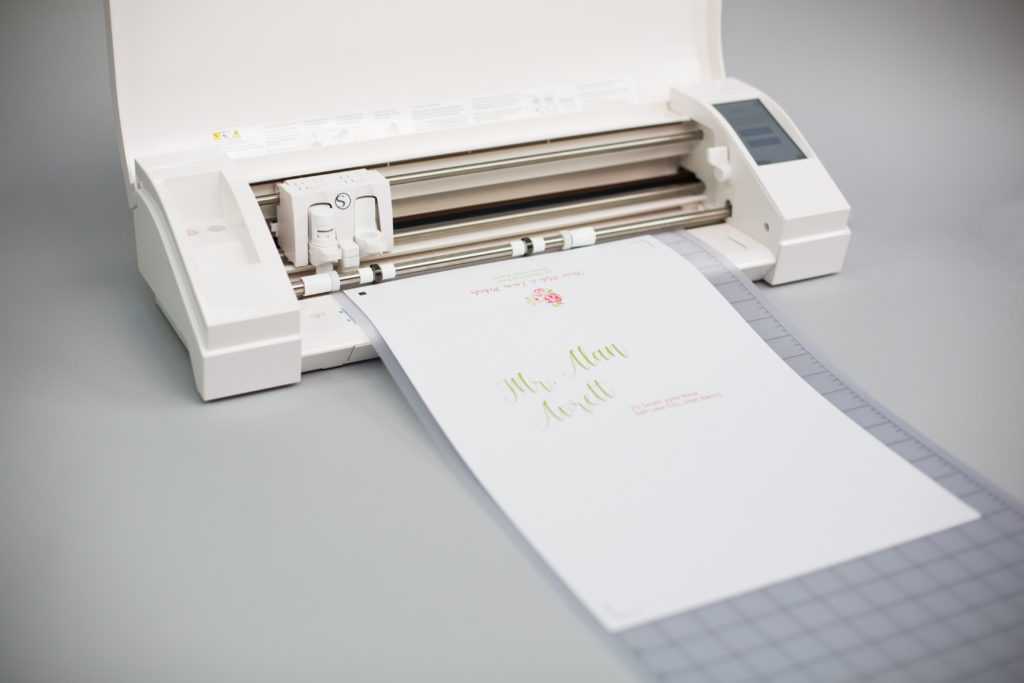
9. Print envelope insert on 11 in. x 17 in. paper, place it on the CAMEO 12 in. x 24 in. cutting mat and feed it into your Silhouette machine. In Silhouette Studio®, go to the Send tab, choose “Copy Paper” as the material, and click Send.
Step Four: Assembling the Invitation and Envelope
1. Using transfer tape, apply the vinyl on the printed part of the invitation.
![]()
2. Glue the printed part to the rose background.
3. Glue the envelope insert on the envelope and assemble the envelope.
Congratulations on finishing your invitation!
Kelly Wayment
February 13, 2018
These are gorgeous! So elegant!
Marilyn
February 14, 2018
This is stunning! Thank you!
Mary
February 17, 2018
Thanks for the inspiration. I’m going to make similar cards, not wedding invitations.