
Winter is now officially underway! We’ve been trying to come up with some great snow day projects, and we think this one is a winner. Of course the next thing we want to do is share it with you! Follow the instructions below to make your very own winter-themed window clings.
Supplies Needed:
- Silhouette CAMEO® or Silhouette Portrait® or Silhouette Curio™
- Silhouette Cutting Mat
- Silhouette Cutting Blade
- Silhouette Studio®
- Window Cling – Clear or Window Cling – White
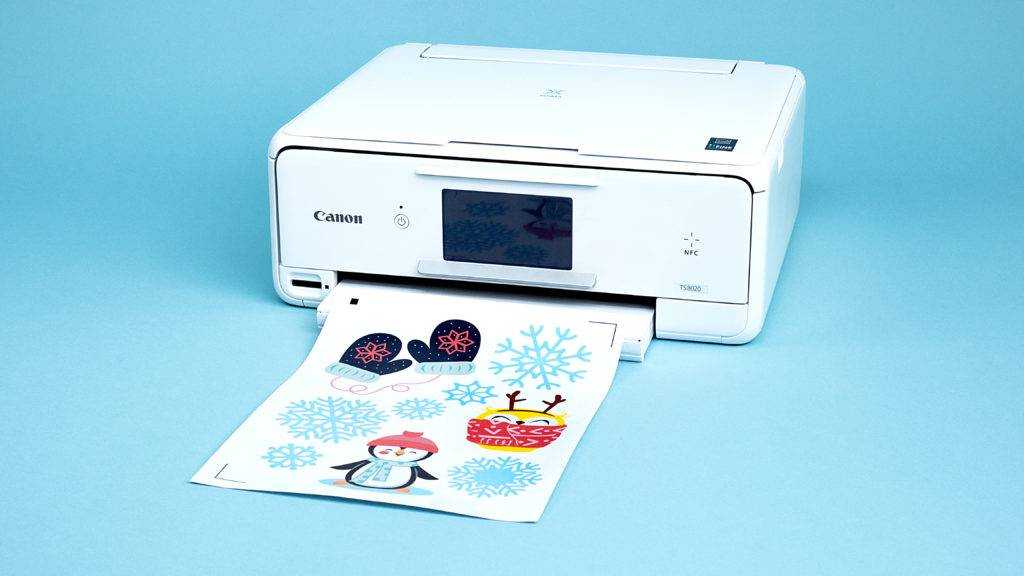
- Printer
- Design ID #239215
- Design ID #238165
- Design ID #229608
- Design ID #14304
Step One: Preparing the Designs to Cut
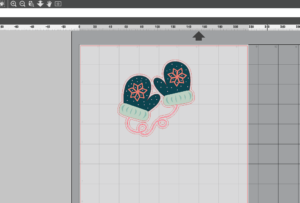
1. Open the Winter Mittens design (Design ID#239215) in Silhouette Studio®. Resize it, ungroup, and delete one pair of mittens. Add an offset line to the design. To do that, select your image. Then go to the Offset panel or right-click your image and select “Offset.” You can choose to have the corners of your offset image either sharper or softer so that they are more bubbly or round in appearance. Clicking the offset action button provides a starting point. You can fine-tune the offset effect to be as wide or as skinny as you’d like with the slider bar or by typing in a specific measurement. Once your offset looks how you would like, click “Apply.”
2. Open the Smiling Penguin design (Design ID #238165). Ungroup, resize, and fill pieces with colors. (Click on your object to select it. Then go to the Fill panel and select a desired colors from the basic color option squares.) If you want to use the same colors we used in the mittens design, the dropper tool will help to duplicate the desired color. Select the object you want to fill first. Open the Fill Color panel, and select the eyedropper. Hover over the image, and you’ll see a small box with the color sample appear. This is your swatch of color. Once you see the color you want in the box, click; the item you had selected should fill with that color you just selected.
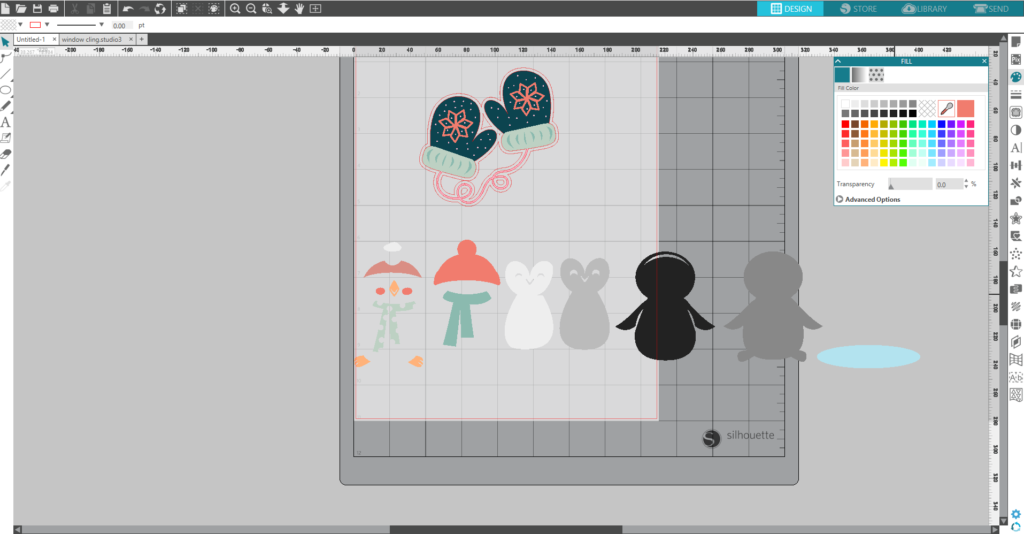
After you have filled all parts with your desired colors, you can assemble the penguin design (remember to group it by selecting all of the pieces, right-clicking it, and selecting “Group”) and add an offset line. Repeat the same steps for the Owl design (Design ID #229608).
3. Open the Snowflakes design (Design ID #14304). Some snowflakes have inner parts that are not embedded into the snowflake body. In order to embed them, we need to select all parts of the snowflake, right-click, and select “Make Compound Path.” Compound paths also can be accessed through the Modify icon where the Silhouette Studio® design tools.
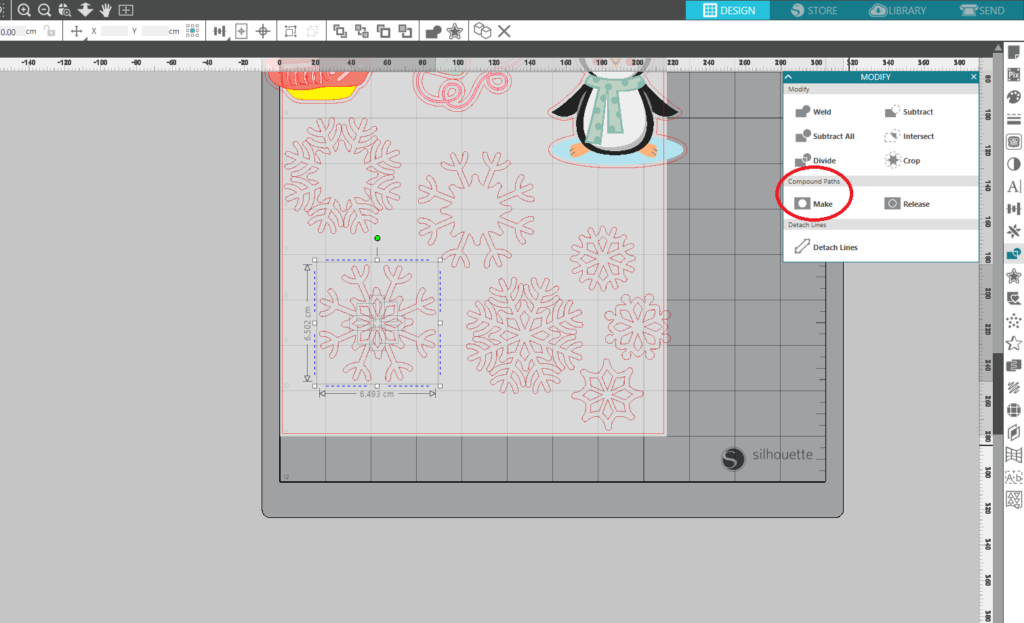
Fill in the snowflakes with your desired color.
Step Two: Print & Cut the Designs
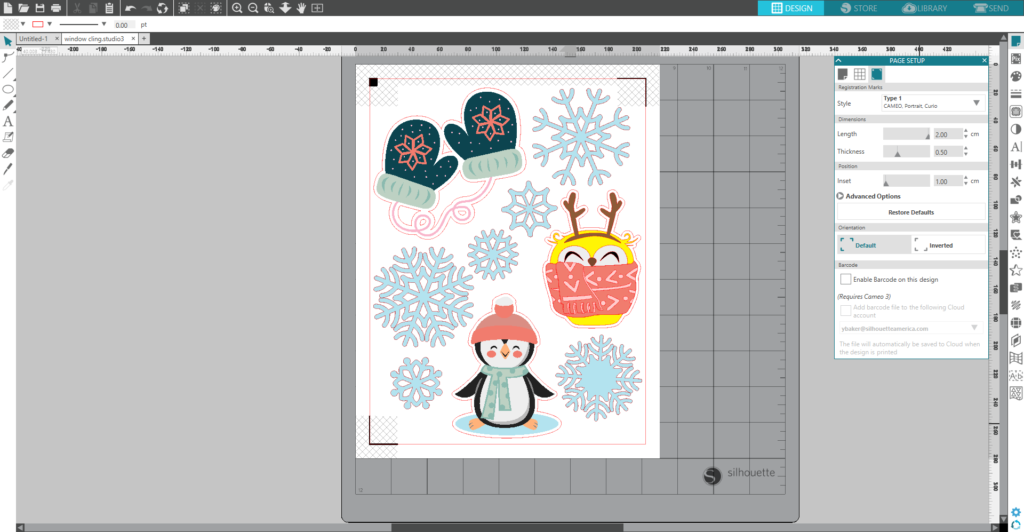
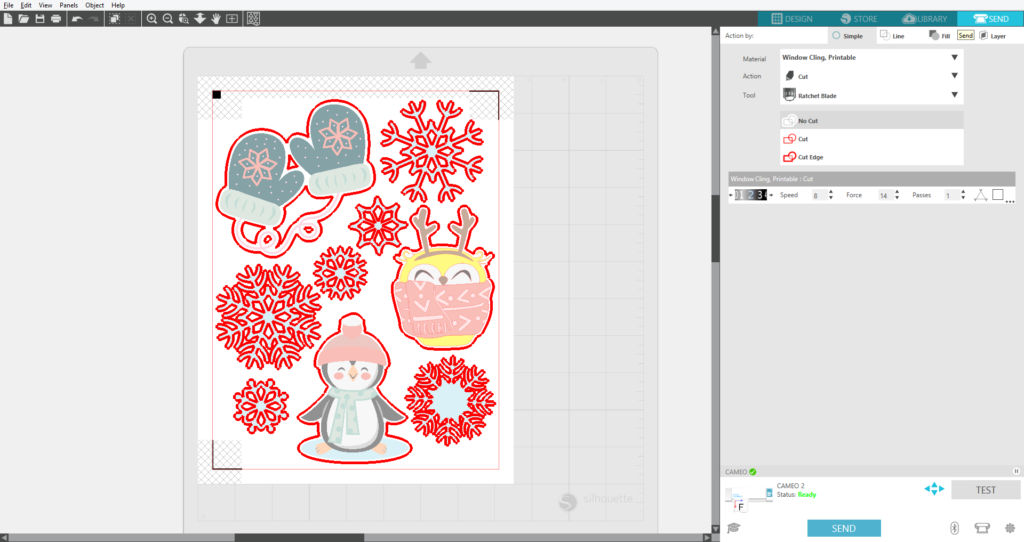
1. In the Page Setup window, turn on the registration marks by setting the style to Type 1.
2. Arrange your designs so that they fit inside the registration marks. If a design is left outside of those marks, then it will not be cut properly.
3. Feed the Window cling material into your inkjet printer. Make sure you print on the glossy side. Before you attempt to remove the sheet from your printer, make sure that the ink is dry. (This could take an hour or two.)
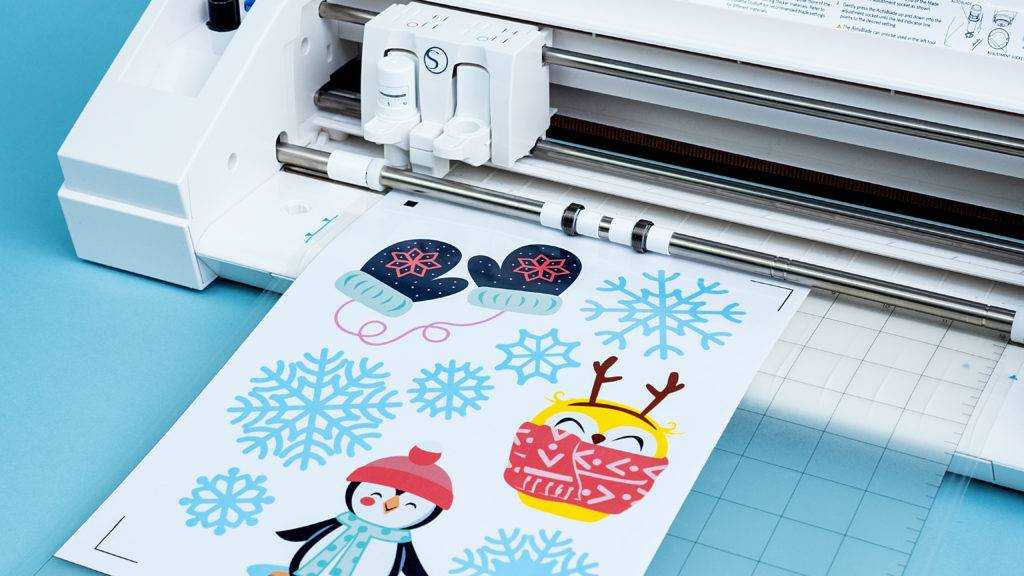
4. Place the printed sheet on your mat and feed it into your Silhouette machine.
5. In the Send panel, choose “Window Cling” as your material type. Make sure your Silhouette machine will just cut out the outline of your shapes by selecting the Cut Edge option. Adjust your blade if necessary and send your cut job to your Silhouette machine. (Tip: If your machine is having trouble reading the registration marks, try manually moving the blade over the black square using the blue arrows in the Send panel.)
6. Remove your sheet from the cutting mat, and peel away your designs. In this project, we used clear window cling. Something cool thing about this material is that you can place the window clings on one side and you can see the images from both sides. Another good thing is that the material is reusable, so you can pull them out again for next winter!

We hope you a fun time decorating your windows for parties or holidays!
Tell us about your window cling projects!
Taysha Riggs
January 18, 2018
What printer is pictured?