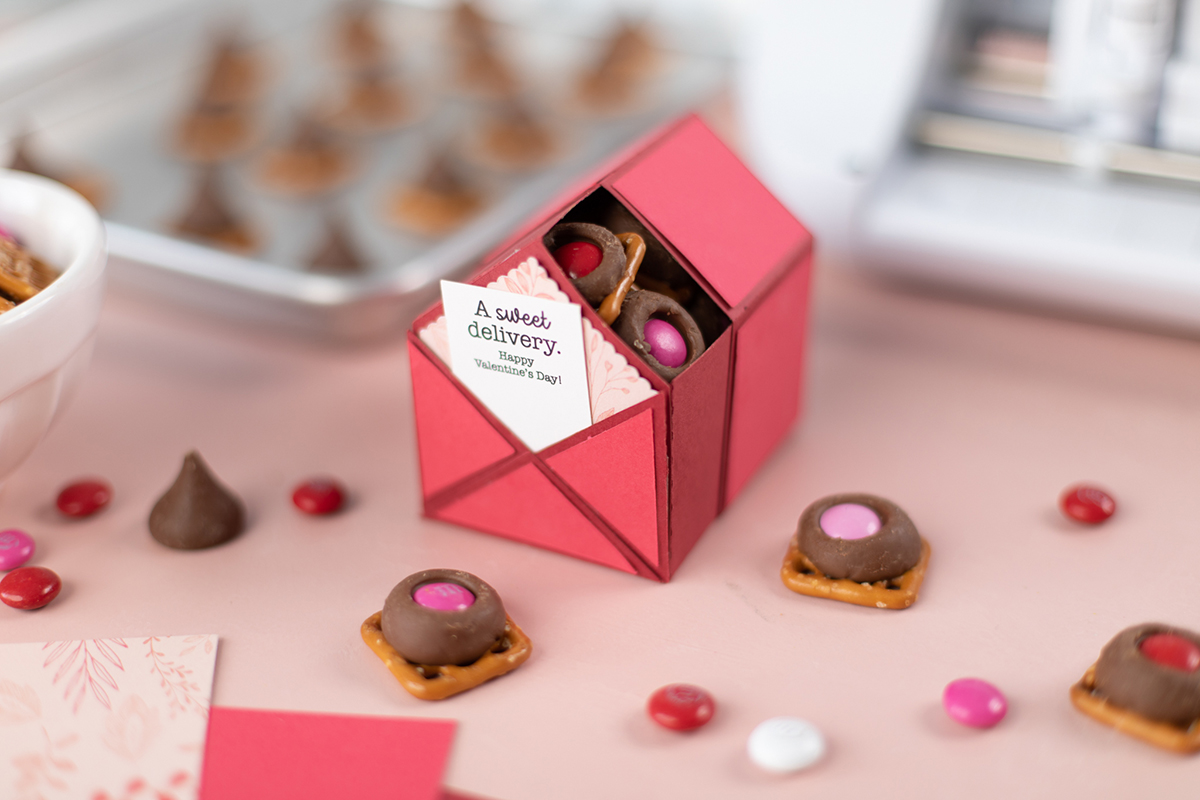
As we were browsing the Silhouette Design Store’s 3D Sale, we came across this envelope slide box. We felt like this box could be the perfect way to say, “I love you” to someone special in your life. Valentine’s Day isn’t just about significant others! This little box of sweets can add happiness to the lives of family, friends, and coworkers! Not only does this post include the details of how we made the box but also how we made our chocolate pretzel bites that we filled it with! Let’s get started!
Supplies:
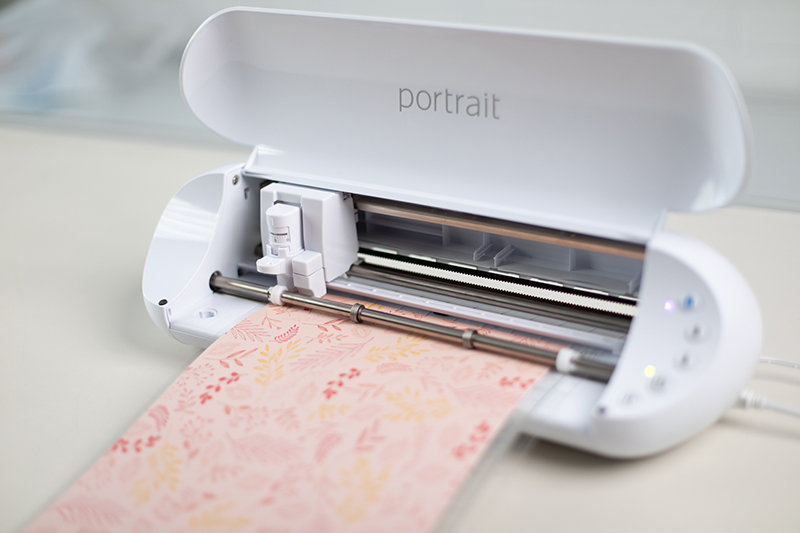
- Silhouette Portrait® 3
- Silhouette Studio®
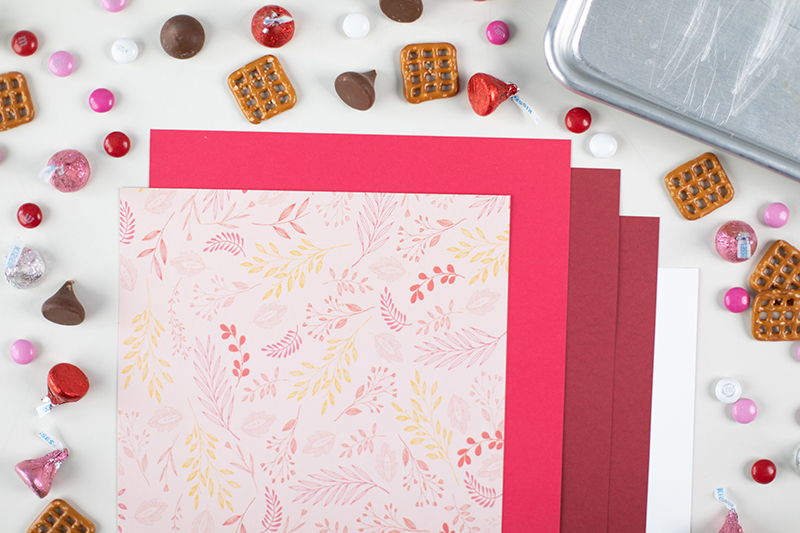
- 2 pieces of letter sized dark red paper (or color of choice)
- 1 piece of letter sized light red paper (or color of choice)
- 1 piece of letter sized white card stock
- 1 piece of accent paper
- Double sided tape
- Printer
- Baking sheet
- Mini pretzels
- Hershey’s Kisses
- Valentine themed M&M’s
- Design ID #341770
The Box
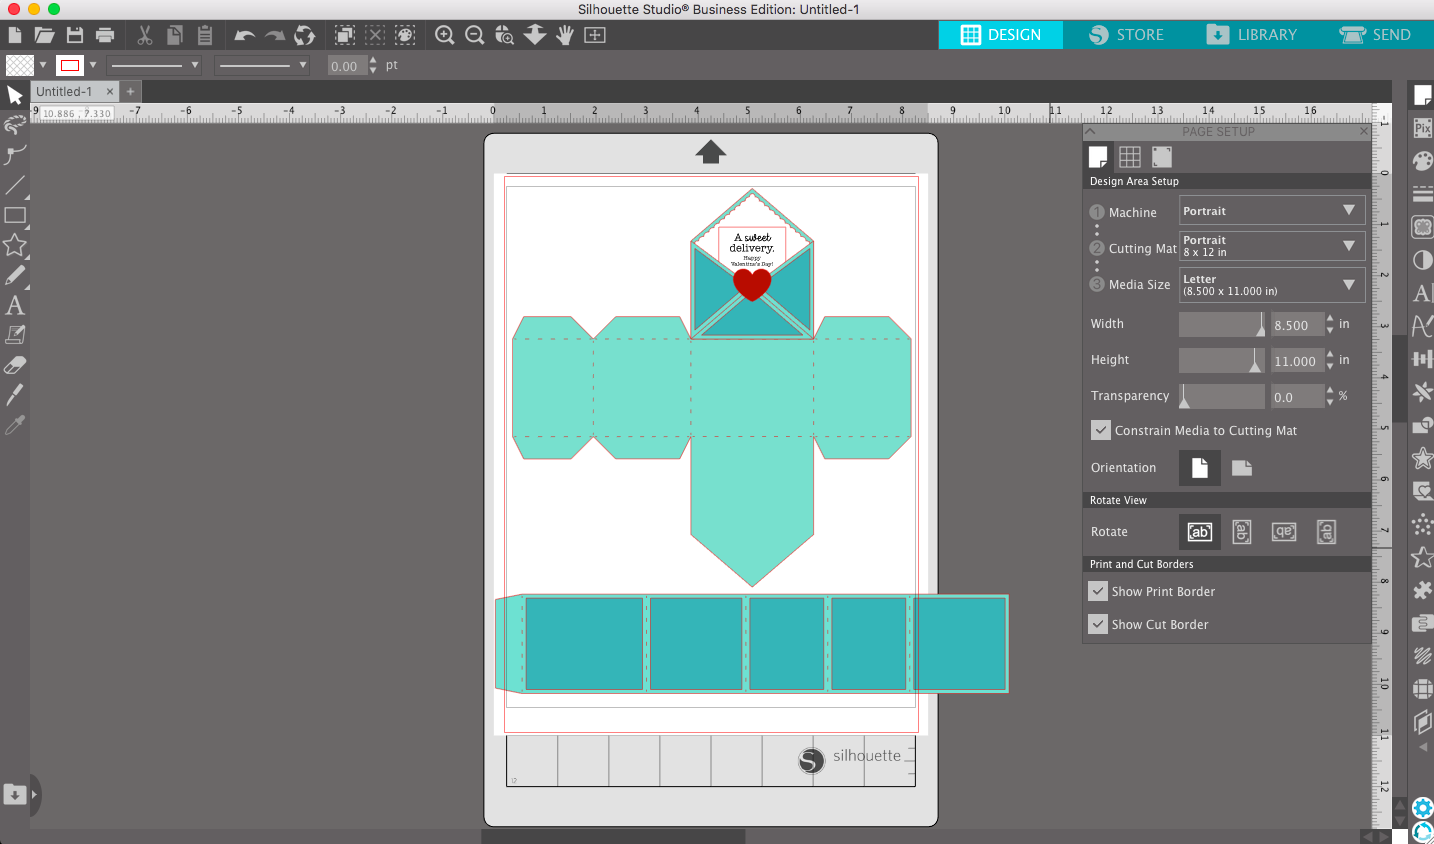
Step One: Create the Design
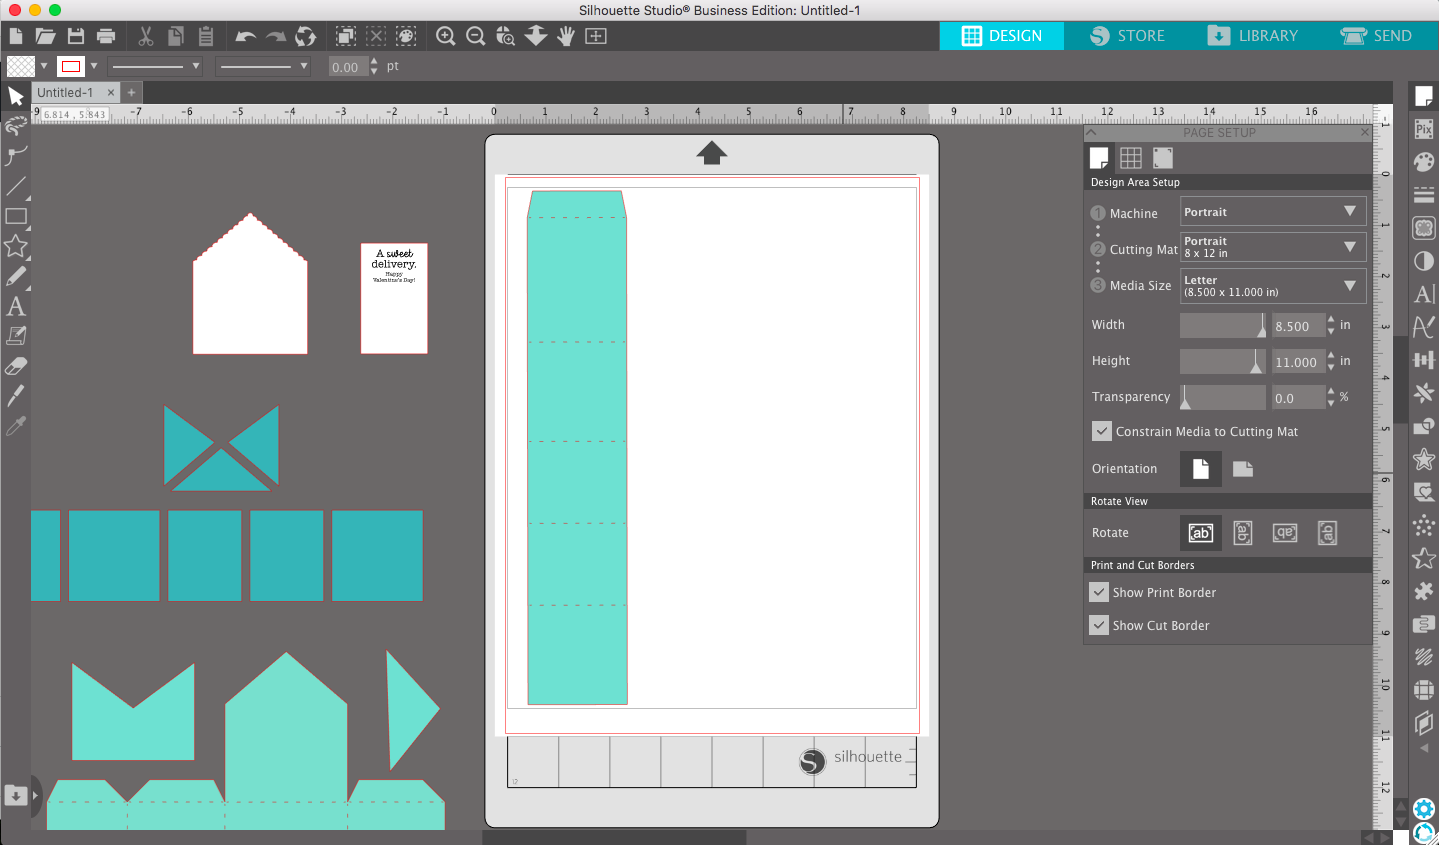
Once you have downloaded the design from the Design Store, you will want to create a new document in Silhouette Studio®. Make sure to adjust the settings in the studio in accordance with what machine and mat you are using. I used the Silhouette Portrait® 3. After creating my document, I added my design from my library. This is done by double-clicking the design. The design is a little bit too large for the Portrait mat. Don’t worry! We can easily resize by selecting the pieces, holding down the Shift key, and dragging on the corners until it fits inside out mat. This is the only adjustment you need to make to the design.
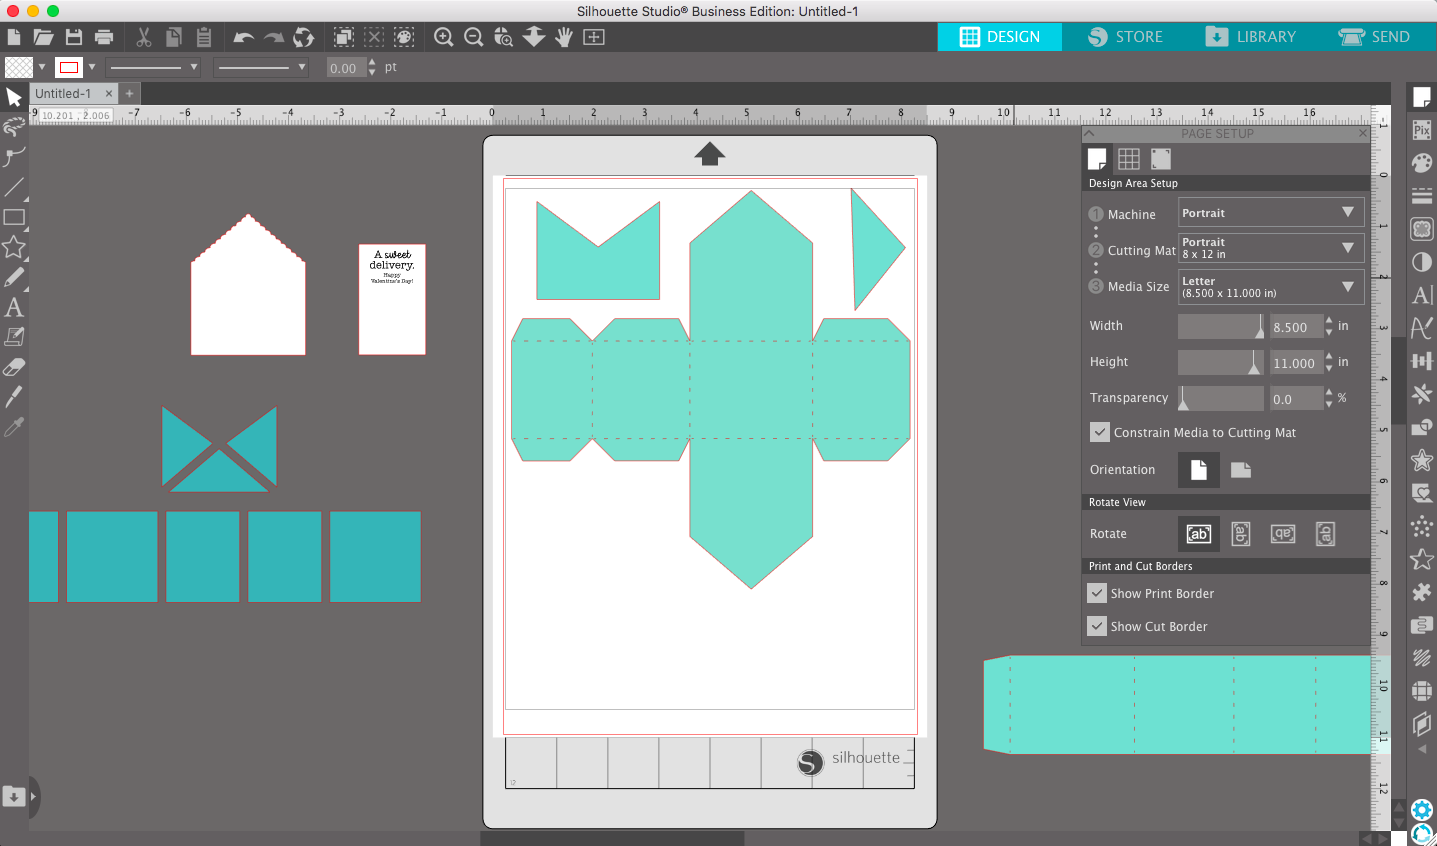
Step Two: Separate the Pieces
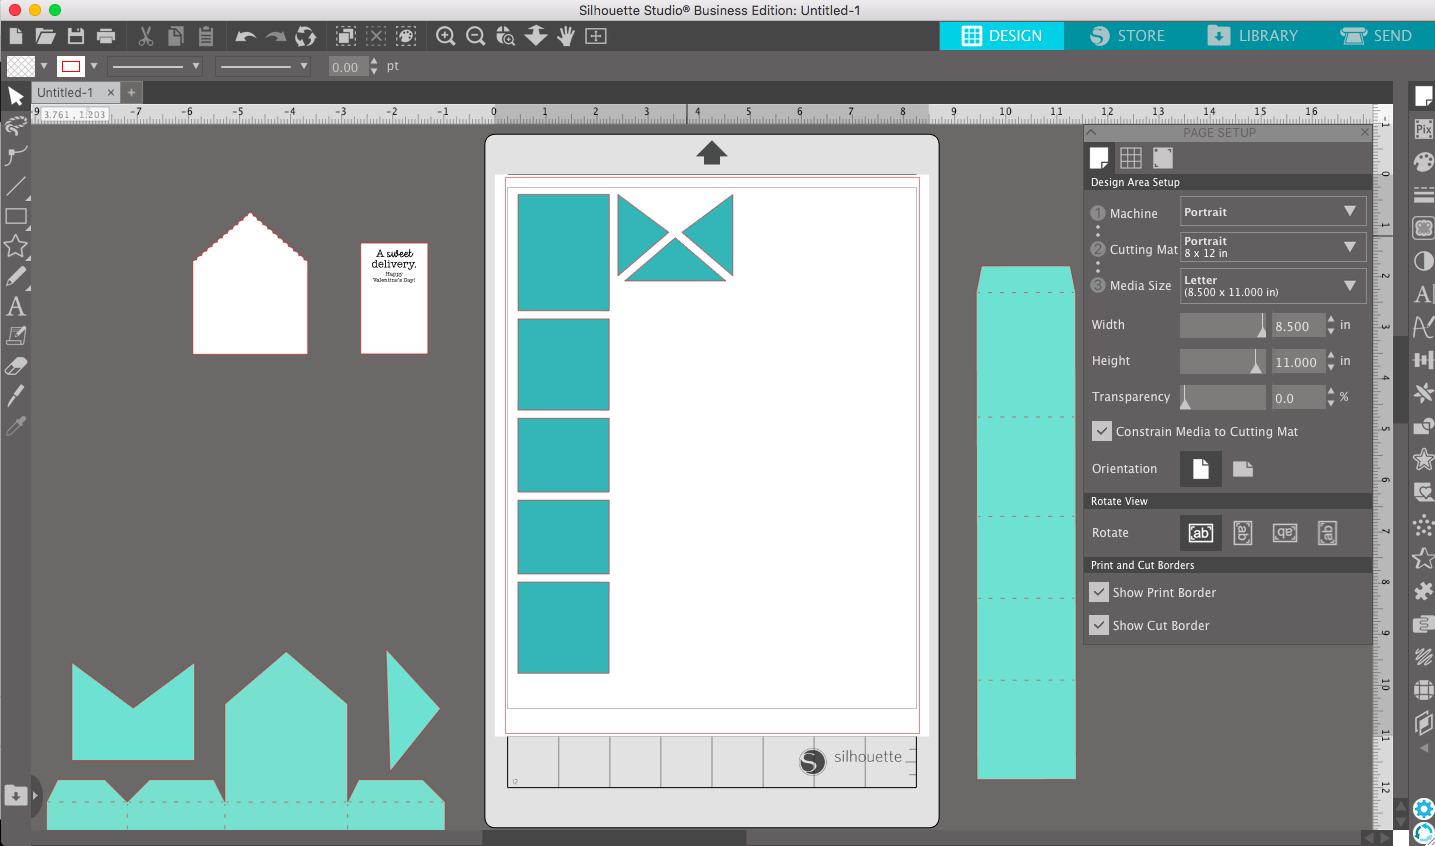
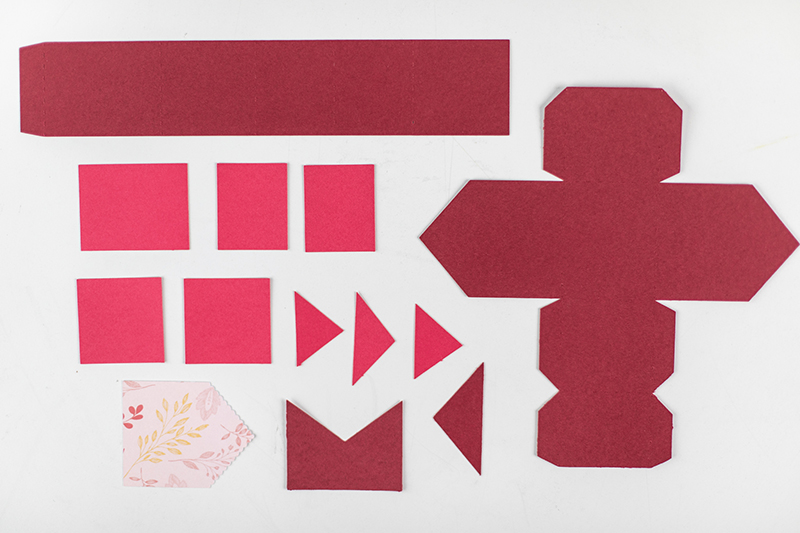
At this point, I like taking my pieces apart and grouping the elements that will be cut on the same page. For this design, you are going to need 2 pieces of paper for your base color. You can see how I arranged my pieces below.
Step Three: Cut the Pieces
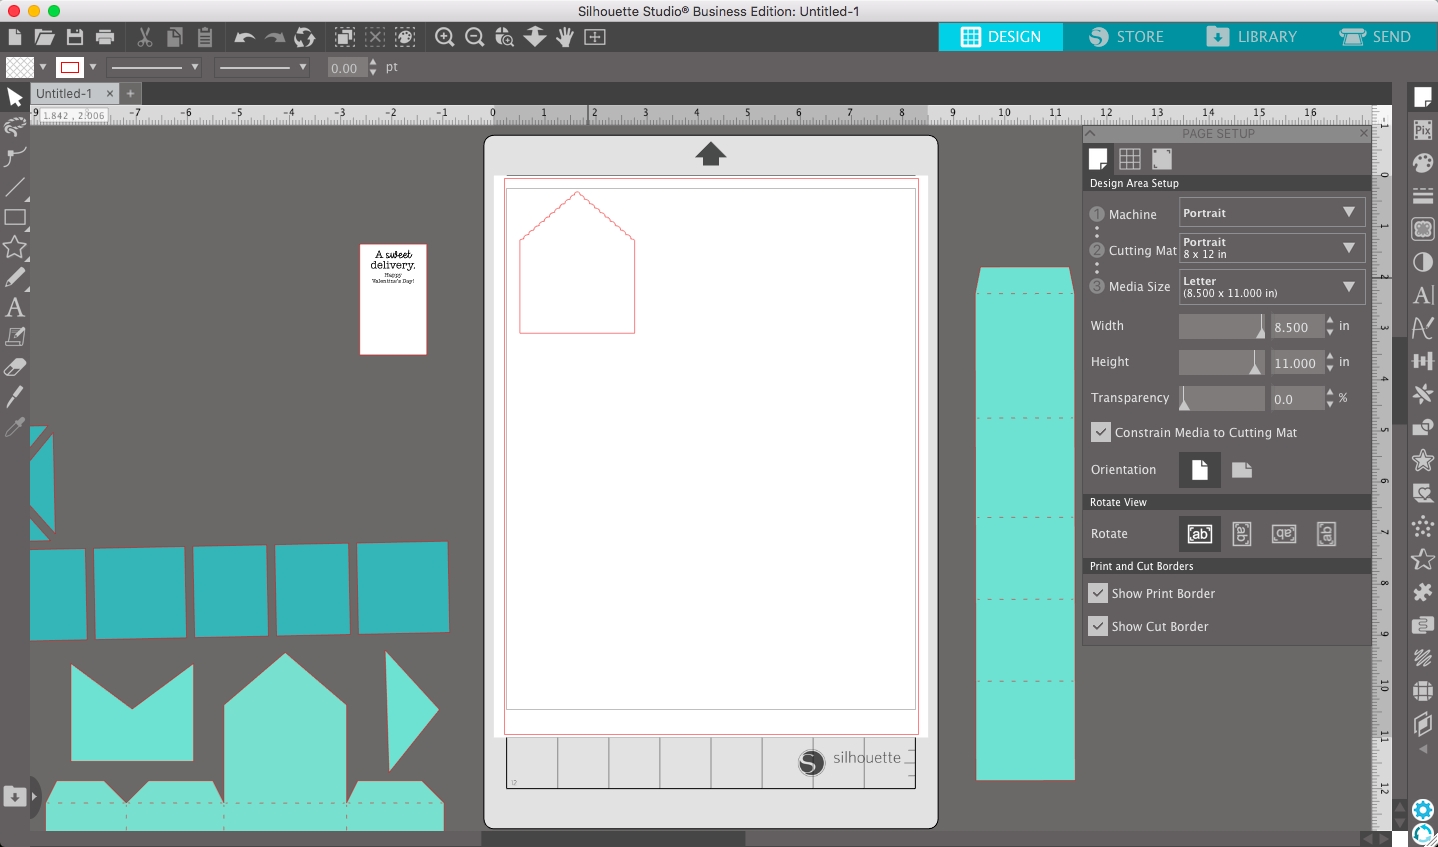
Once you have your pieces arranged and grouped, drag the various groups to the mat to be cut. I like to start with my biggest pieces and work down to make sure the small ones don’t fall off the table and get lost! I found the standard textured cardstock cut settings worked perfectly for my paper! If yours doesn’t cut through, you can always give it another pass! Below you can see my accent piece being cut and what all my pieces looked like when I was finished cutting!
Step Four: Assemble Flat Pieces
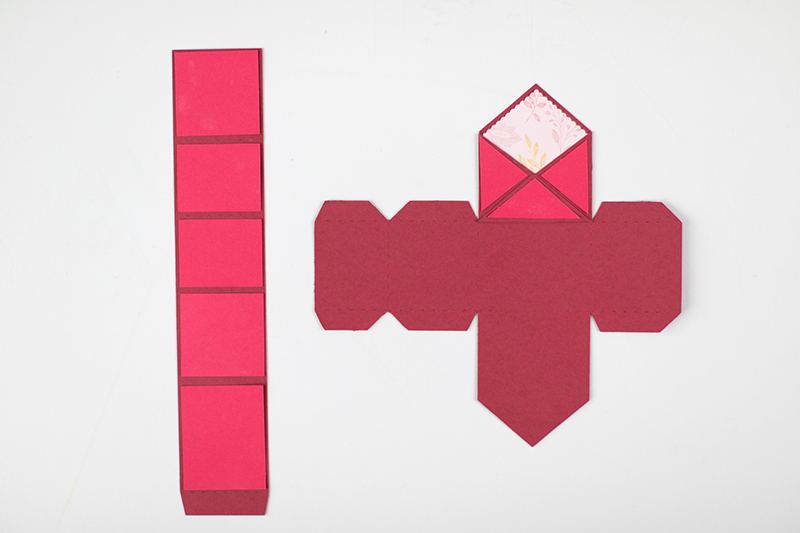
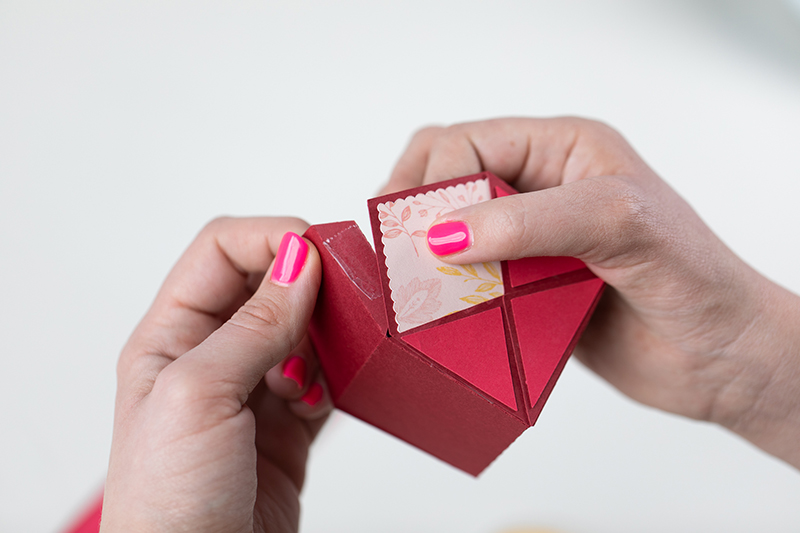
You can totally fold the box and then add the accent pieces. I found, it is must easier to attach those pieces when it is flat! I also think it’s like a fun little puzzle. I used double sided tape to attach my pieces. If the tape overlaps, I folded it over so it was hidden! After I attached those pieces. I folded on the scored lines and assembled the box!
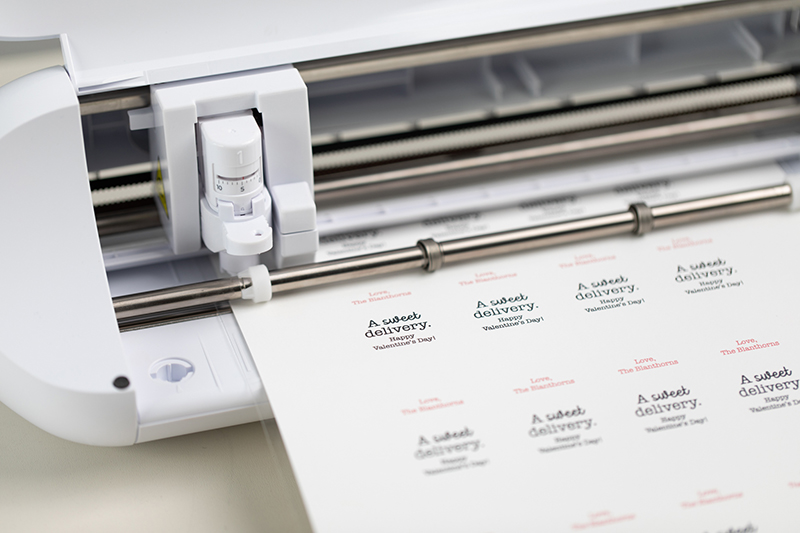
Step Five: Print & Cut Sentiment
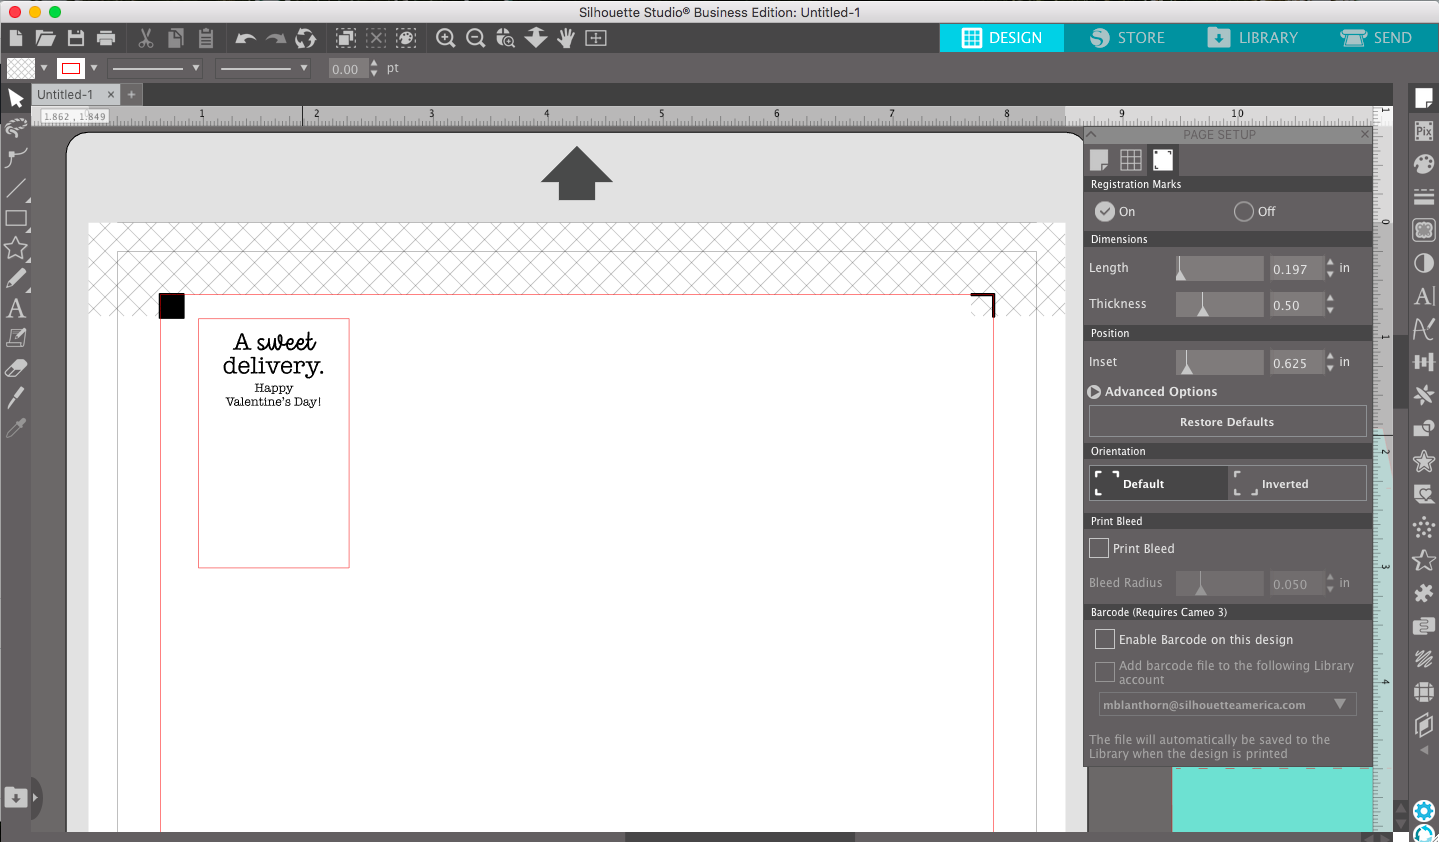
Let’s hop back in the software to prepare out Print & Cut sentiment! Go ahead and clear everything off the mat in the document. Go to Page Setup > Registration Marks > and click ON. Drag your sentiment piece onto the mat and make sure that it isn’t touching the crosshatched area. Send that to your printer and load the printed paper into your machine! I like to fill up the whole page. I also added a family signature at the bottom in a font of my choice.
The Treat
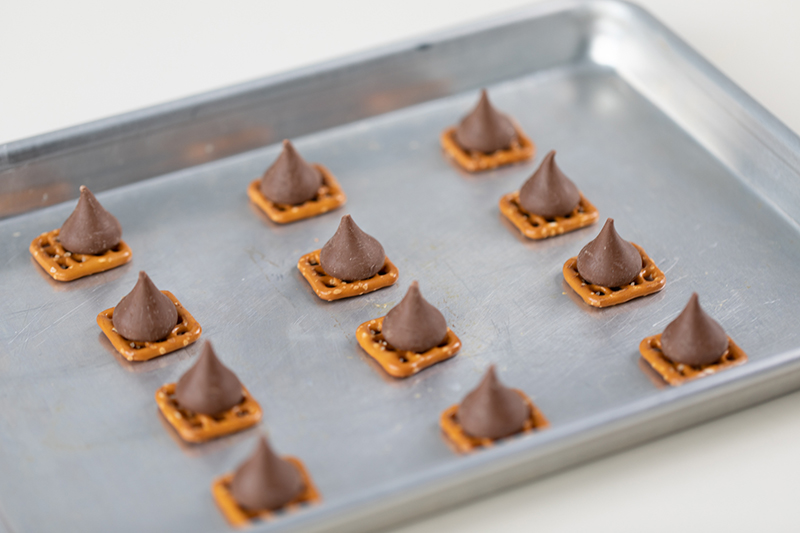
Step One: Arrange on a Baking Sheet
Spread out your pretzels on a baking sheet. You will want to arrange them so that they are not touching. Top each pretzel with an unwrapped Hershey’s kiss or chocolate of choice. (ROLOs and Reese’s Peanut Butter Cups are great alternatives.)
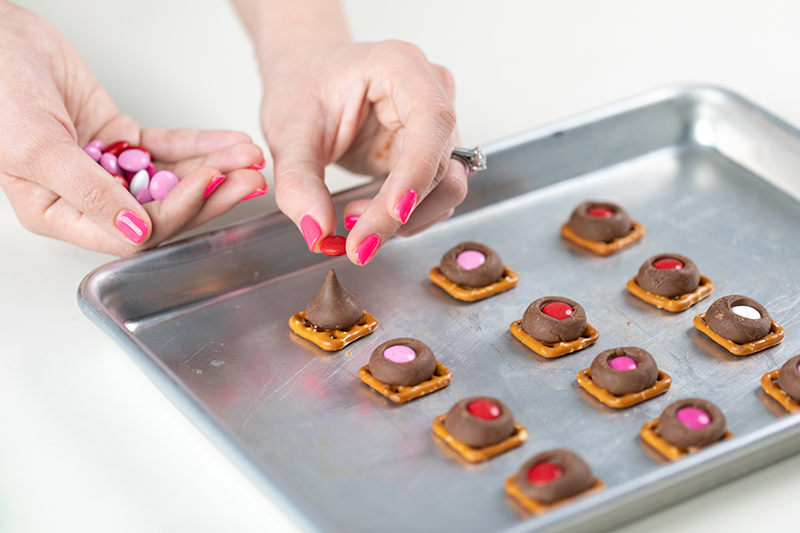
Step Two: Melt Chocolate in the Oven
Preheat your oven to 175° F. Bake in the oven for 2 minutes. Be careful to not burn the chocolate! Once you remove the pretzel bites, place a Valentine’s M&M on top of each bite. Place them in the refrigerator to cool for 10 minutes.
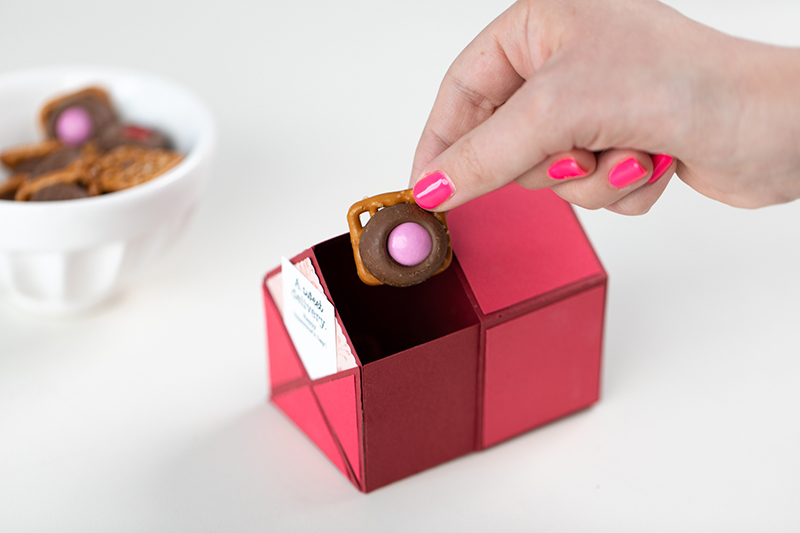
Step Three: Fill the Box with Treats
Try not to eat all of the pretzel bites before filling your box and gifting this “Sweet Deliver” to someone that you love! These make great gifts for family members, neighbors, friends, and coworkers. They are sure to brighten everyone’s Valentine’s Day this year!
Make sure to share this post with your family and friends! Crafting is more fun when you are doing it with others! Thanks for joining us, and stay tuned for more Silhouette craft ideas!
 Quirky Mug
  Hedgehog DIY Bookmark
Mary Ann
January 29, 2021
This is so cute! Love that this project is the ‘total package’ including the recipe for fun! Love it!
Pastrana Benjamin
February 3, 2021
beautiful and so creative!
Marie-Josée BOULIANE
February 4, 2021
Lovely !
Armie Hardinero
April 30, 2021
Are you using the autoblade to cut the box?
Kelly Wayment
May 6, 2021
Yes, the autoblade would have been used for this project.