
A new year means a new round of birthdays! I’ve been seeing a lot of versions of fabric crowns lately. I think they’re the perfect birthday accessory, and you can reuse them year after year. Not to mention, they’re great for costumes or dress up! They can also become an heirloom piece that your child inherits once they’re a bit older too. The best part? You can cut all the pieces out on your Cameo 4 with the Rotary Blade!
Supplies Needed:
- Silhouette Cameo® 4
- Silhouette Studio®
- Silhouette Cutting Mat—Use a high-tack or extra sticky mat
- Silhouette Rotary Blade for Cameo 4
- Cotton fabric in various colors
- Thread
- Sewing Machine
- Fusible interfacing
- Ribbon
- Design ID #192322
Step One: Formatting the Crown
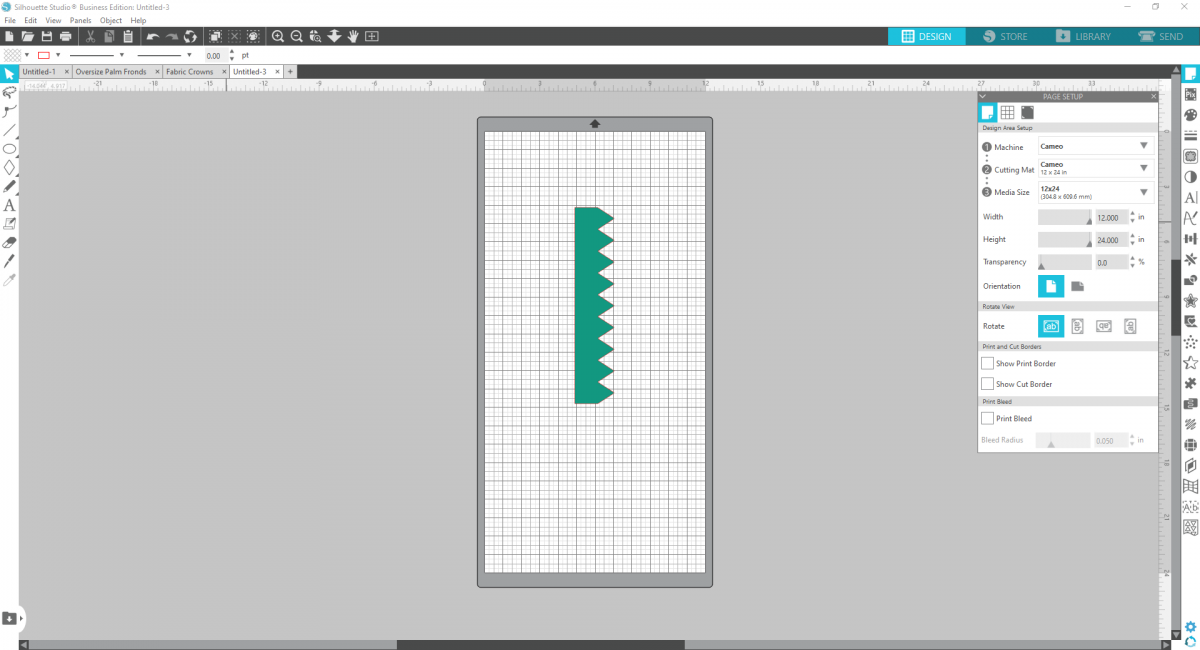
1. Insert the design into Silhouette Studio®. Change your cutting mat size to 12 by 24 inches and your media to match. Change the orientation of your crown design to run vertically down the mat.
2. Using the Knife tool set to “Solid” setting, cut off 3 of the 9 spikes. I like the way a 6-spiked crown looks, but if you prefer more spikes, omit this step.
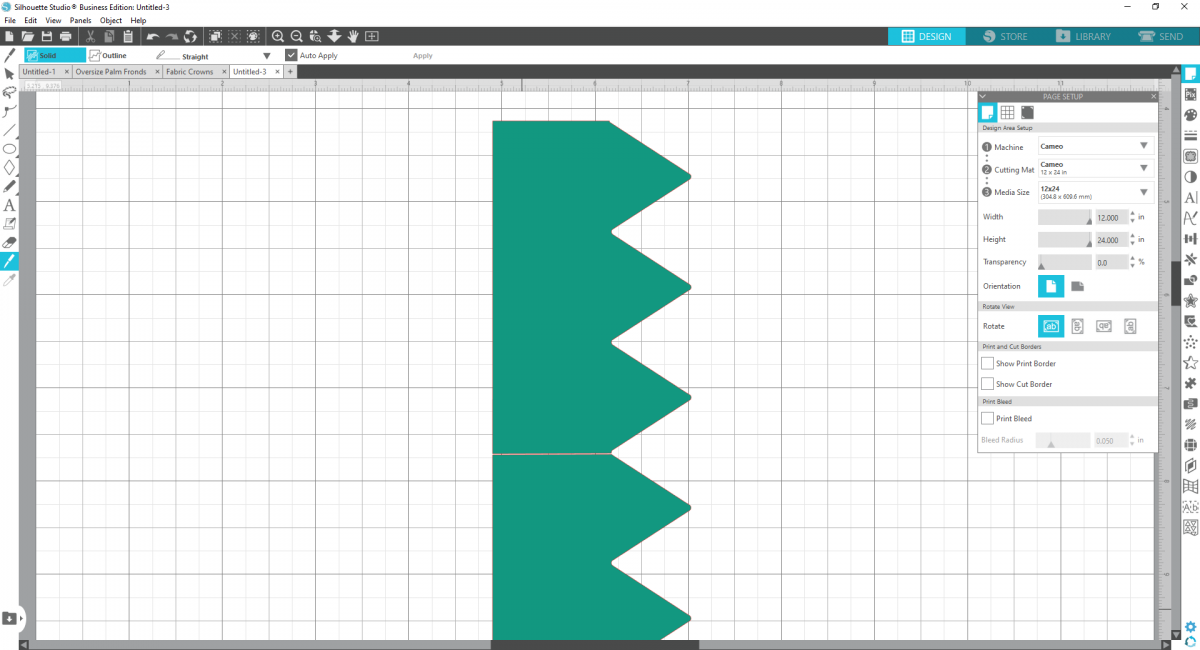
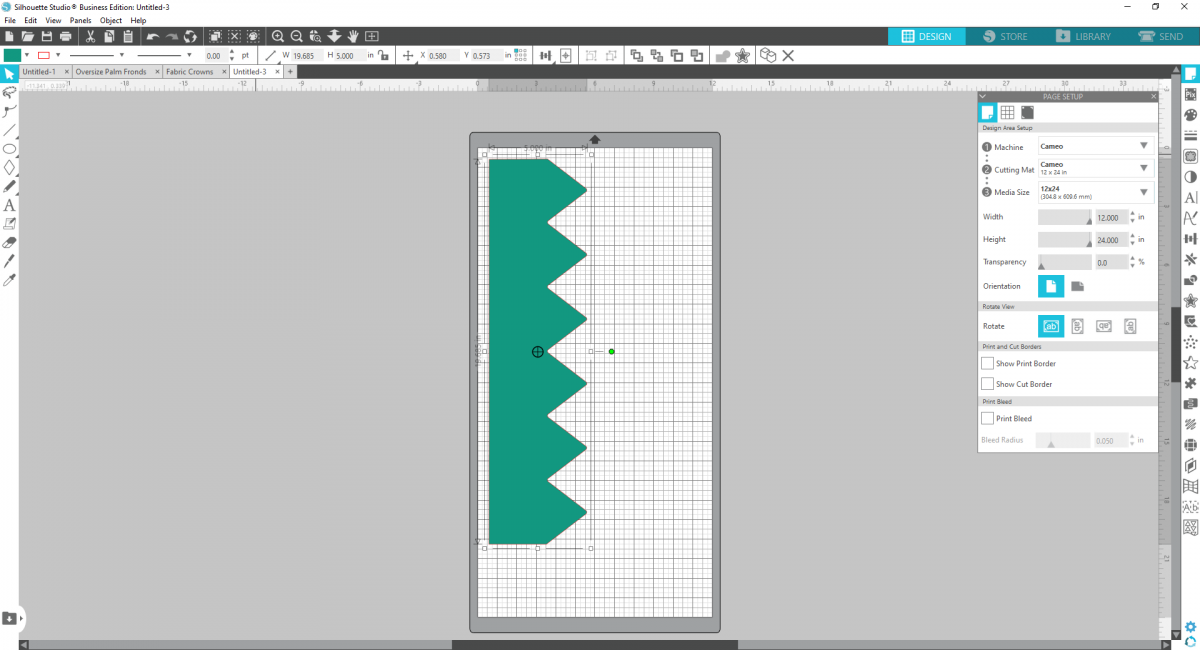
3. Delete the extra spikes and then change the dimensions of your crown piece to measure 20 inches long by 5 inches high. You can adjust these measurements to fit your child’s exact head size if you like, but the ribbon ties will allow for wiggle room.
4. Next, we want to create an internal offset with a distance of .25 inches. This will be the template for the crown’s interfacing, which will give the crown more stiffness and stability.
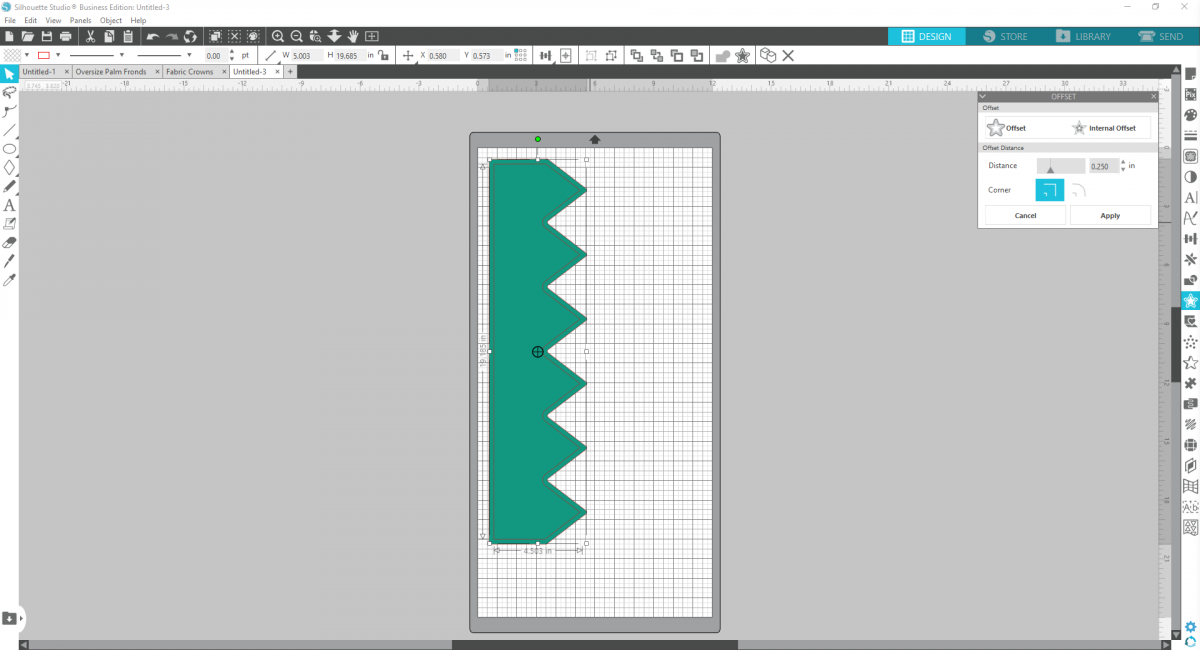
5. So now we have the crown shape, which you will cut two from your cotton fabric, and then we have your interfacing shape, which you will cut one from fusible interfacing.
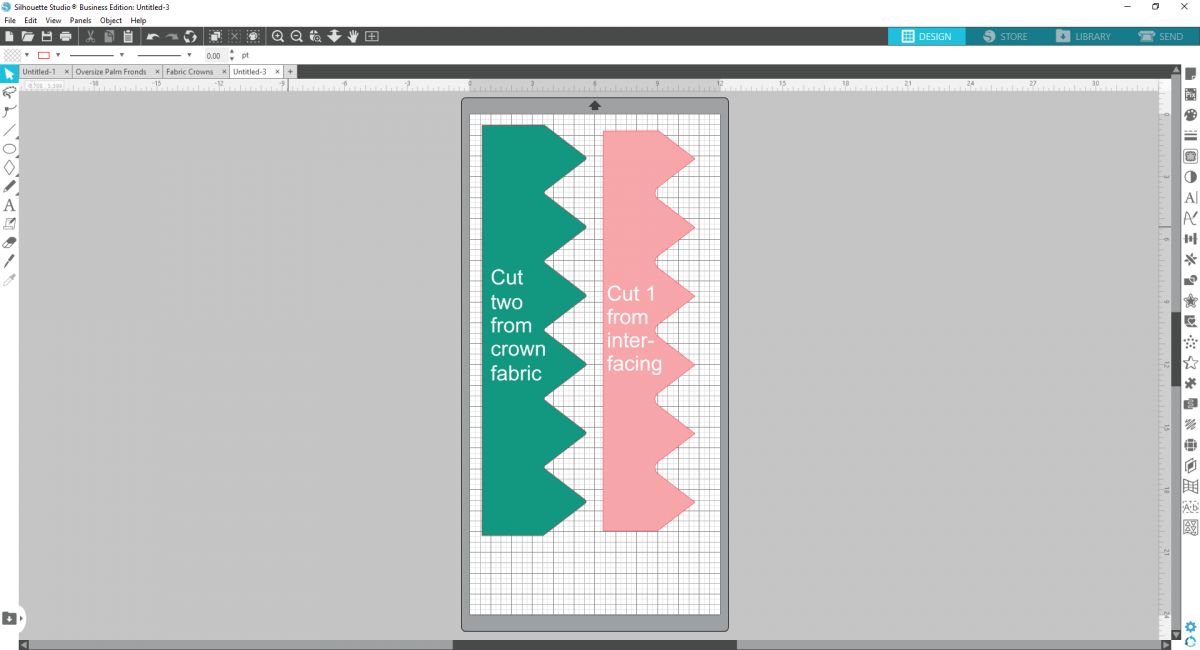
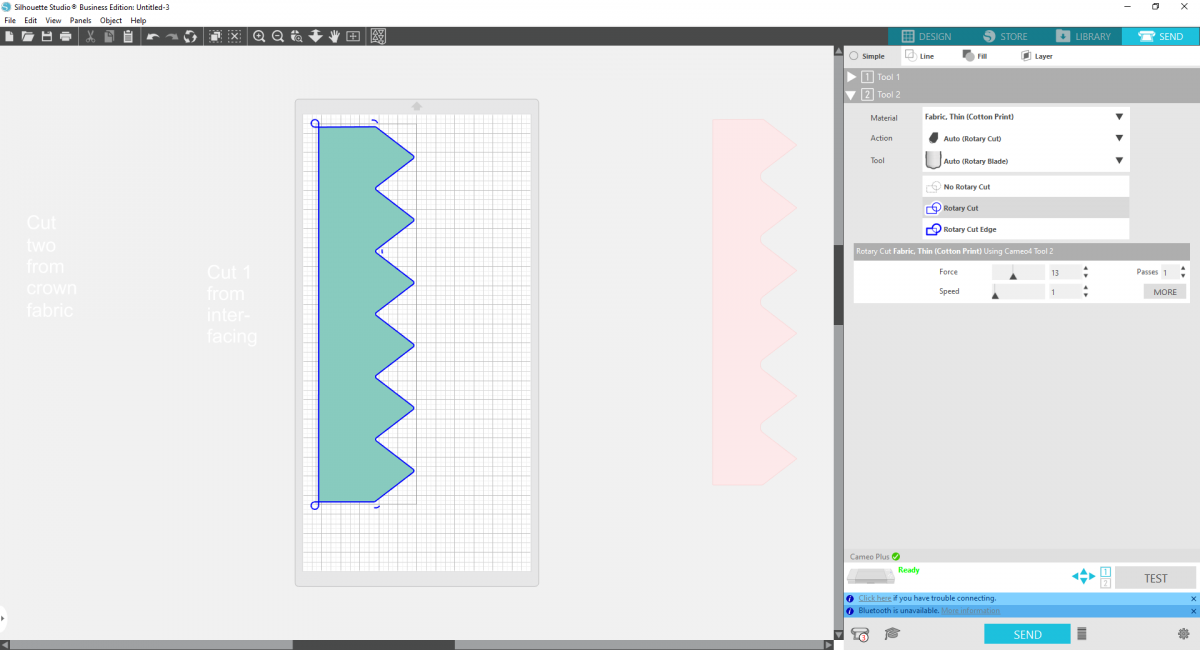
6. To cut the fabric, use a very sticky mat and the rotary blade in the Tool Holder 2 spot. You’ll need to set the action to “Rotary Cut” and the tool to “Rotary Blade” and the Material to “Fabric, Thin (Cotton Print).” Make sure you click on the crown and then click “Rotary Cut” to turn the design blue and enable the smart cut markings.
Step Two: Sewing Your Crown
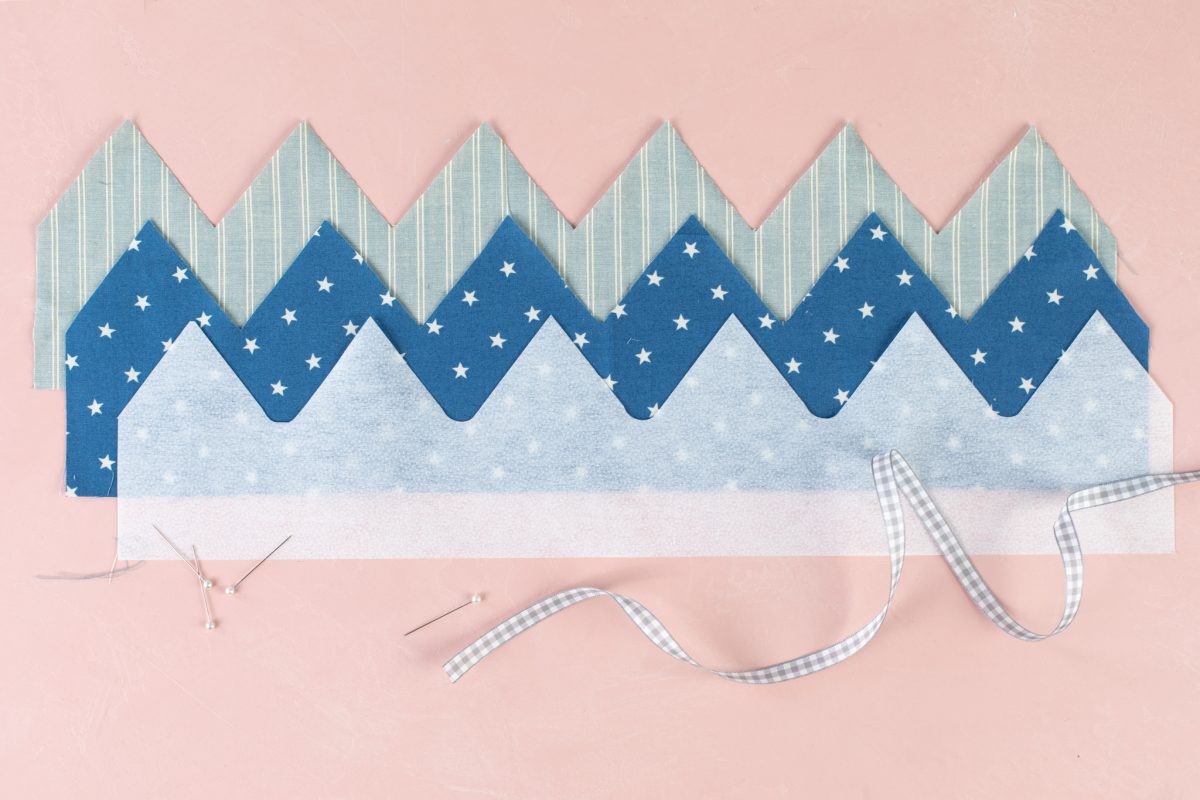
1. Iron your fusible interfacing onto the wrong side of one of your crown fabric pieces.
2. Pin the two crown pieces together, right sides together.
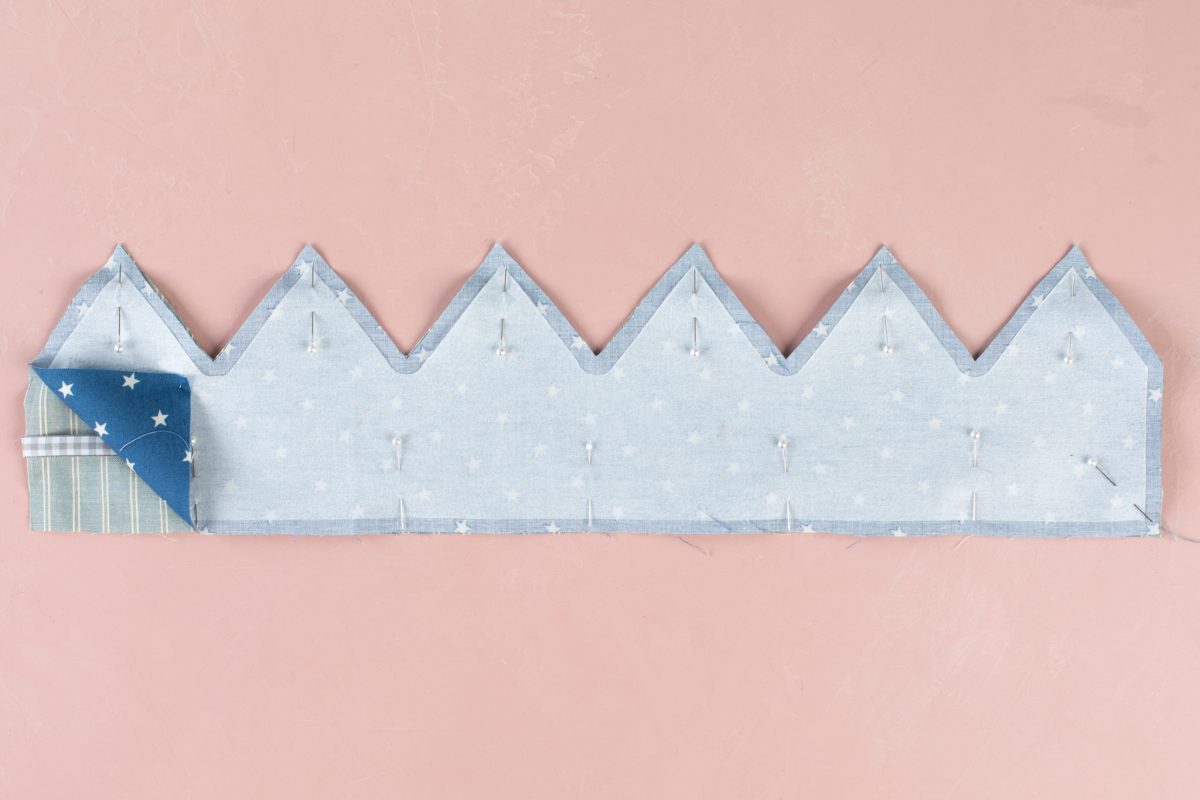
3. On one of the ends, sandwich a piece of ribbon between the two fabric pieces so that the long end runs between the crown pieces.
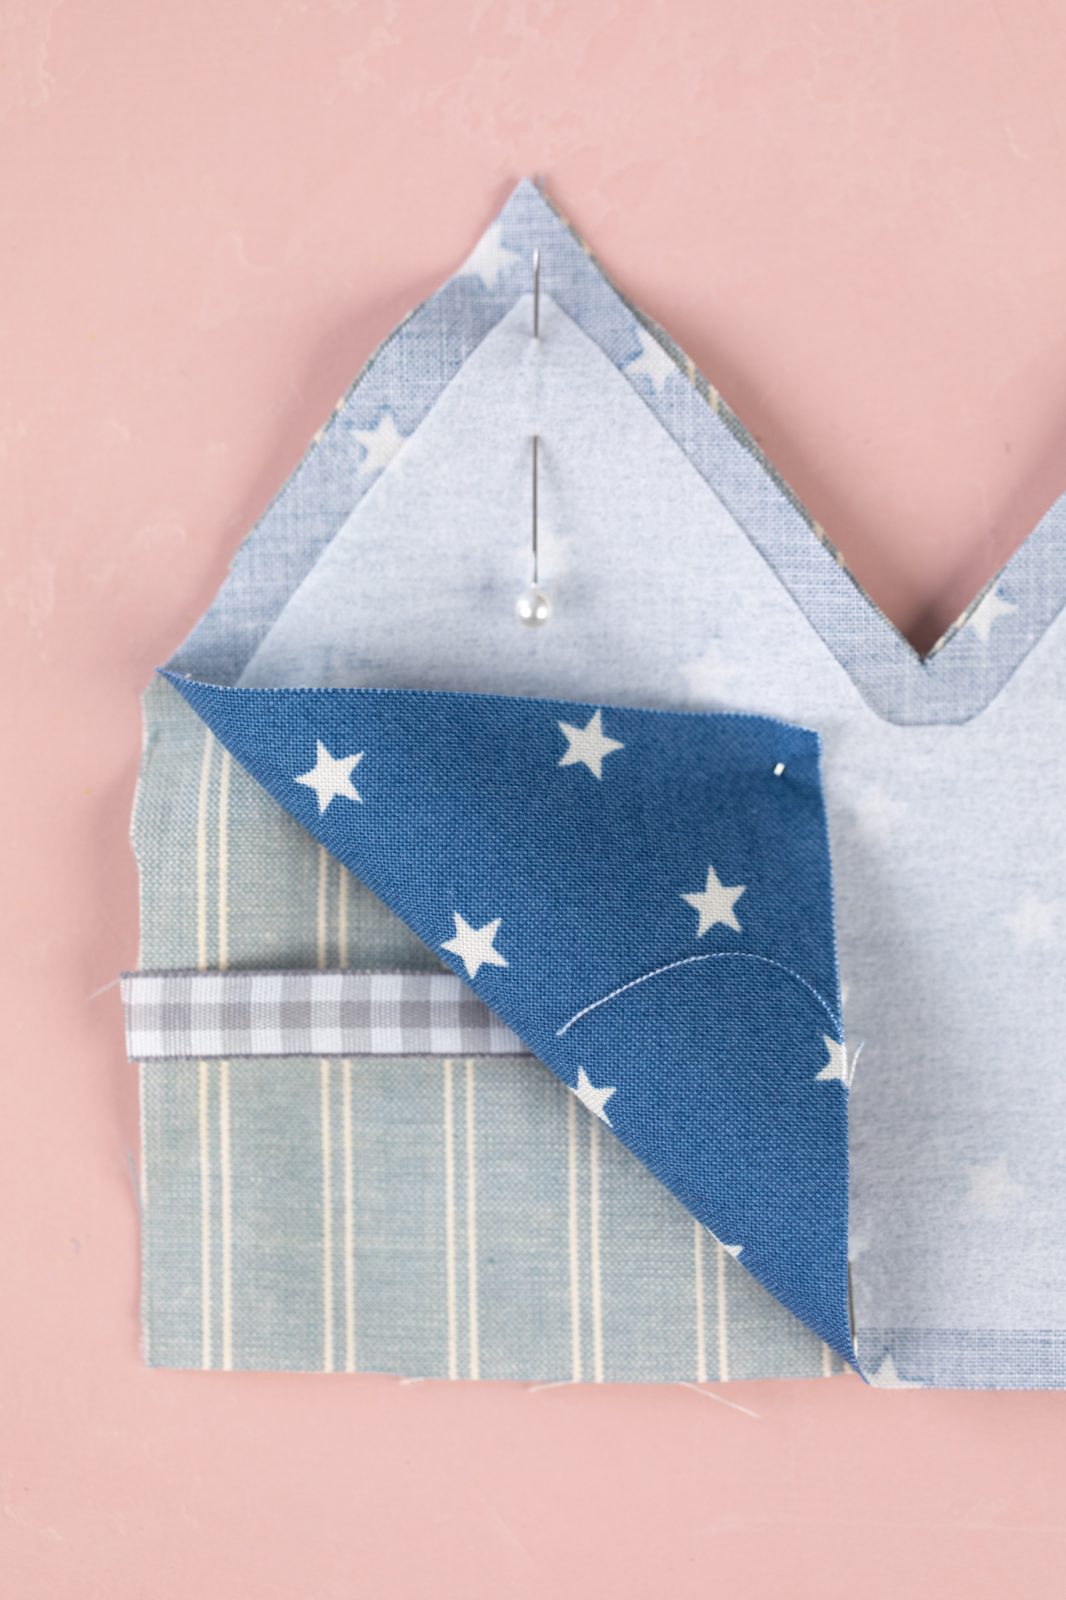
4. Sew around all the edges besides the short end without the ribbon using a 3/8-inch seam allowance.
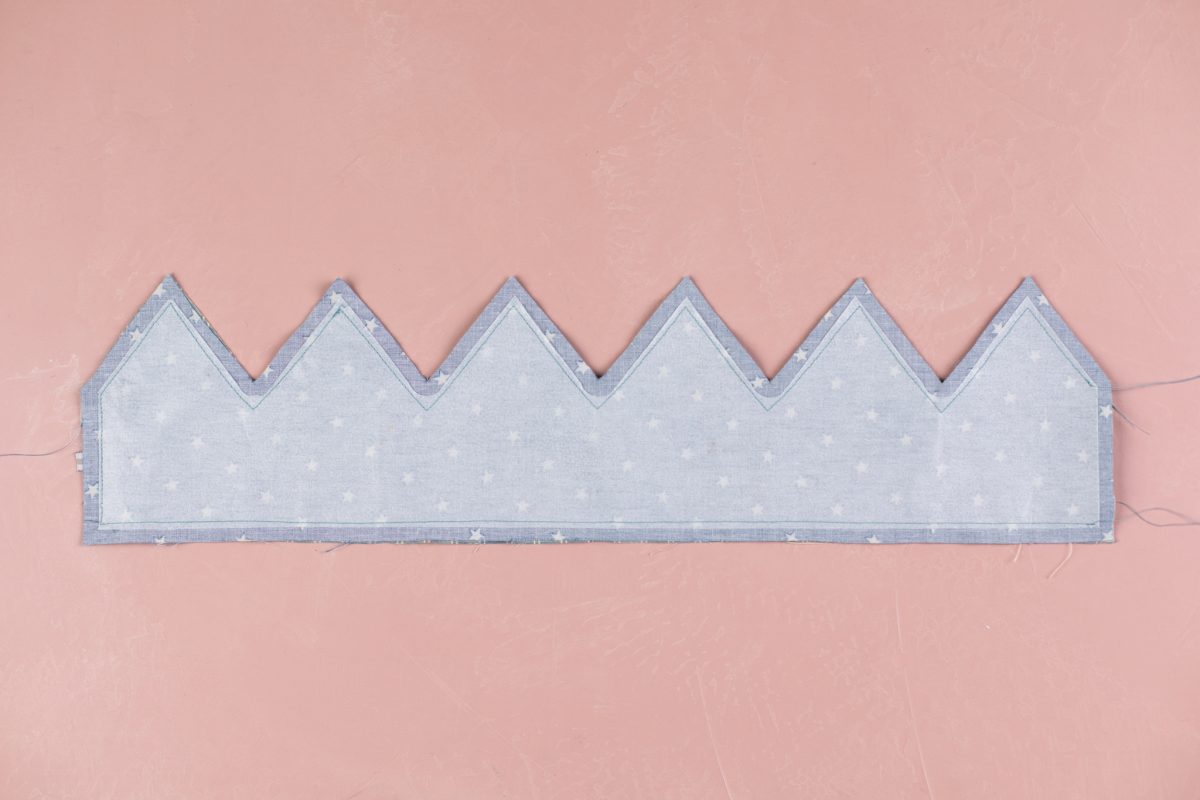
5. Notch the top of the crown’s points and clip in between each point.

6. Turn the crown right-side out and press
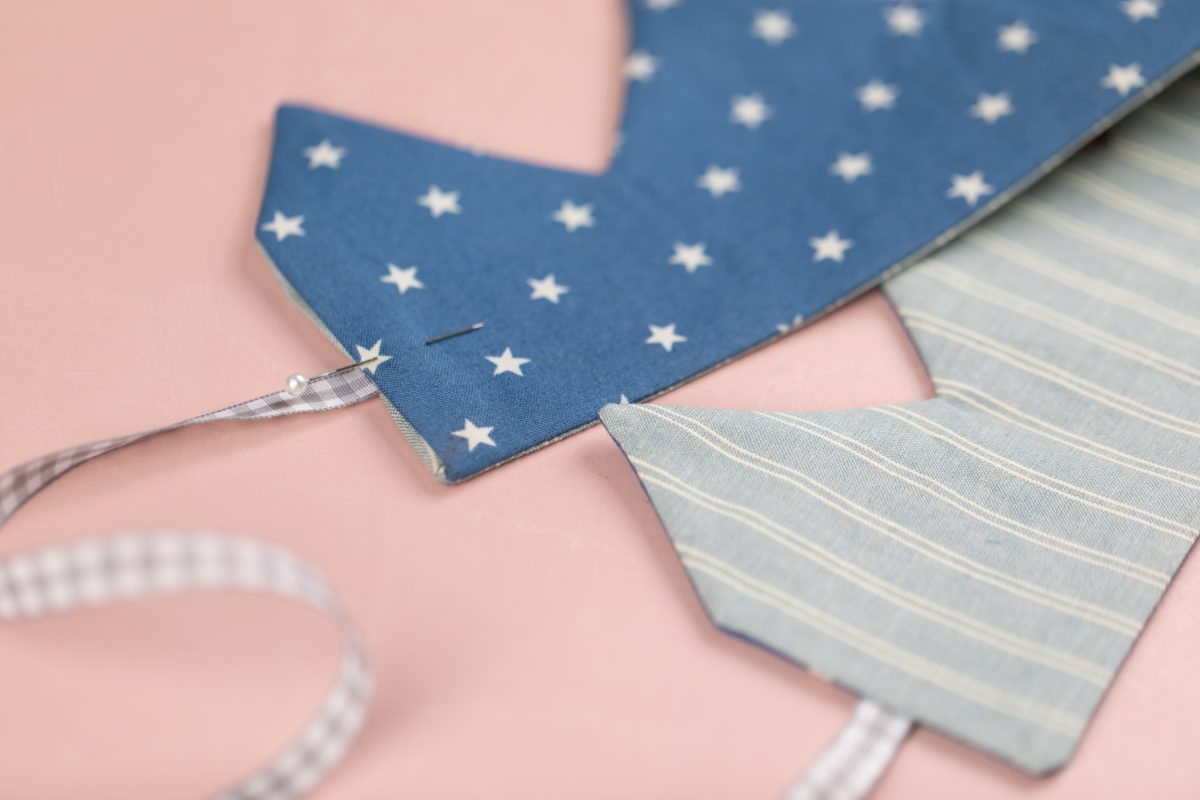
7. Add a second ribbon in the open side, fold the raw edges inside about 3/8 inches to match your seam allowances, and sew it together.
Now you’ve got a beautiful, reusable fabric crown for your little one!

LB
March 13, 2020
Which 12×24 high-tack/extra sticky cutting mat was used for this project and how can I order one? Thanks!