
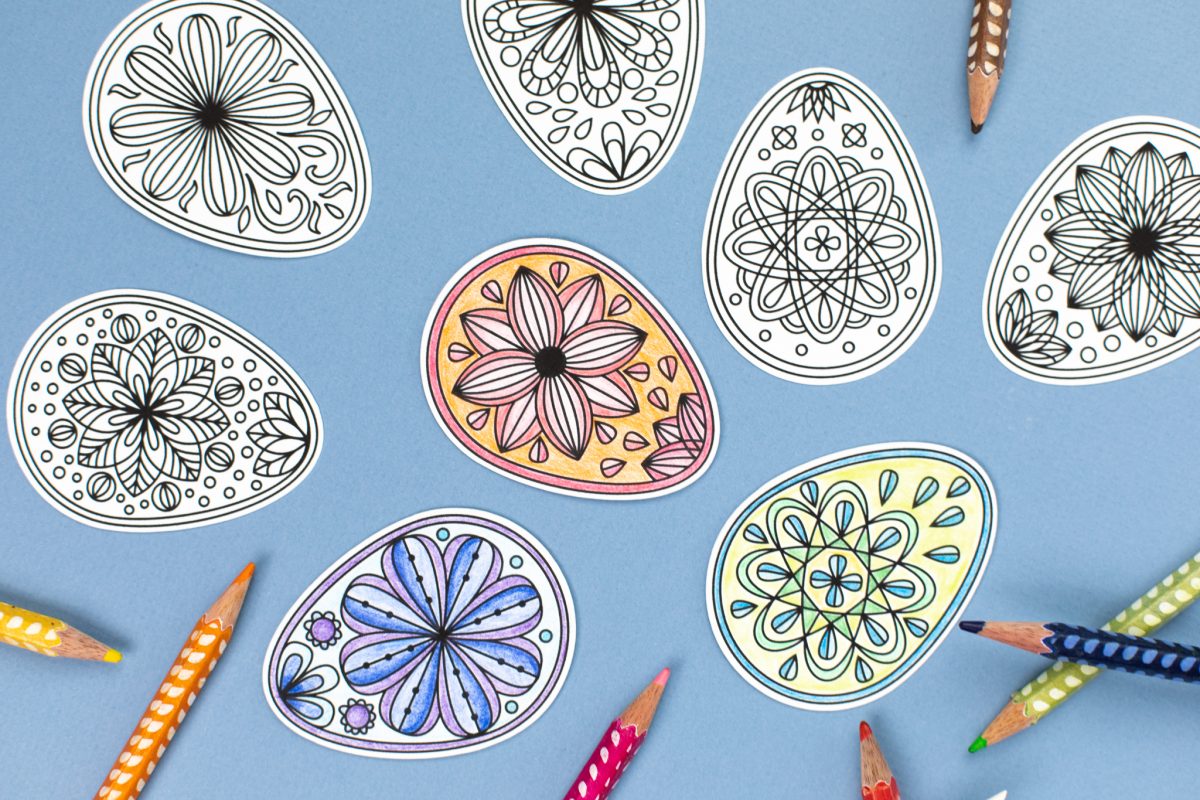
Coloring is not just for kids! It’s actually a great activity to do with them, while relieving some stress. Did you know that if you search “Coloring Page” in the Silhouette Design Store, you’ll find tons of options to choose from? Then you can either print them out, or even use the sketch pen feature. Color these Easter eggs, cut them out, then use them as decor, hide them for a hunt, or turn them into stickers!
Supplies Needed:
- Silhouette Cameo® or Silhouette Portrait®
- Silhouette Studio®
- Silhouette Cutting Mat, optional
- Silhouette Cutting Blade
- Inkjet printer
- 8.5-by-11-inch white cardstock
- Colored pencils or coloring materials
- Design ID #315982
Step One: Format Your Print & Cut Design
1. Set up your page for a Print & Cut project. Set your media size to Letter (8.5 by 11 inches) or you can select “Printer” to adjust to the dimensions of your printer. Turn on registration marks and click “Restore Defaults” to ensure they’re in the correct location. Turn on the Print & Cut borders. Add your design to the page.
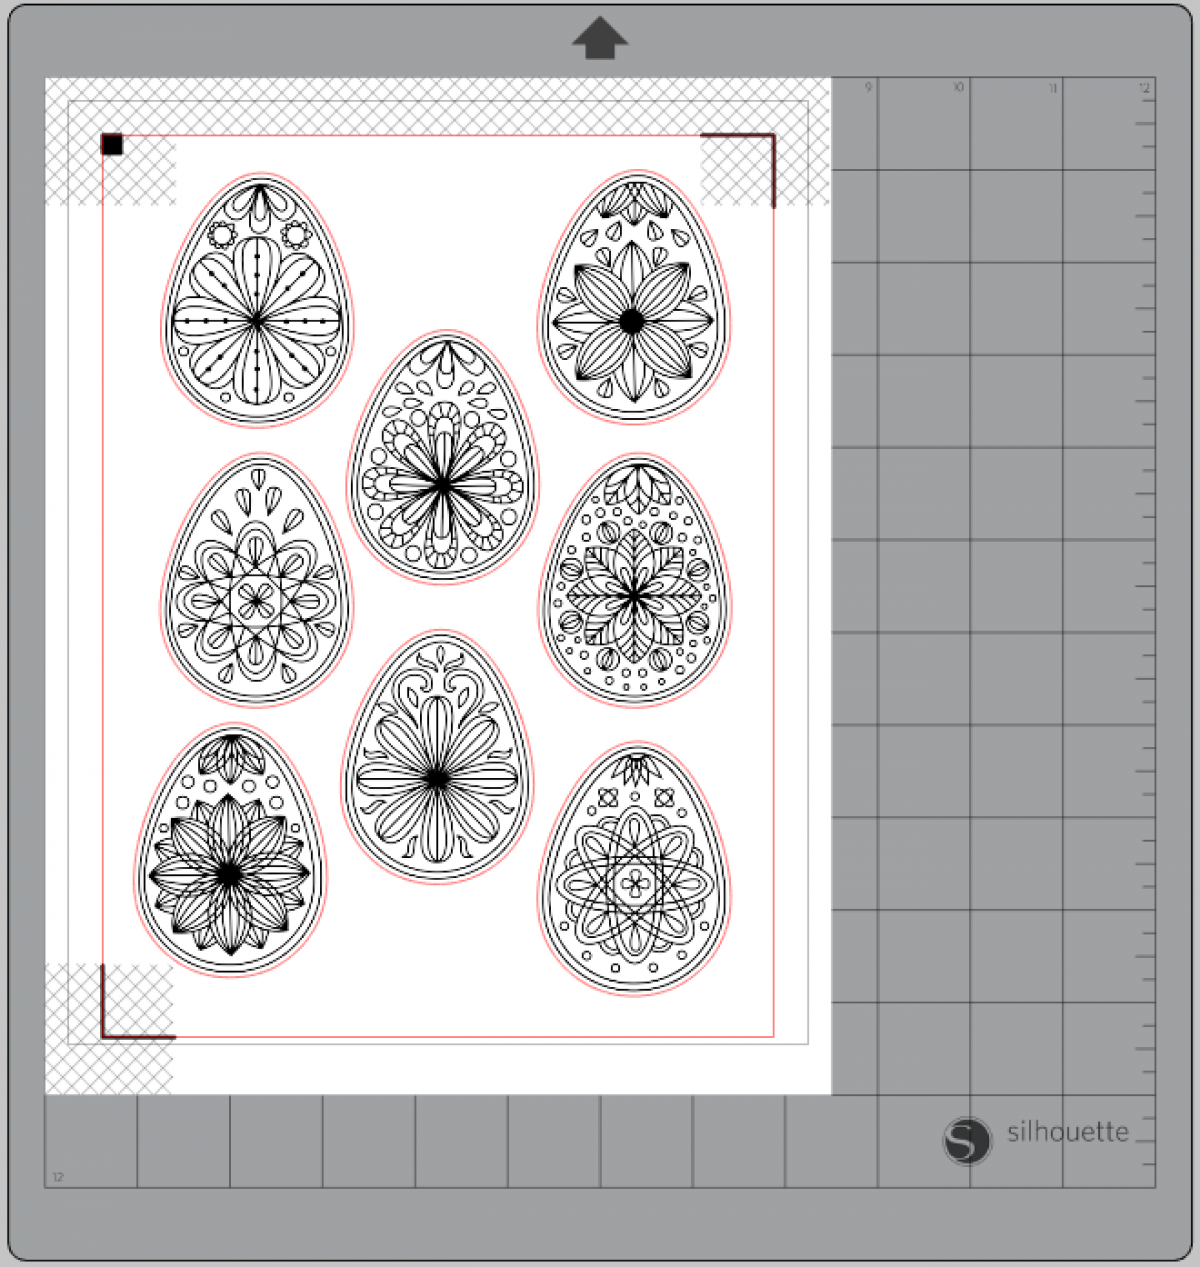
2. Make sure your design is within the Print & Cut borders and the hashed area of the registration marks. If not, the design will interfere with the optical camera that registers the markings, resulting in a bad cut. Now send the design to your printer!
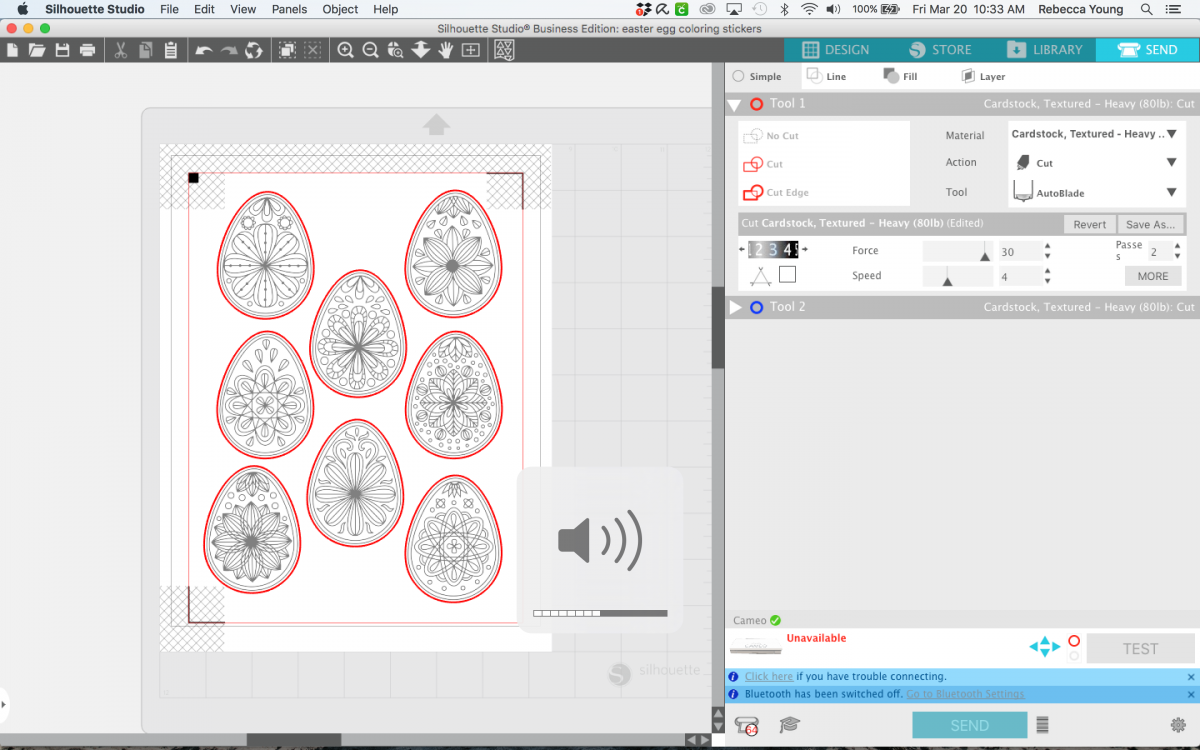
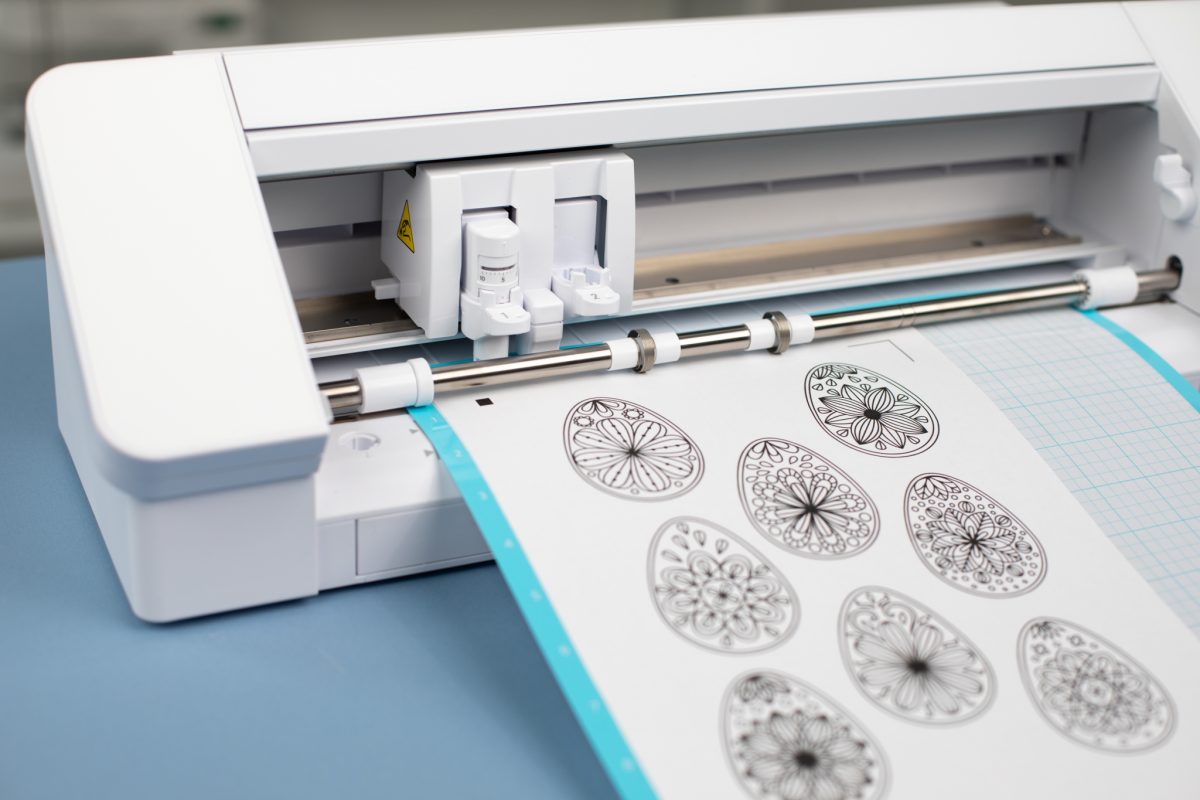
3. Once printed, lay your design onto your cutting mat in the exact orientation it shows within Silhouette Studio®, in the upper left-hand corner. In the Send panel, adjust your cut settings to the proper material. Your designs should only cut around the outer perimeter of the eggs.
Step Two: Color Your Eggs!
1. Once cut, remove the eggs from the cut mat and color them!
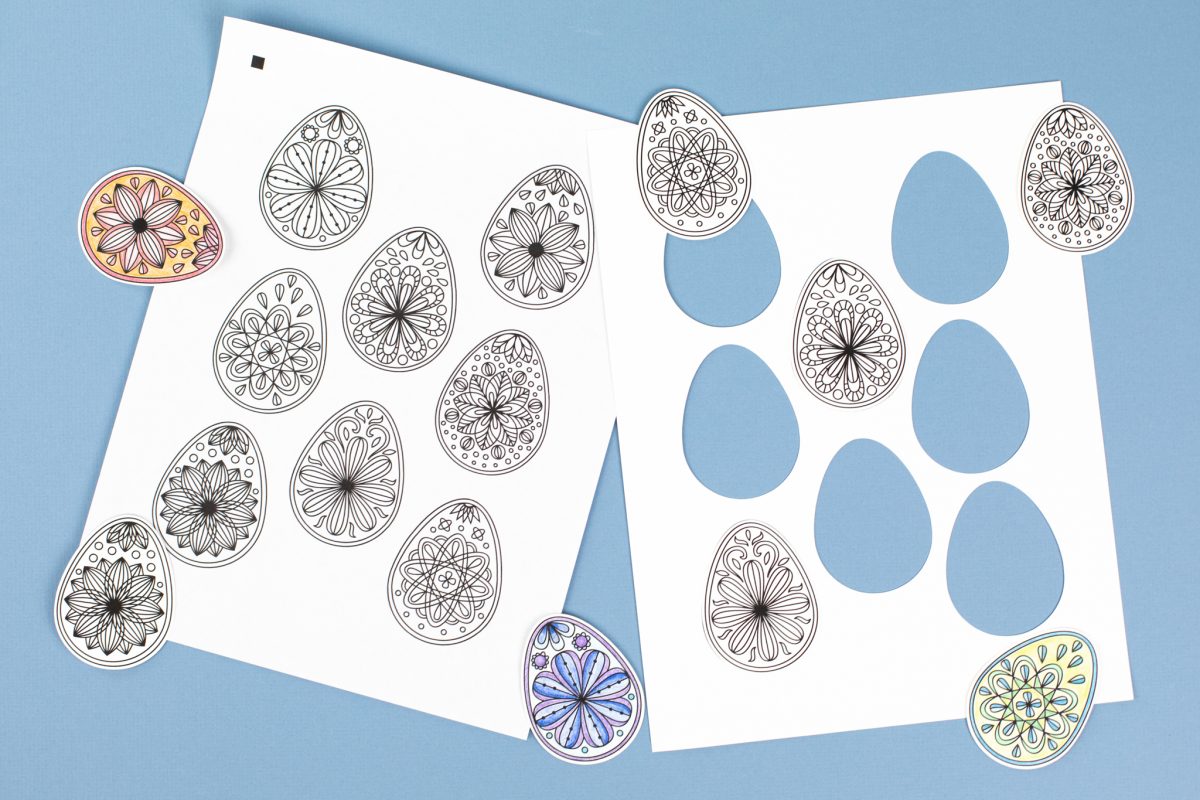
2. You can hide them, stick them in your window, or use them however you’d like!
 Fish Valentines to Share
  Make Your Own Fuzzy Coloring Poster
Sherri Dodds
April 1, 2020
I’m still learning to use my silhouette machine, I have one but can’t figure out how to do any printing on it. I would appreciate any feedback you can supply. Thank You!
Silhouette
April 13, 2020
Hi Sherri! You don’t actually print on your Silhouette cutting machine, but as long as your computer is connected with both your machine and your printer, you can print out designs created in Silhouette Studio!