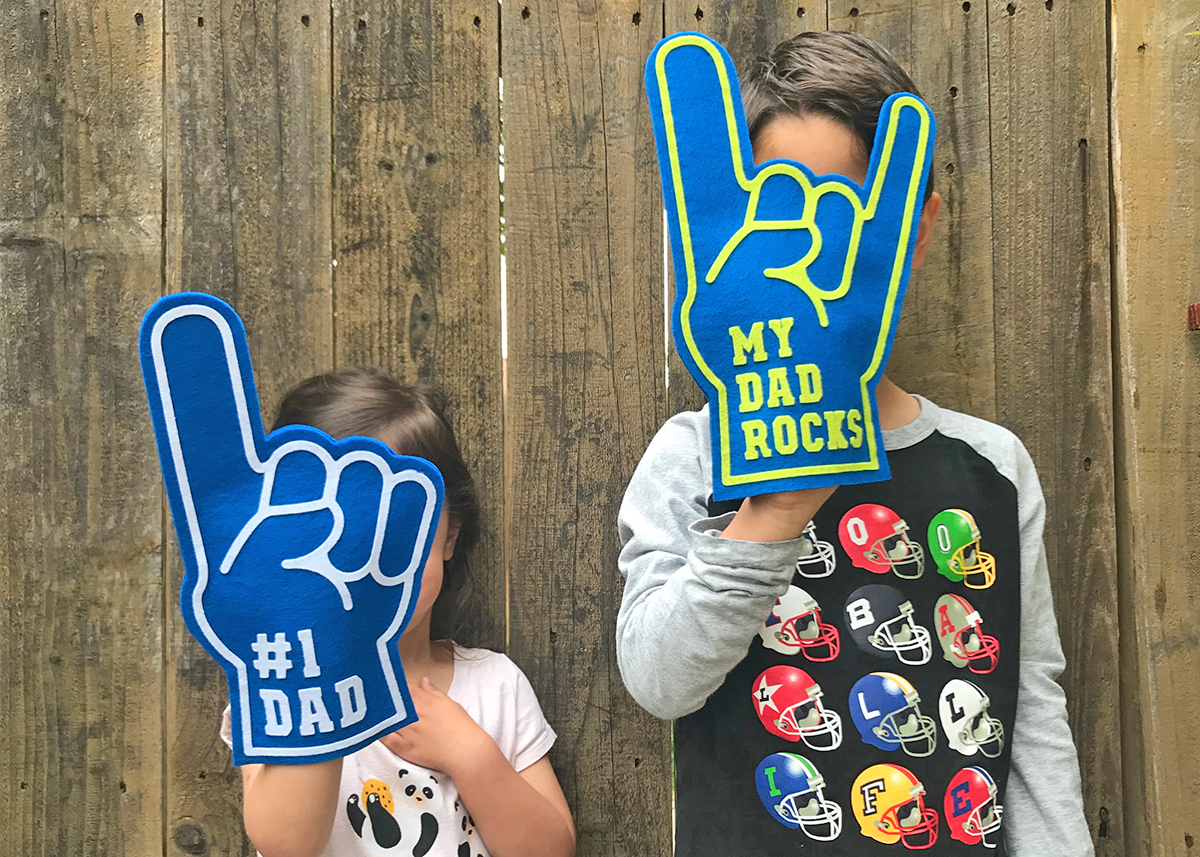
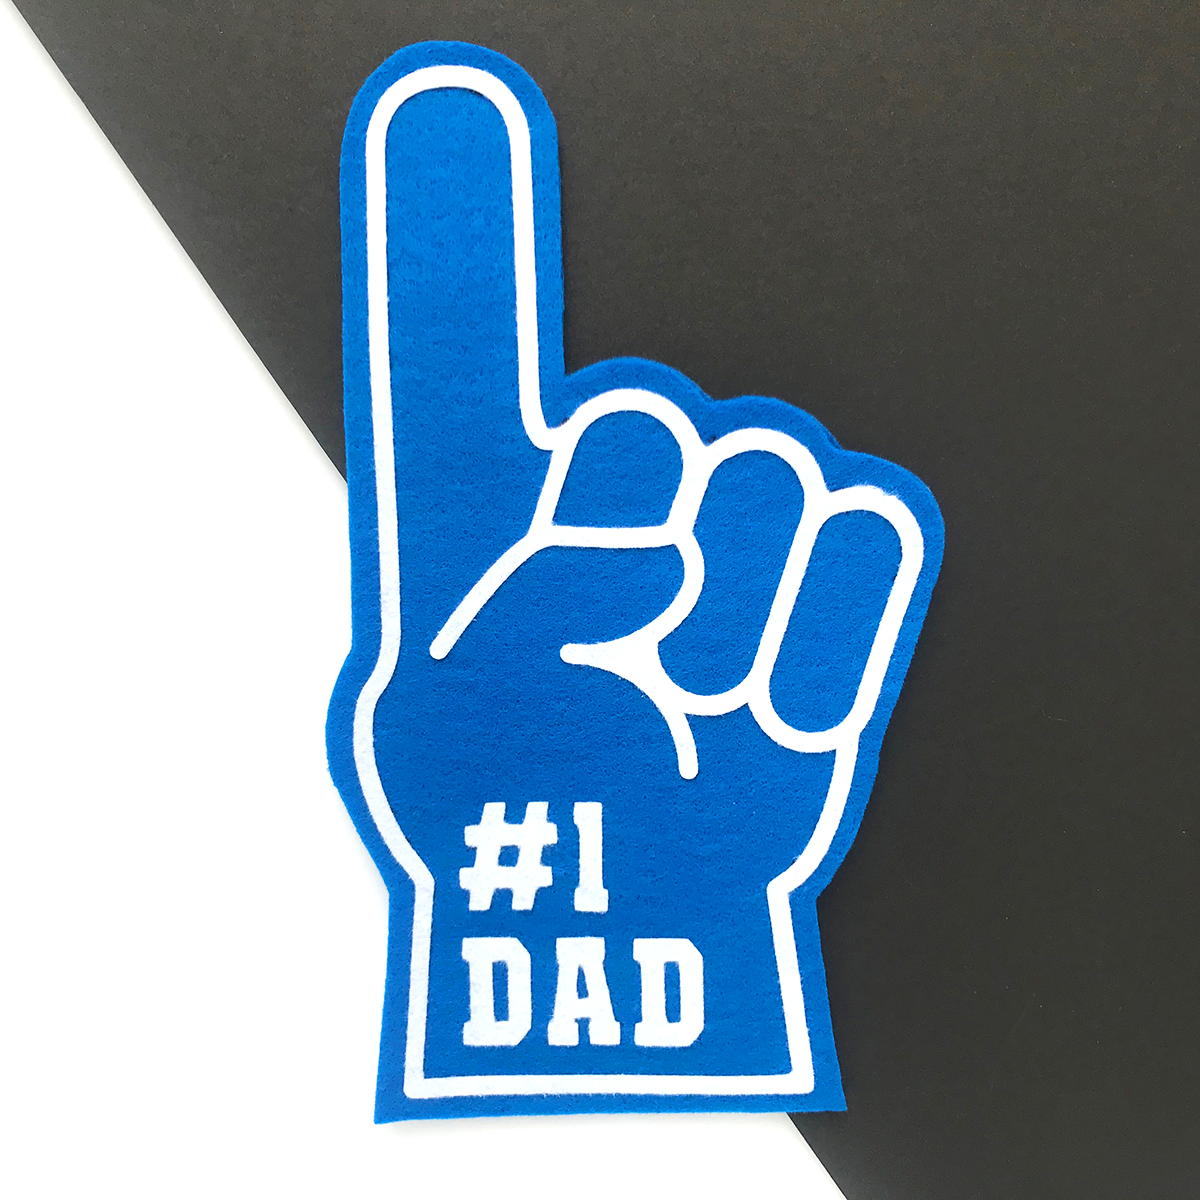
My husband has a pretty awesome fan club that includes two kiddos who think he’s amazing! And they’re right; he is our Mr. Incredible! Inspired by the iconic foam fingers, this DIY project is a fun way to express our team spirit on Father’s Day! Follow along the tutorial below to create your own #1 Dad felt finger.
Supplies Needed:
- Silhouette CAMEO® or Silhouette Portrait®
- Silhouette Fabric Blade
- Silhouette Cutting Mat
- Silhouette Studio®
- Silhouette Cut & Sew Fusible Fabric Stabilizer
- 12-inch-by-12-inch Cardstock
- Pen
- Embroidery Floss
- Sewing Needle
- Scissors
- Iron
- Tweezers
- Premium Craft Felt (from local craft store)
- Hard Craft Felt (mine was purchased from Etsy)
- Felt Craft Glue
- Design ID #217896
- Design ID #274417
Step One: Create the Felt Finger Design (Base Piece + Contrasting Outline Pieces)
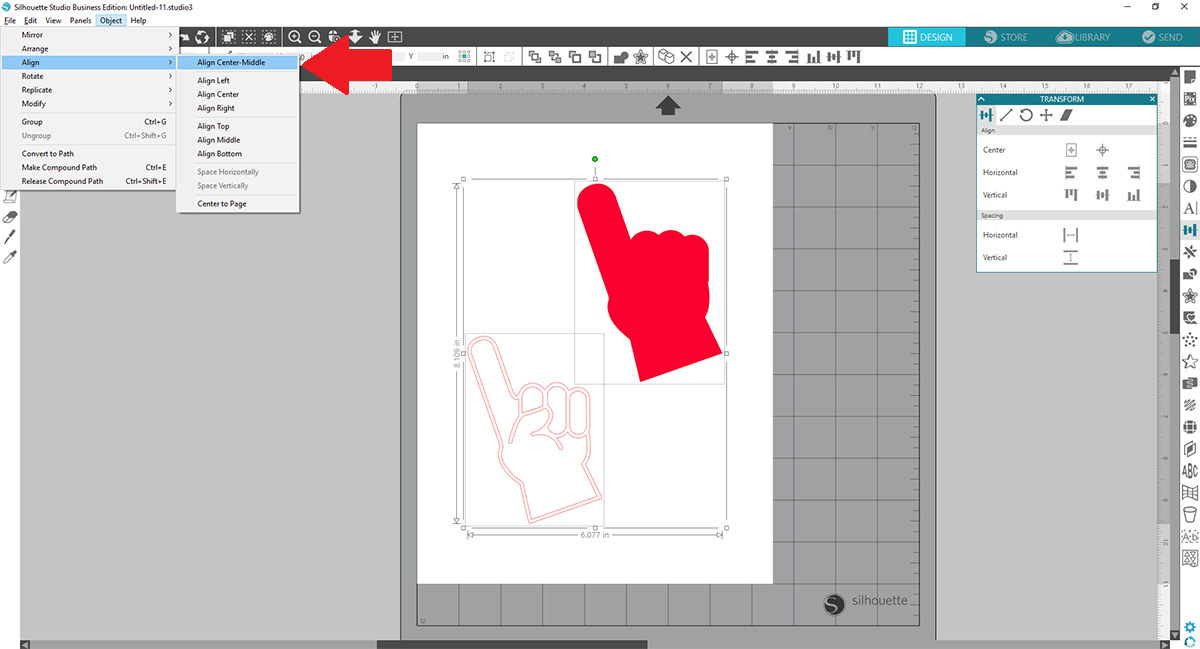
1. After opening Design ID #217896 in Silhouette Studio®, delete the “#” and “1” objects. Then, select the remaining two objects and center them together using the Center icon from the Align Window.
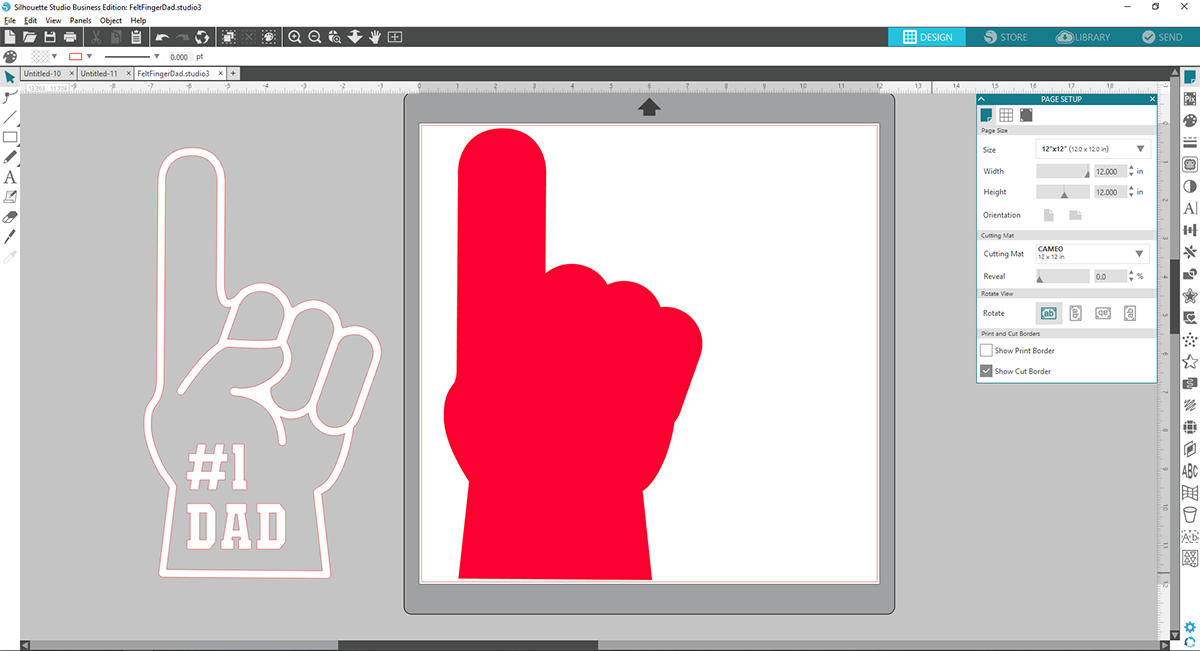
2. With both objects selected, right-click and group. Enlarge the grouped objects to create the base piece. TIP: For my project, I made it about 12 inches tall, which fit nicely on my 12-inch-by-12-inch cutting mat.
3. Next, insert text using the Coach font (Design ID #274417). Resize the text as you see fit.
4. Once you have created the design you like, ungroup all objects and move outline and text objects off to the side. The only object you should see on the virtual cutting mat is the finger shape.
Step Two: Prepare the Base Piece
1. Insert 12-inch-by-12-inch cardstock on your Silhouette cutting mat and send to your Silhouette. This is our tracing stencil.
2. Remove the cardstock from the cutting mat, place the stencil over craft felt, and trace the outline with a pen.
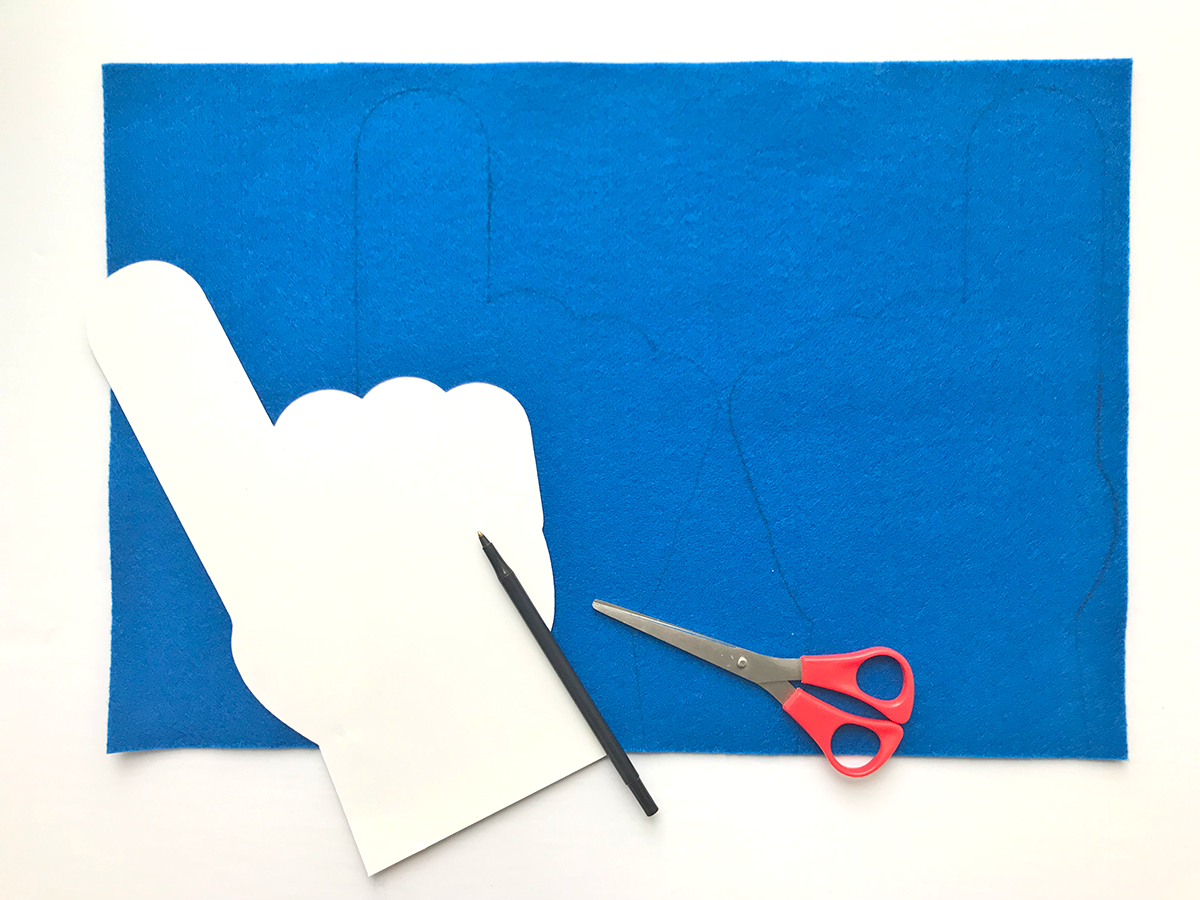
3. Flip over the tracing template onto a blank area of the premium craft felt and trace again with a pen.
4. Cut out both traced outlines with scissors.
Step Two: Prepare the Contrasting Outline Pieces
1. In Silhouette Studio®, move the base piece off to the side and put the other pieces back on the virtual cutting mat.
2. Now we will prep the hard craft felt sheet so that it an be easily cut by your Silhouette machine. Follow instructions per Fusible Fabric Stabilizer.
3. Send to Silhouette with proper cut settings. TIP: I highly recommend using Silhouette’s Fabric Blade or a separate blade for fabric projects. I also suggest doing a test cut prior to cutting the entire design.
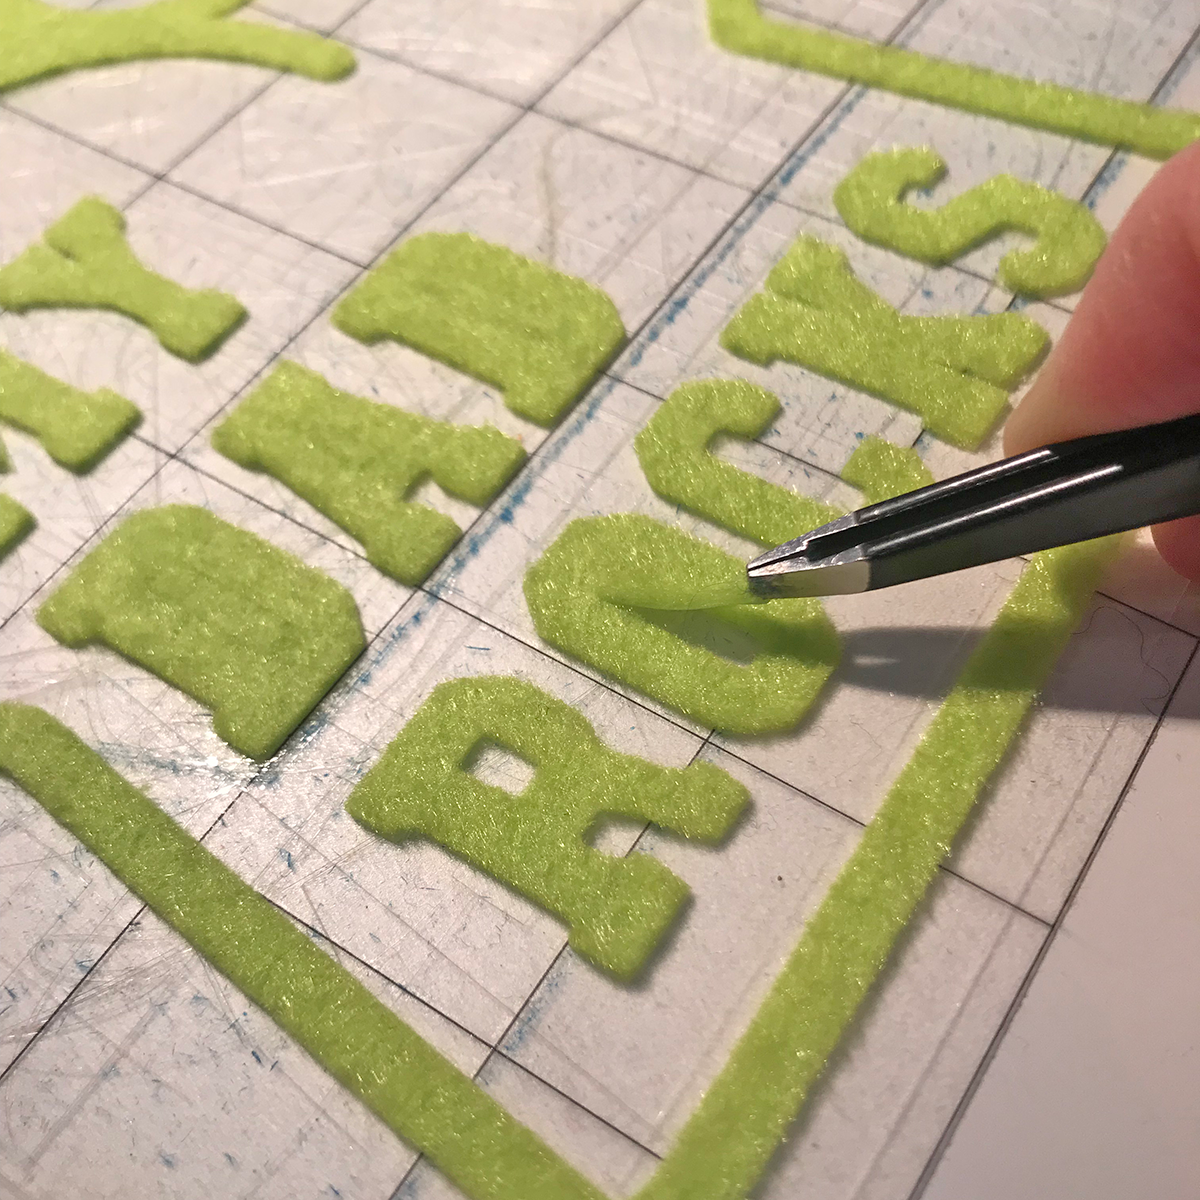
4. Once cut, carefully peel off from cutting mat. TIP: I found that Tweezers were helpful in lifting the letters and the removal of any tiny pieces.
Step Three: Assemble the Design
1. Place both base pieces on top of each other and sew together with embroidery floss. TIP: Sew about 0.375 inches from the edge so that it will be concealed by the outline felt finger design
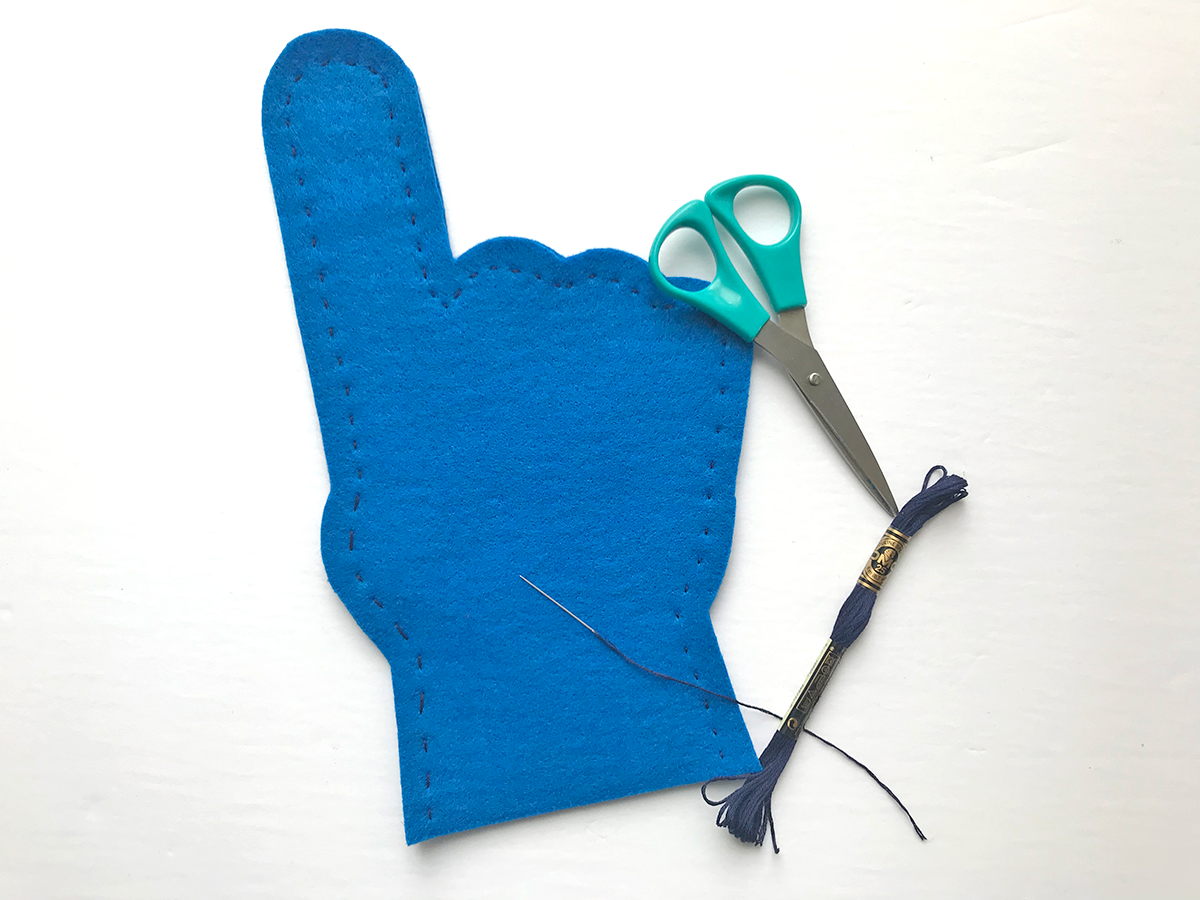
2. Once sewn together, you may need to trim the overlapped edges of the base pieces with scissors for a smooth edge.
3. Lightly dab felt craft glue on the backside of the hard felt cutouts and adhere to the front of the felt finger base piece. They should cover up the stitching. Let dry until hard felt pieces are secured to base piece.
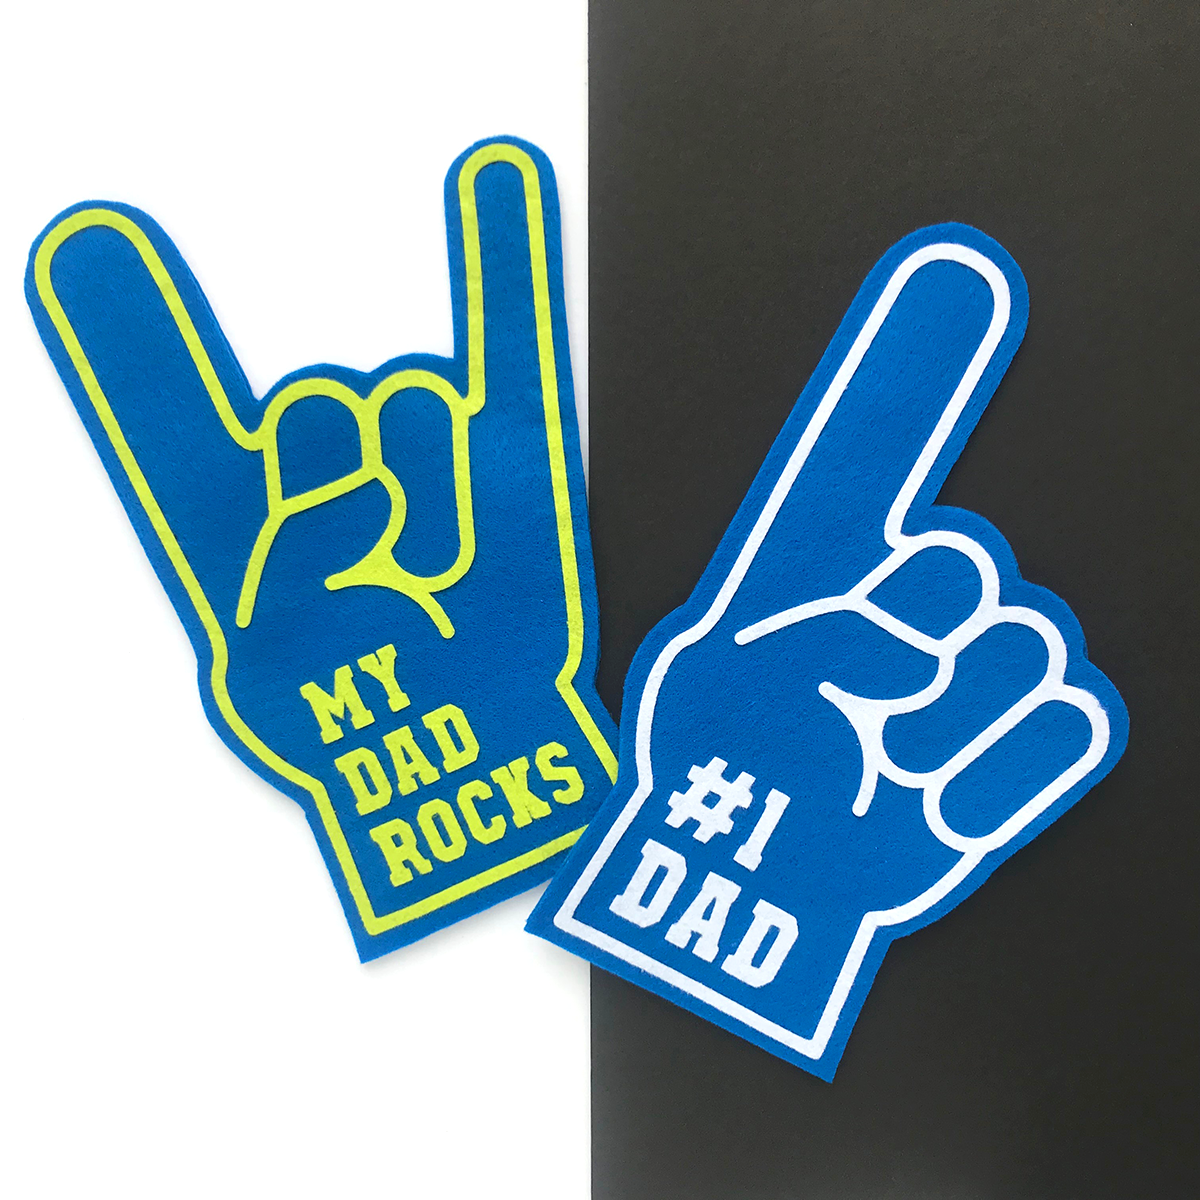
Since I have two kiddos who are still working on the concept of sharing, this mama was smart and made another felt finger that says “My Dad Rocks” because I have a thing for puns. Now, each child can proudly hold their felt finger to cheer on their daddy!
If you’re wondering how I made the other felt finger design, I modified Design ID #217896 by creating offset ovals, welding, and then manually editing points. That’s the beauty of the Silhouette Studio® software; once you become proficient with it, you can create anything from scratch or modify existing files to meet your project needs.
Using Silhouette’s Fusible Fabric Stabilizer helps expand the possibilities of what this machine can cut. It would be nearly impossible to get a clean cut by hand and surely would have been very time consuming. This mama ain’t got time for that!
I am now thinking I need to make some team shirts to go along with these fun felt fingers. Who’s going to make these felt fingers for that special dad in their lives? What would yours say?