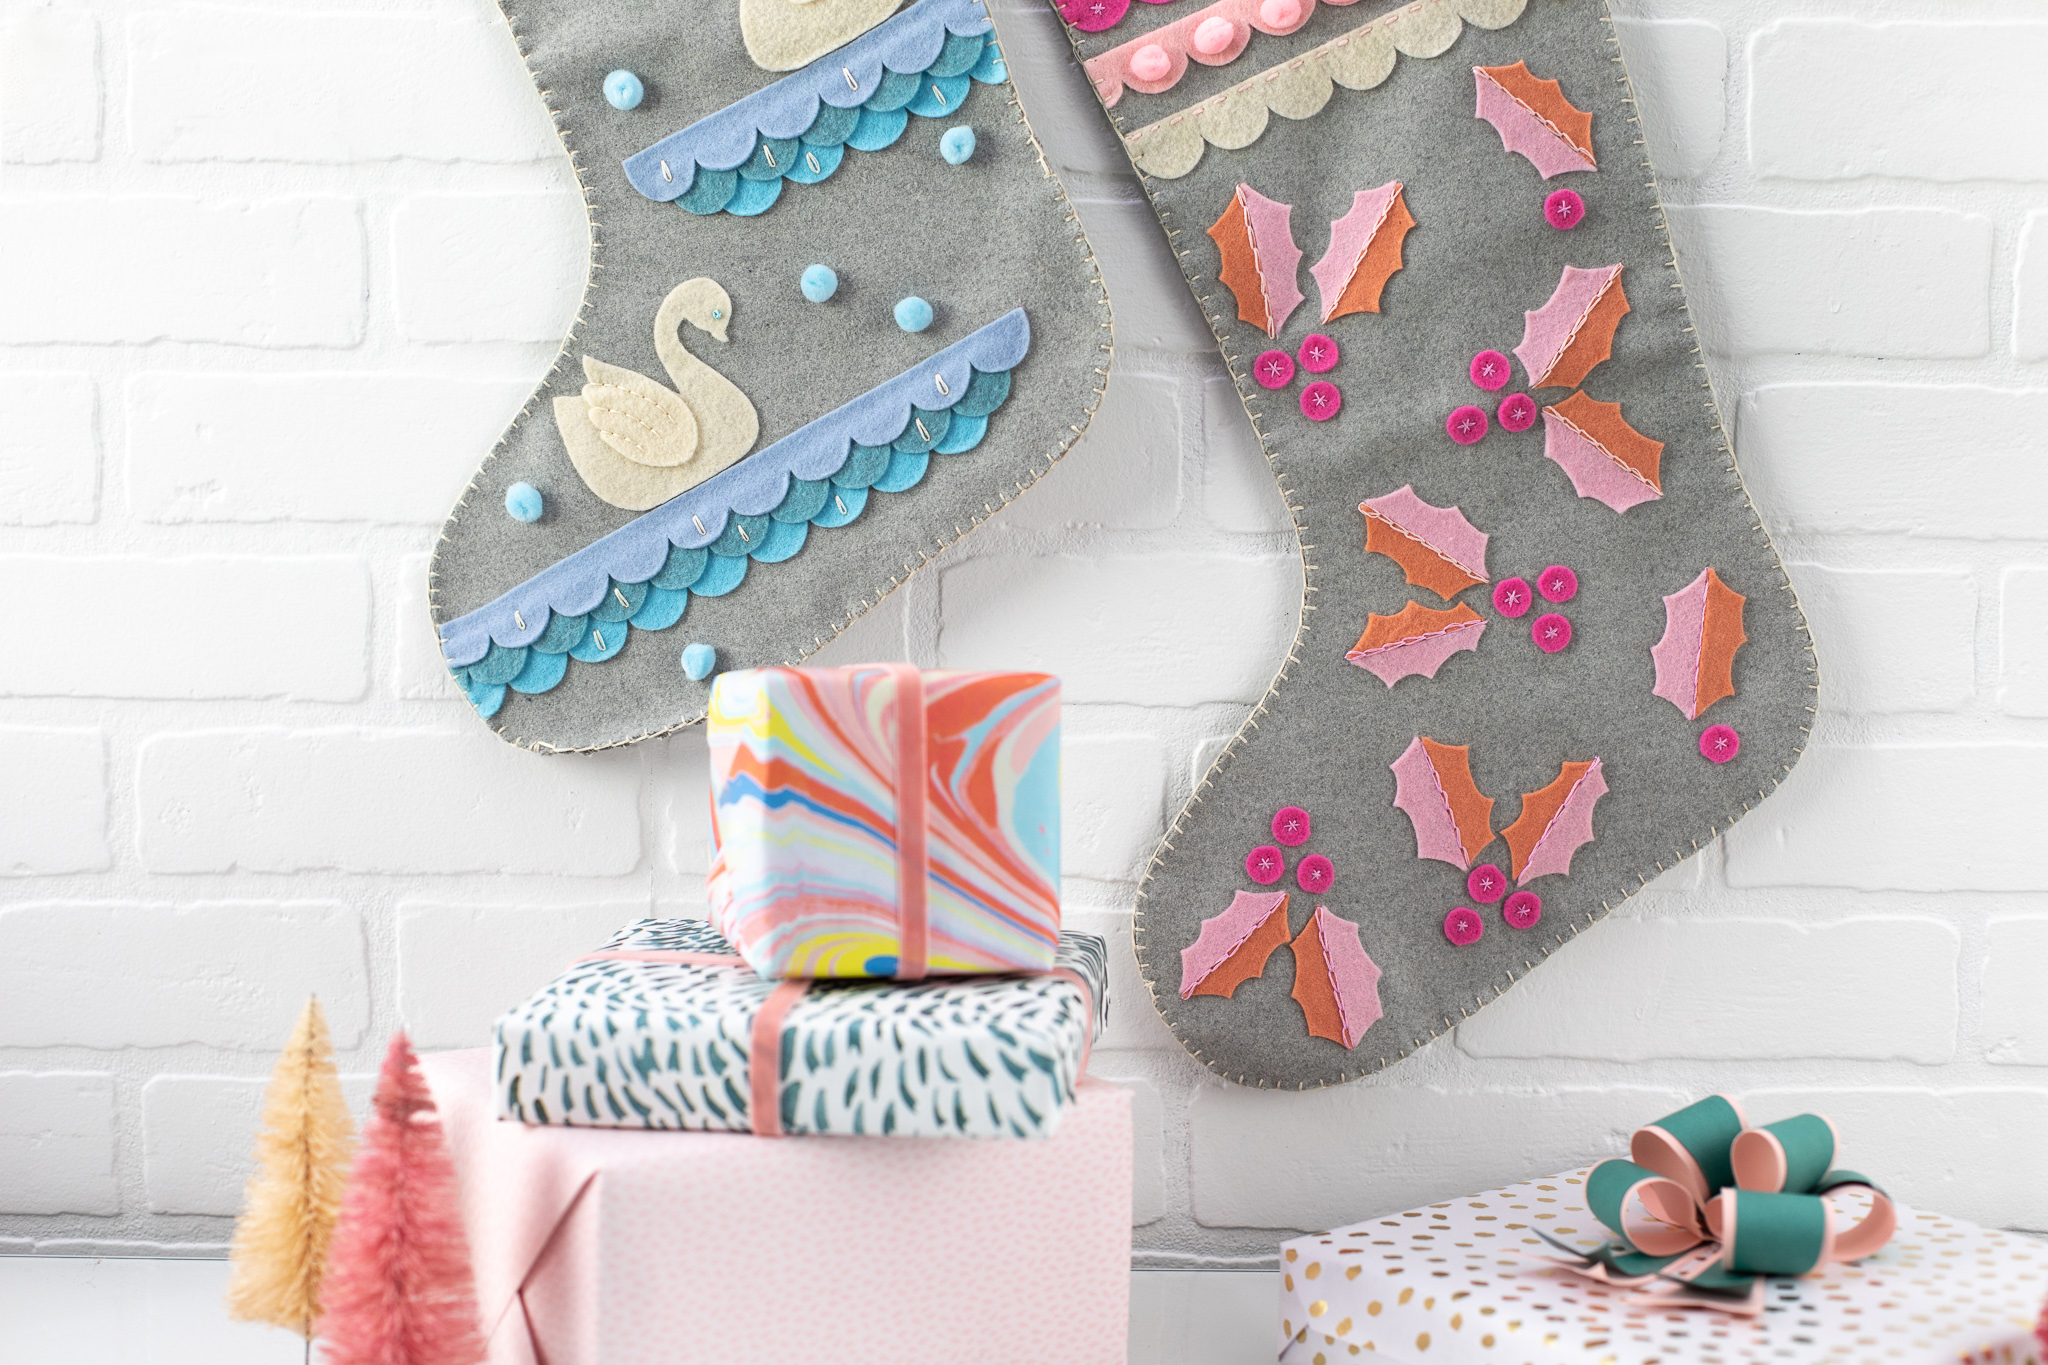
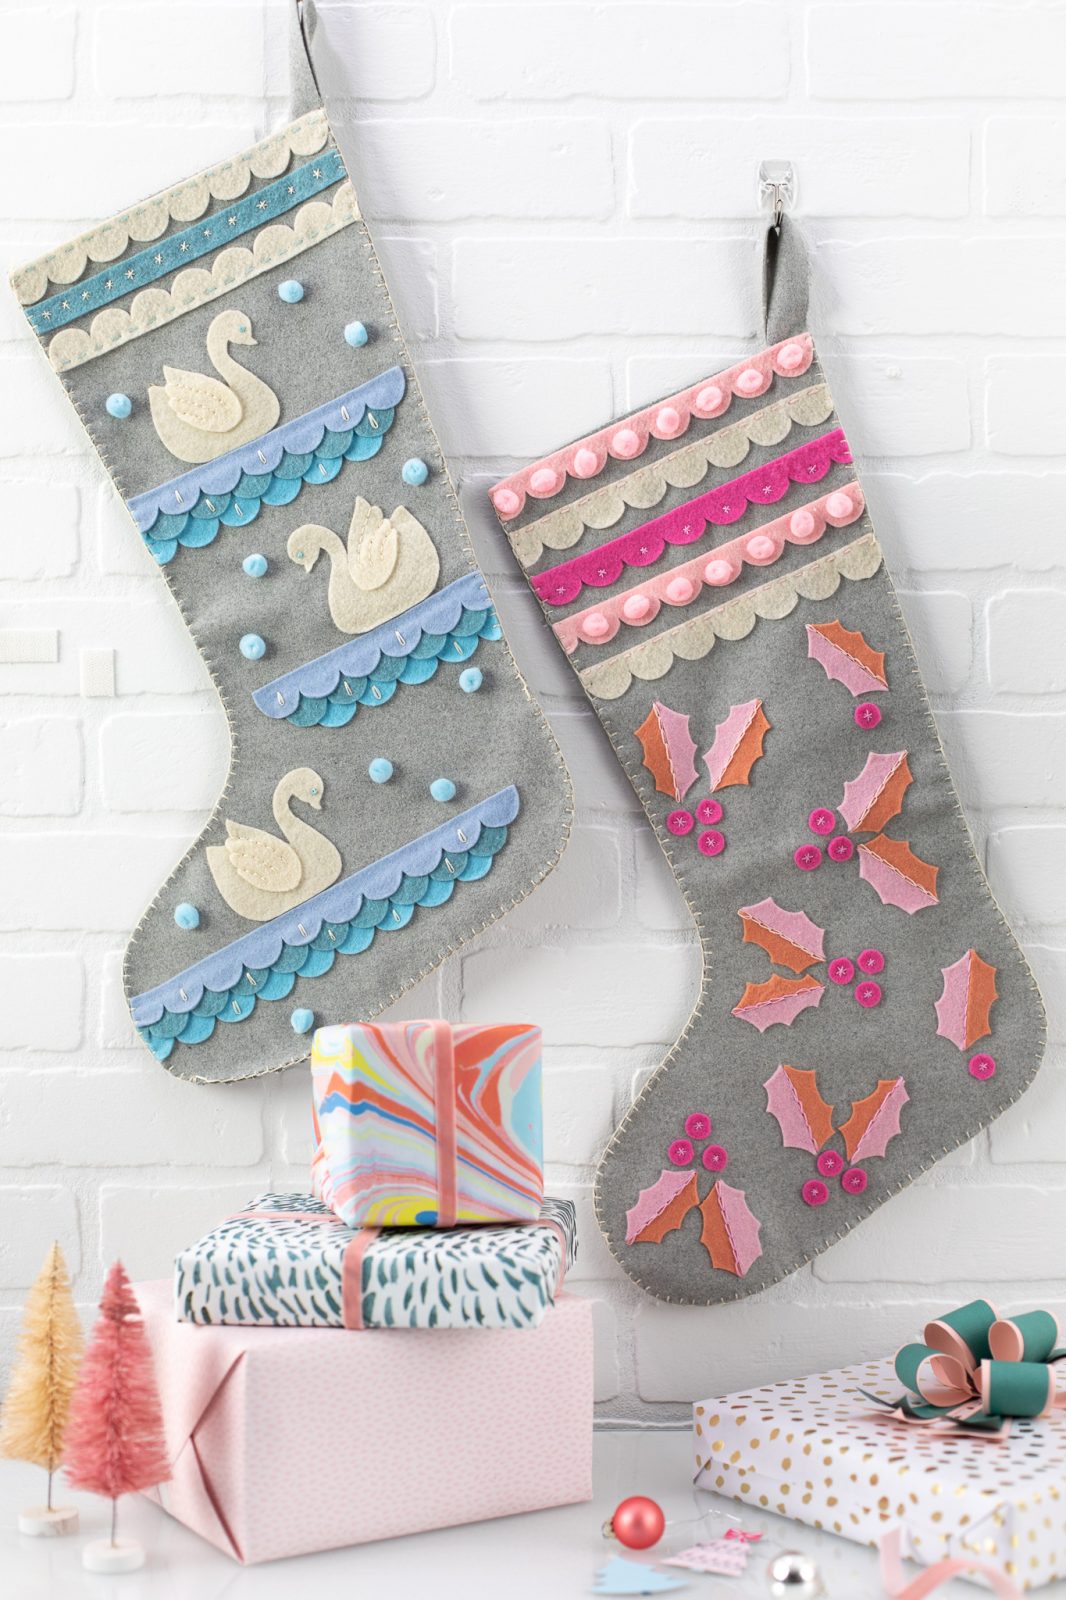
Discovering the treasures tucked within my stocking on Christmas morning used to be my favorite parts of the season! These stockings are made completely out of felt, and all the pieces are cut using the Rotary Blade for Cameo 4! Some fabric glue and basic hand-stitching brings it all together! Would you make your own stockings?
Supplies Needed:
- Silhouette Cameo® 4
- Silhouette Studio®
- Silhouette Cutting Mat—Use a high-tack or extra sticky mat
- Silhouette Rotary Blade for Cameo 4 (Coming in November!)
- Wool felt for the stockings: You will need 2, 12-by-24-inch pieces for one stocking.
- Acrylic felt for the stocking details: We used cream and shades of pink and blue.
- Fabric or felt glue
- Embroidery floss is coordinating colors
- Hand sewing needle
- Design ID #38819 for the stocking shape, #103717 for the Holly Leaf shapes, #255232 for the Swan shape, and #11750 (or something similar) for the scallop border
Step One: Editing and Formatting the Designs
1. For the stocking shape, I wanted a very specific design, so I edited the points of a basic stocking shape I found in the Silhouette Design Store to customize the design to my liking. When you insert the original design, it looks like this:
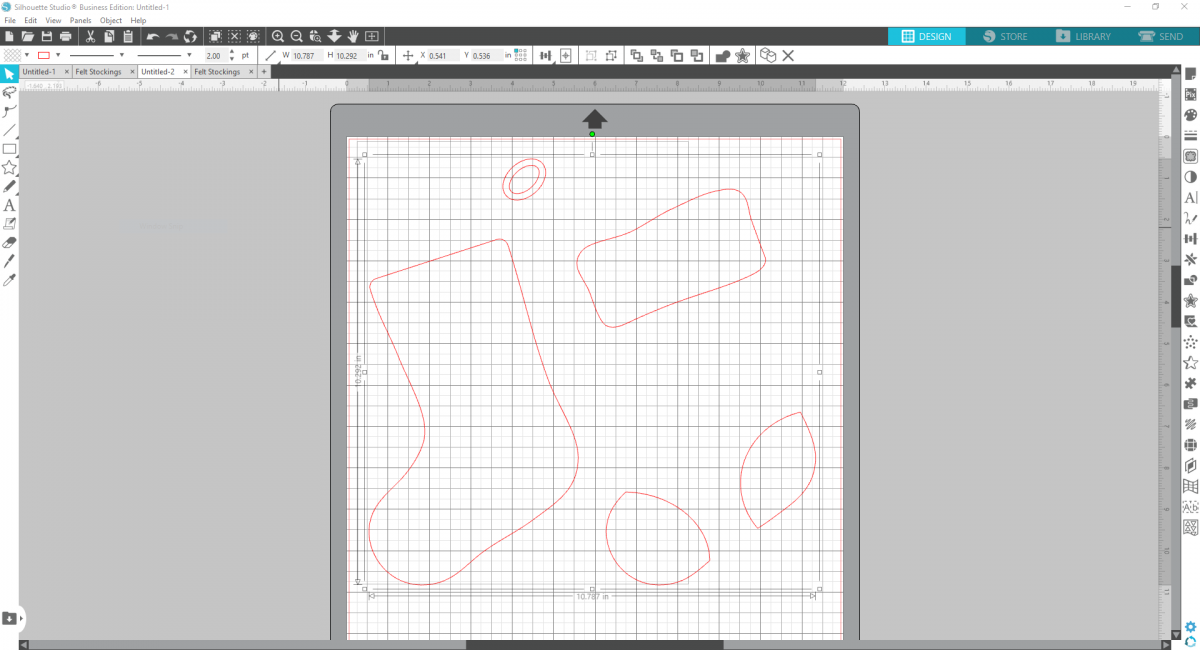
2. I’m just using the main stocking shape, so ungroup the design and delete the extra elements.
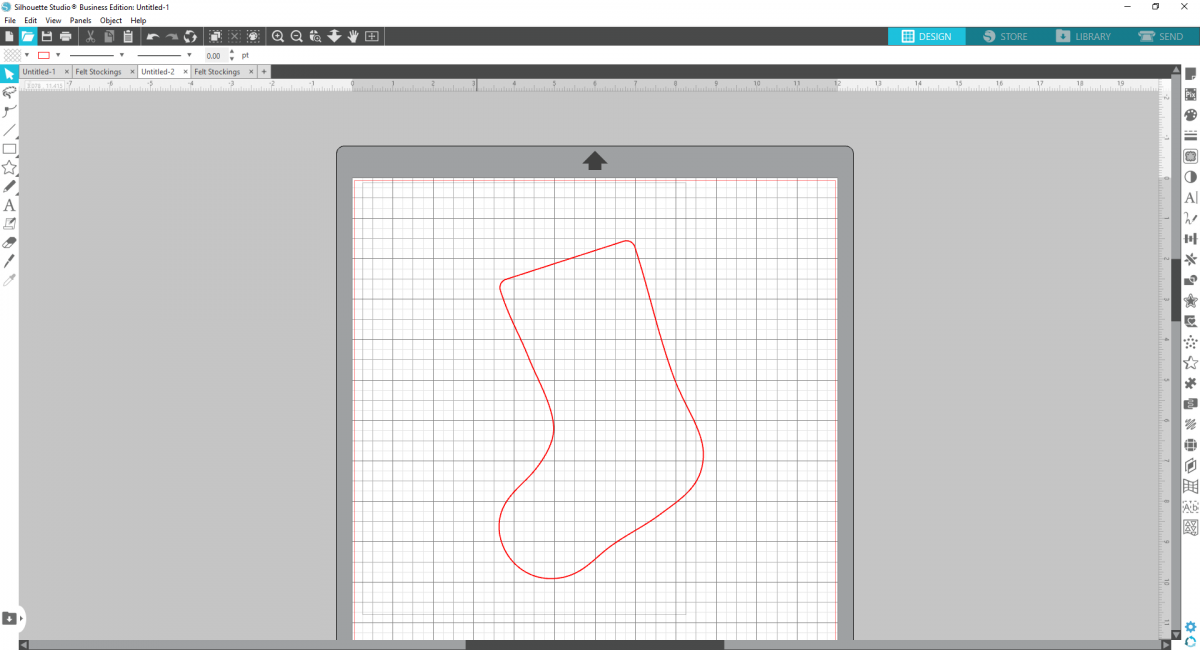
3. Then, double-click on the stocking to see the gray edit points or select the “Edit Points” button on the left-hand toolbar. These will allow you to adjust the dimensions of the stocking.
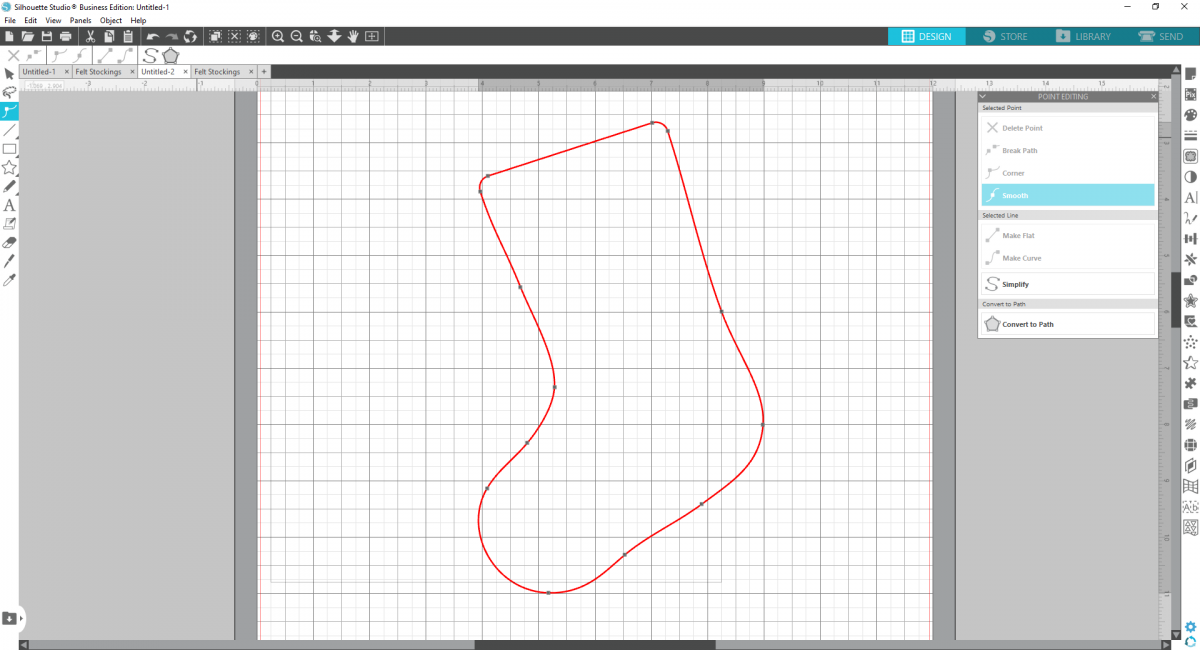
4. Select the two edit points on the upper edge of the stocking and extend them to create a tall stocking.
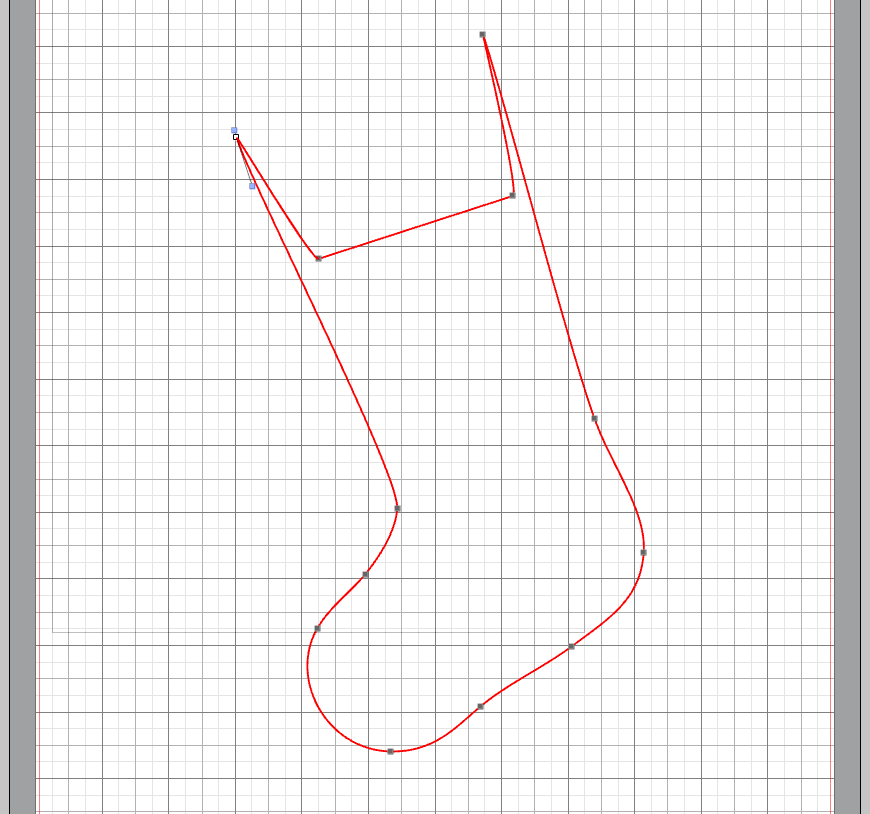
5. Then right-click on the two edit points that are creating the weird dip at the top of the stocking and delete them. This will create a straight top line to your stocking.
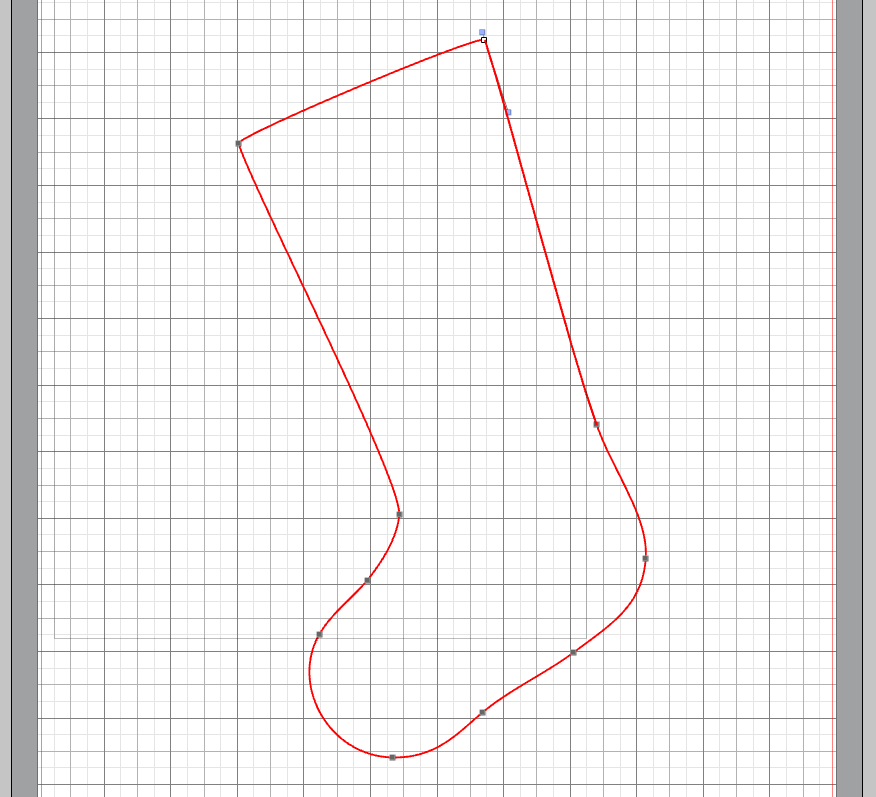
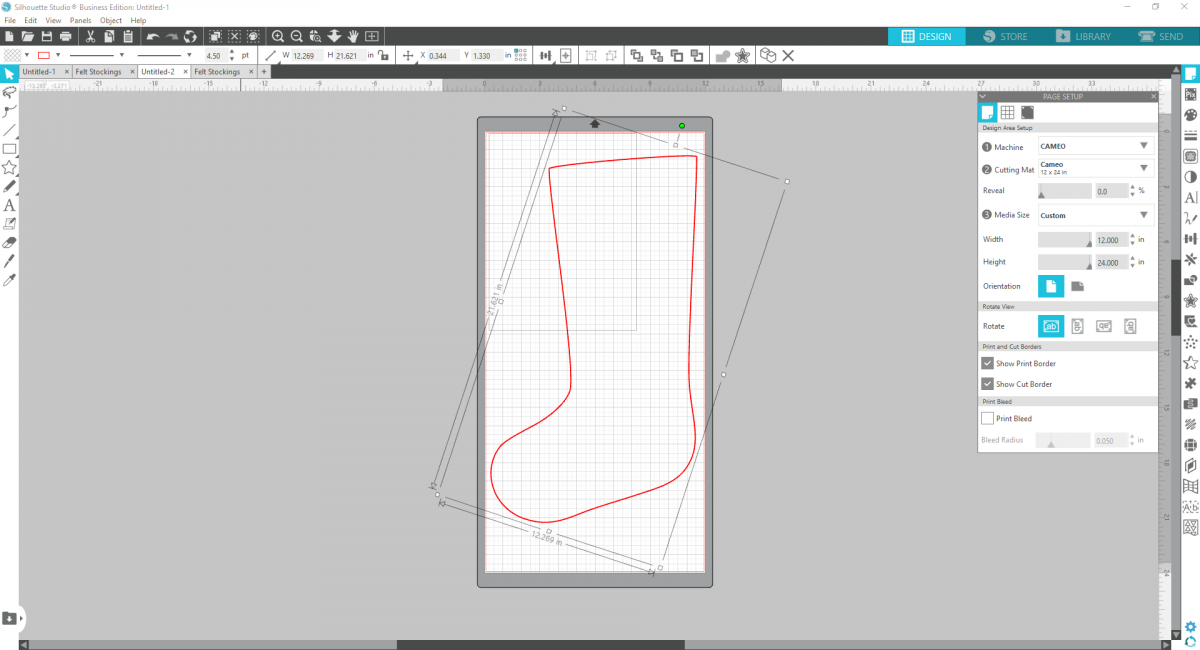
6. Now you can make any other minor adjustments to your stocking shape to fit your taste! The edit point feature makes this really simple. Once you have your design perfected, increase the dimensions. We made our stocking about 22 inches tall. You’ll need a 12-by-24-inch cutting mat for this.
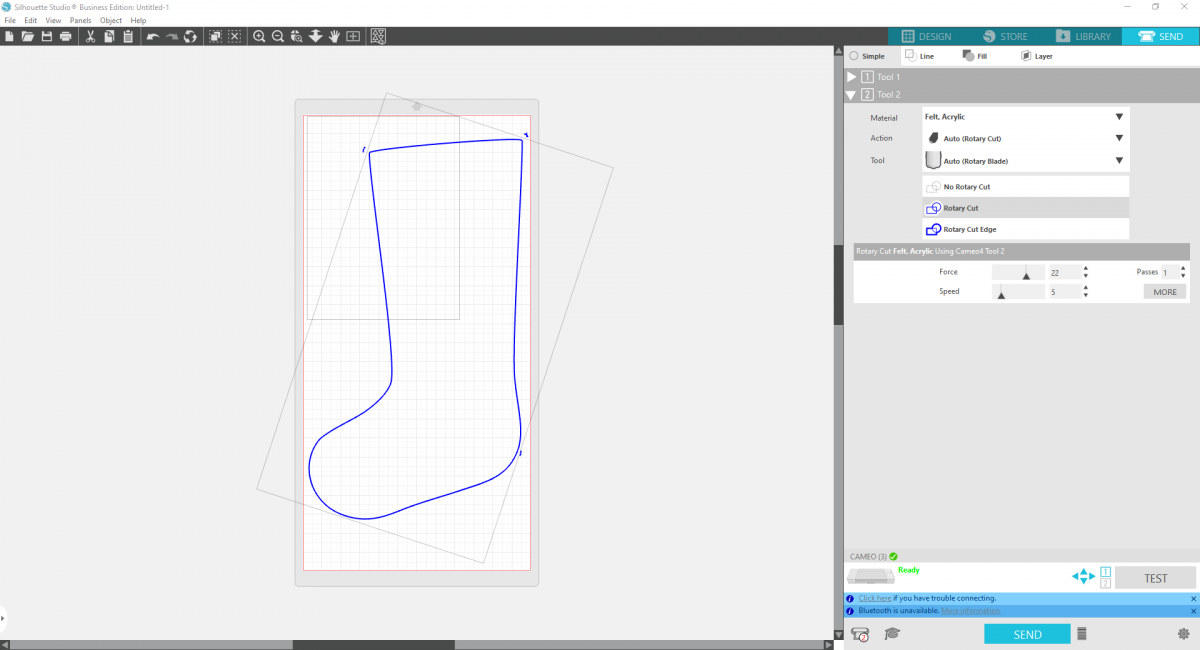
7. Cut out two stocking shapes for one stocking. If you have a Cameo 4 and the Rotary Blade for Cameo 4, you can cut your felt with the machine! If not, you can always cut out the stocking from paper and use it as a stencil and cut out your felt by hand.
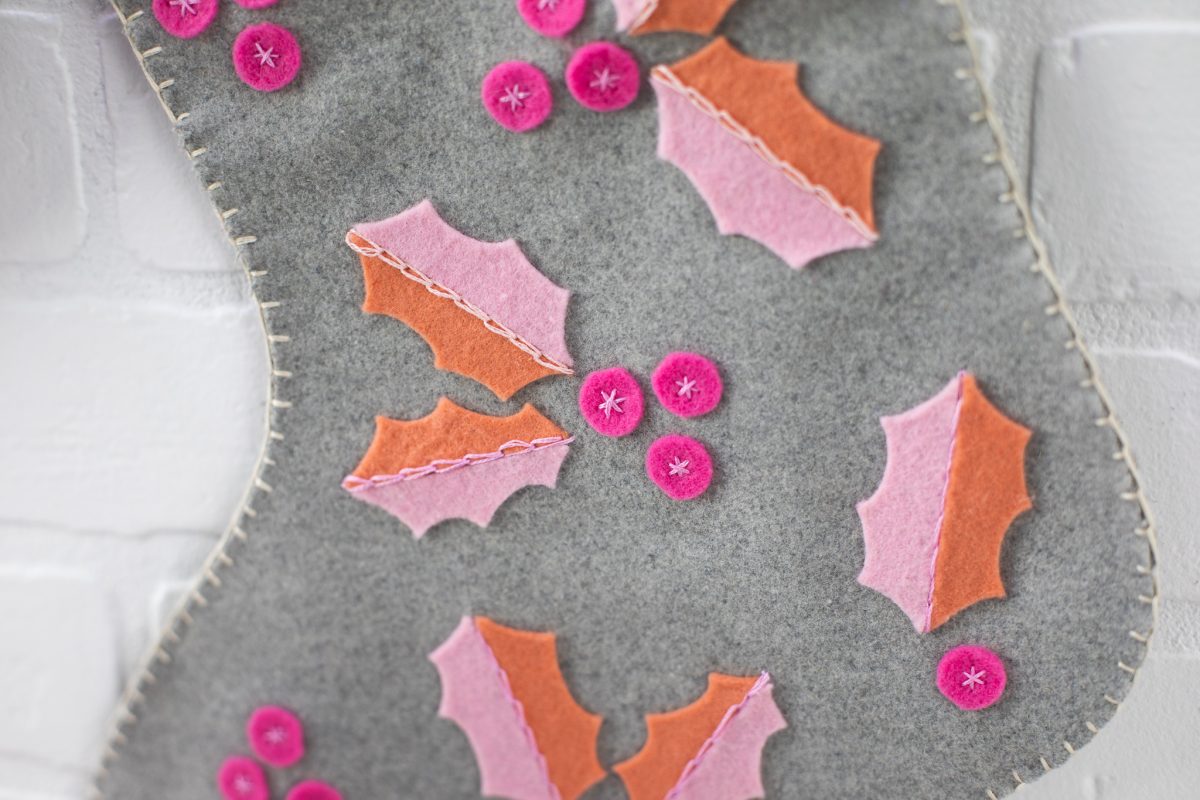
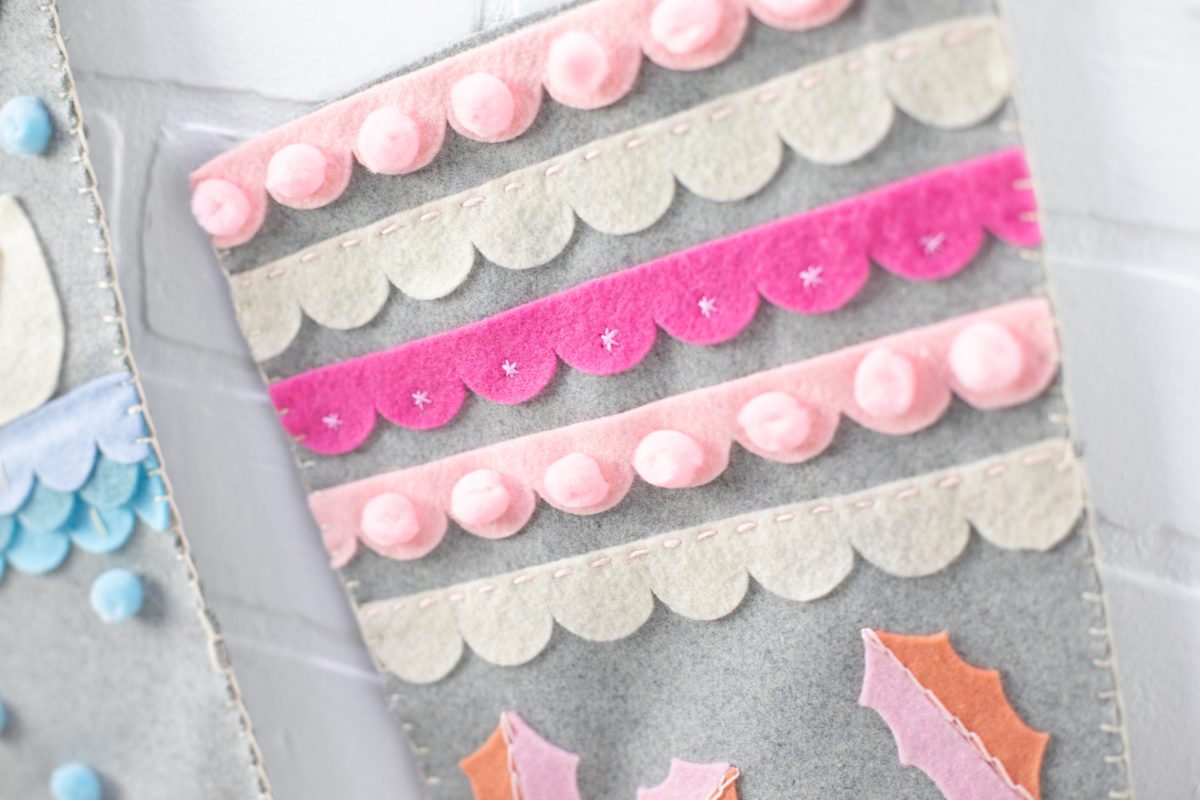
8. Now for the details! Both stockings use scallop borders and then one uses swans and the other holly leaves and berries.
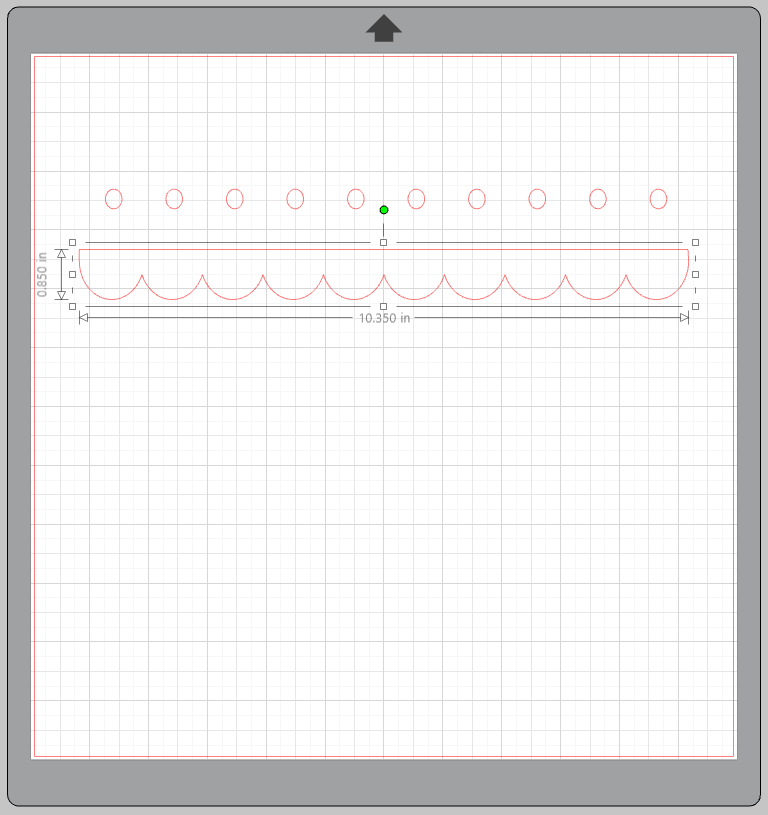
9. For the scallops, insert the design, right-click and select release compound path so you can separate the dots from the scallops. Then you can delete the dots. The size is .85 inches tall and 10.35 inches wide, but you can adjust yours to your preference.
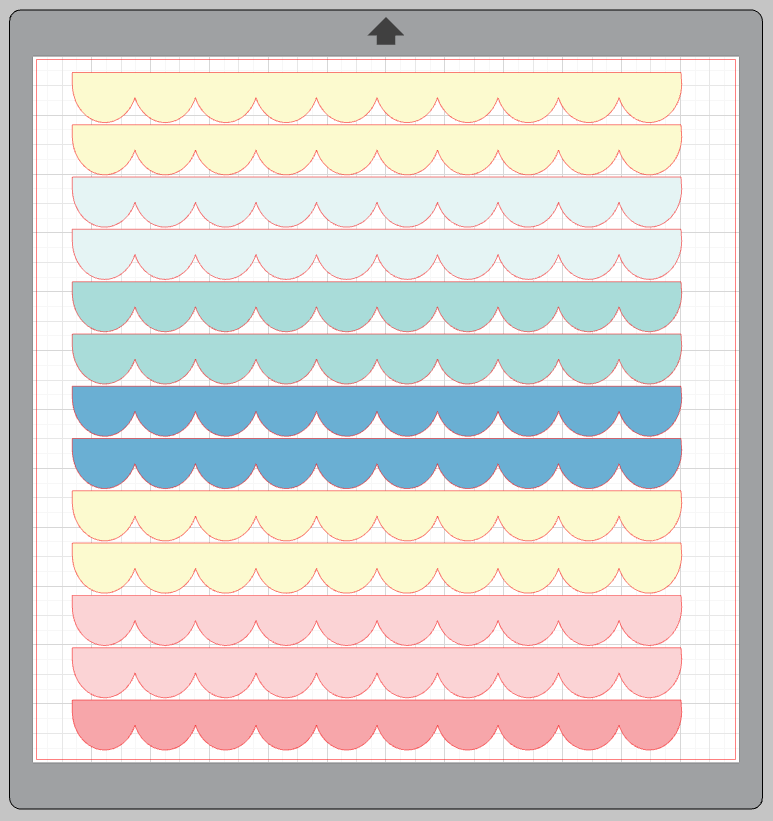
10. For the swan stocking, I cut 8 scallop borders: 2 light blue, 2 medium blue, 2 darker blue, and 2 cream.
11. For the holly stocking, I cut 5 scallop borders: 2 light pink, 2 cream, and 1 darker pink.
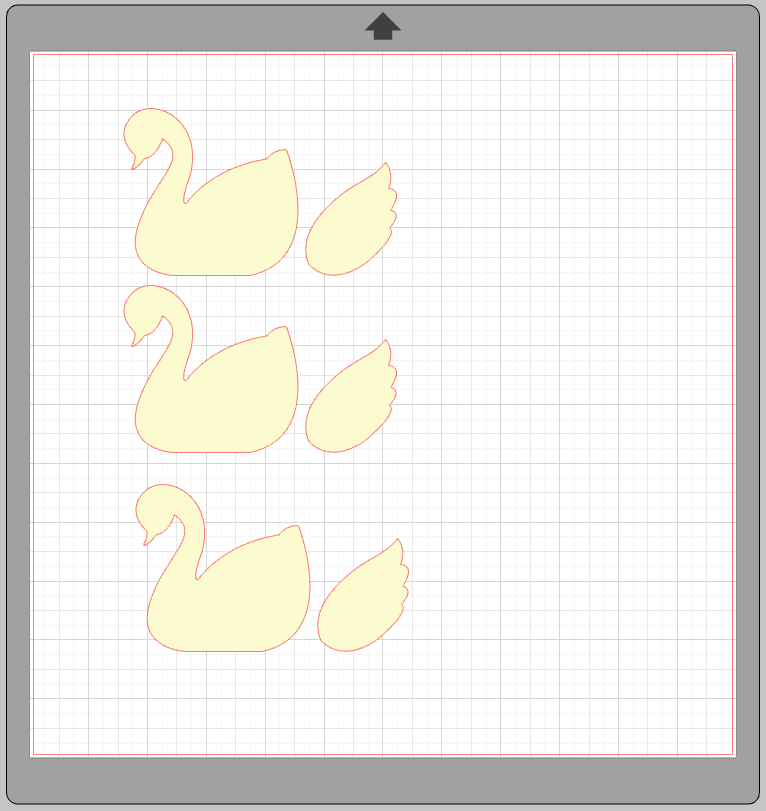
12. For the swan design, all you need is the main swan shape and the wing.
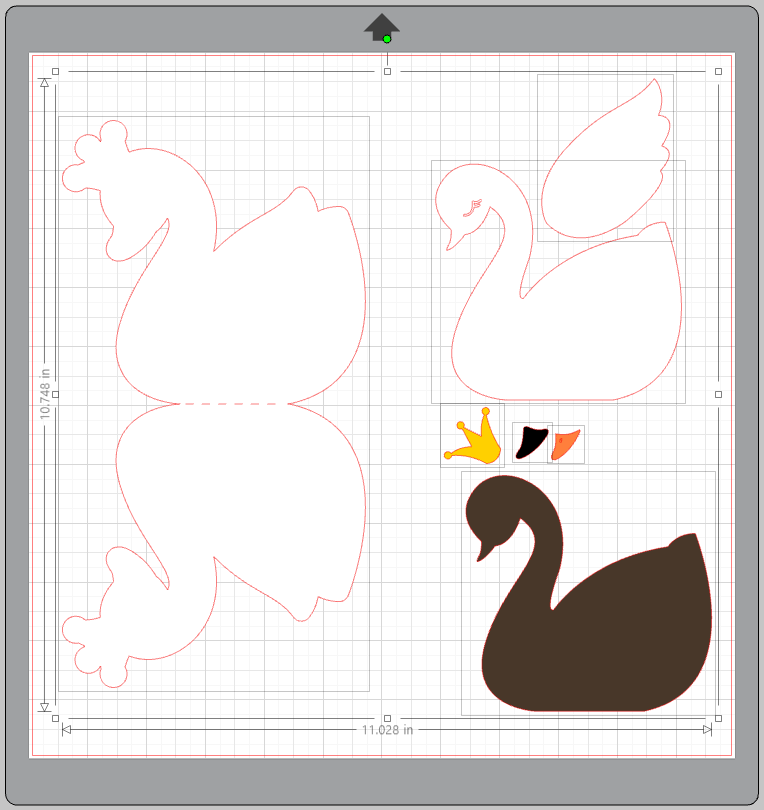
13. Right-click to ungroup the design and delete the additional elements. Then select both the swan and the wing and size down so the swan is just under 3 inches wide.
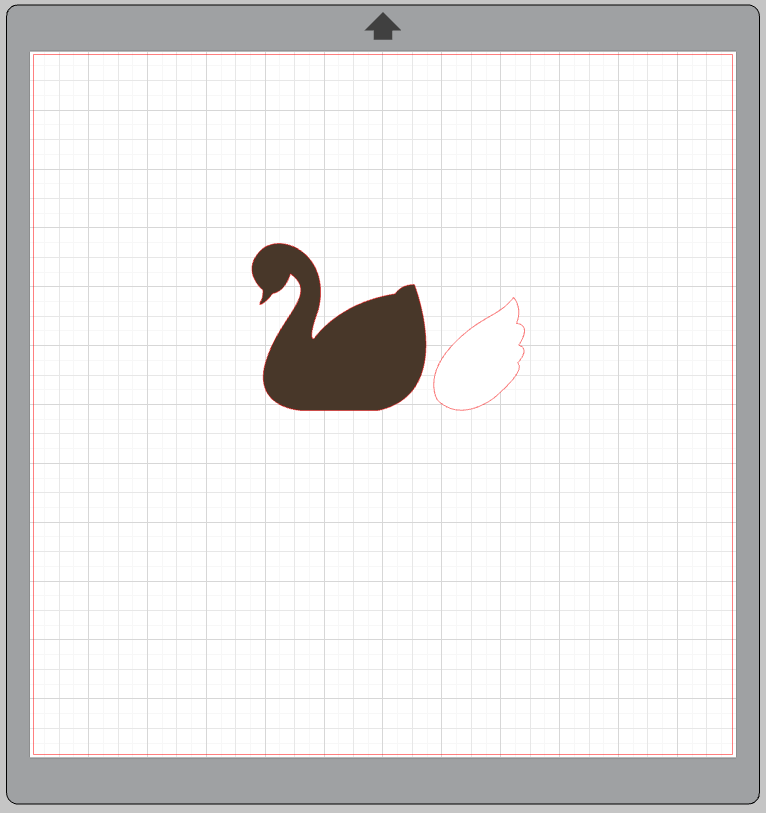
14. Cut 3 swan/wing combinations out of cream felt.
15. For the holly leaves and berries, I cut 6 leaves from light pink felt, 6 leaves from coral felt, and 17 dark pink berries. I used Design ID #103717 which I already had from THIS wreath! But you can use any holly leaf/berry design you like.
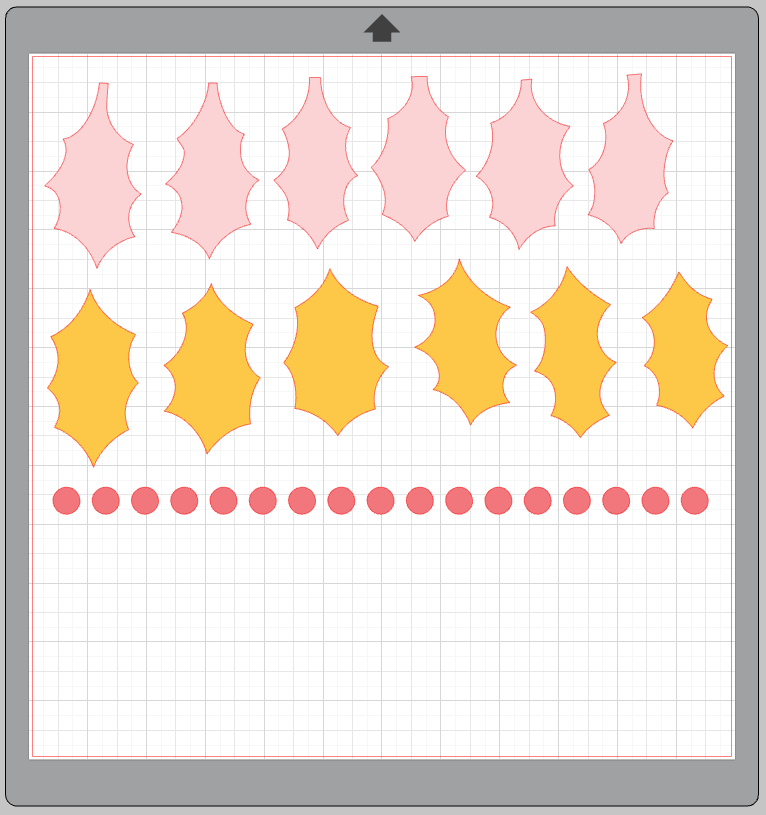
16. Once the holly leaves are cut, I cut them each in half because I wanted the leaves to be half pink-half coral.
Step Two: Assembling the Stockings
1. To begin, place all your elements on one of the stocking pieces and arrange them how you’d like. Then glue in place with felt or fabric glue.
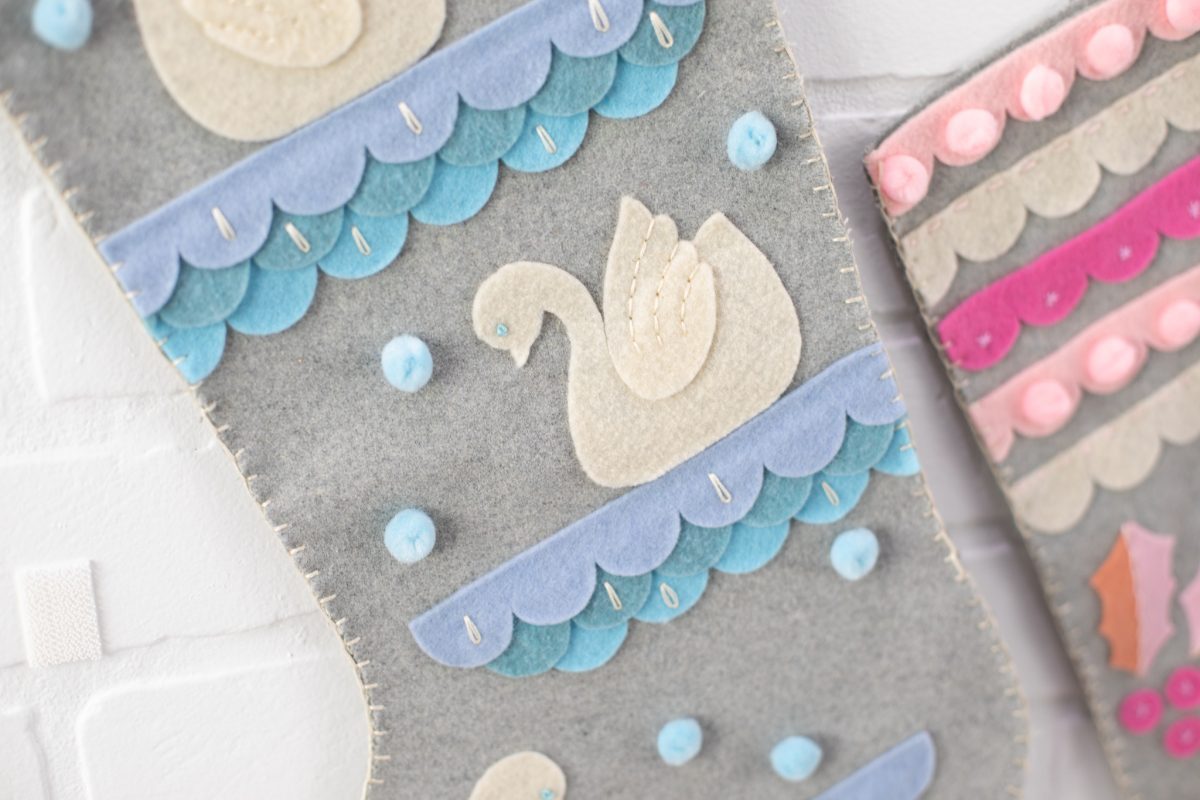
2. Then add more detail with hand embroidered accents. I used a mix of simple stitches, including the chain stitch, running stitch, back stitch, and a few stars.
3. Then align each detailed stocking with a plain stocking for the back. Sew the two together using a blanket stitch. Before you stitch all the way around the perimeter of the stocking, add a loop of felt or ribbon so you can hang your stocking. Then finish the stitched to anchor that in between the two stockings.
Then hang them up by the chimney with care!
 January Online Classes
  Winter Branch Décor