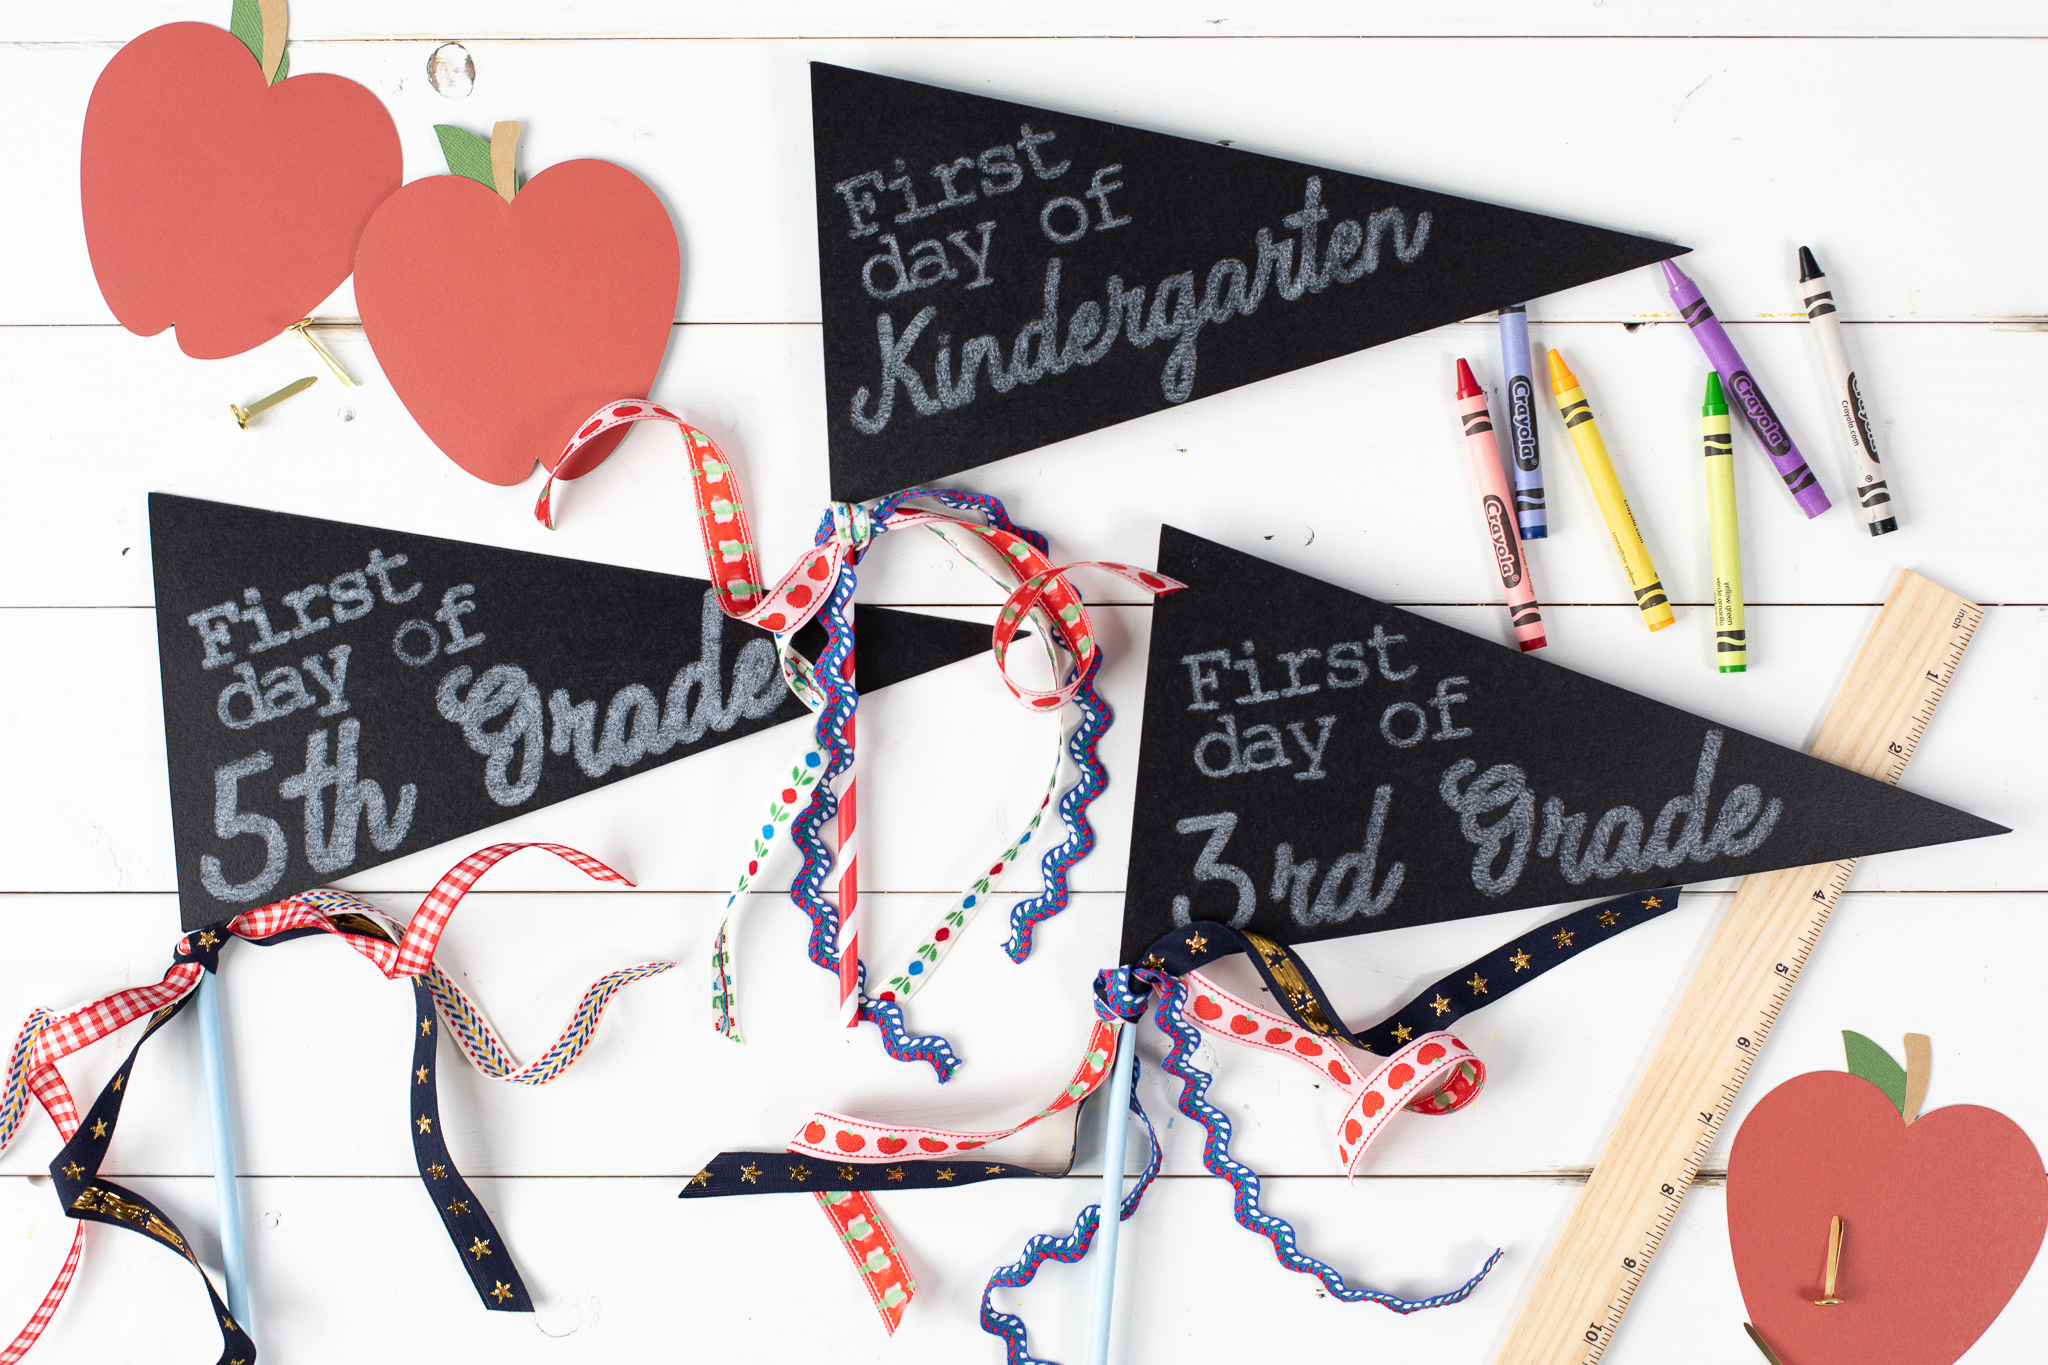
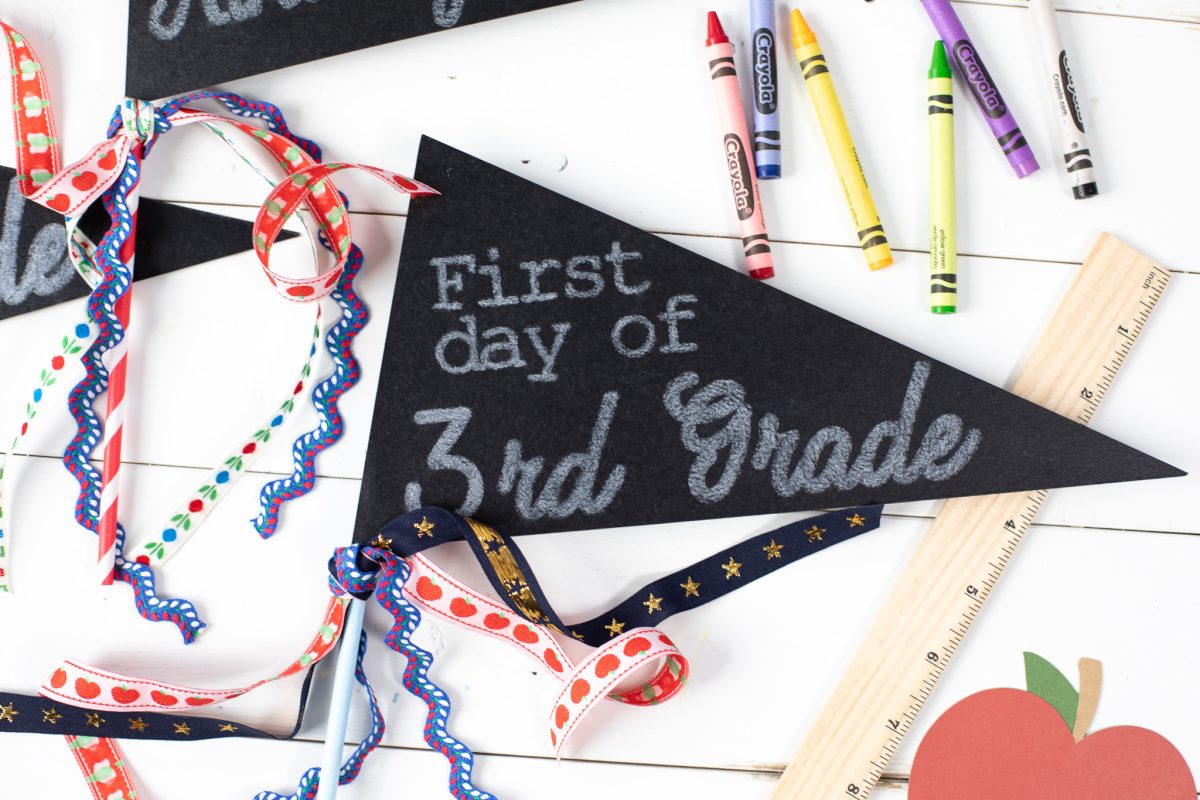
It’s that time of year again! With the kids off to school, make sure you document those “First day of School” photos with these sweet chalkboard pennants to show which grade your child is starting! The Chalkboard starter kits makes this quick and easy; you’ll want to make them again for the last day of school come spring!
Supplies Needed:
- Silhouette CAMEO® or Silhoutte Portrait®
- Chalkboard Starter Kit
- Paper Straws
- Hot Glue Gun
- Assorted Ribbons
- Design ID #1365 and #297558 for the font
Step One: Formatting the Design
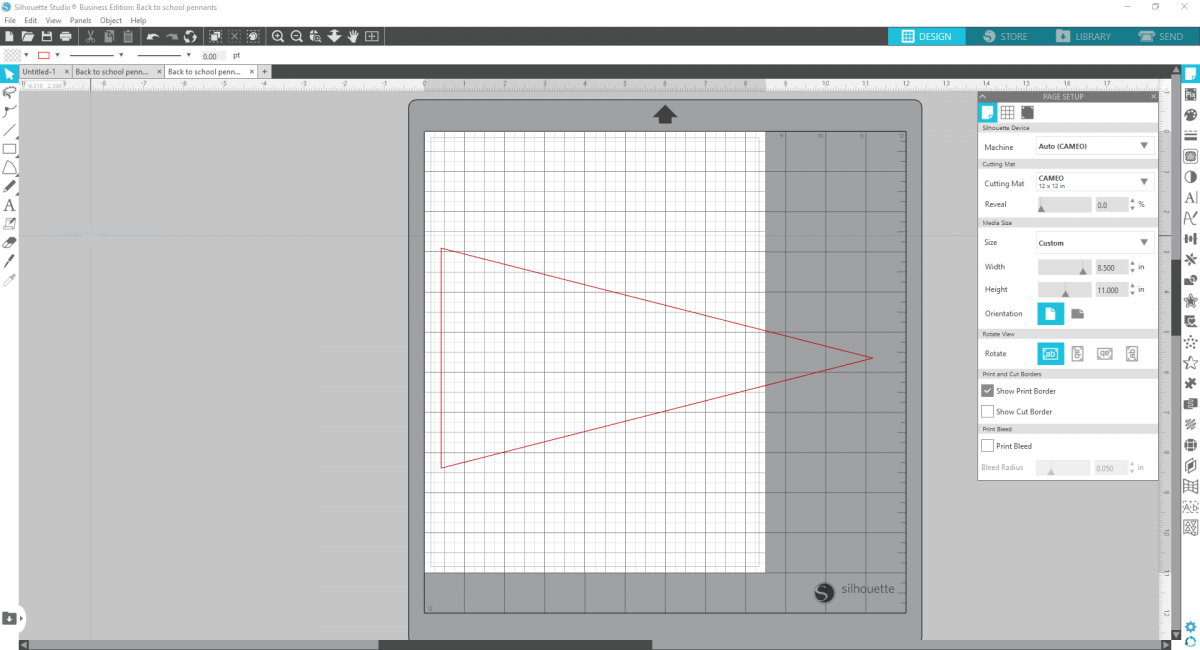
1. Set your page settings to 8.5 x 11 inches to accommodate the chalkboard paper. Insert Design ID #1365 into Silhouette Studio®. Delete the additional design components besides the main pennant shape. Modify the size of the pennant to be just shy of 11-inches long.
2. Using the text tool, write “First day of” in the Courier New font, separating the words to two different lines. Highlight the words and reduce the Character Spacing to 80% and the Line Spacing to 60% in the Text Style panel.

3. Then create another text box and write the grade your child will be starting. In this case we’re using 2nd Grade. Change the font to Delight. Highlight the font and Weld the design together. Then group the design by right-clicking on it and choosing Group from the drop-down menu.
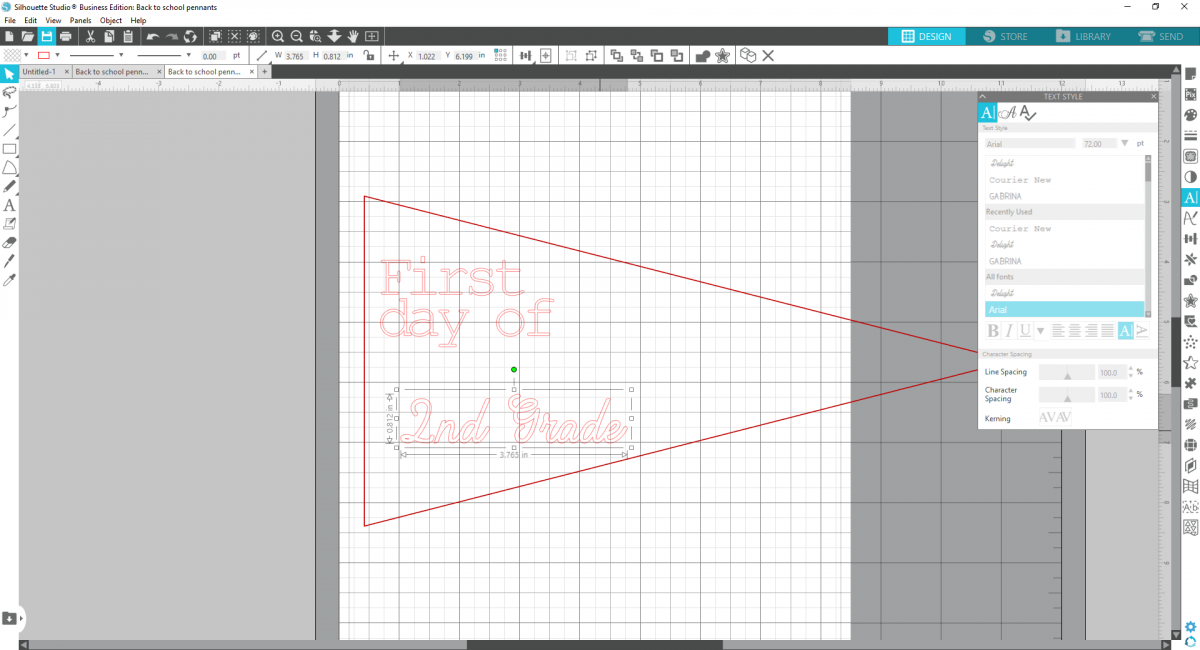
4. Modify the size and angles of your text within the pennant.
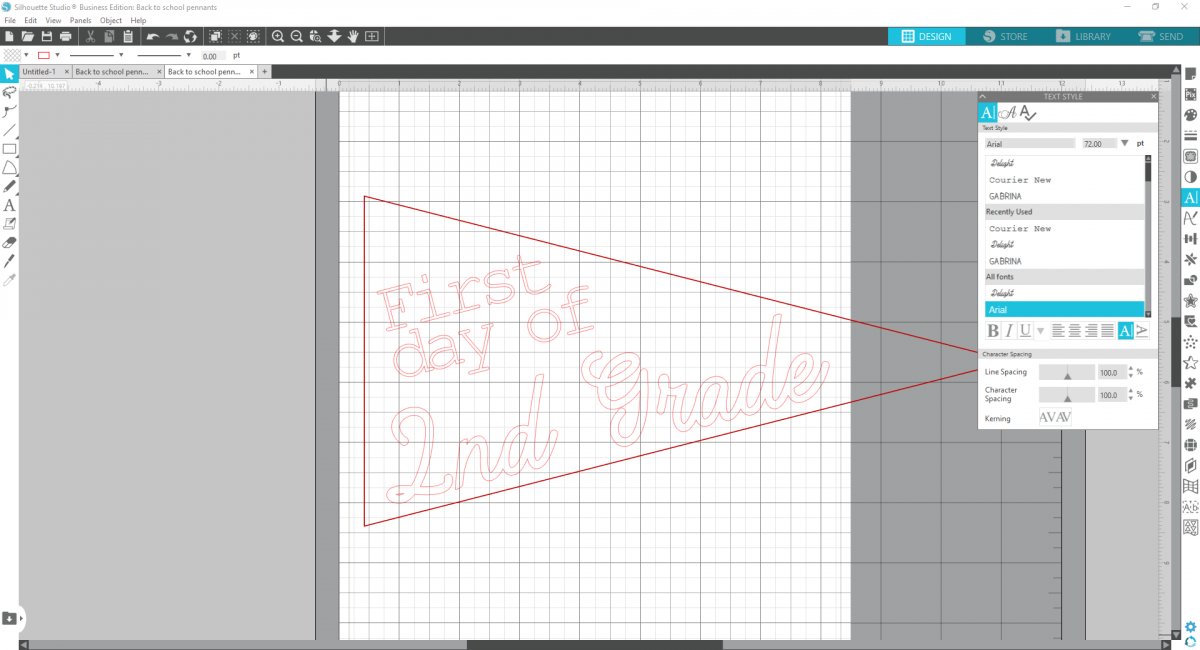
5. Now select your text boxes and open the Sketch panel. Select the “Spiral Embossing Pattern” and your text will be filled with that pattern. Reduce the spacing to .005, or the lowest number you can to make a really tight fill. Your text should now appear to be filled in Silhouette Studio®.

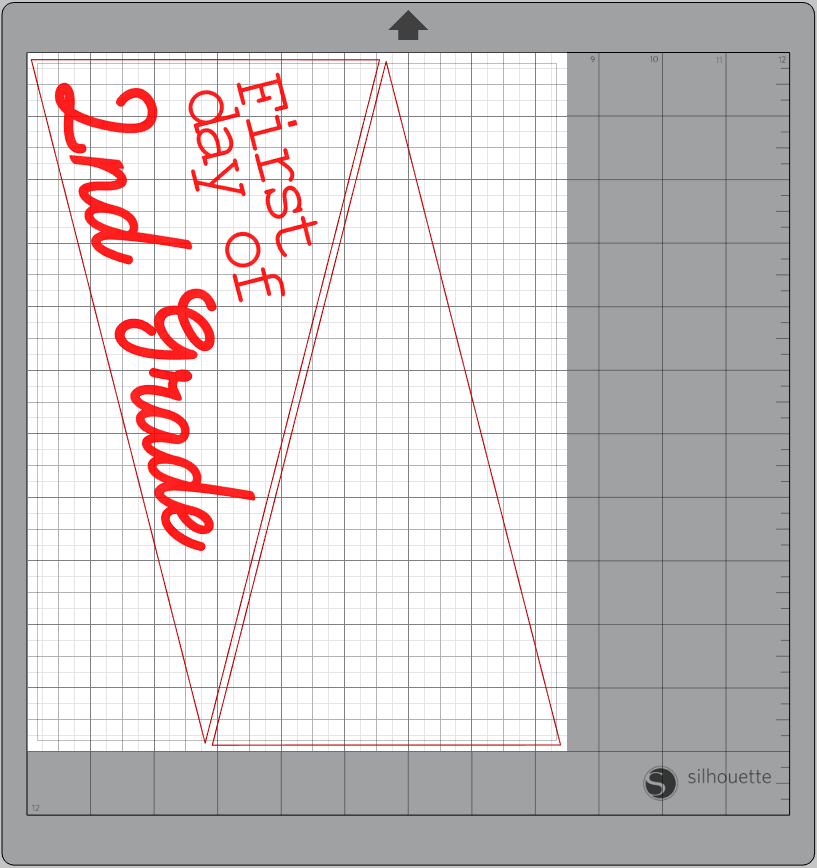
6. Now arrange your pennant vertically on your page to fit, and then duplicate the pennant shape and fit it right next to your other design by flipping it vertically. This will act as the back of your pennant.
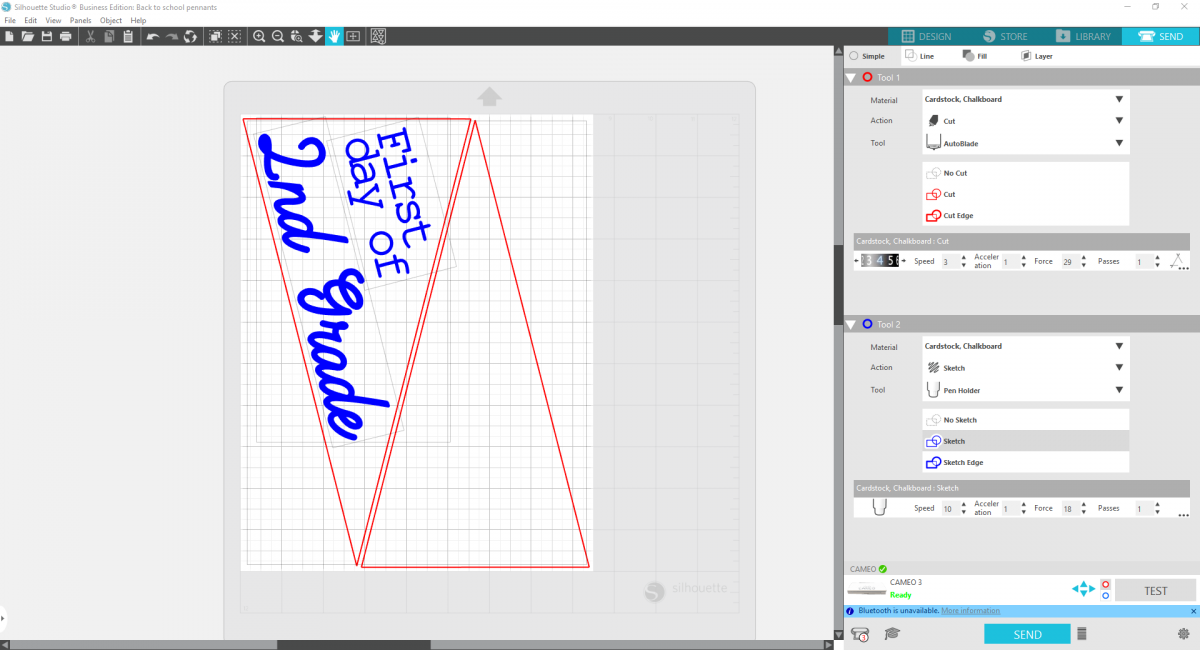
7. Now open the Send panel. Set Tool 1 to your AutoBlade or Rachet Blade, set the material to “Cardstock, Chalkboard,” and set the action to Cut. Set Tool 2 to Pen Holder, set action to Sketch, and keep the material as “Cardstock, Chalkboard.” Now select the pennants so they will be cut with Tool 1 and select the words to be sketched with Tool 2. This should make the pennants red and the words blue. Once you load your chalkboard paper into your machine, you’re ready to cut! (If you’re using a Portrait or an older CAMEO, you’ll have to do the cut and the sketch separately since there is only one tool holder.)
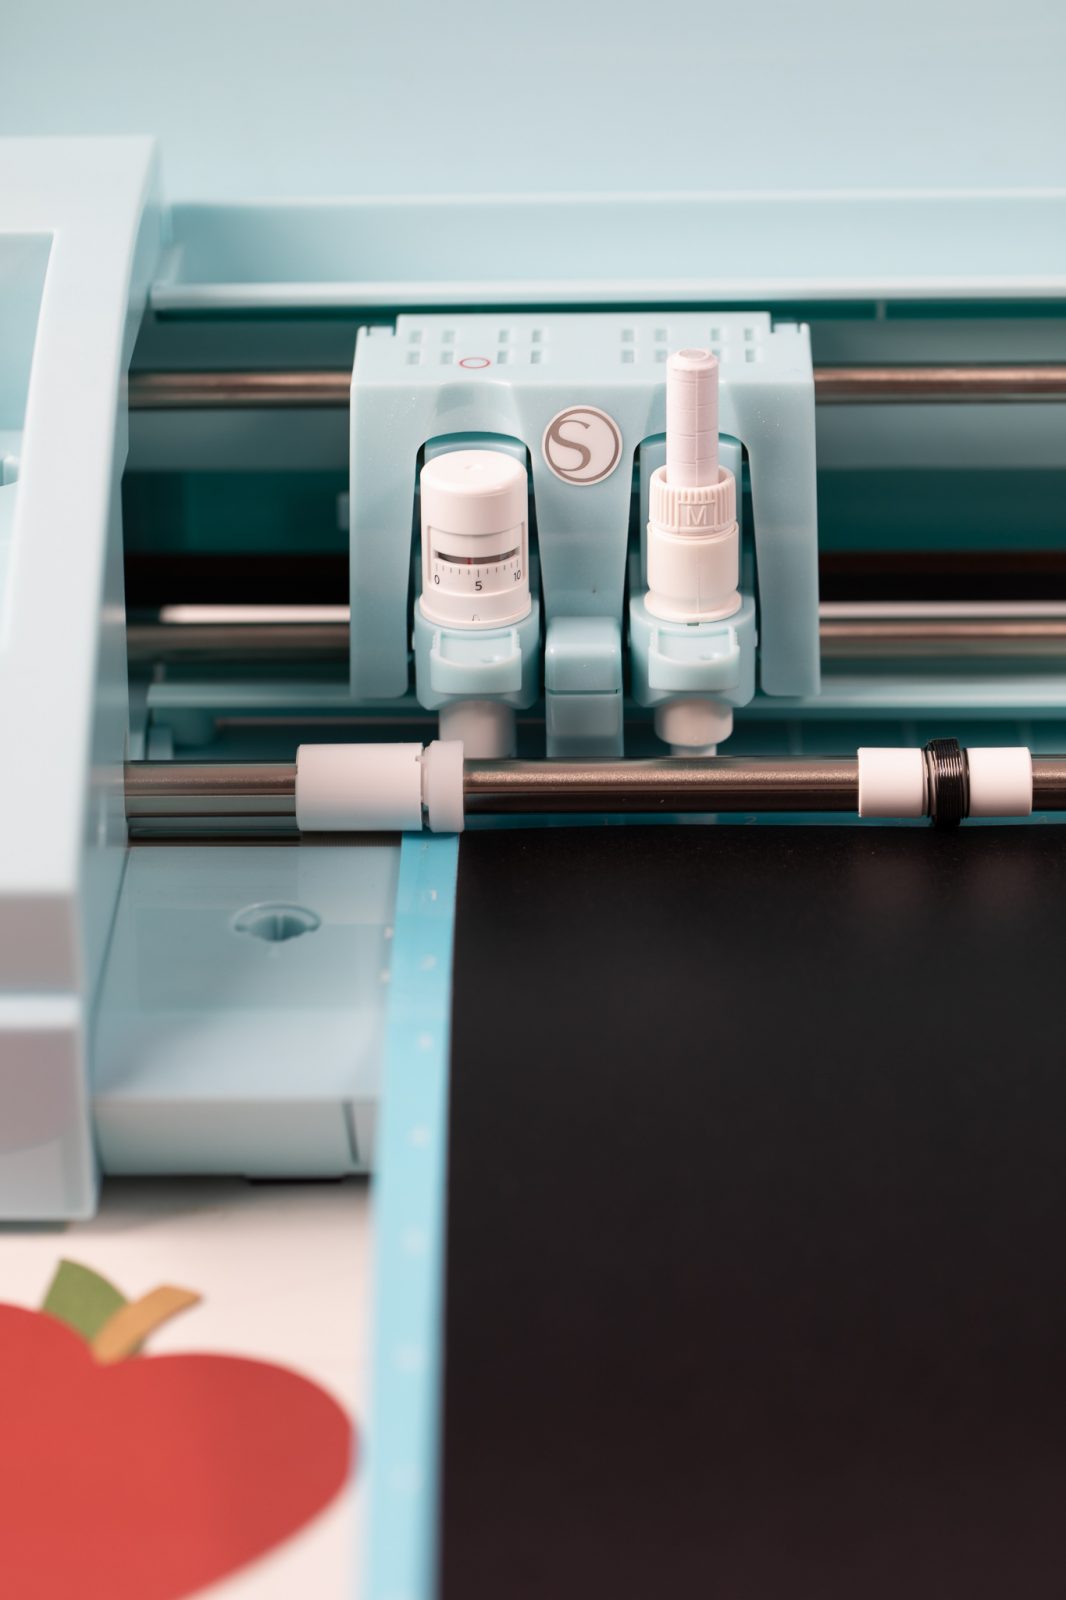
8. Make sure your cutting blade and your pen holder with your chalk are loaded into the correct carriages before cutting.
Step Two: Assembling the Pennants
1. To assemble your pennants, you’ll need your chalkboard paper pieces, a paper straw, a hot glue gun, and some ribbon.
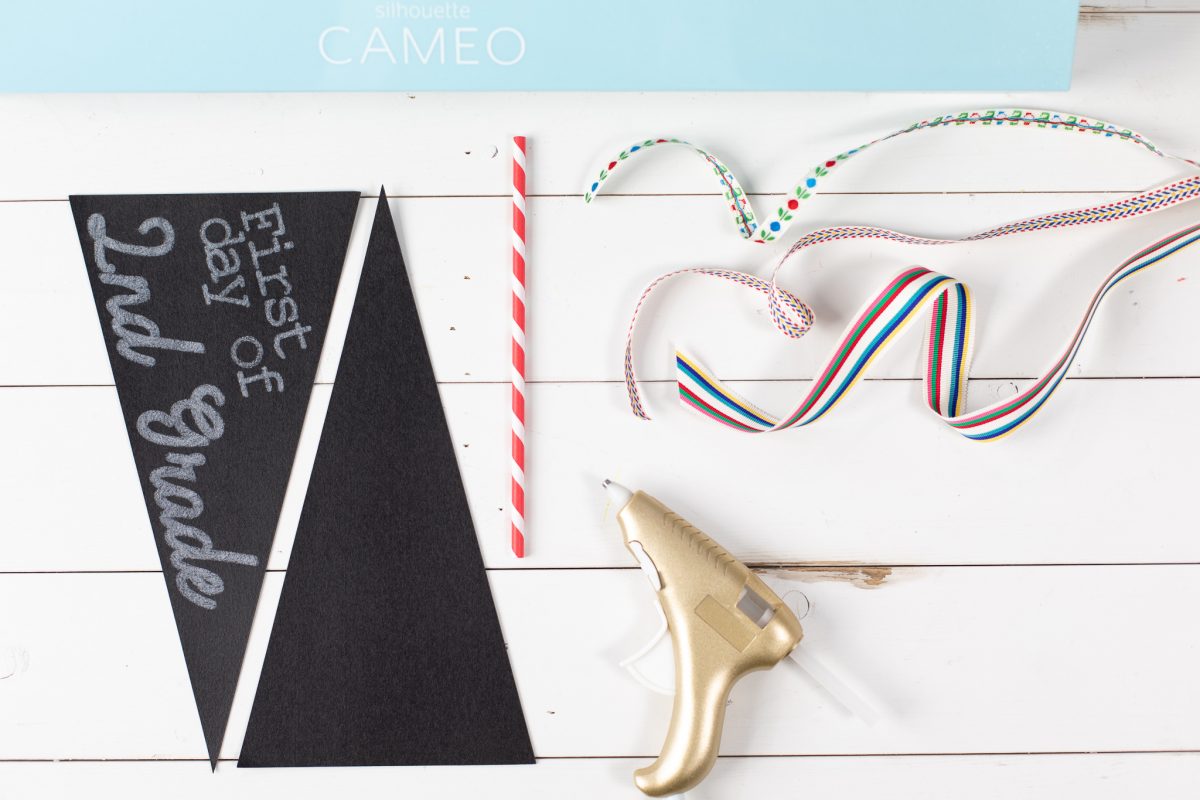
2. Sandwich the front and the back pennants together, aligning the edges. Hot glue the paper straw onto the back edge. Add ribbons to adorn.

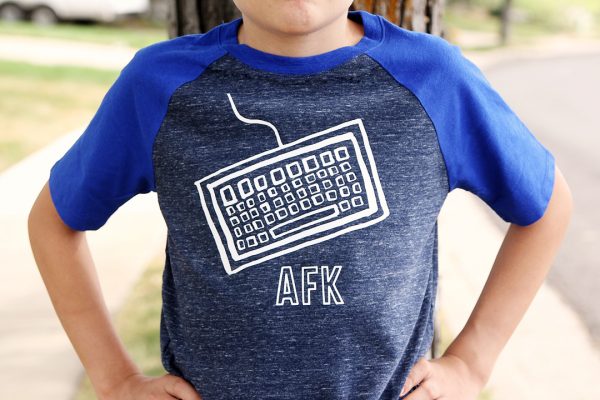 Use a Dingbat Font to Customize T-shirts
 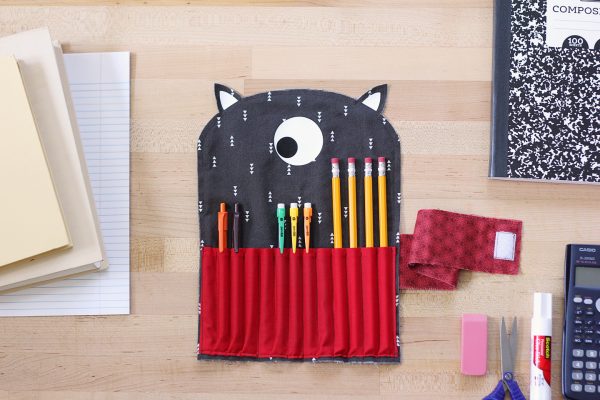 Fabric Pencil Case Using the Silhouette Rotary Blade
Susan
August 13, 2019
Super neat! I didn’t know the pen holder could hold chalk, and the trick for filling the text will come in handy.