The Print & Cut feature on your Silhouette CAMEO® is so simple to use! Yes, I said simple! I used this feature several times on my layout—using no manufacturer’s patterned paper whatsoever.
Supplies:
Silhouette CAMEO®
Silhouette Studio®
Silhouette Adhesive Backed Cardstock
Silhouette White Printable Adhesive Backed Cardstock
Step One
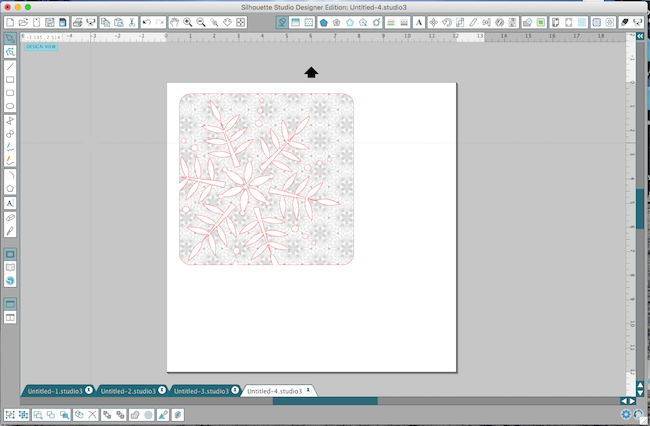
Open up your image in your Silhouette Studio® software.

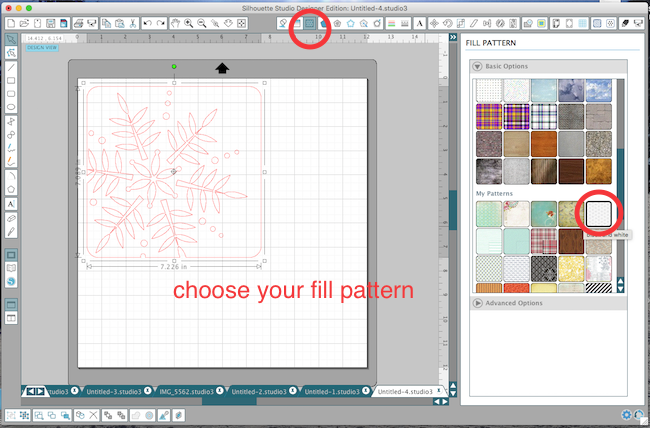
Step Two
Open up Pattern Fill window. Click on your design and then select the pattern you want from the left side menu. This will fill your shape. (You can also purchase pattern designs from the Silhouette Design Store.)
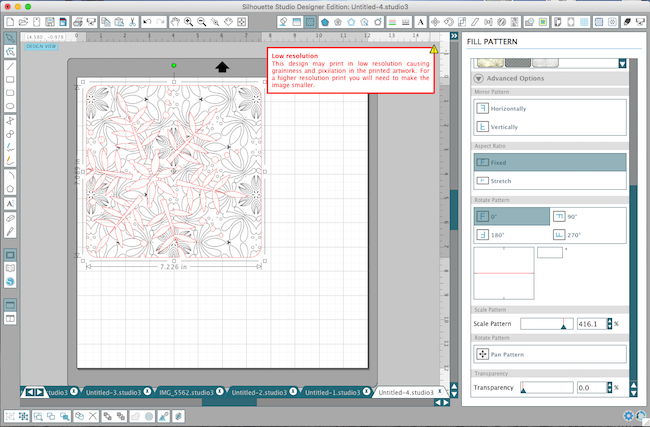
Step Three
You can change the size of the pattern if you wish. But make sure that the yellow “!” (in a triangle) doesn’t show up. If it does, then you will need to adjust the size again because it will be pixelated when you print it.
Step Four
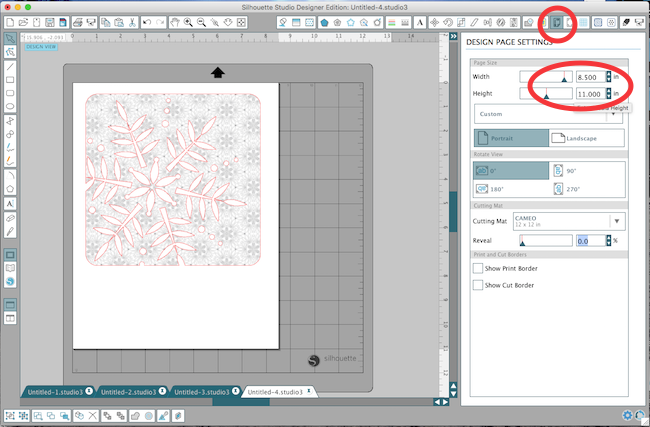
Select your paper size in the Design Page Settings.
Open up the Registration window, click on the Style drop down menu and select > Type 1.
You can move the margins of the registration marks if you wish by sliding the bar. I did so for the bottom of mine because I didn’t want to waste all the paper.

Step Five
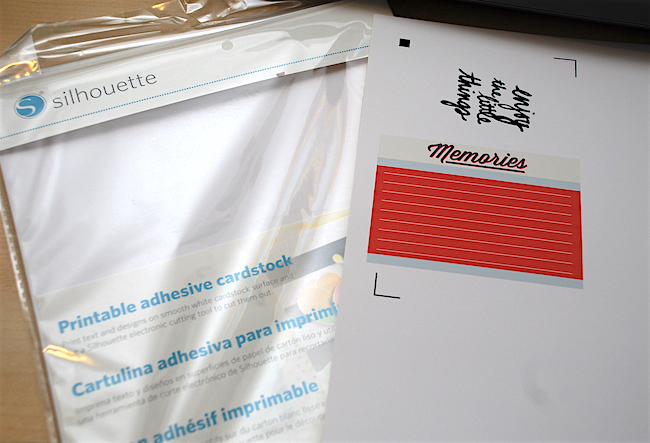
Insert the paper that you will be printing into your computer and click on the Printer Icon (on top left menu). Follow instructions and your image will be printed along with registration marks.
Adhere the paper to your cutting mat and insert into your Silhouette CAMEO®. Click on Cut Settings > Cut > select Printable Adhesive Backed Yardstick and hit Send to Silhouette.
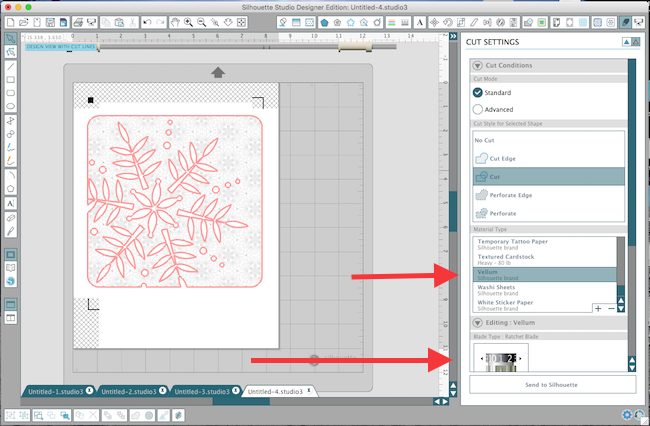
The Silhouette will read the registration marks at end corner and then begin to cut out the images.
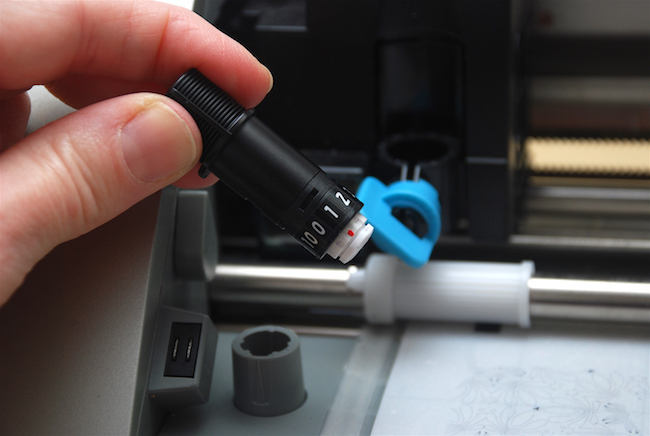
*Remember to change the depth of your blade for the specific material you are choosing.
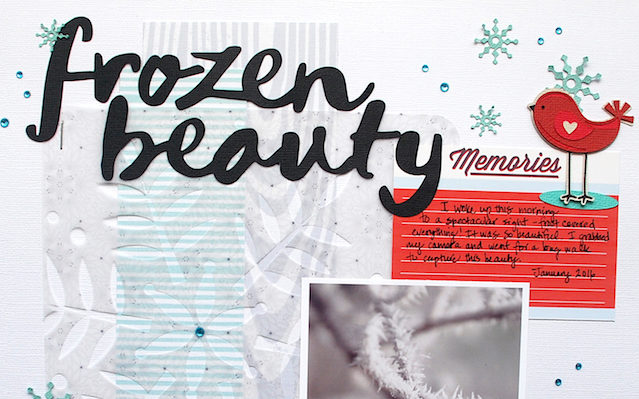
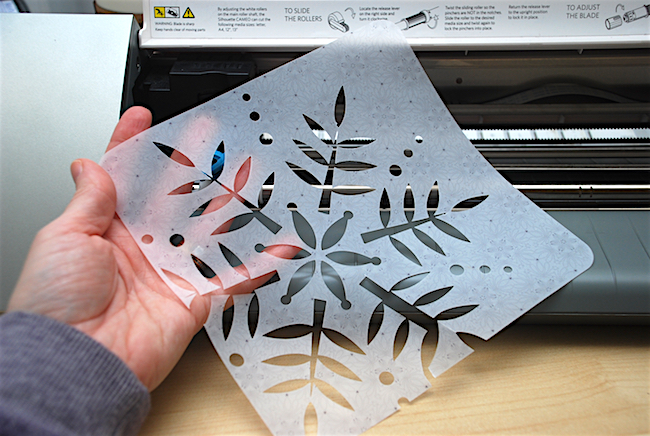
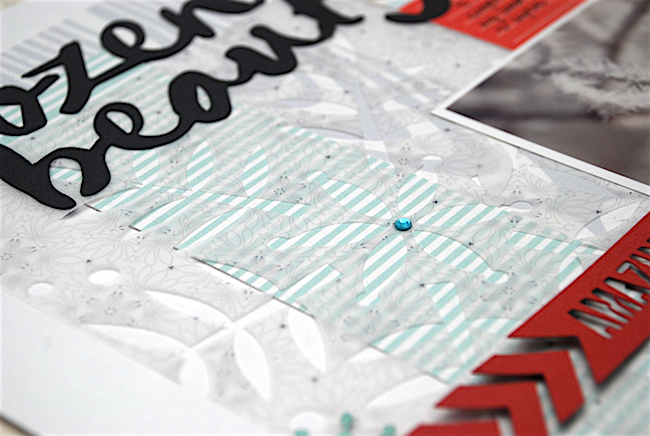
Here’s a look at the patterned, filled Print & Cut vellum design.
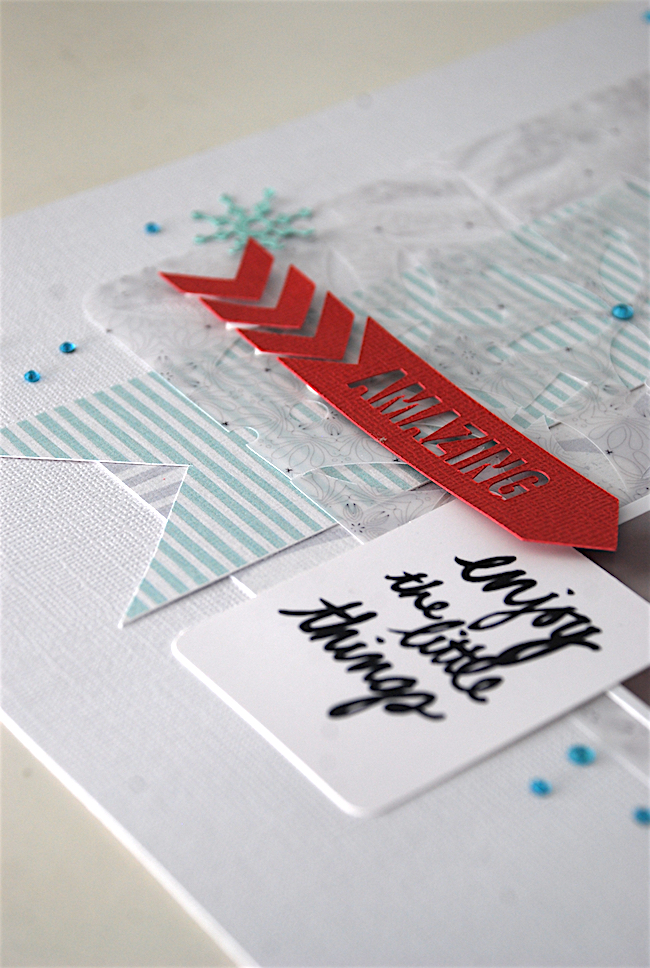
I repeated this step for a few other elements on my layout using the Printable White Adhesive Backed Cardstock. The turquoise striped and grey bark-like strips in the background were also patterned filled shapes that I print and cut out. I love how it turned out.
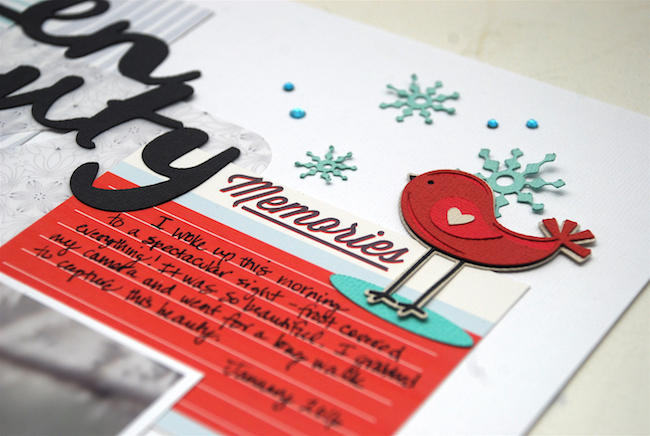
The journaling card and quote card are also a Print & Cut feature.
Step Six
Adhere & assemble all other elements of the page.
It’s fun to create a page completely from scratch—where you get to be the designer of every single element!
I hope that I’ve inspired to you to use the Print & Cut feature!
Marilyn
January 29, 2016
Thank you! Love this and appreciate the time you put into the tutorial. Something I will try very soon!
Joan
January 29, 2016
Love the pattern and the tutorial. What is the star/snowflake shape you have cut out of the vellum? It is a real pretty design. I cannot find it in the design store.
Thank you.
Analisa
February 3, 2016
Absolutely beautiful! I’ve never printed on vellum, but I might have to try now that I’ve seen how pretty your snowflake turned out.
Kate Kohner
February 8, 2016
Cari, my question is the same as Joan’s. If the snowflake that you cut out of vellum came from the silhouette store, what is the design number? If it isn’t a silhouette design, do you know where it came from? This layout is really cute just like all of your layouts. Thanks Kate.
Cari
February 27, 2016
Kate & Joan,
It is listed under the supplies but the pattern is quite small so it’s to tell that it’s that particular design.
Here’s the design number. Design ID #35354
Remember you can change the size of the image so this will make the appearance different as well. Hope this helps! 🙂