
Add a touch of fall to any room in your home with this framed art piece with a golden vinyl wreath . It’s easy to make, and it’s a real eye-catcher! Follow the instructions below to make your own.
Supplies Needed:
- Silhouette CAMEO®, Silhouette Portrait®, or Silhouette Curio®
- Silhouette Cutting Mat
- Silhouette Cutting Blade
- Silhouette Studio®
- Oracal 651 Gold Vinyl
- Transfer Tape
- Hook Tool
- Scraper Tool
- White Cardstock
- A Picture Frame
- A Paper Trimmer (to cut the transfer tape)
- Design ID #221493
Step One: Set Up Your Cut File
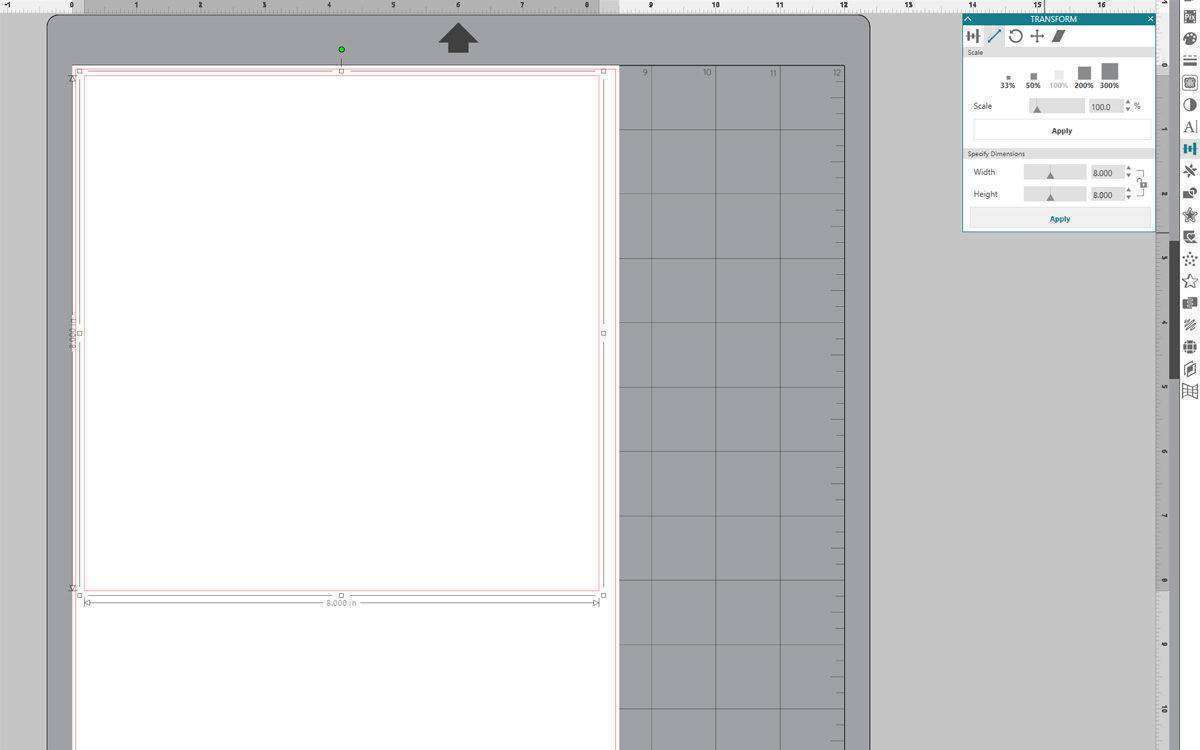
- Use the Draw a Rectangle tool to make a square or rectangle that’s the size of your frame. In my case, it’s an 8-inch-by-8-inch square.
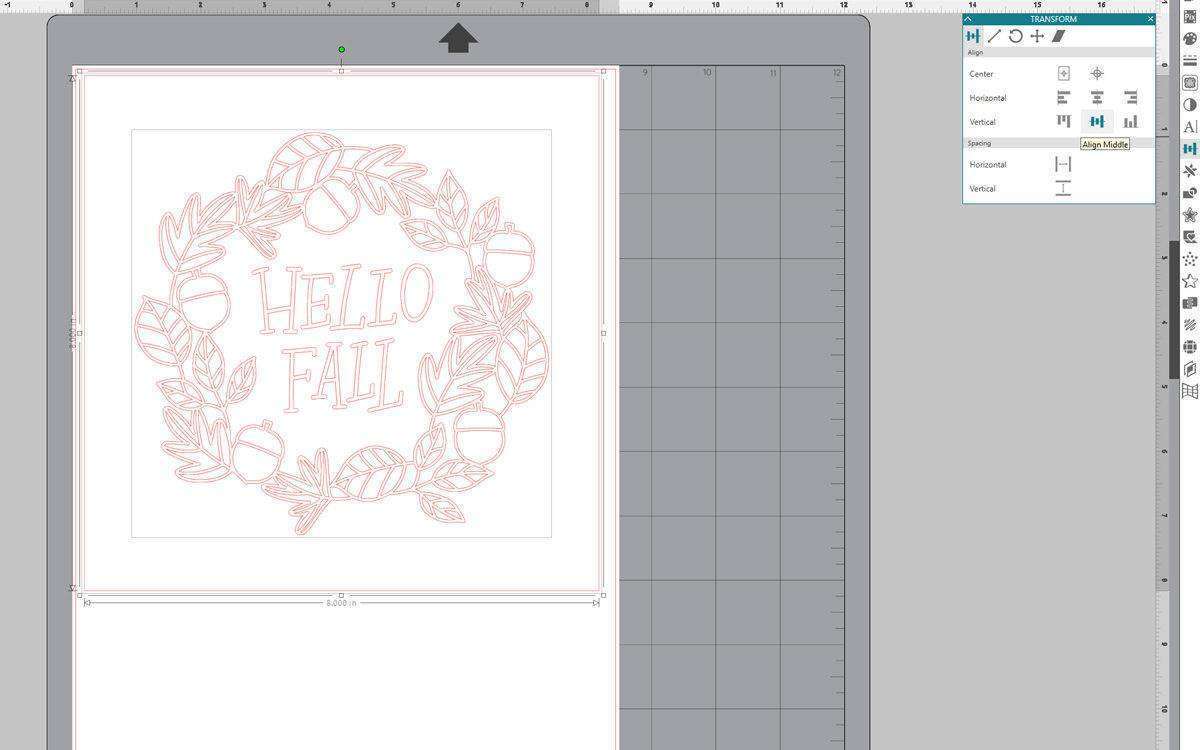
- Open the cut file (Design ID #221493) paste it into the file, and resize it to fit the square or rectangle, if necessary. Open the Transform panel, click and drag to select everything on the art board, and then center horizontally and align to the middle using the Align panel to make sure the everything looks good.
Step Two: Cut the Vinyl and Cardstock
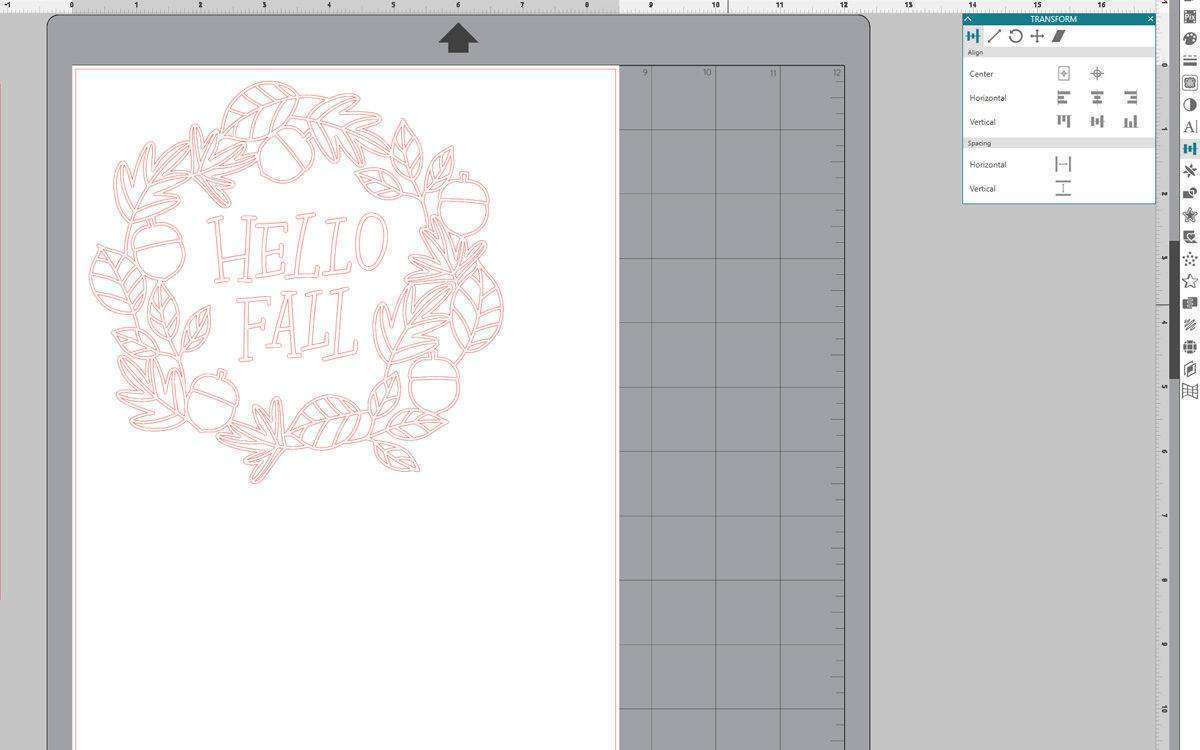
- Click and drag the square or rectangle shape off of the art board, and then click and drag the wreath cut file up to the top left corner of the art board. This will make better use of the vinyl with little waste. Click the Send tab, choose “Vinyl, Metallic” as your material, select the blade you are using (and adjust it if you aren’t using an AutoBlade), and cut the vinyl.
- After the vinyl piece is cut, go back into Silhouette Studio® and click the Design tab, click and drag the wreath off of the art board, and click and drag the square or rectangle shape back onto the art board. Then, click the Send tab, choose the cardstock material setting that best fits your cardstock, and cut the shape from white cardstock.
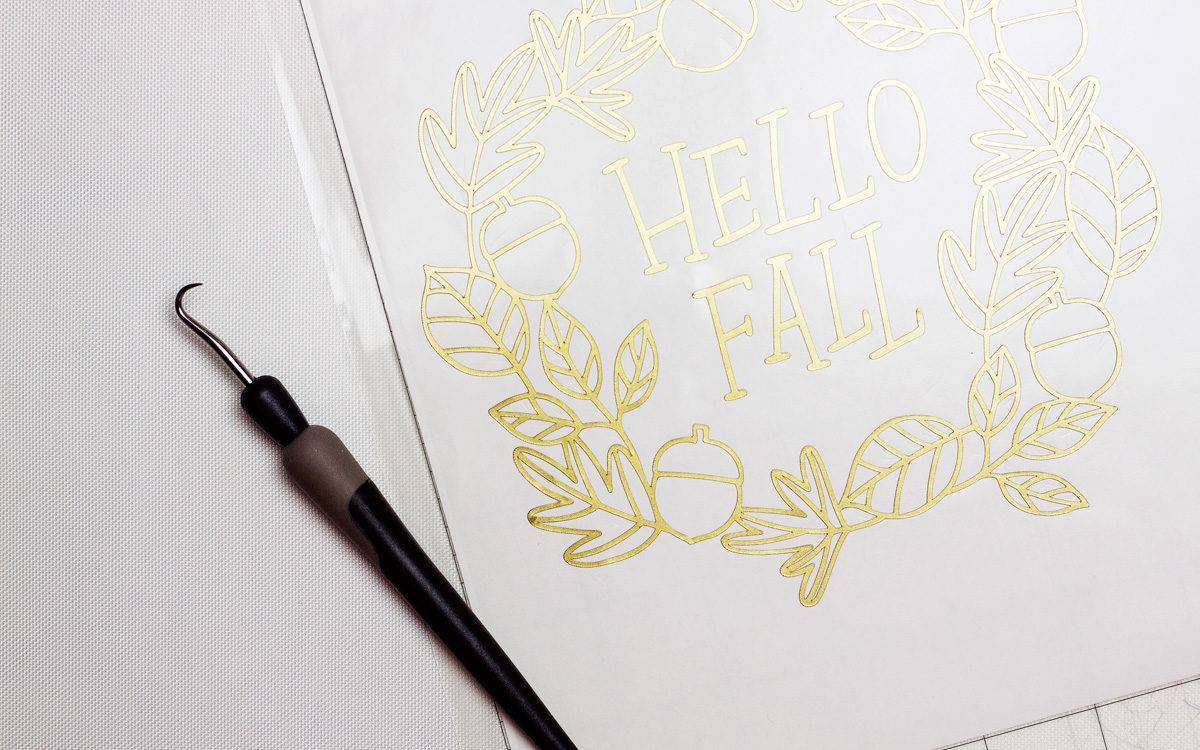
Step Three: Weed the Vinyl
- Weed the vinyl piece using the Hook Tool to help you remove all of the small interior pieces of the vinyl. Tip: Keep the vinyl piece on the cutting mat as you’re weeding for extra stability.
Step Four: Transfer the Vinyl Piece to the Cardstock
- Cut a piece of transfer tape to the same size as your square or rectangle piece. This will help you easily center the vinyl for the finished framed art.
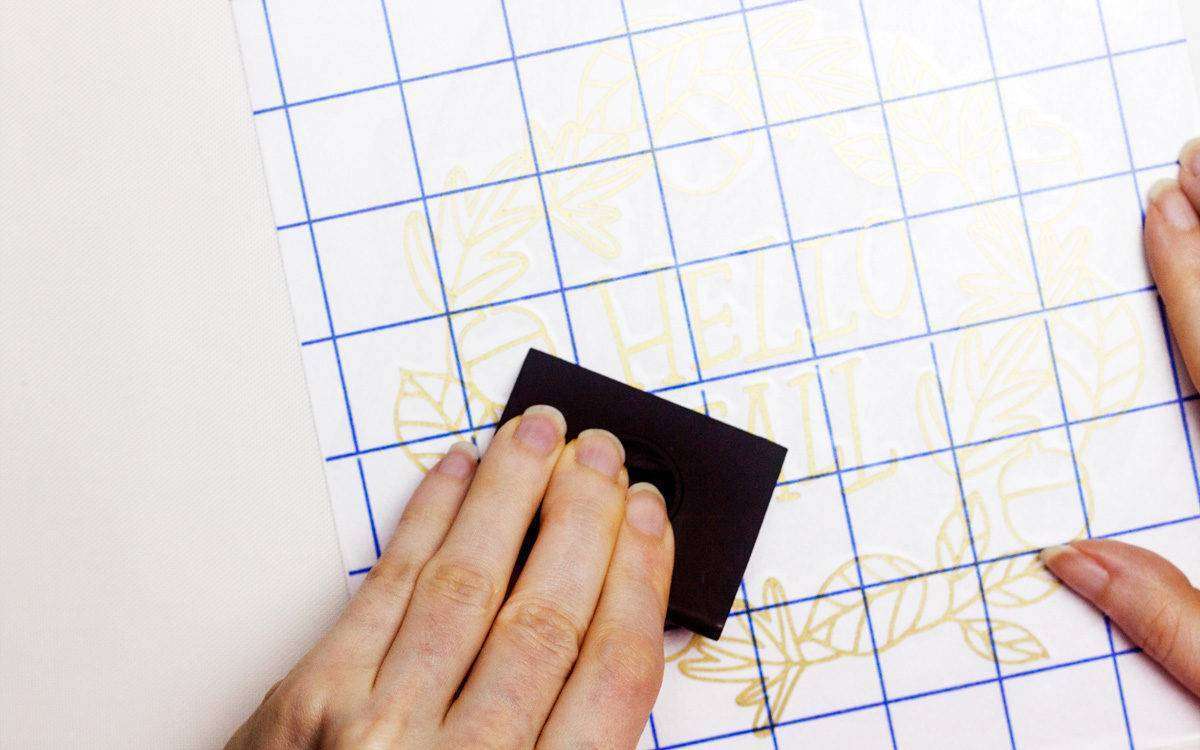
- Center the vinyl wreath piece under the transfer tape and use a Scraper Tool to help transfer the vinyl to the transfer tape. Peel the vinyl off of its protective backing, and then line the transfer tape over the square or rectangle cardstock piece. Since we cut the transfer tape to the same size as the cardstock earlier, it’s super easy to line it up so the vinyl piece is perfectly centered on the cardstock. Use the Scraper Tool again to help transfer the vinyl to the cardstock.
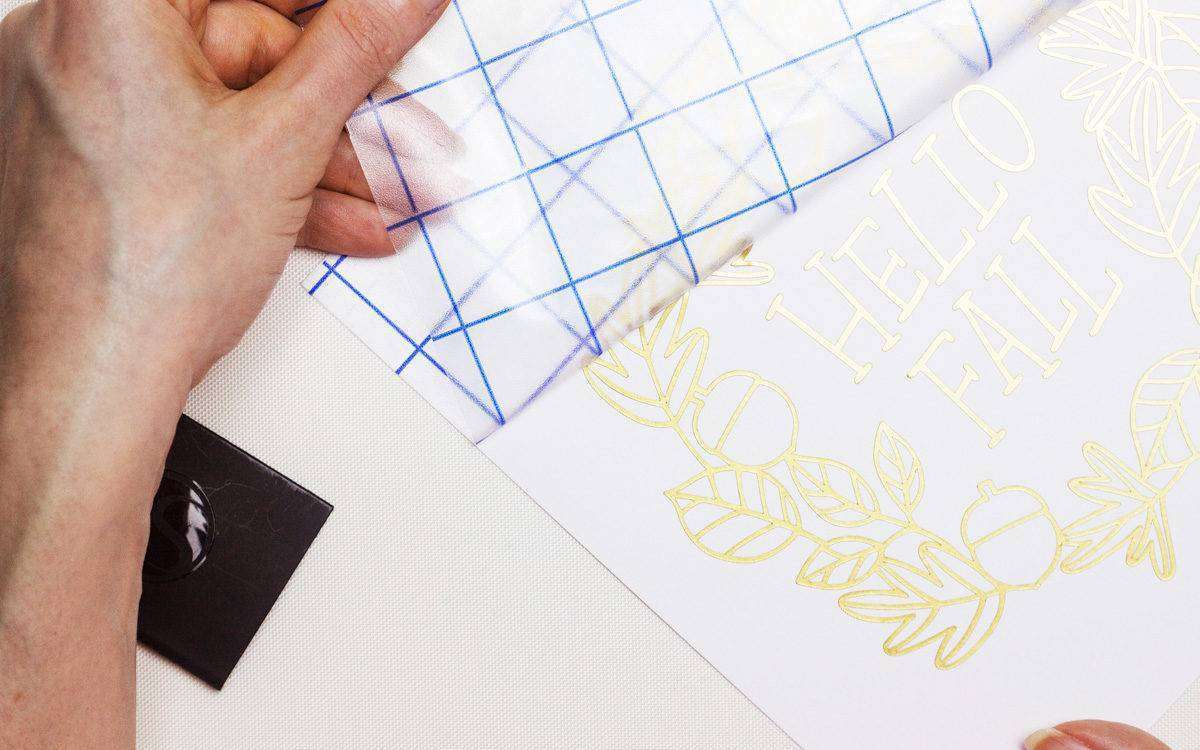
- Remove the transfer tape and use the Scraper Tool again if needed to flatten out any small areas where the vinyl hasn’t stuck to the cardstock. Place the piece into a frame to finish.
And that’s it! This is a super simple project, but it’s great if you want to add some extra flair to your fall decor.
Joan
September 4, 2018
Super lovely!
Amy Bastian
November 3, 2018
My transfer tape is sticking too much to the card stock and ripping the card stock as I pull it up. Any suggestions?