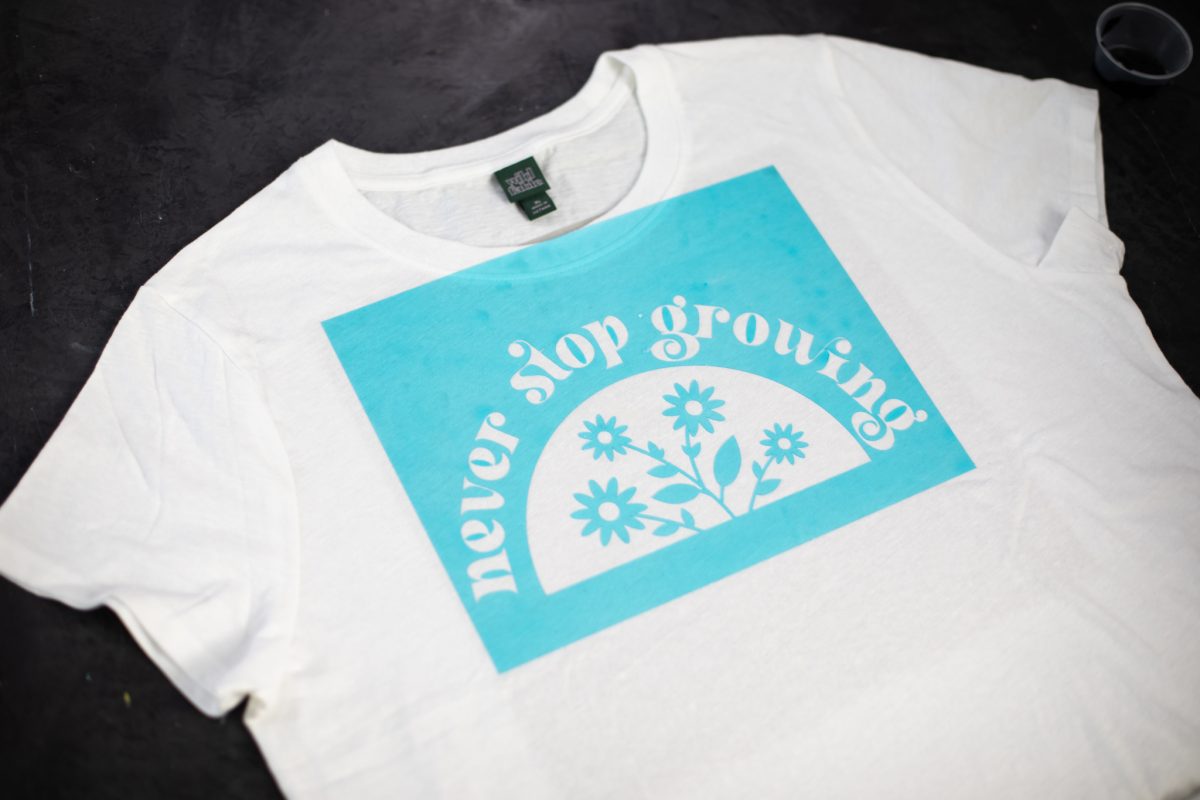
Have you ever wanted to create a trendy t-shirt, bag, or poster on your own? If you aren’t familiar with painting, that task can seem daunting! Luckily, creating your own stencils in Silhouette Studio is quick and easy, and it gives you awesome hand-painted results every time. And even better, you can save your stencils to reuse again and again!
We’re going to customizing a t-shirt today, but you can use your own designs to create stencils for so many other project types. This project is for intermediate crafters. The software & cutting parts of this project are relatively simple, but the painting can be a bit more tedious! But don’t worry if you’re a beginner—you can get similar results by using this design with heat transfer material. Let’s get started!
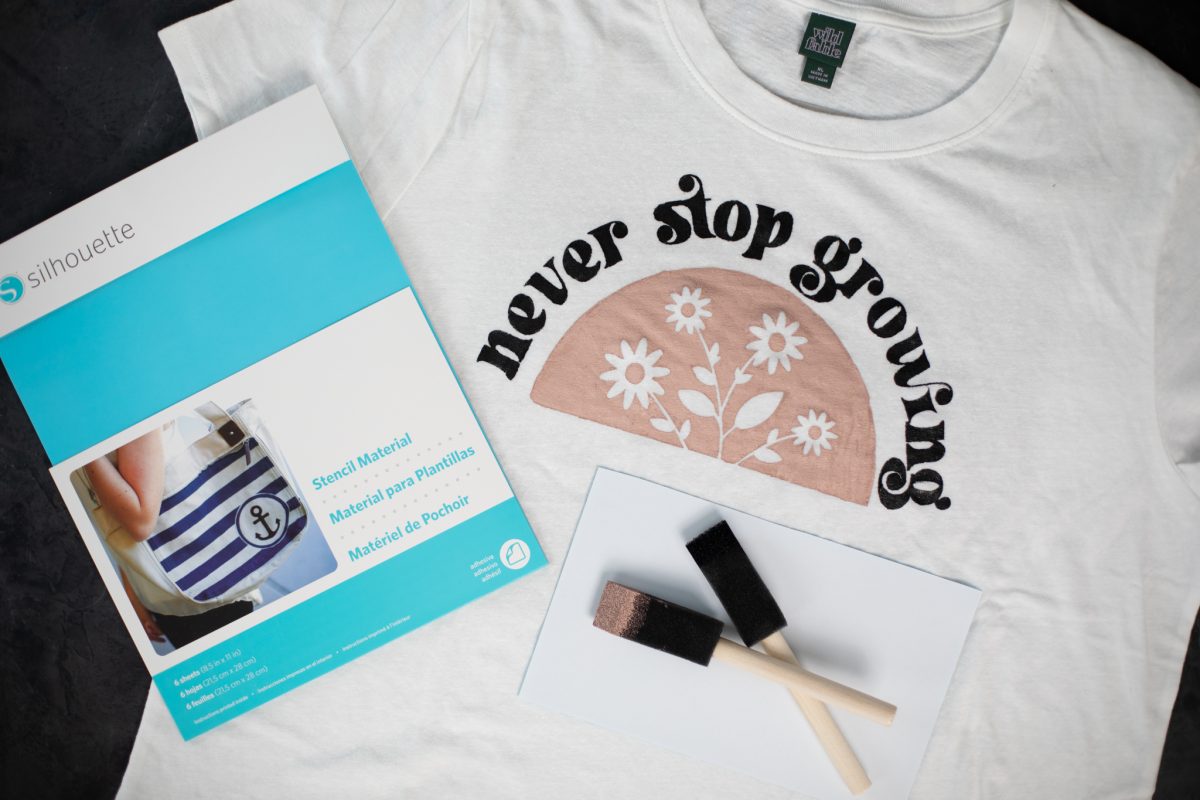
Supply List:
- Silhouette Cameo 4
- Silhouette Stencil Sheets
- Plain t-shirt
- Fabric ink or paint
- Sponge paint brush
- Iron
- Design ID #378496
Step One: Prepare Design in Silhouette Studio
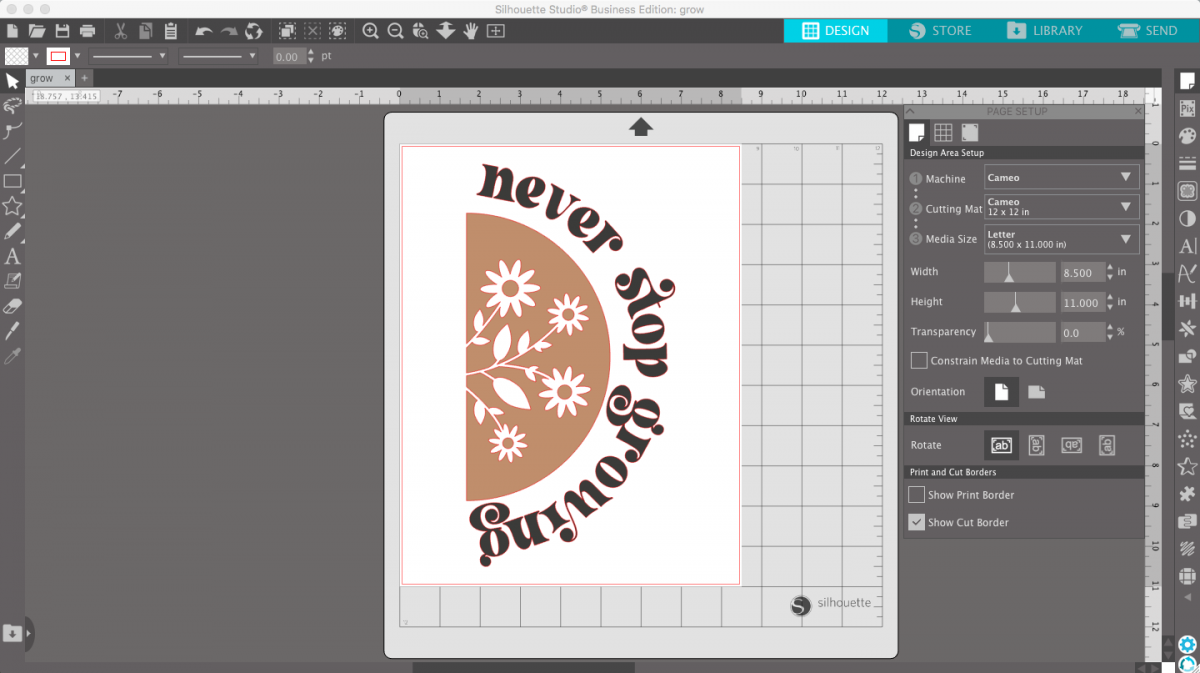
After purchasing the design from the Silhouette Design Store, open a new document in Silhouette Studio and adjust your document settings in the Page Setup Panel. We’re using the Cameo 4 for this project, but be sure to adjust your settings if you’re using a different machine or another material size.
Next, open the Library tab in the upper right hand corner. Locate the file and double click it. The cut file will open in your document. Our design was too big to fit on our design page, so we resized it to be about 10 inches wide. After adjusting the size, rotate the design to fit onto your cutting area.
Tip: Hold down Shift while rotating your design, and Silhouette Studio will snap the rotation to 90 degrees. This is a great feature to keep your projects straight and aligned.
Step Two: Cut Stencil
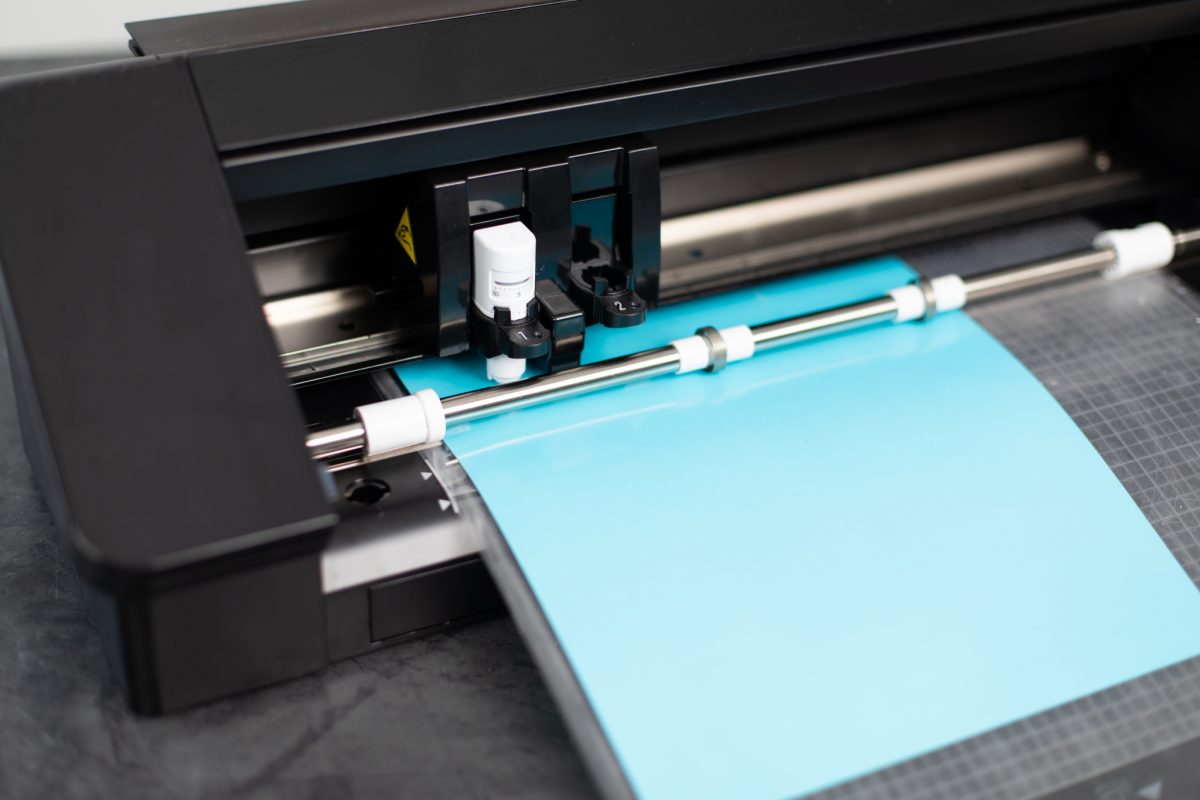
Load your stencil material onto the mat by lining up the corner with the left corner of the mat. Then, load the mat into the machine.
In Silhouette Studio, go to the Send panel in the upper right hand corner. Under the Materials dropdown menu, select “Stencil Material.” Because the stencil material is thicker, we recommend performing a test cut to see if your blade is sharp enough to cut through the material using the default settings. Newer blades will make cleaner cuts, but if your blade is older or you’ve cut a lot of paper or chipboard with it, you may want to bump up the blade depth by one or two levels.
When you’re satisfied with your test cuts, click Send at the bottom of the panel and watch your machine cut out your design.
Step Three: Place Stencil on Shirt
Start by preparing your shirt for painting. Press the shirt with an iron so there are no wrinkles, and put some scrap paper inside of it underneath where you’ll be painting. Our shirt was very thin, and the paint would have blead through if we skipped this step.
Remove the unwanted pieces from your stencil and peel the paper backing away from the blue stencil material. We recommend leaving any letters and other small elements on the backing and then transferring them individually after the bigger pieces are in place. You don’t want to lose your smaller pieces! The stencil material is very sticky, so take care to place it properly on your shirt. Start by laying the top of the stencil down first and slowly work your way down, pressing the stencil into place as you go.
Once you’ve placed your largest piece, carefully remove the smaller elements from your letters and place them on your shirt. If you can’t remember which shapes go where, you can look at the design in Silhouette Studio for reference. The paint is more likely to bleed through around these smaller shapes, so be sure to press them down firmly and carefully to avoid any issues.
Step Four: Mix Paint Colors
This step is optional. We loved the tan color of the original design, but we couldn’t find any fabric ink in the right shade. So, we took some white, brown, and orange and mixed our own! Fabric ink can be very pigmented, so start by using small amounts of color and only add a little bit at a time. We started with white paint and mixed a little brown in at a time, then a bit more orange.
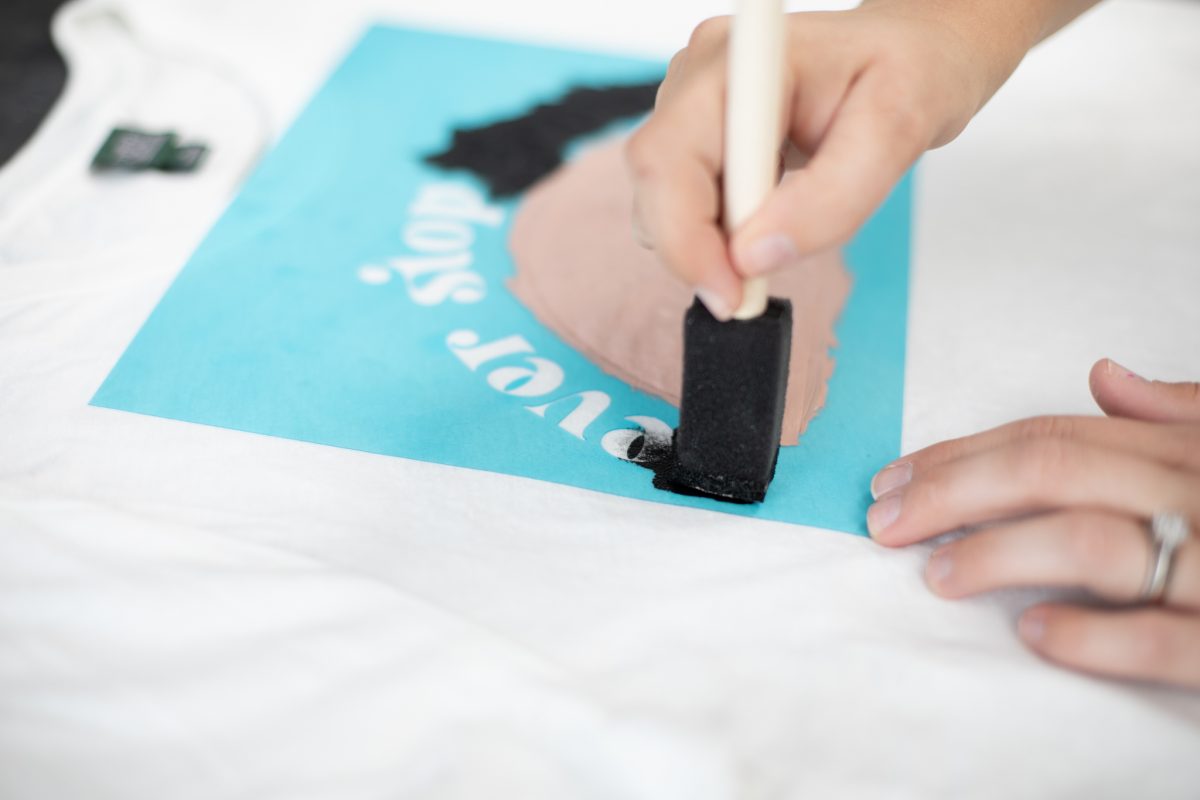
Step Five: Paint Shirt
Is it really crafting if paint isn’t involved? We don’t think so! Take your sponge paint brush and dip it in your first paint color. You don’t need very much—just pick up enough paint to cover the end of the brush evenly. Apply the paint by pressing your brush onto the shirt using an up and down motion, dabbing the paint on instead of spreading it. This is very important when using a stencil. If you move the paint from side to side, you risk having the paint bleed through the stencil.
Start painting at the center of the section and work your way out, carefully avoiding the other section of the design. Make sure there isn’t too much paint on your brush when you cover the edges, to make sure the paint doesn’t drip through. Continue painting with the up and down motion until you’ve covered the entire area, and repeat this process with your second color.

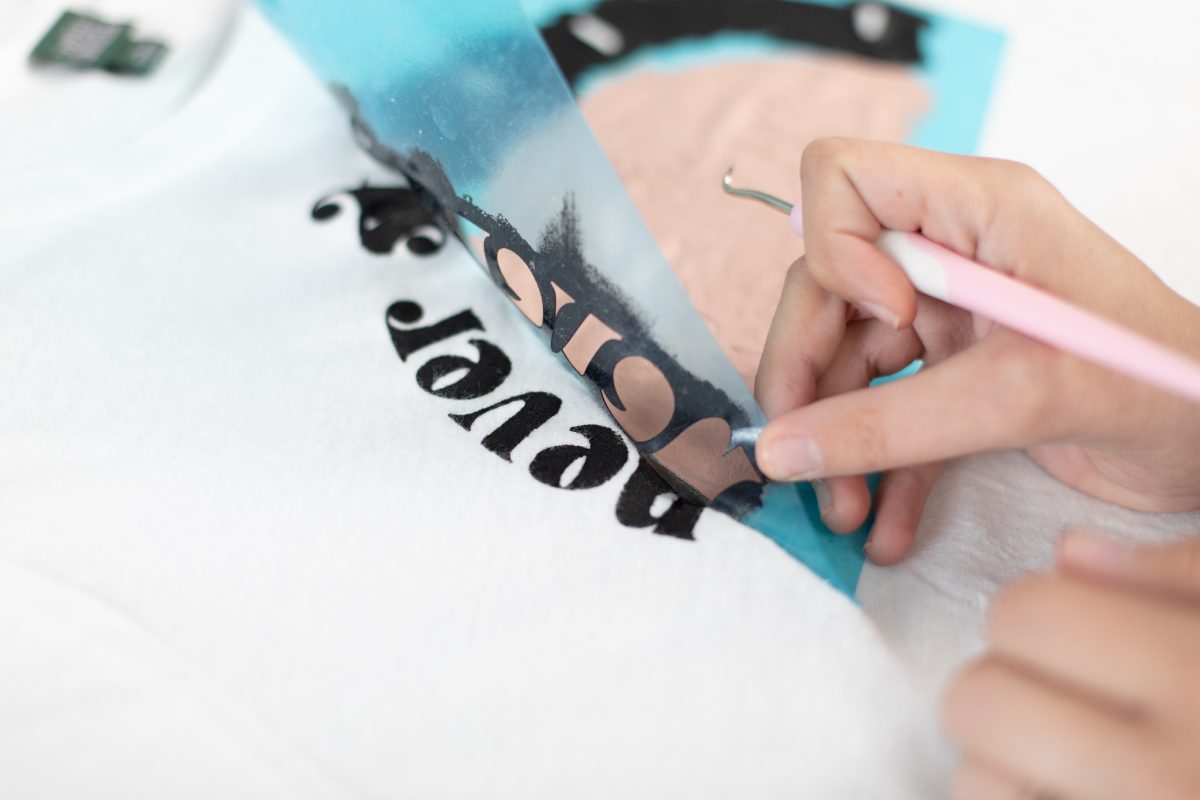
Step Six: Remove Stencil
When you’ve finished painting, allow the shirt to dry completely. The longer you let it dry, the crisper the lines will be when you remove the stencil. Our paint dried in about 20 minutes.
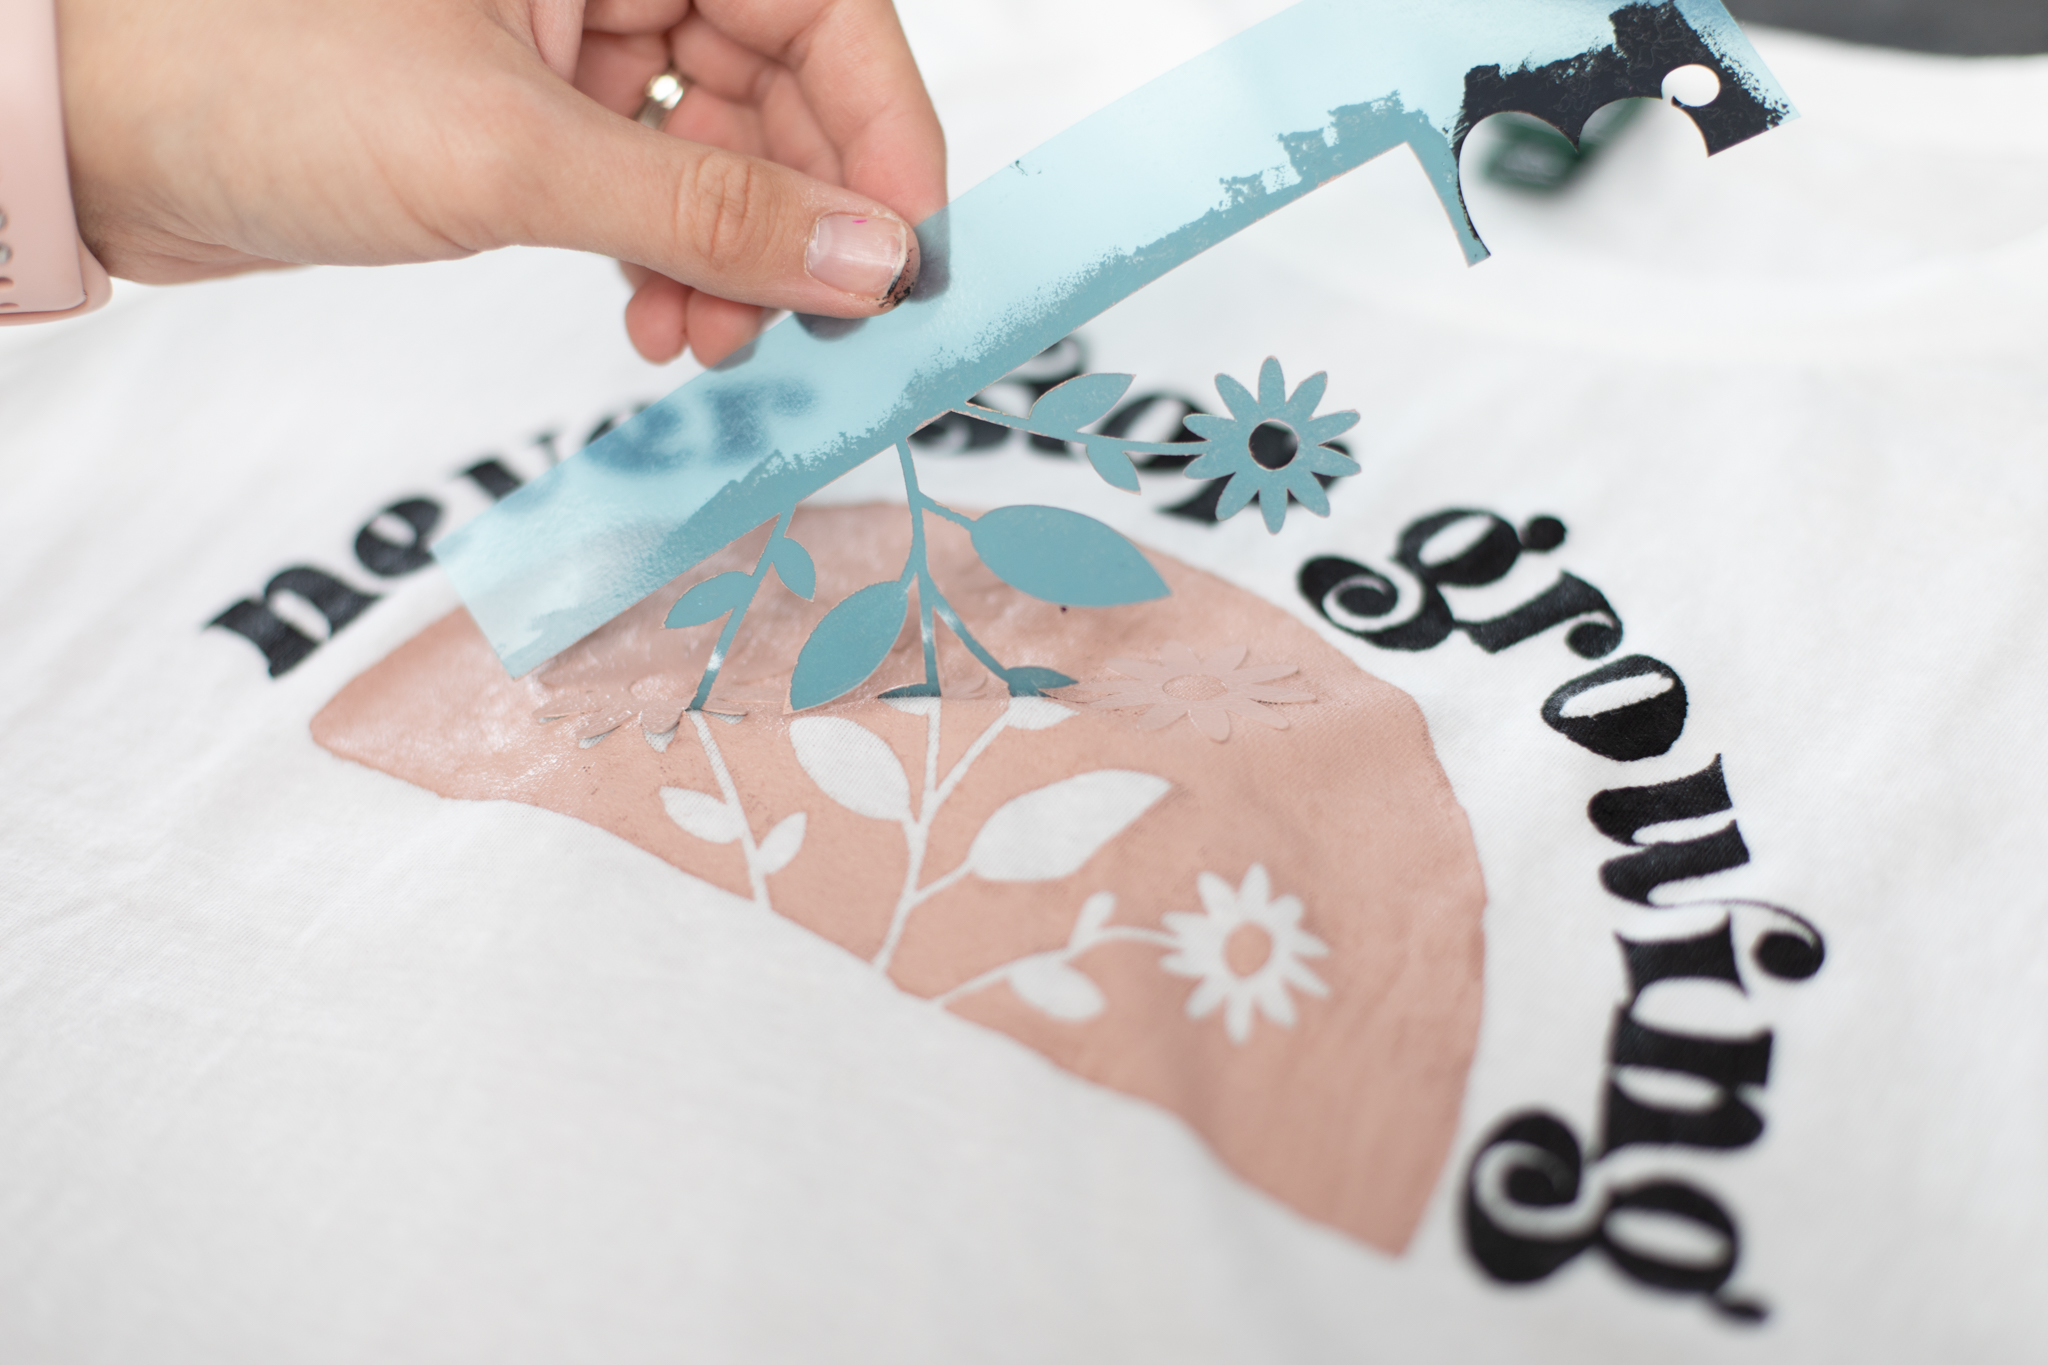
Remove the stencil by beginning in one of the corners. Because the stencil material is sticky, it will probably pull at your shirt as you remove it. Try to keep the shirt taut with one hand as you pull with the other. After removing the large piece, don’t forget to remove the smaller letter pieces. As always, work slowly for best results!
If you want to reuse this stencil for future projects, place the stencil pieces back onto the paper backing.
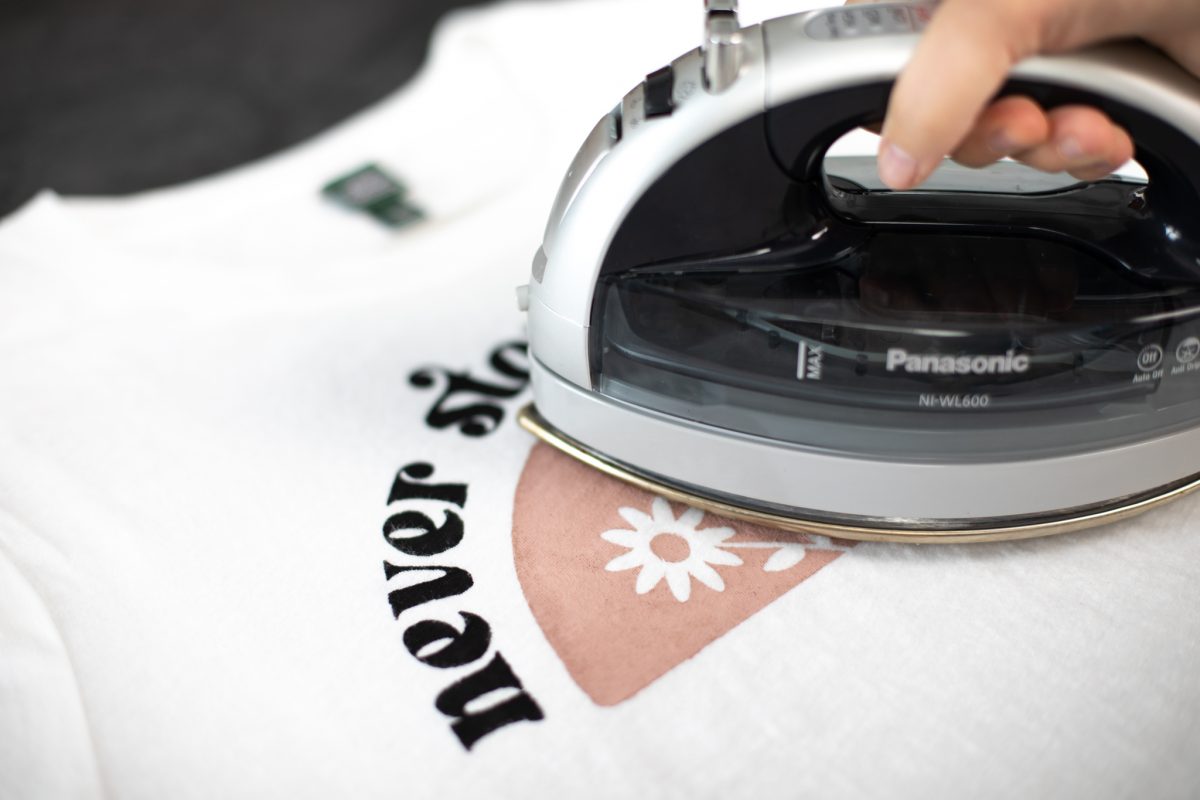
Step Seven: Iron Shirt
You’ll want to set your design into your shirt before wearing it. Do this with a regular household iron on medium heat. Run the iron over the design a few times. The heat sets the ink so it won’t bleed when it’s washed. You may see some fading over time like any other t-shirt, but your design and the fabric ink will hold up well.
We loved creating this shirt using the Silhouette Stencil Sheets! How are you going to use this technique to customize your own projects? Let us know below!
If you’d like to learn more about how we created this project, we held a Zoom class on how to create this shirt. Check out the video recording here to see how we made this shirt, step by step.
 Quirky Mug
  Hedgehog DIY Bookmark
D. Kimberly Thompson
September 22, 2021
Thank you! Your class was very easy to follow.