Do you have an awesome design in mind that would look great plastered across the wall? You can make it happen easily by using the tiling feature in Silhouette Studio® Business Edition. Make large vinyl wall decals with ease and make any space, from the kids’ room to the living room, fun and stylish!
Here’s what you’ll need:
- Vinyl in your desired color
- Transfer paper
- Hook tool
- Scraper tool
That’s it! Now follow along with the tutorial to make your very own awesome large vinyl wall decal.
Step 1
Open up your desired design in your Silhouette Studio® software. Click and drag the corners of your design until it’s sized to your liking. Make it as big as you’d like! Don’t worry about your design going outside of the white cut space.
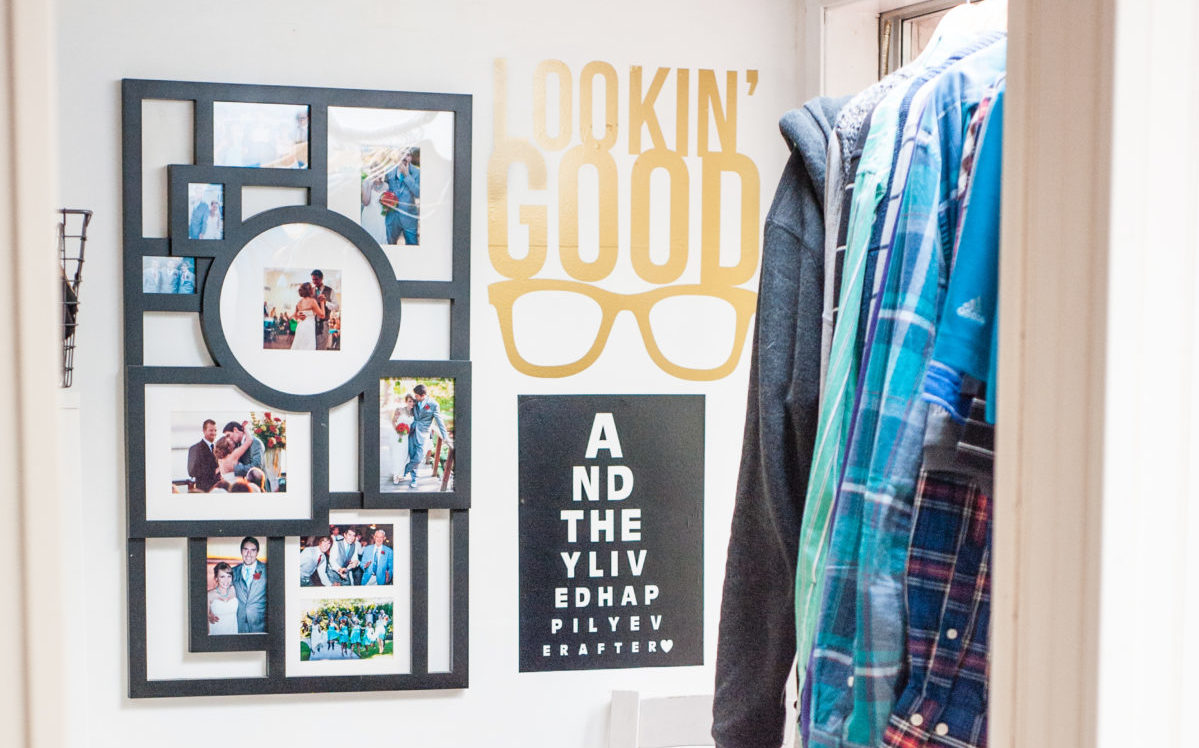
Once you have your image sized, click the ‘Silhouette’ tab at the top of your software and then click ‘Media Layout.’ This will enable you to get to the Tiling feature that will help you cut your design!
Step 2
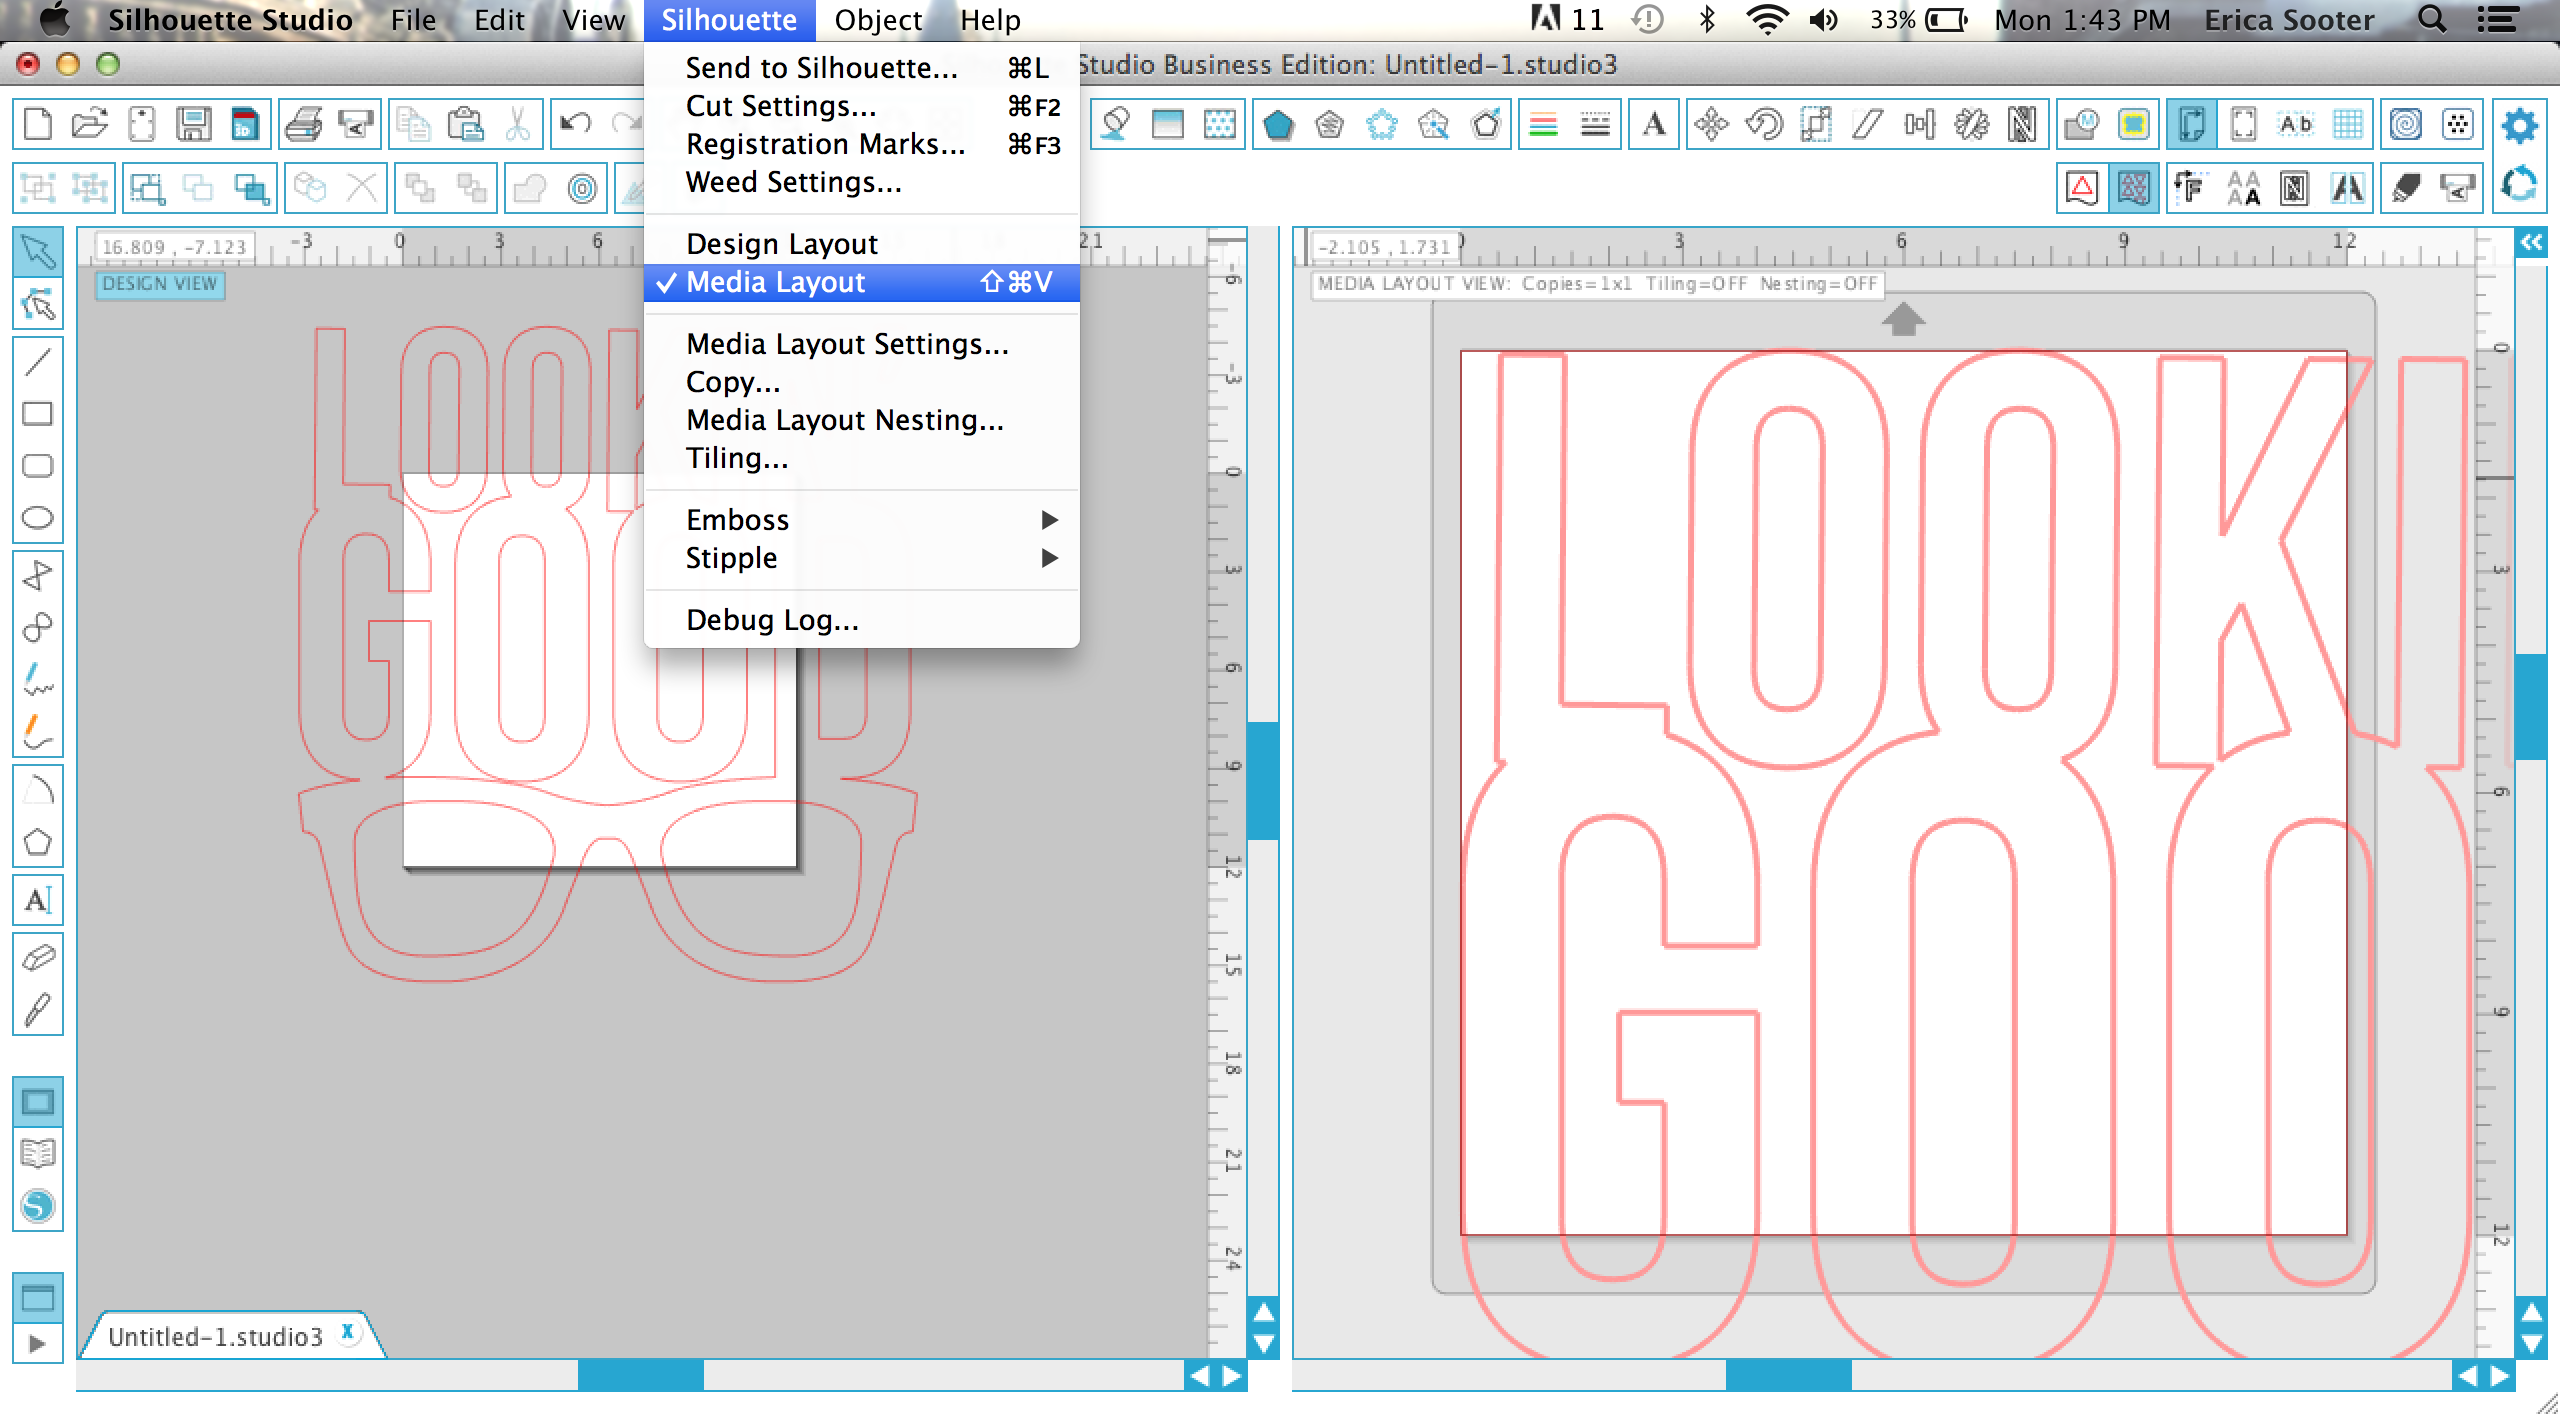
Click on the ‘Tiling’ icon (where a capital A is split in half) in the top right corner to open the Tiling menu.
Step 3
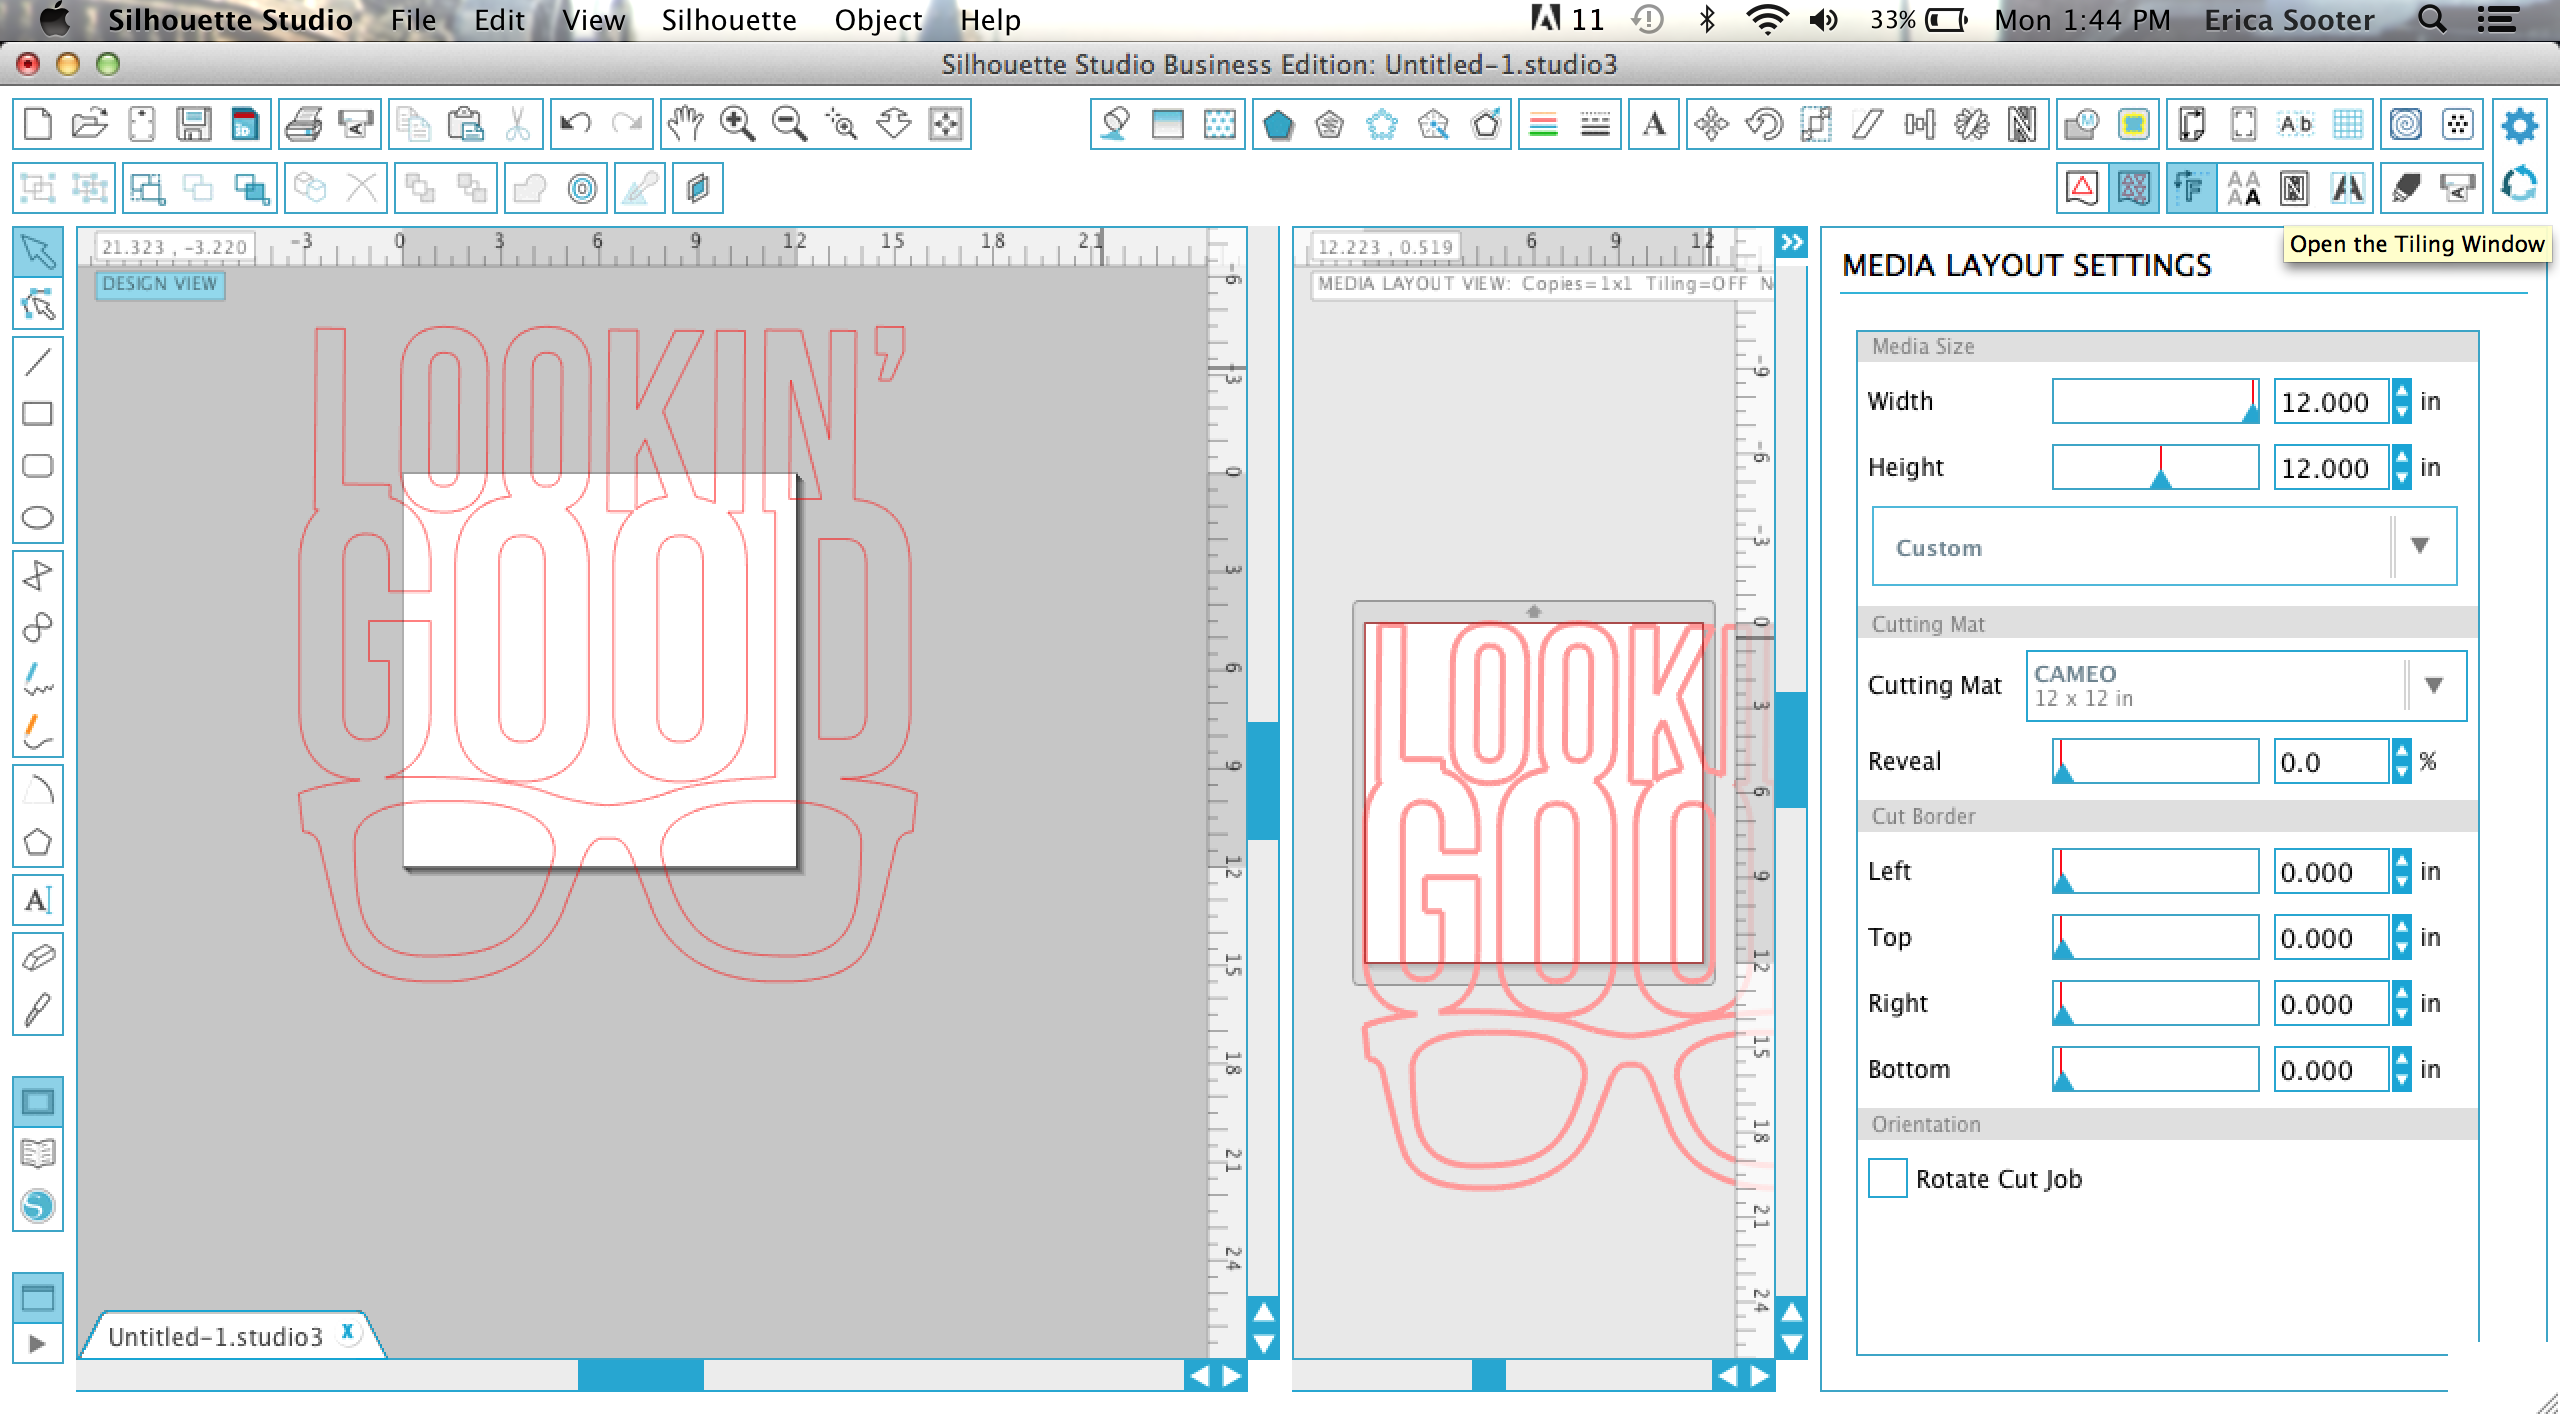
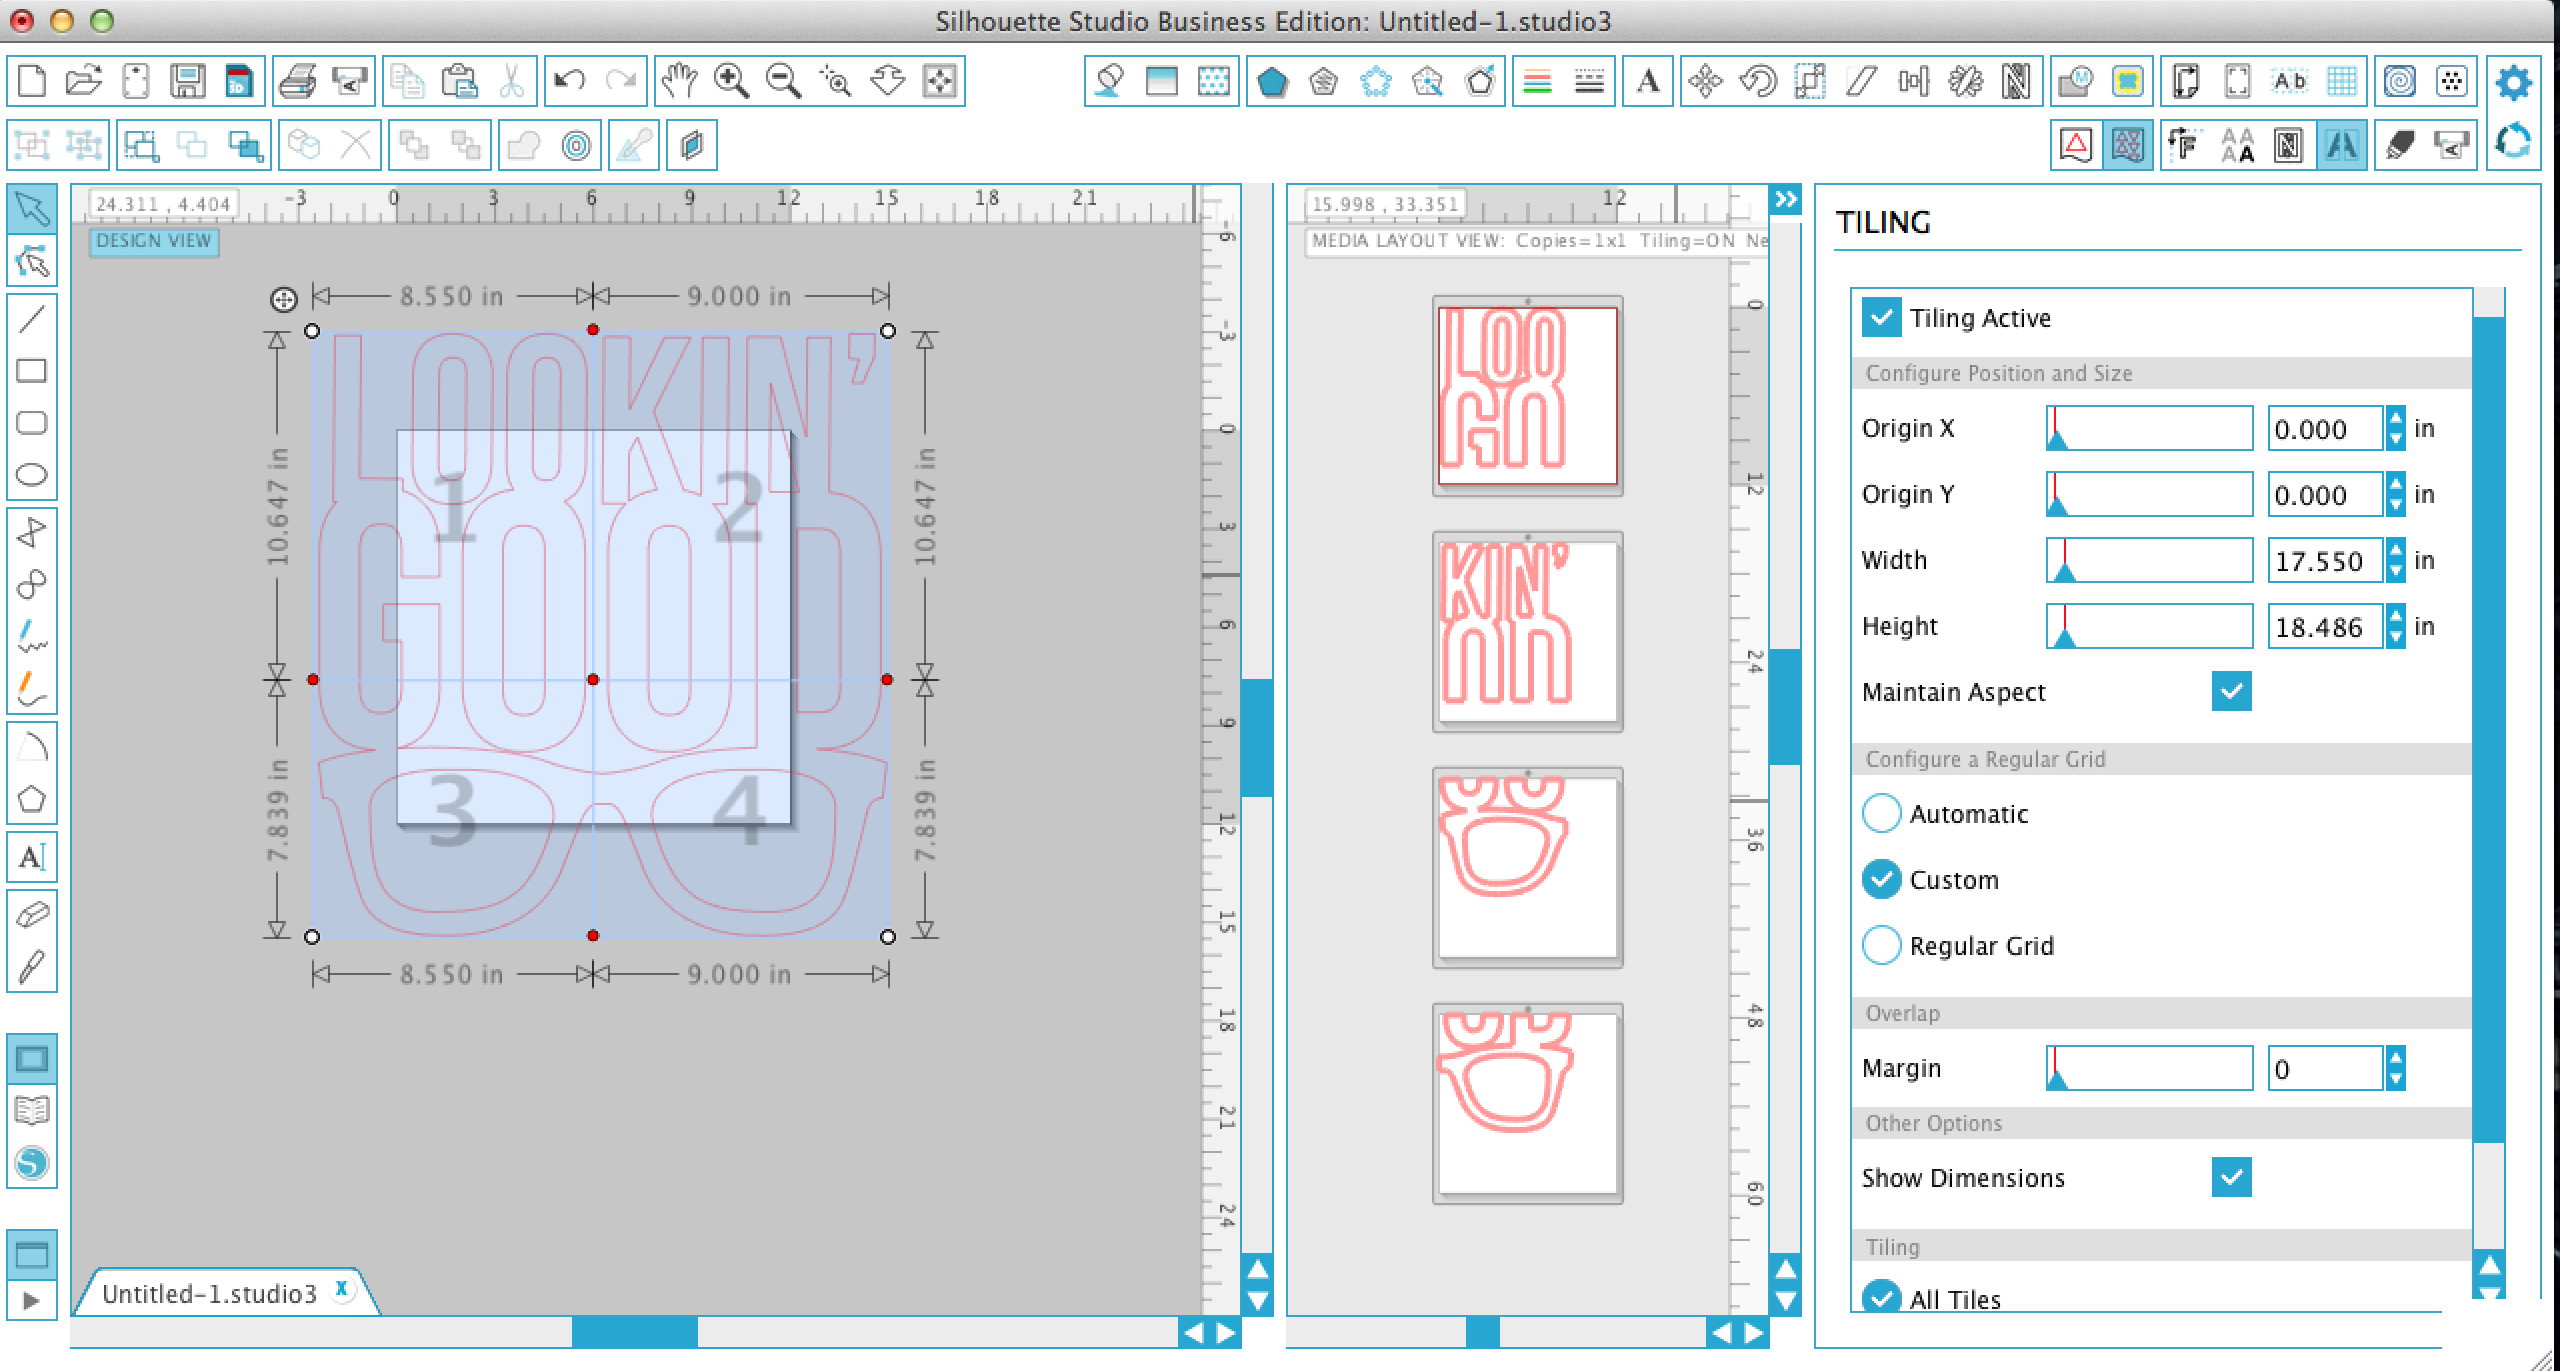
Click ‘Tiling Active’ in the menu and a blue box will pop up over your design. You can have Silhouette Studio® automatically set what will be cut in each square if you select ‘Automatic’ or you can adjust things yourself by clicking ‘Custom’ and dragging the edges and inner lines of the blue box to make sure your cuts are split where you want them to be.
Since I used smooth glossy gold vinyl that only comes in a 9″ width, I needed to make sure that each of my sections weren’t wider than 9 inches. A preview of what will be cut in each section is shown between the Tiling dialog menu and your design with the blue square overlay.
Step 4
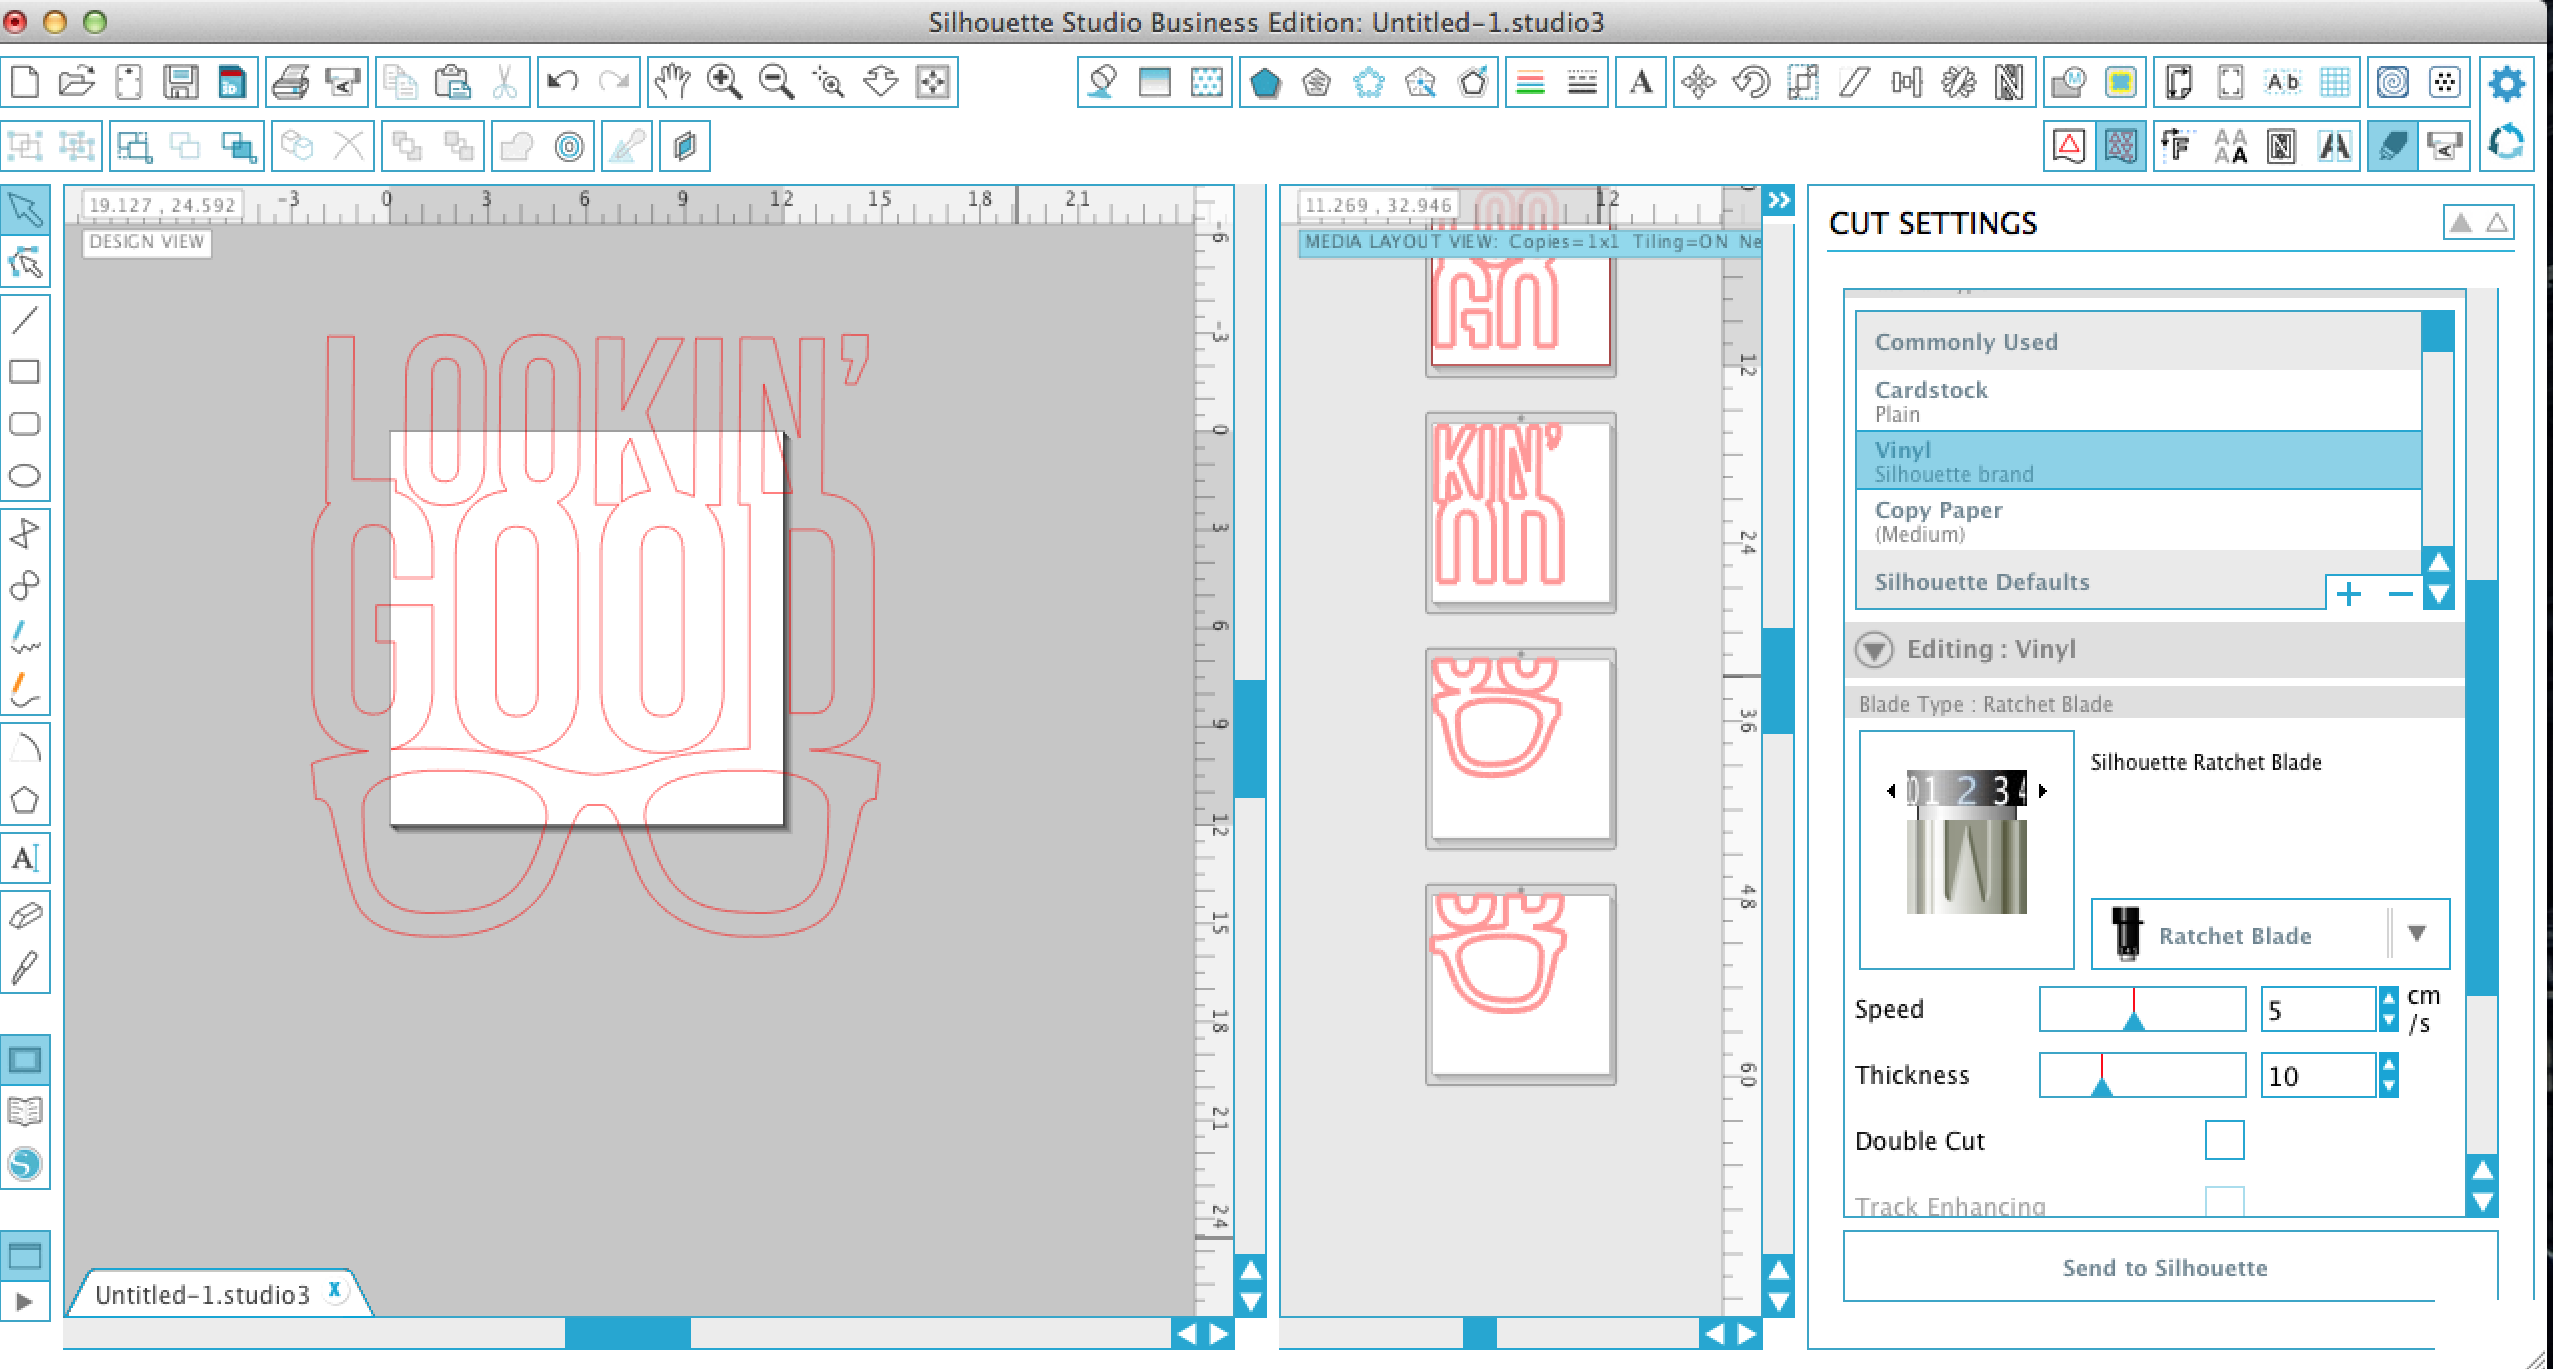
Once you are satisfied with how your project will be separated, head on over to the ‘Cut’ menu, which is denoted by the Ratchet Blade symbol in the top right corner. Set your material to vinyl, and change your blade depth to 2.
Step 5
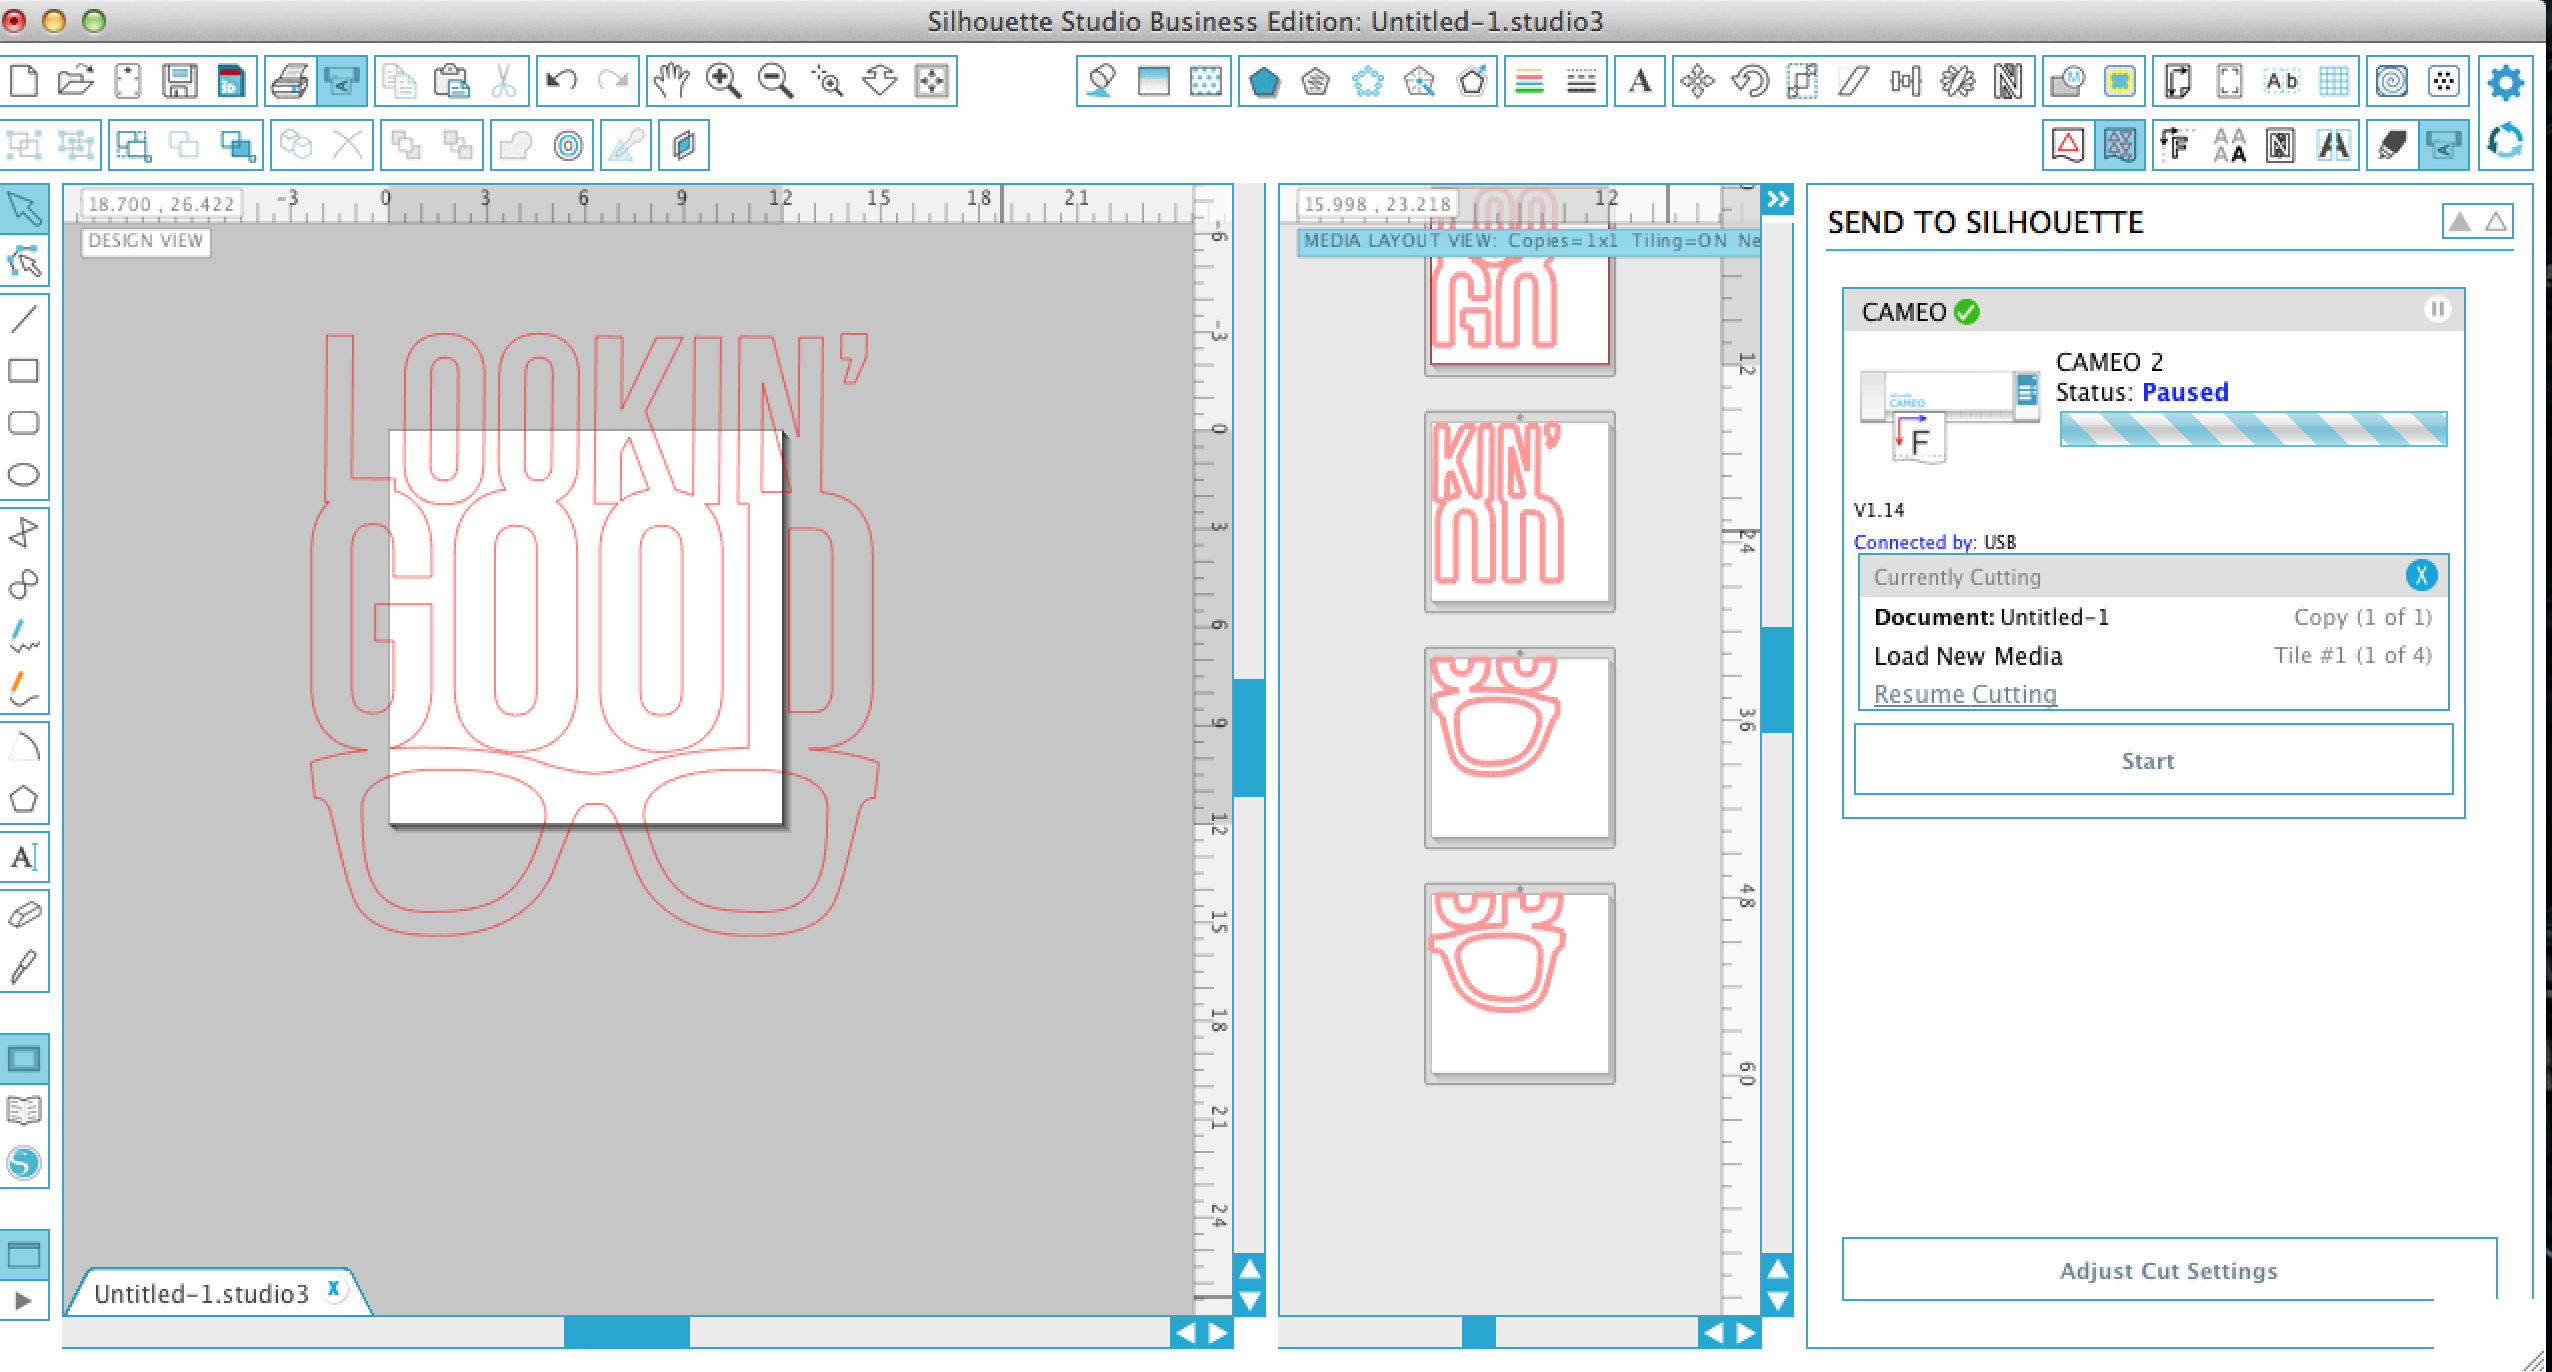
Load your vinyl into your Silhouette by feeding the end of your vinyl roll into the machine and hitting ‘Load Media’ on the touchscreen of your machine. No need for a mat! Back in your software, hit ‘Send to Silhouette’ and watch it go!

Step 6
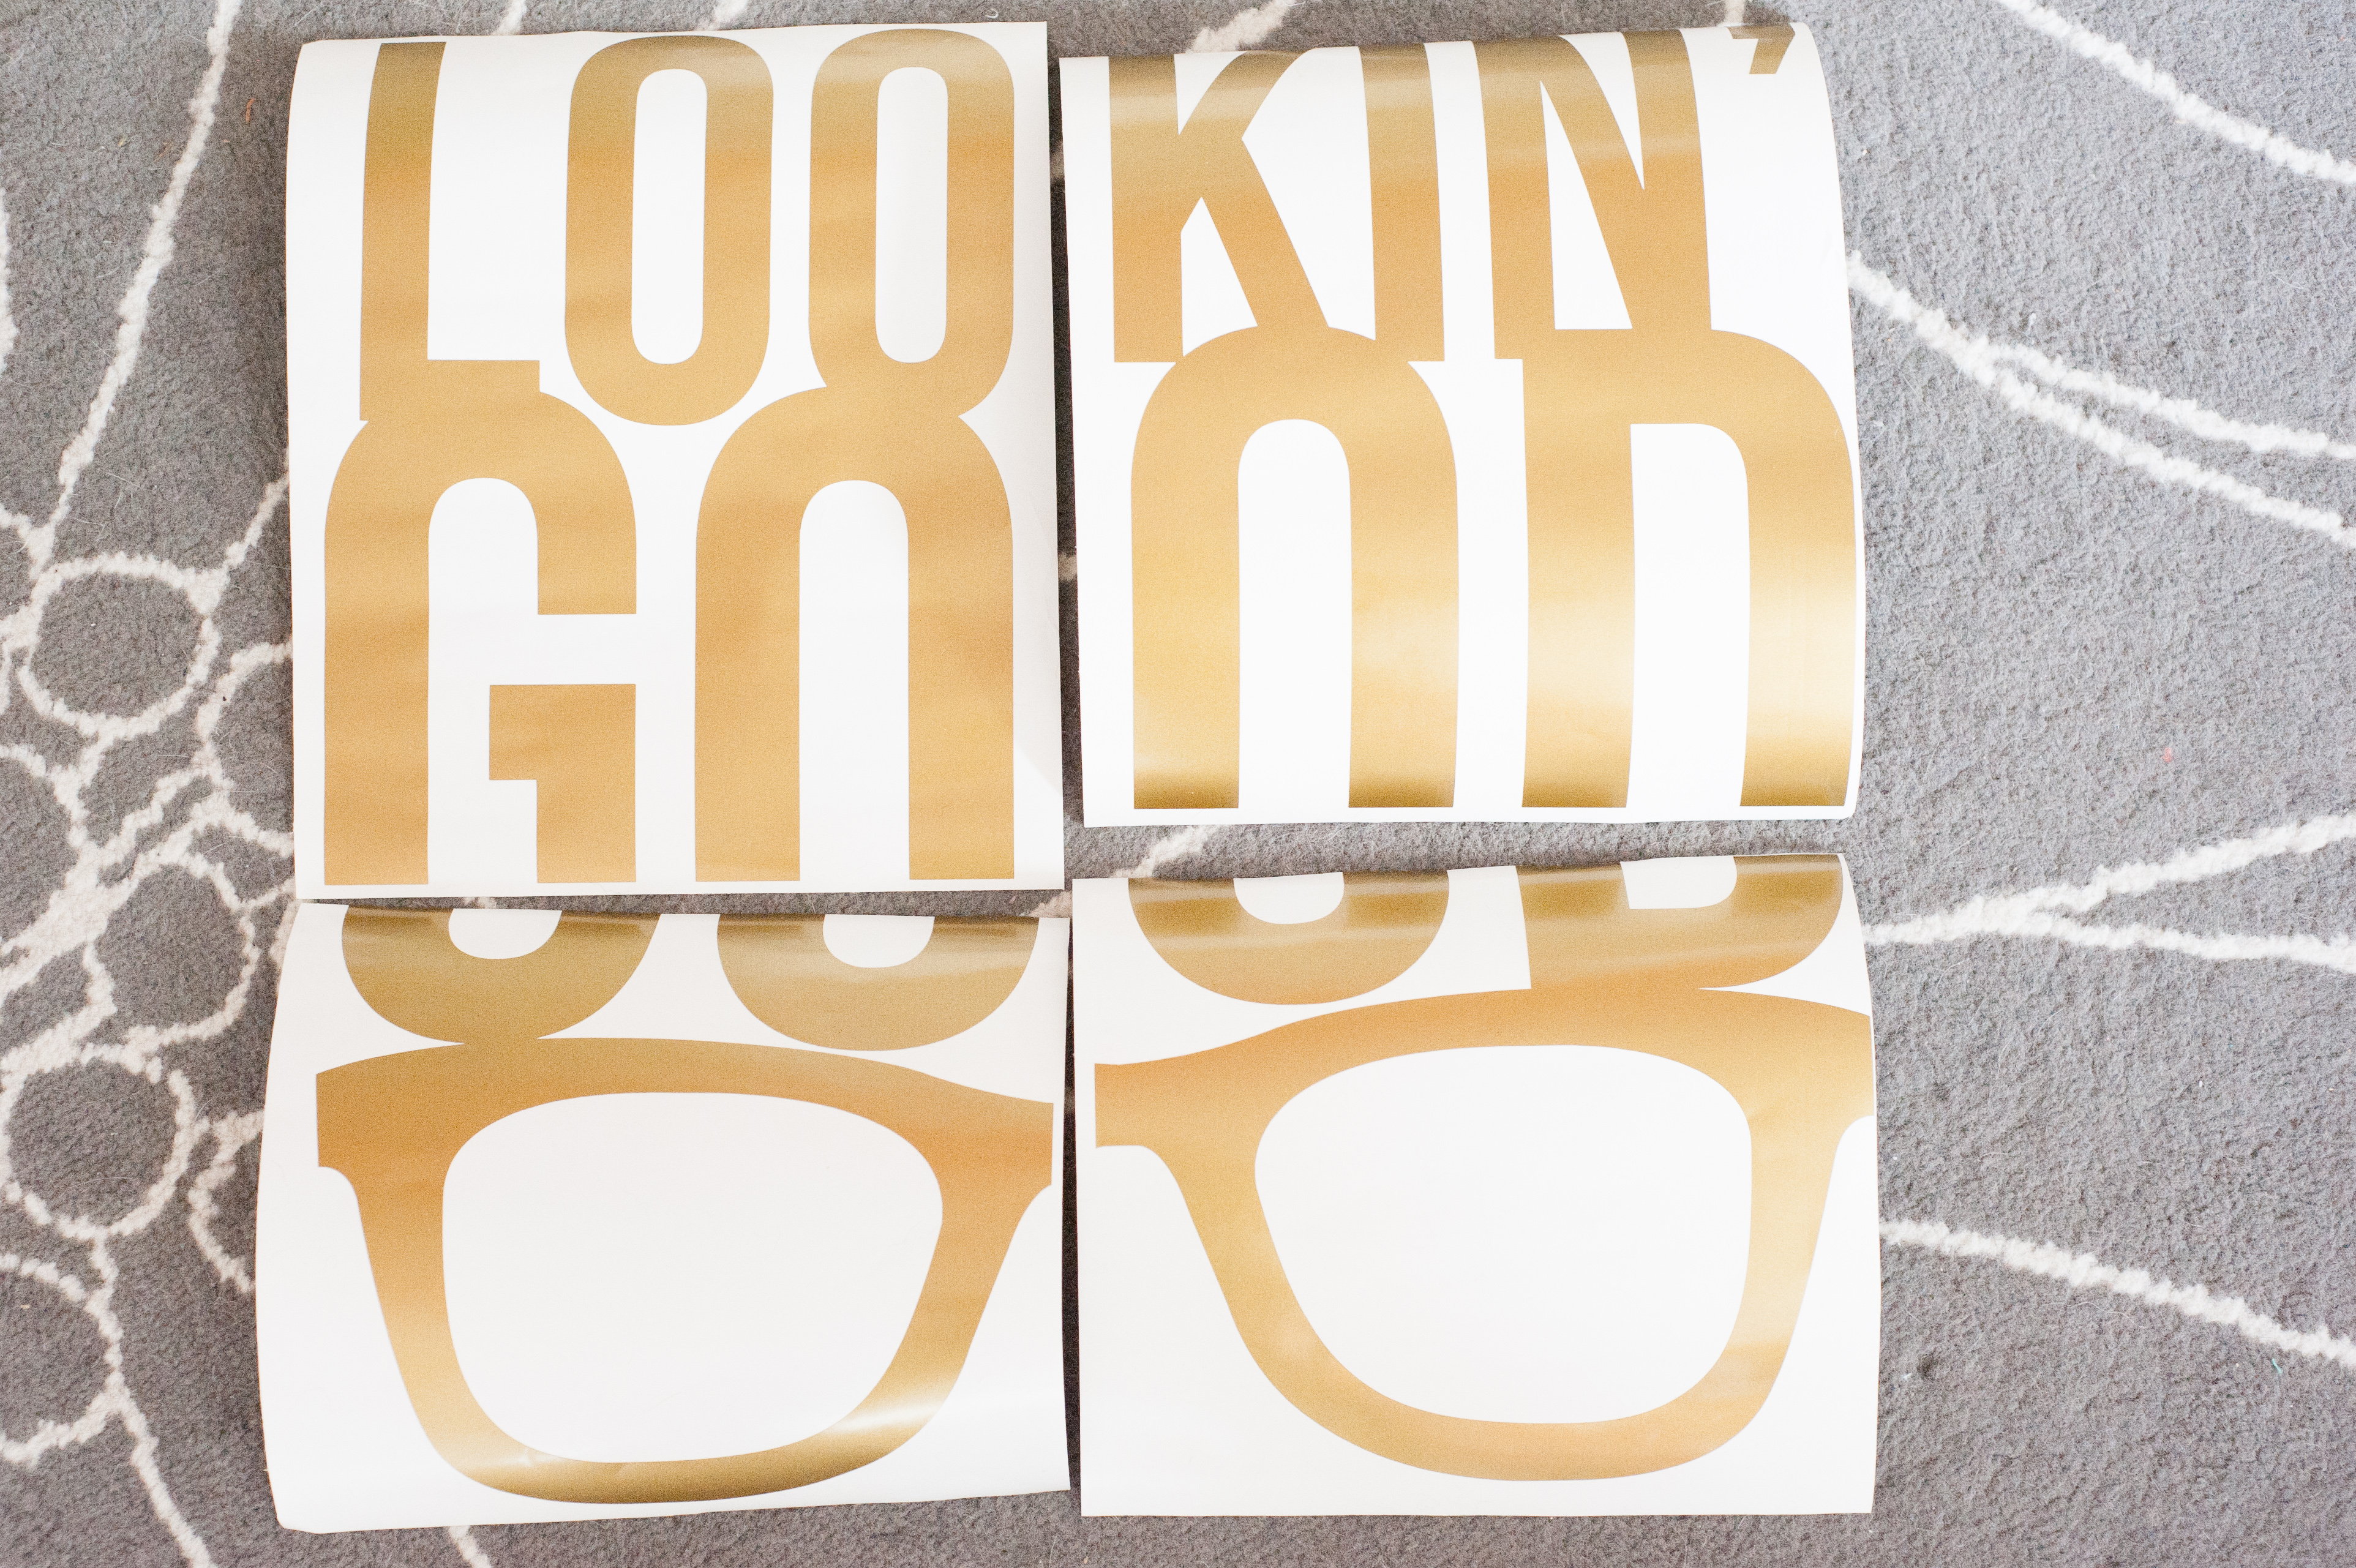
Your Silhouette will know which tiled section to cut first. When it reaches the end of the 1st tile, it immediately pauses the cut job. Hit ‘Unload Media’ on your machine, and cut your design off of the roll of vinyl.

Step 7
To continue along with the other sections of your project, simply reload your vinyl into your machine as you did in step 5. In Silhouette Studio®, click ‘Resume Cutting’ in the Cut Job section dialog.
Repeat steps 6 and 7 for each section of your tiled cut job.
Step 8
Weed your design using your hook tool to get rid of the unnecessary vinyl.
Step 9
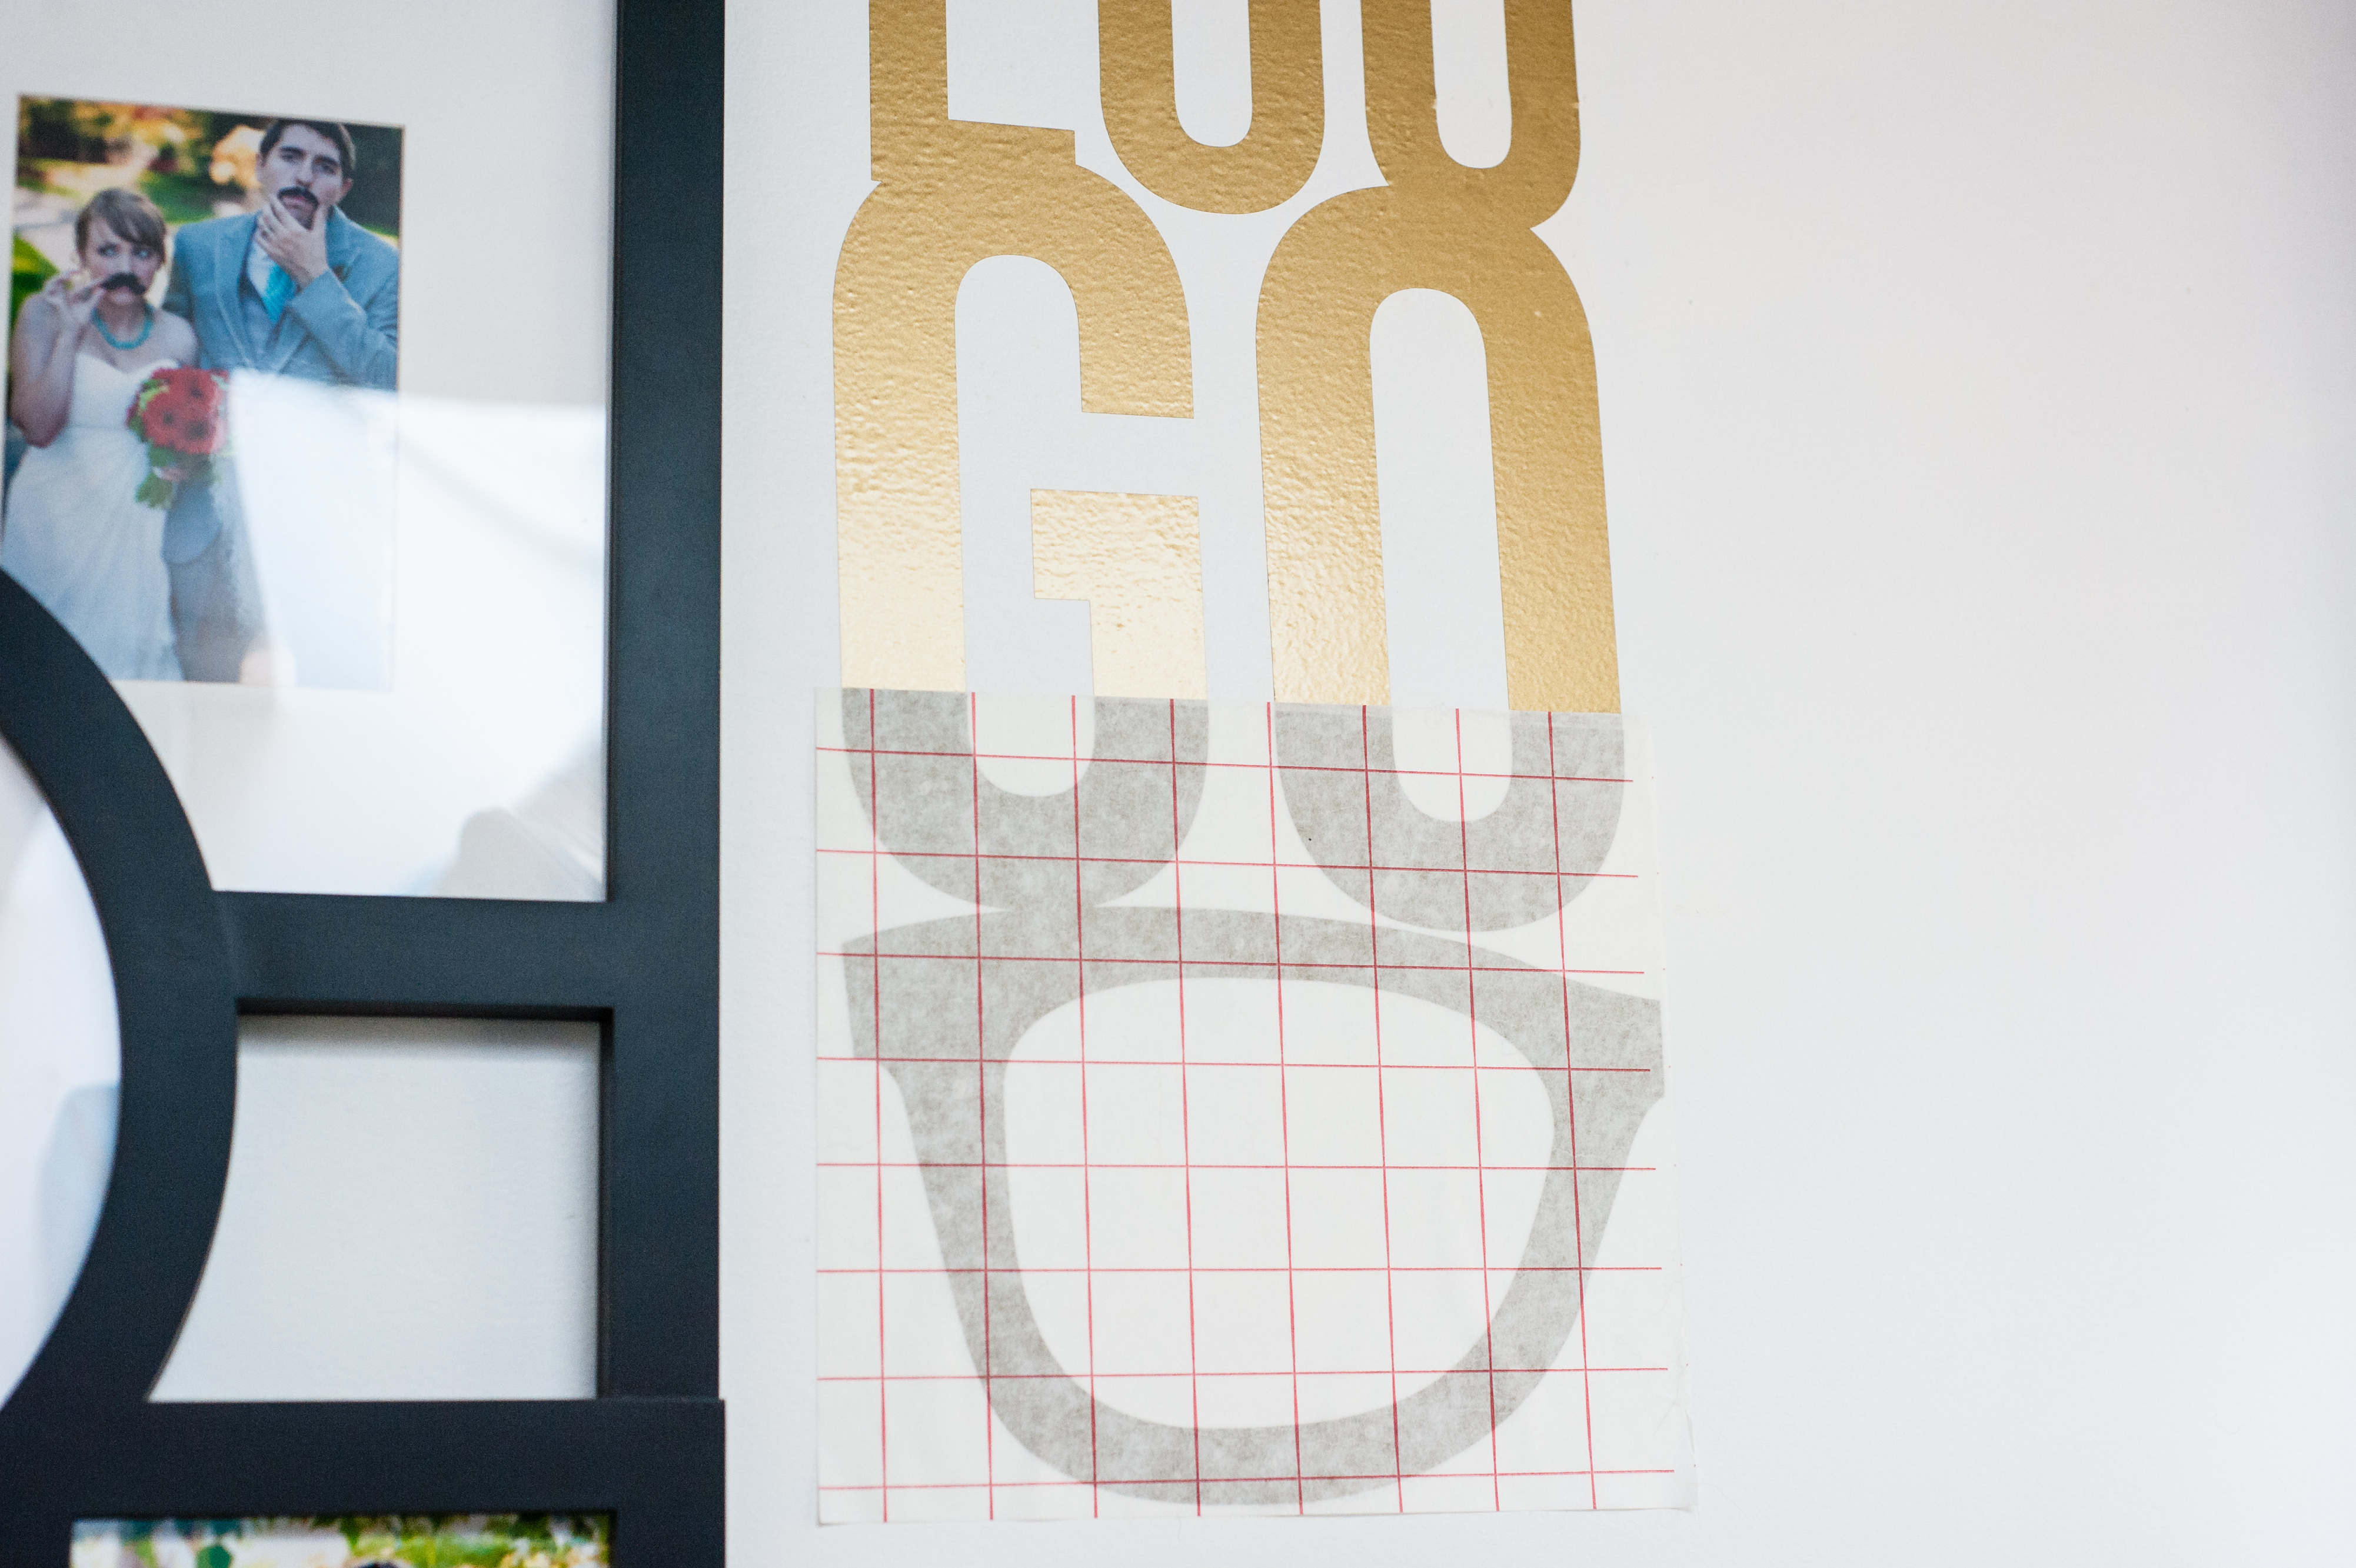
Cover each section of your design with transfer paper and smooth out with the scraper tool.
TIP: Make sure your wall is free of debris and bumps and then lay the first tiled section of your design on the wall otherwise it won’t stick!
Use the scraper to make sure it’s adhered to the wall and then peel back the transfer paper. Match up the next tiled section of the wall, scrape, and peel. Repeat for all remaining tiles.
Et voila! A beautiful large-scale vinyl wall decal that you can put together in no time, thanks to the powerful tiling tool.


Candace
March 3, 2016
Thank you for the tutorial, Erica. Which version of Studio are you using? I’m currently using 3.6.039 and it doesn’t seem to have the tiling option.
Thanks!
Karley Hall
March 3, 2016
Hi Candance,
The tiling option is available in Silhouette Studio® Business Edition. You can read all of the differences, here!
Graciela
March 3, 2016
Sublime
Shari Dancer-Thomas
March 4, 2016
Love this tutorial but would like to know how you’d suggest doing this without the Business Edition, please.
Thank you,
Karley Hall
March 4, 2016
I would suggest using the knife tool to separate your image into 12 in. x 12 in. areas (or however large your media is). Then cut each section and put it together! Hope this helps.
Dawn McCloskey
March 4, 2016
I love what you did with your family’s portraits – so creative! Thanks for the tutorial. I don’t have the Business Edition and don’t intend on getting it, but your instructions seem well-written.
Tweaking Corner
March 4, 2016
Love thanks for the detailed tutorial. Just upgraded and was thinking this was the next thing I was going to play with!
Karley Hall
March 4, 2016
You are going to love it!
Torrie
March 4, 2016
I was so excited to see this project, but disappointed to find out that it can’t be done with the standard silhouette studio.
Karley Hall
March 4, 2016
It is one of the many perks of Business Edition! I don’t know how I survived without it for so long!
Kim@Newlywoodwards
March 23, 2016
Thank you so much for sharing this! After 5 years, I have never used the tiling function. I’ve always done it manually myself – a whole new world!
Tawni
May 4, 2016
Is the transfer paper reusable?