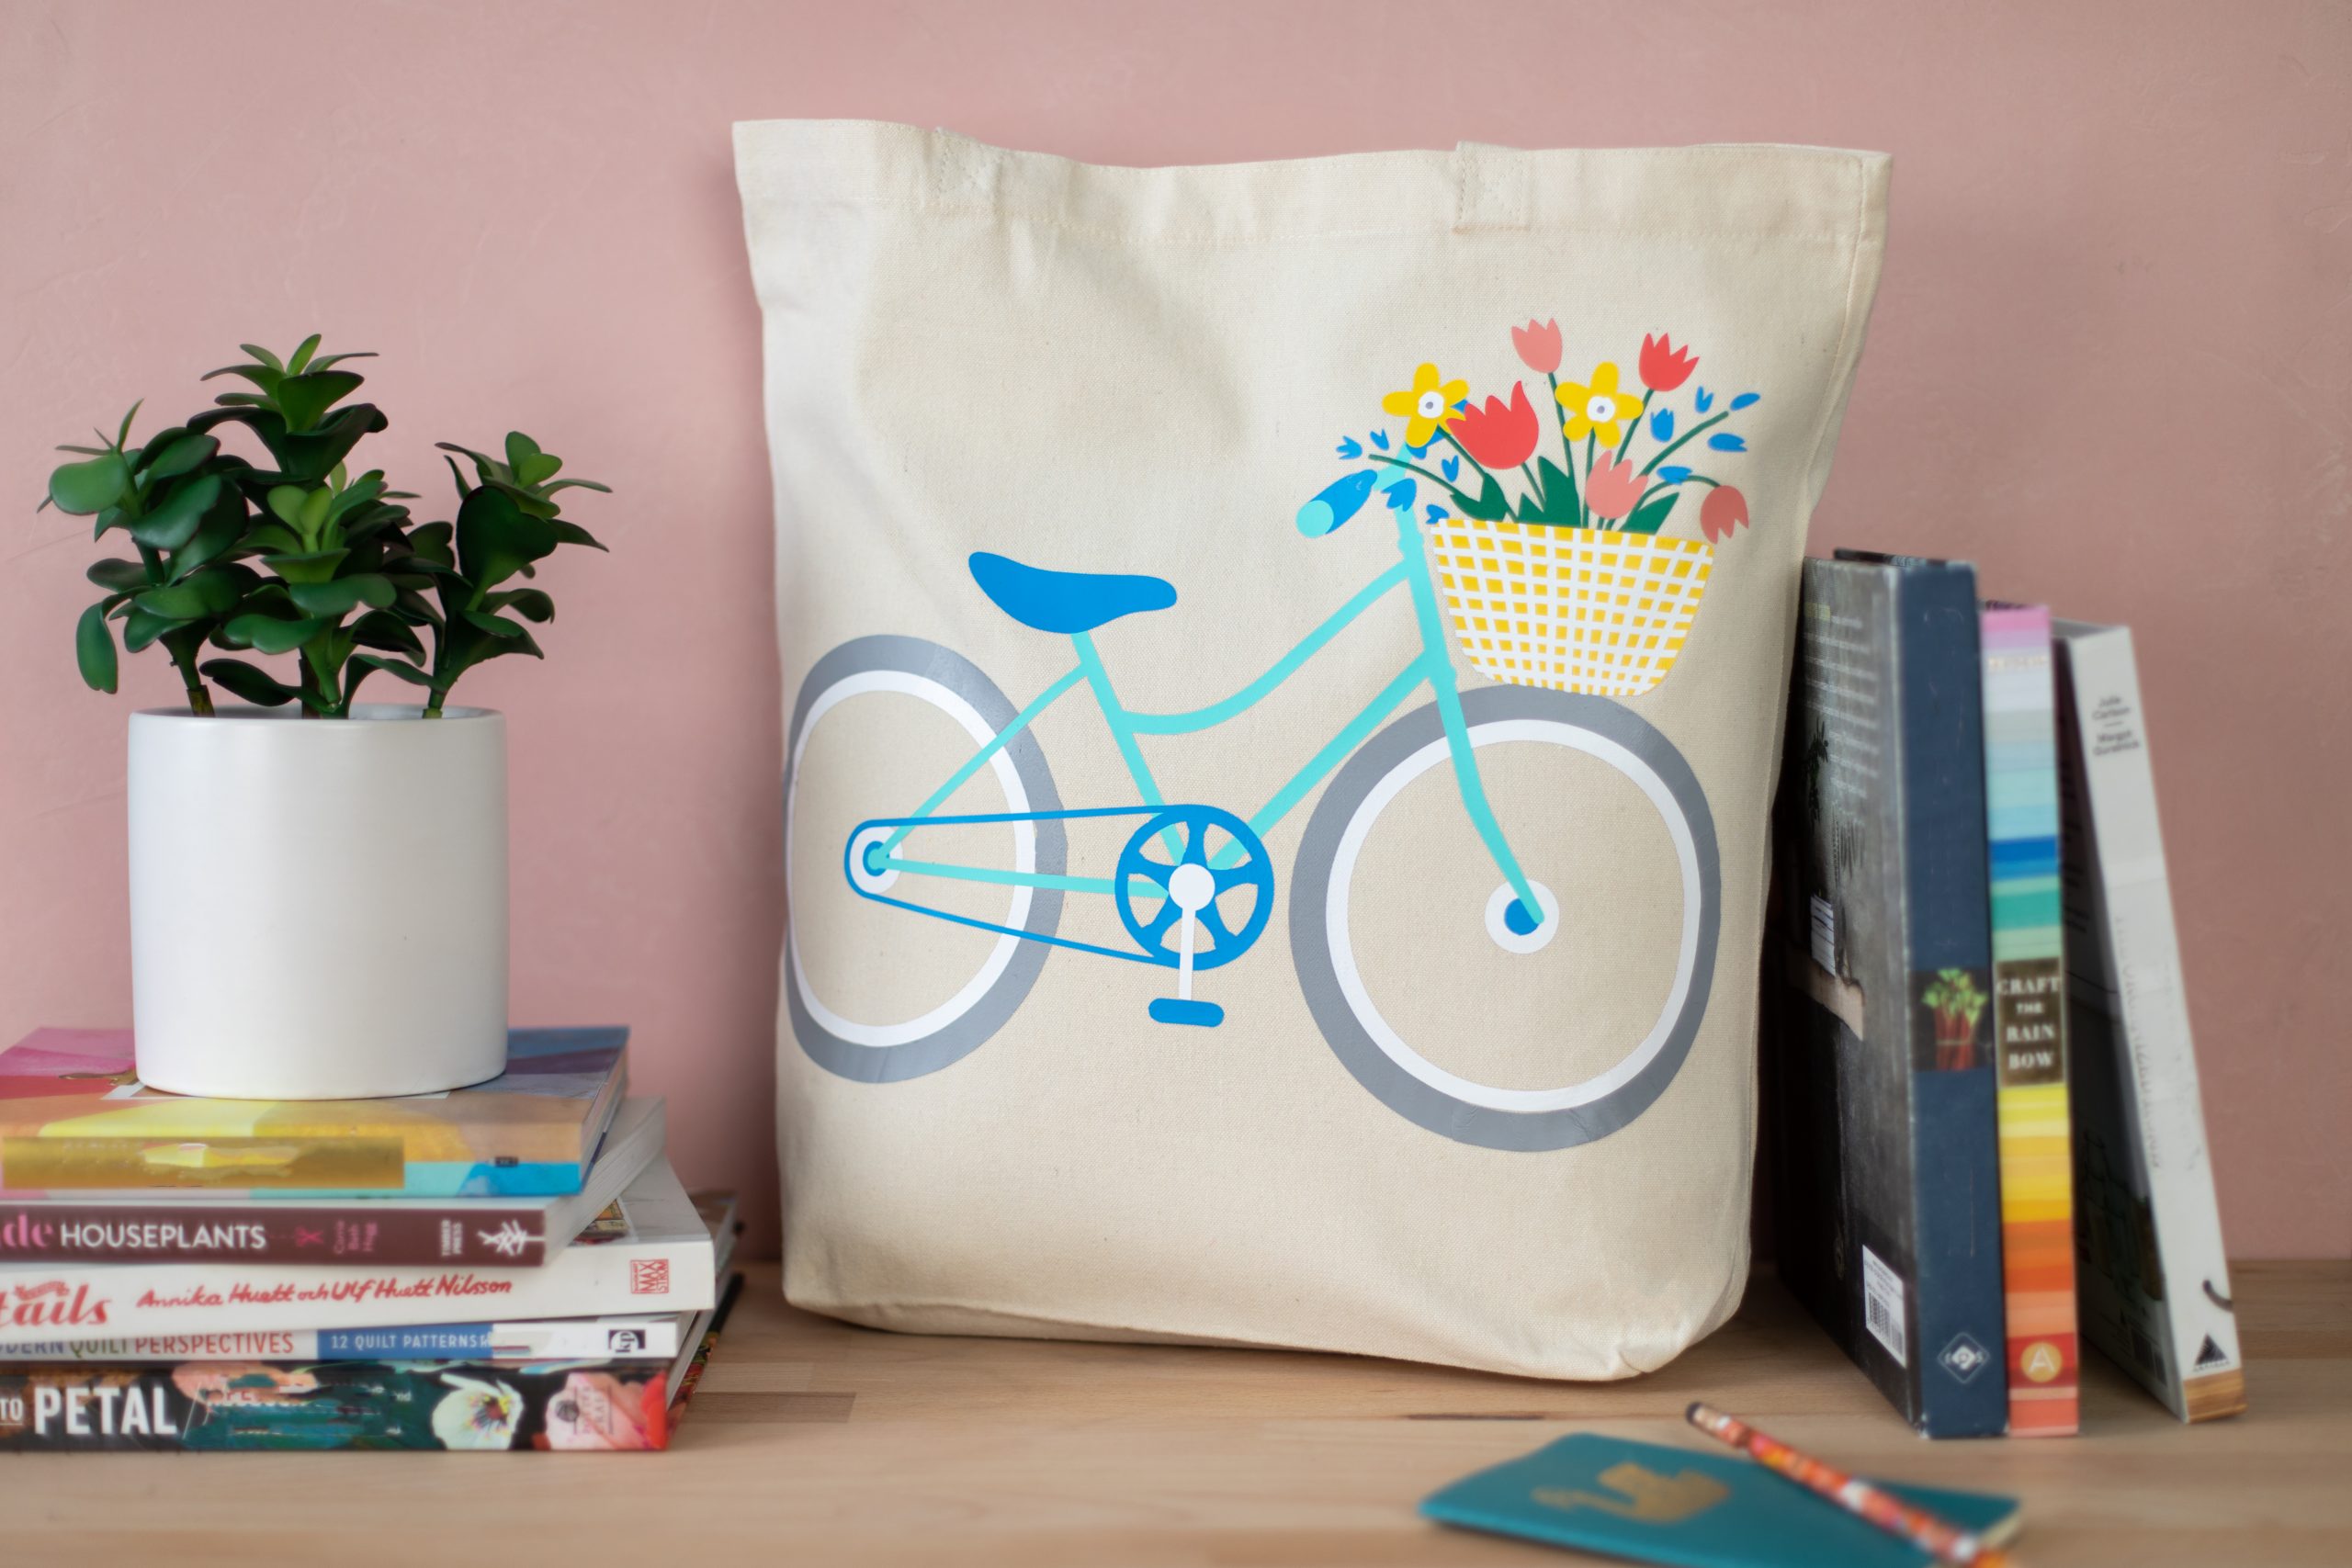
If you’re trying to be a bit more eco-friendly this year, a reusable tote is a great thing to have on hand to reduce plastic bag usage. This bicycle tote is pretty adorable and easy to achieve with some simple tricks for layering heat transfer! Check out the short video to see how it all comes together!
Supplies Needed:
- Silhouette Cameo® or Silhouette Portrait®
- Silhouette Studio®
- Silhouette Cutting Mat
- Silhouette Cutting Blade
- Heat Transfer in Gray, White, Blue, Light Blue, Green, Pink, Red, and Yellow
- Hook Tool or Spatula Tool
- Iron or Heat Press
- Tote Bag
- Design ID #293175 for Bike and Basket by Echo Park
Step One: Separating the Design
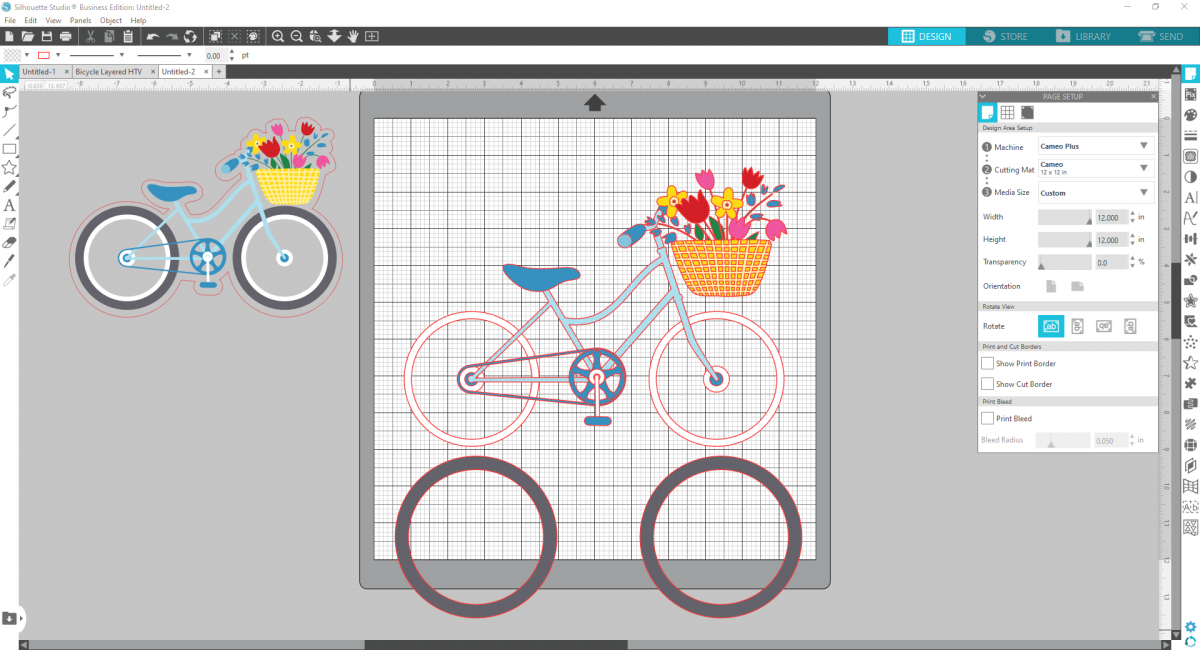
1. Insert the design into Silhouette Studio® and size to fit appropriately on your tote bag.
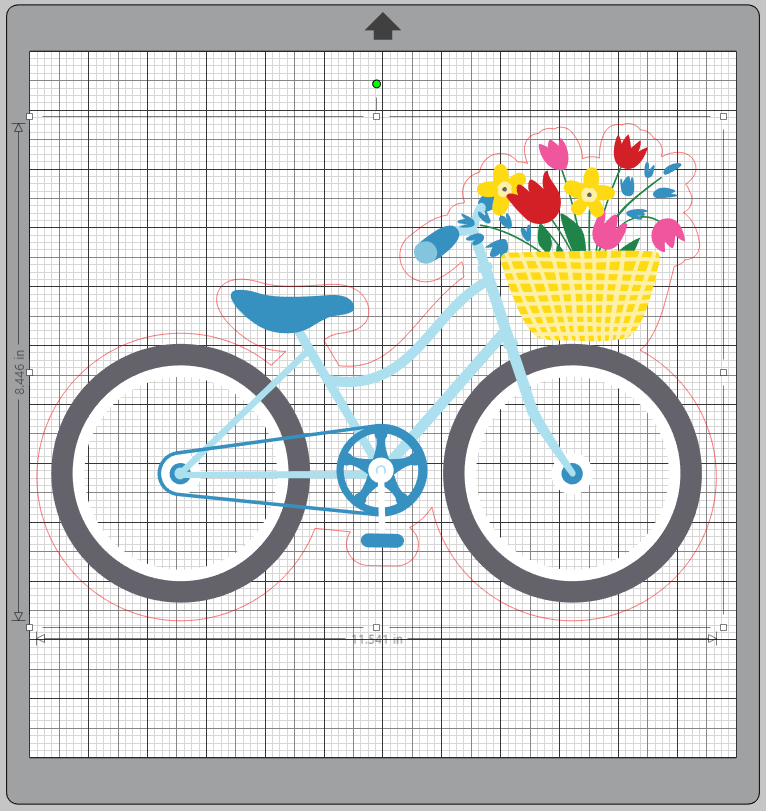
2. This design begins as one piece. To achieve the layered look with multiple colors, we’re going to ungroup the design until all the parts are separated from each other. We can begin by deleting the red cut line from the image.
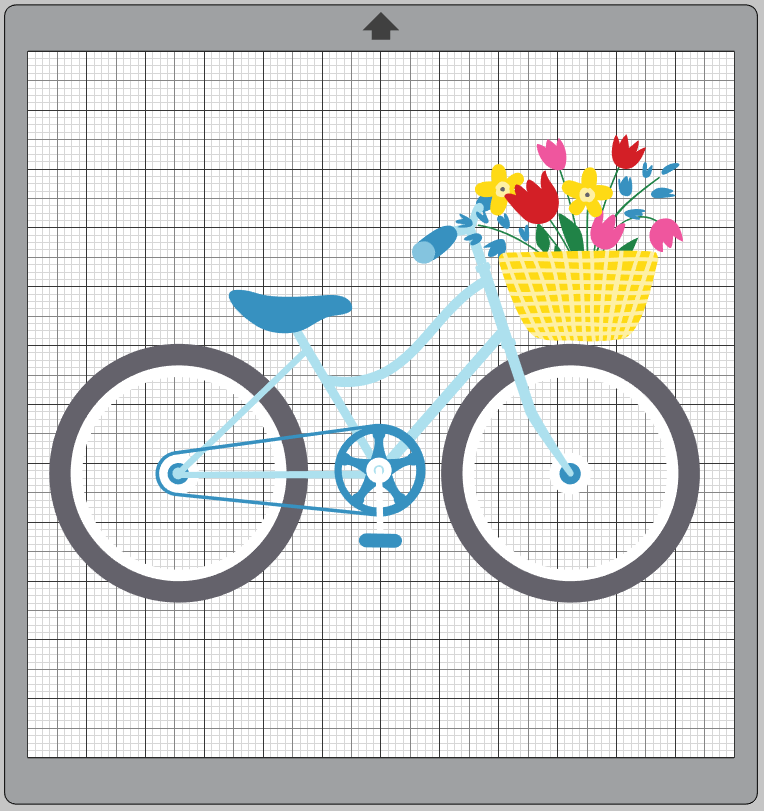
3. Now you’ll just continue to ungroup the design elements until all of the different colored pieces are separated. This will allow us to cut out each element in the right-colored heat transfer.
*Hint: This will take a lot of ungrouping! 🙂 I just keep selecting all the design elements and selecting ungroup until that option no longer is allowed. You can see below, that each element is now outlined.
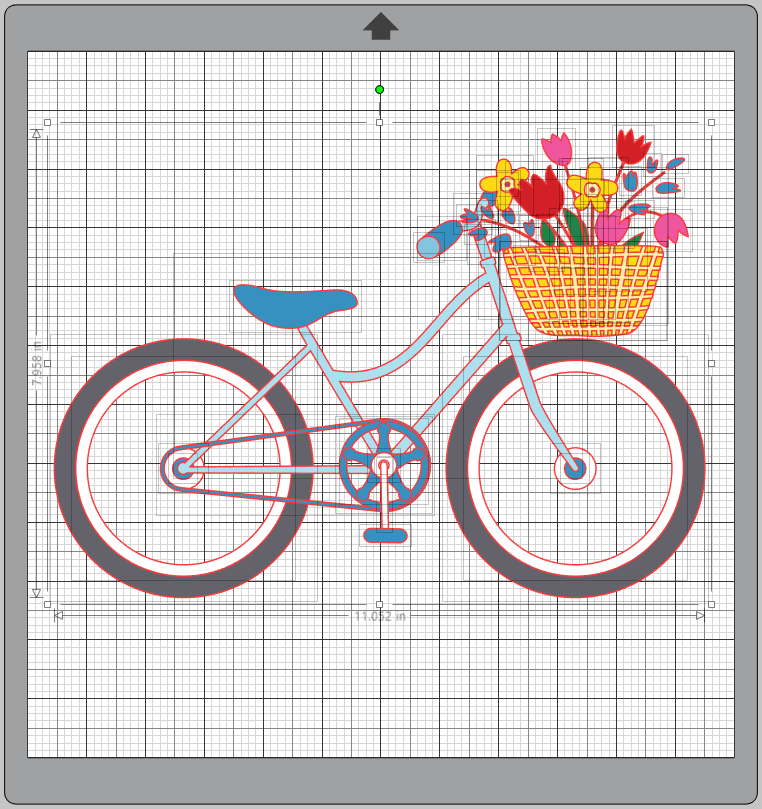
I would recommend inserting another bike image and setting it off to the side so you can refer to it as you separate all the pieces.
Step Two: Preparing the Bike
Before you start to separate all the pieces, you’ll want to think about how you are going to layer all the pieces. With layering heat transfer, you will start with the bottom layer and then work your way up to the top layer. It’s helpful to think about which pieces of the same color will be on the same layer so you can regroup those pieces together to simplify the process!
4. For example, I’ll select the two gray tire pieces while holding down the Shift key and group those together. The Shift Key allows me to select multiple pieces at a time. Now I can set those aside and work on the next section.
5. Now I’ll continue to group the components of the same color that can be applied in the same layer. I’ll take photos of each layer so you can follow along!
Layer 1 is the gray tires above.
Layer 2 is the white tires and the white centers of the bike.
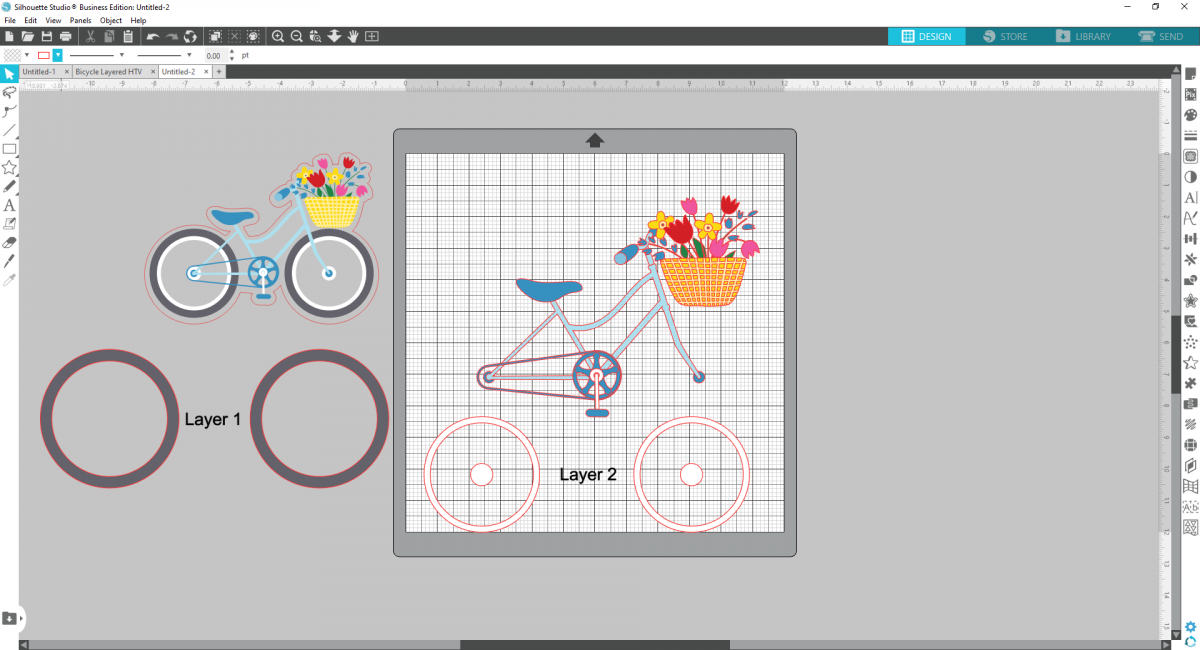
Layer 3 is the blue tire centers

Layer 4 is the light blue bike frame. You can weld the handle bar components to the frame as well so it’s all one piece.
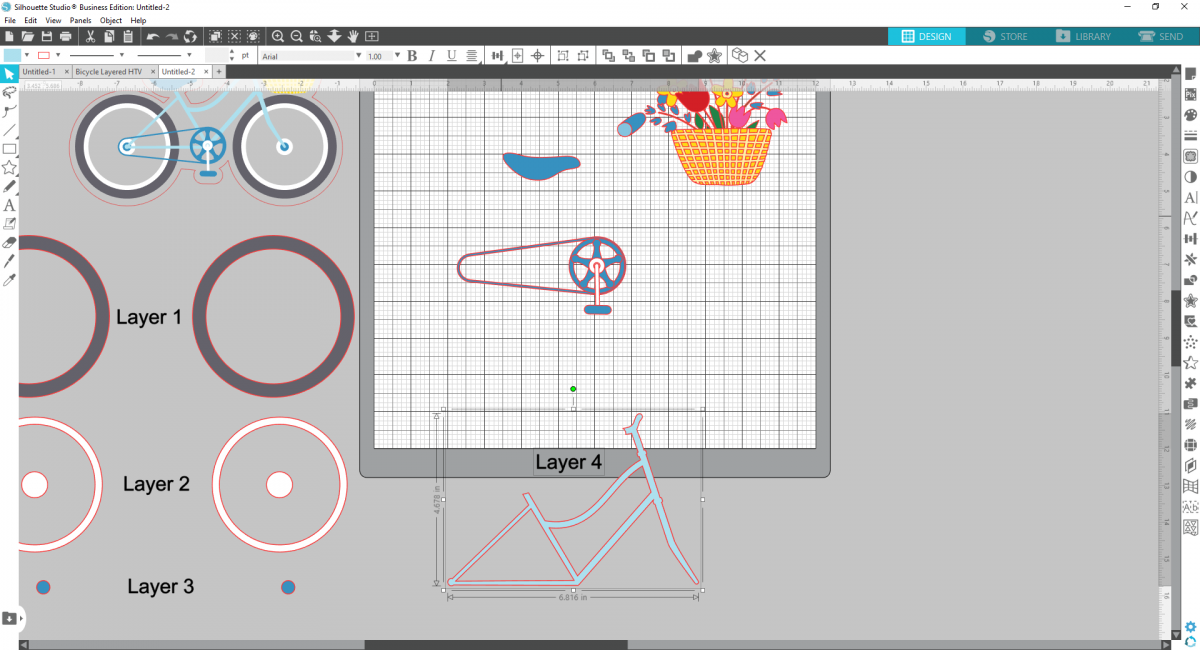
Layer 5 is the bike seat, handle bar, chain, and pedal. Again, weld the bike chain pieces together to make it one piece.

Layer 6 is the white piece of the pedal, which you can weld all together, and Layer 7 is the other part of the handle bar!
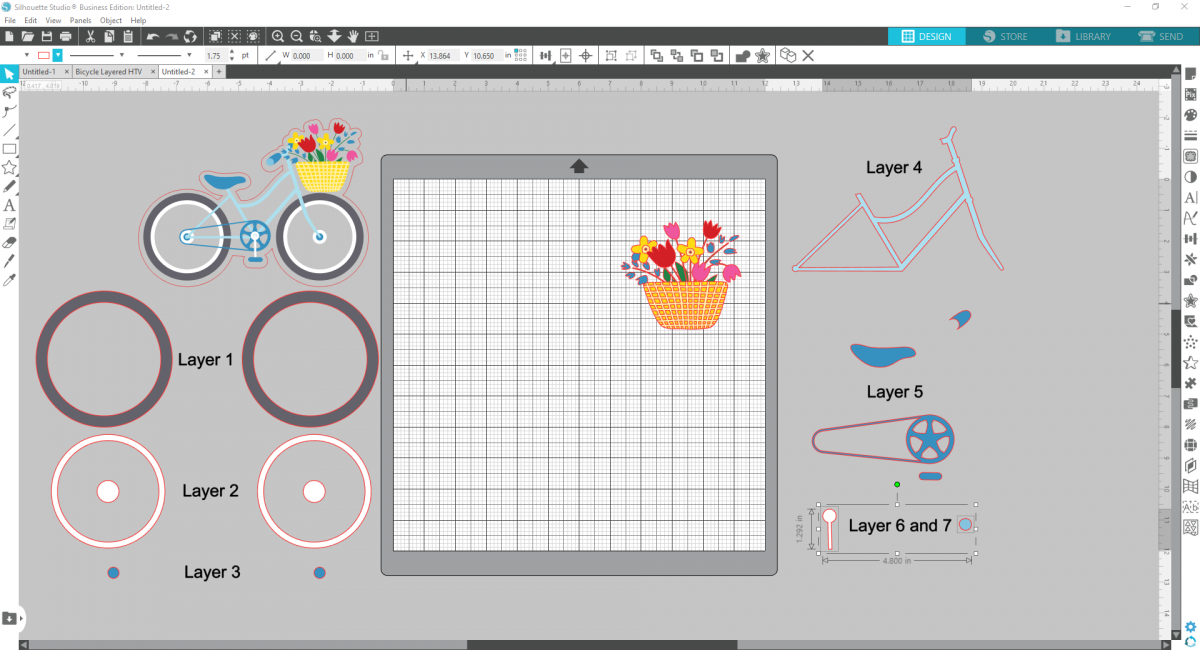
6. Those are all the layers for the bike! And you apply them in order from 1–7. Make sure to use a press cloth when ironing to protect the heat transfer from getting too much heat.
Step Three: Preparing the Basket
1. For the basket, you’ll follow the same process as we did for the bike. Below you can see the layers all separated out and the order in which you’ll apply them to your tote.
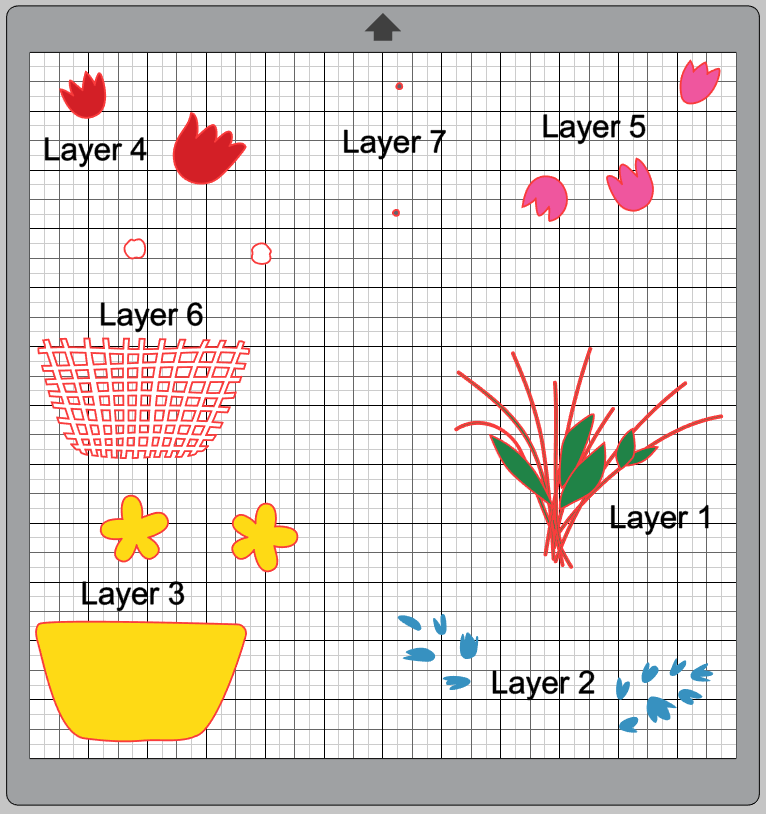
2. Again, remember to use a press cloth between all the layers to protect the vinyl from overheating.
3. Once all your elements are ironed down, your tote is ready to accompany you to the grocery store, the library, or on any of your adventures or errands!
 Use a Dingbat Font to Customize T-shirts
  June Online Classes
Sandra
January 30, 2020
Thank you for this tutorial, it will help me a lot.