
Have you used the tiling feature in Silhouette Studio® Business Edition? When you want to create a large scale design, the tiling feature helps you get the size without the the headache. Today we are going to show you how to use this awesome feature.
Supplies Needed:
- Silhouette Cameo® or Silhouette Portrait®
- Silhouette Studio®
- Silhouette Cutting Mat
- Silhouette Cutting Blade
- Silhouette Hook Tool
- Silhouette Scraper Tool
- Silhouette Vinyl – Black
- Silhouette Transfer Tape
- Design ID #288401
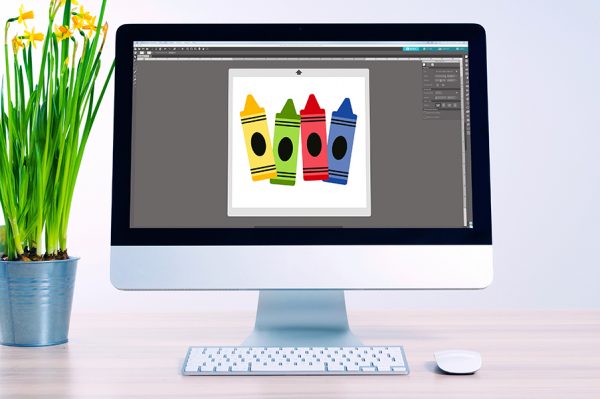
Step One: Design in Silhouette Studio®
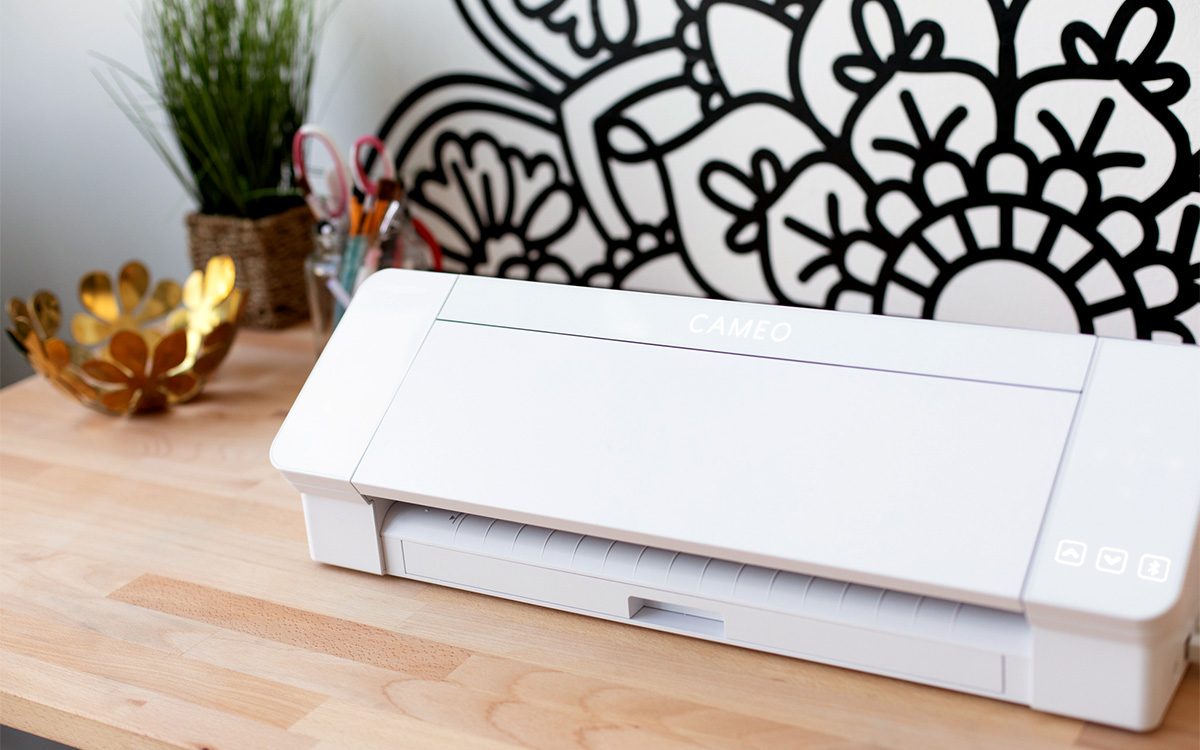
1. First open the design in Silhouette Studio®, and then using the scale handles, click and drag to size. We made ours approximately 3 feet high by 5 feet wide.
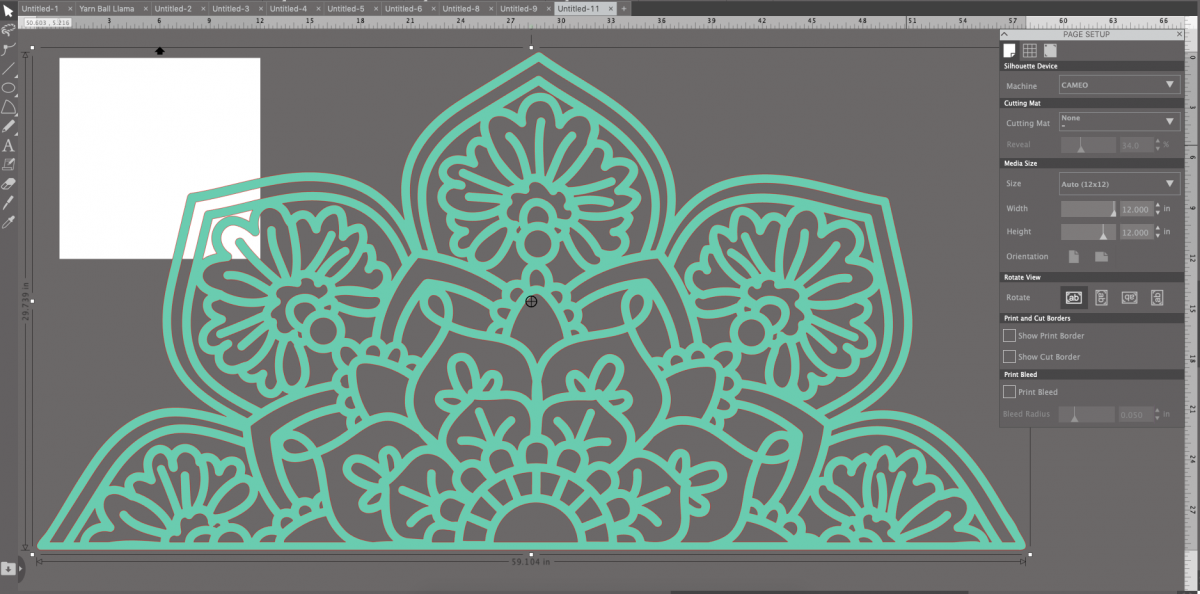
2. Open up the Media Layout Set Up Menu. (The icon is located at the bottom of the Silhouette Tools bar on the right-hand side. It looks like a square with and uneven bottom and a few triangles are within the square.)
3. Check the Show Media Layout Split Screen Option at the top of the menu window.
4. Check Tiling Active box.
5. The default will automatically separate the design into tiles.
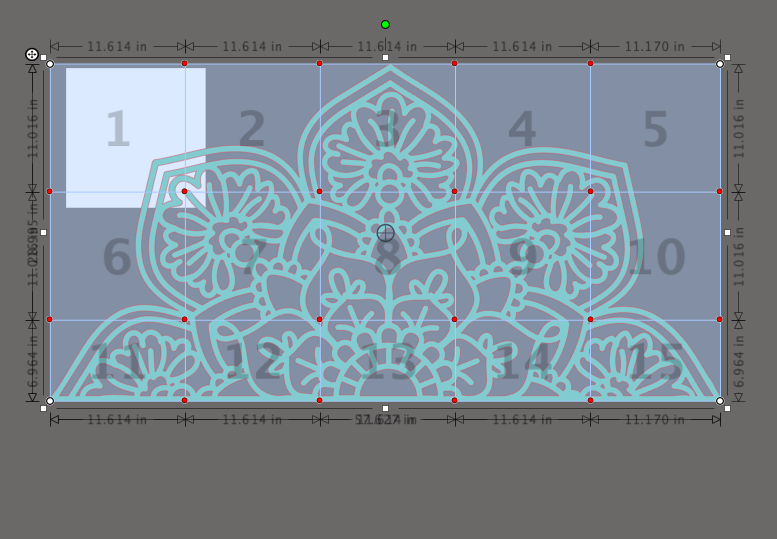
6. The Silhouette Studio® split screen will appear like the images below.
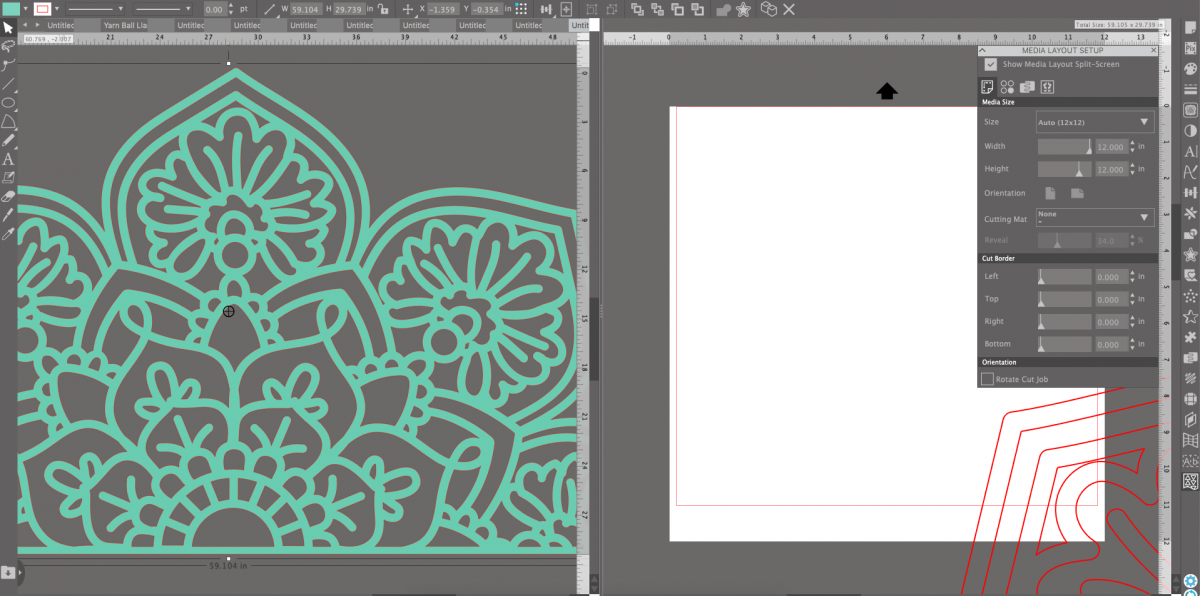
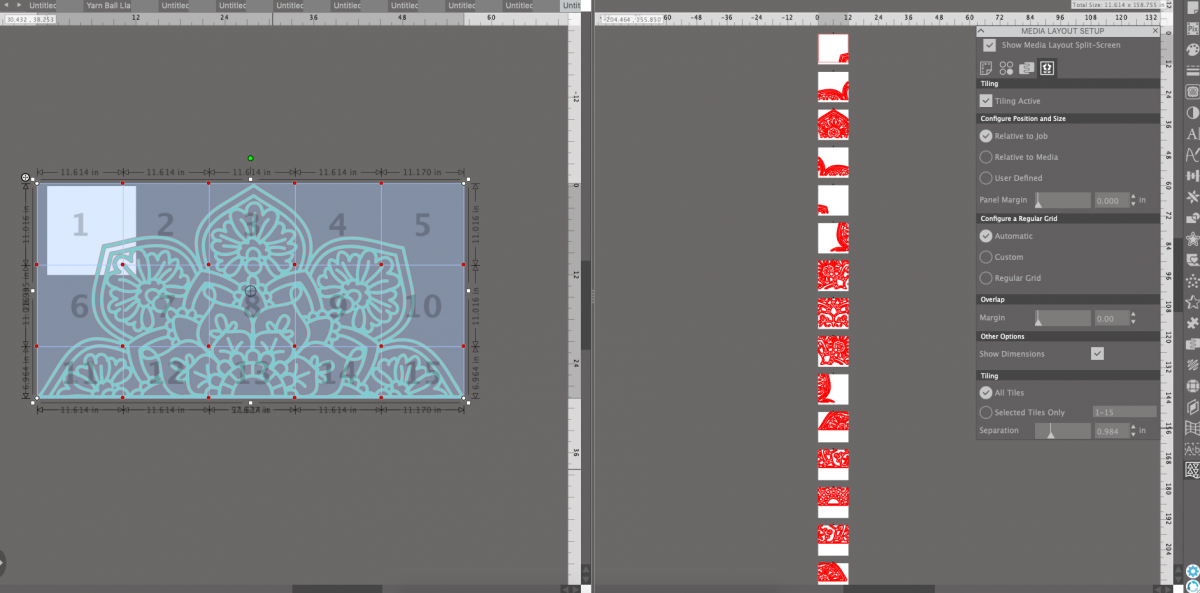
With this design it will cut 15 different sections.
Step Two: Send to Machine
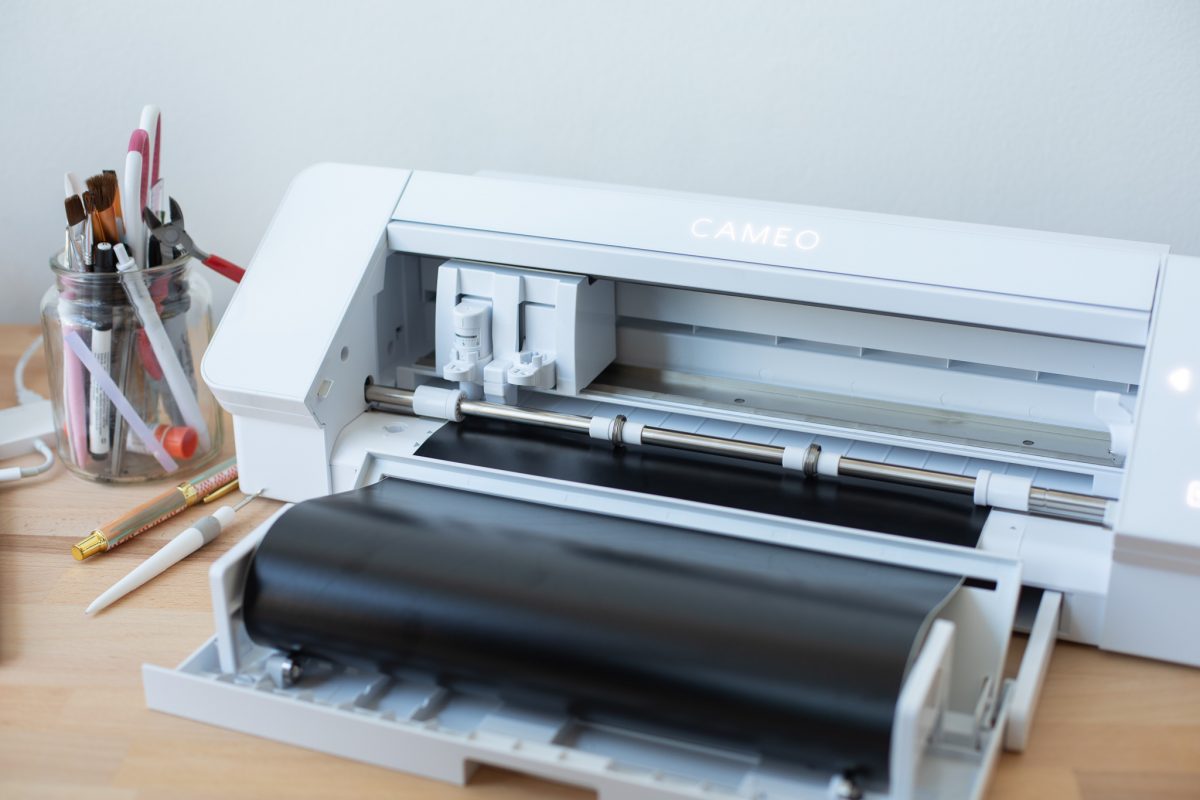
1. With your design ready to go, send to your machine. With this large scale vinyl it’s a great opportunity to use the roll feeder and cut without a mat.
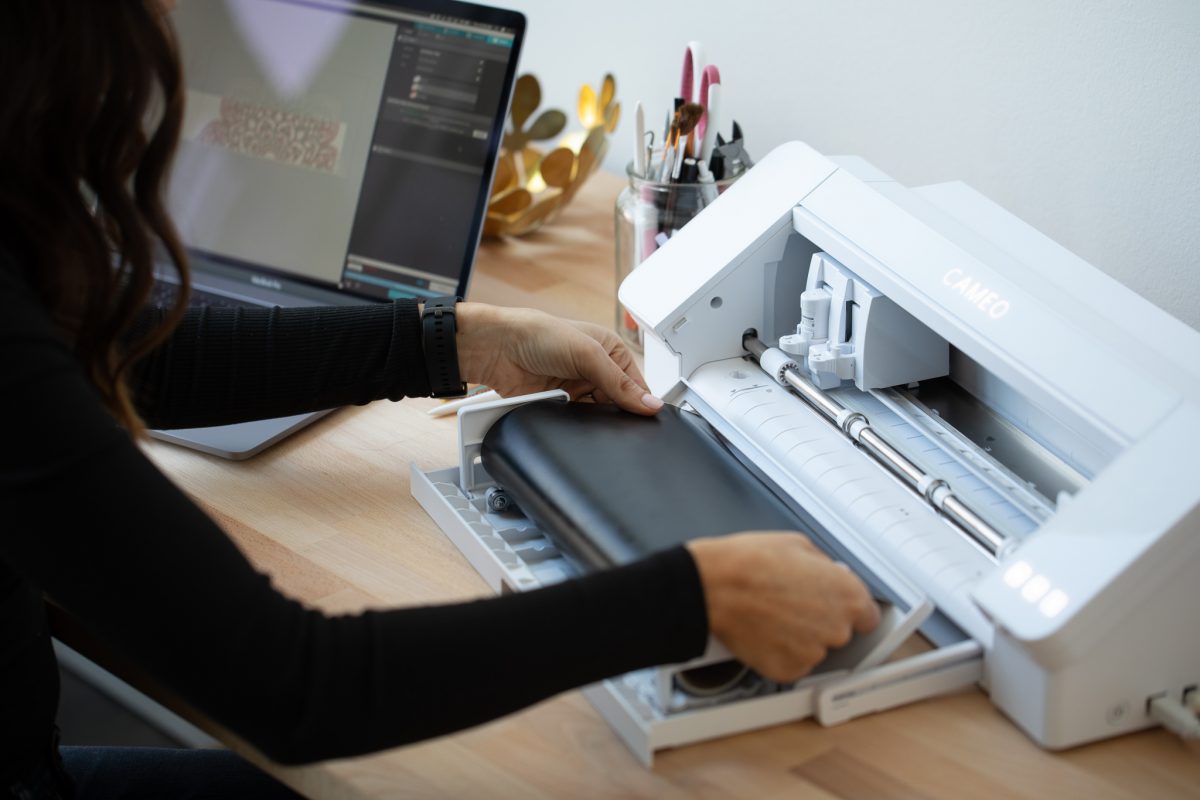
2. If you’re using the Cameo 4 with the built-in roll feeder, simply load the vinyl into the feeder and hit send.
3. When the design has been cut, weed away the excess vinyl and apply the transfer tape.

Step Three: Apply Design to Wall
1. It is best to find a level line and mark it out before applying the vinyl. We started by applying the bottom center vinyl or tile number 13 and worked our way out and up.
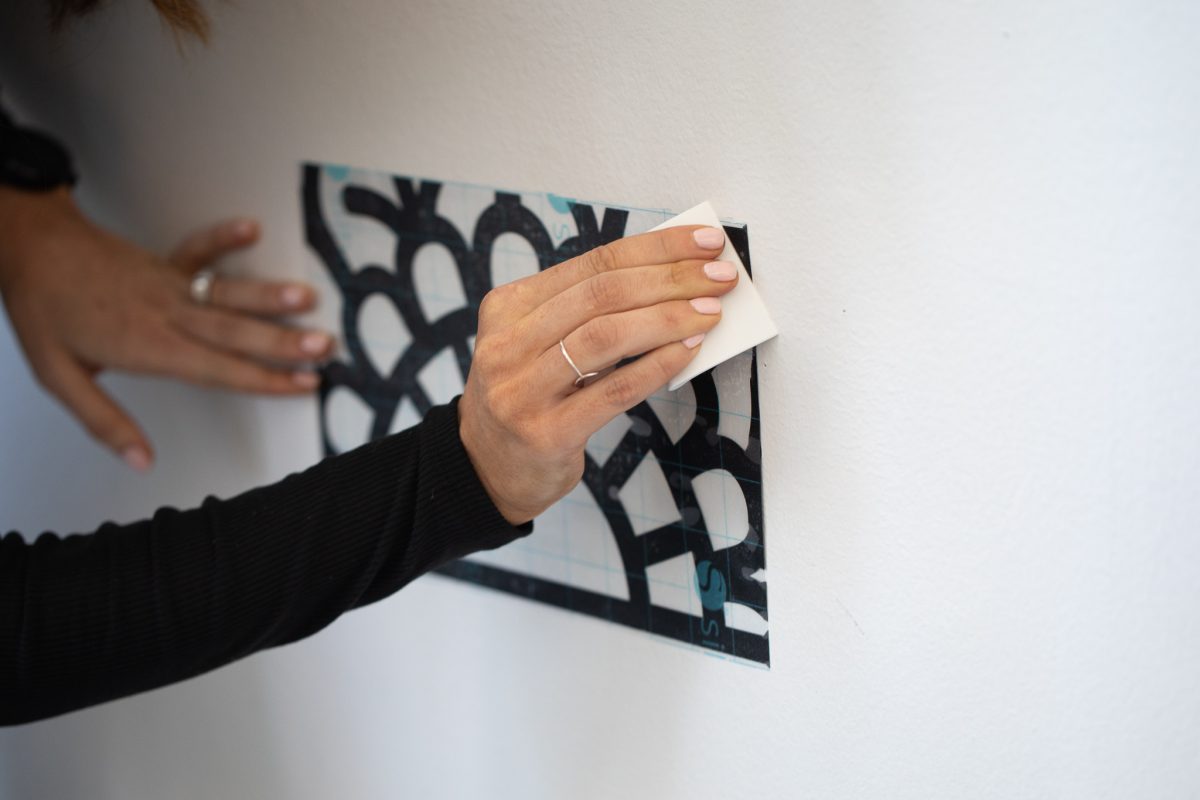
2. Apply the vinyl with the transfer tape onto the wall and then rub the design onto the wall to create a firm seal.

3. Carefully remove the transfer tape.
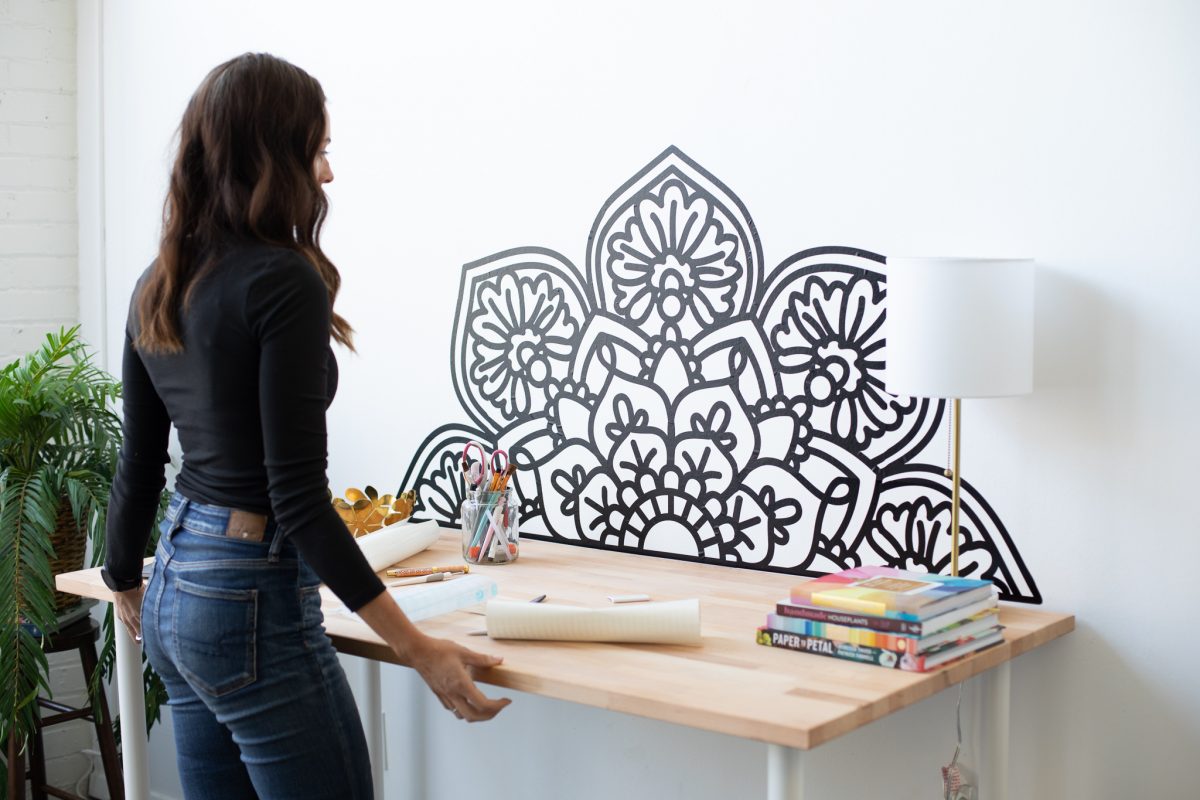
And now step back and enjoy! This is such a fun way to add a huge wow statement to any room. How will you use the tiling feature. We would love to know in the comments.
 Everything to Know About Silhouette Studio® Upgrades
 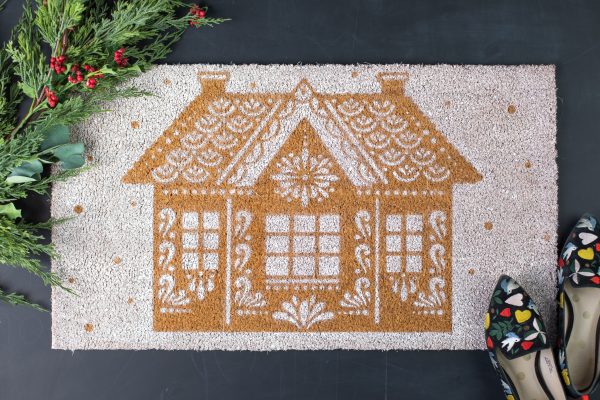 Gingerbread House Doormat
Debra
October 9, 2019
Gorgeous!
Laura Wrisley
October 10, 2019
Is the timing feature only available in the business edition?
Kelly Wayment
October 14, 2019
Yes, the automatic tiling feature is only available with Business Edition.
Marjorie
October 12, 2019
Gran explicación iniciare con decorar un mueble de tabla yeso con un árbol genealógico
JustJamie
October 15, 2019
Love this tutorial, the tiling feature will make this so much easier to do. Would love to see a video of how it was applied to the wall. Aligning the tiles seems like it could be tricky, and you’d have to be exact with your placement.
But simply stunning!