
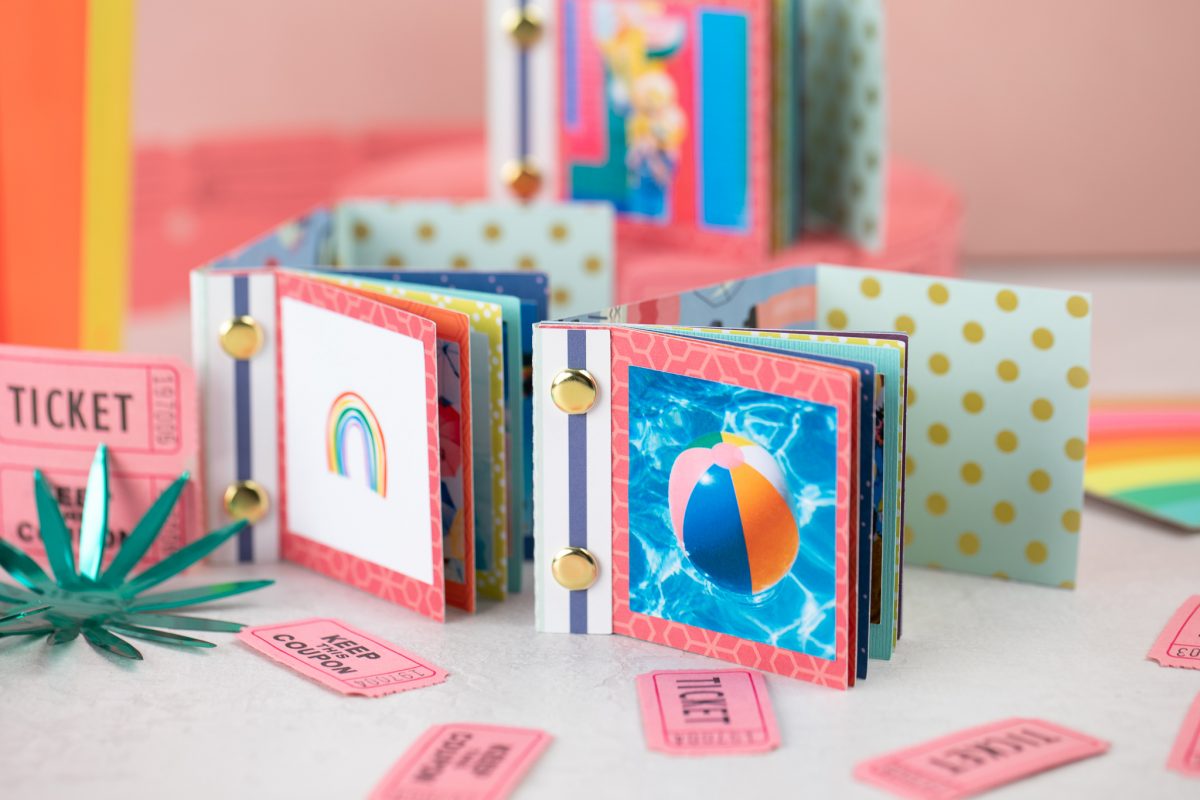
We have the most adorable mini photo book for you today! You can make an album for your trips or birthdays or use them as mini party favors. Today we are going to show you how to make your own mini photo book featuring what’s blooming in our garden.
Supplies Needed:
- Silhouette CAMEO® or Silhouette Portrait®
- Silhouette Studio®
- Silhouette Cutting Mat
- Silhouette Cutting Blade
- Printer
- 2 pieces of white cardstock
- 1 piece of cardstock in the color of your choice
- 2 brads
- Adhesive Tape
- Design ID #295181
Step One: Download, Open, and Arrange the Design
1. Go to the Silhouette Design Store and purchase Design ID #295181.
2. Go to your Silhouette Studio® Library and open the design.
Step Two: Print & Cut the Design
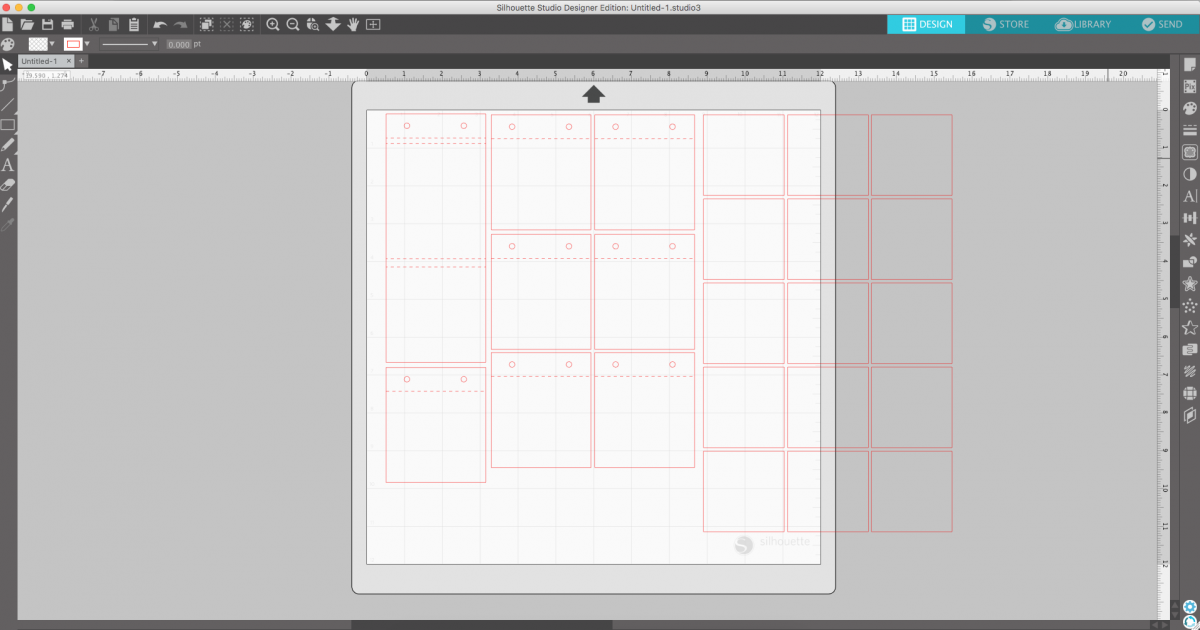
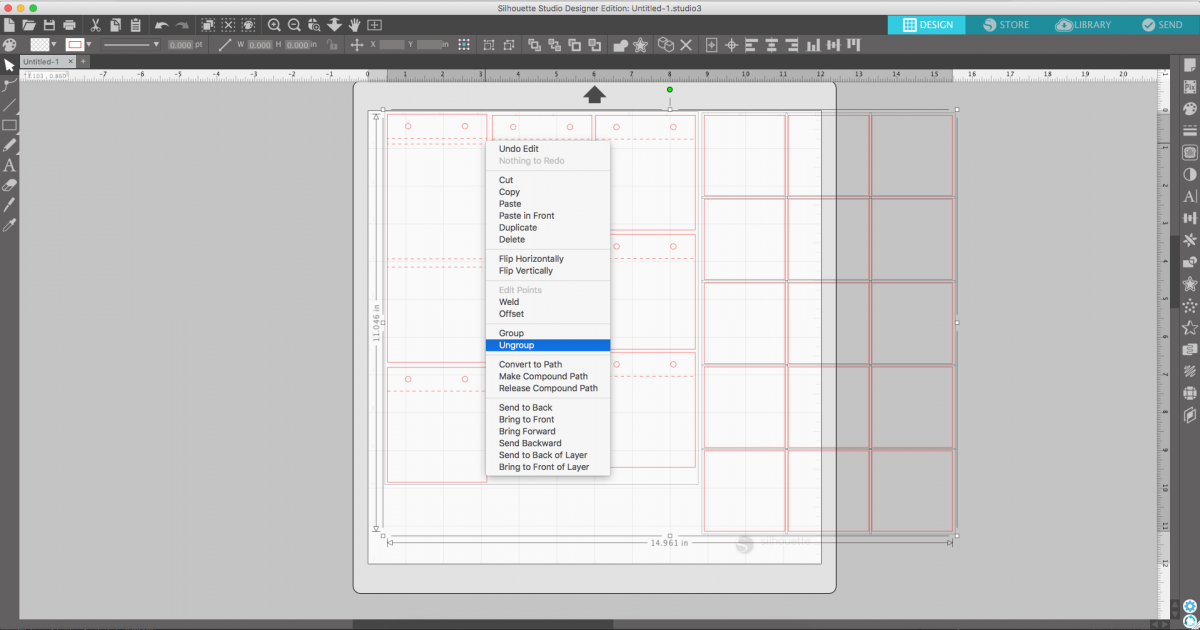
1. Let’s do the Print & Cut photos first. Click on the design to select it, then right click and select Ungroup from the menu. Move the squares onto the mat.
2. Click on the Page Setup icon in the top right corner. Using the size drop-down menu, select Letter (8.5 x 11 in). Click on the Registration Marks tab in the Page Setup window. Choose the Type 1 (CAMEO) style of registration marks and drag the sliders all of the way to the left.
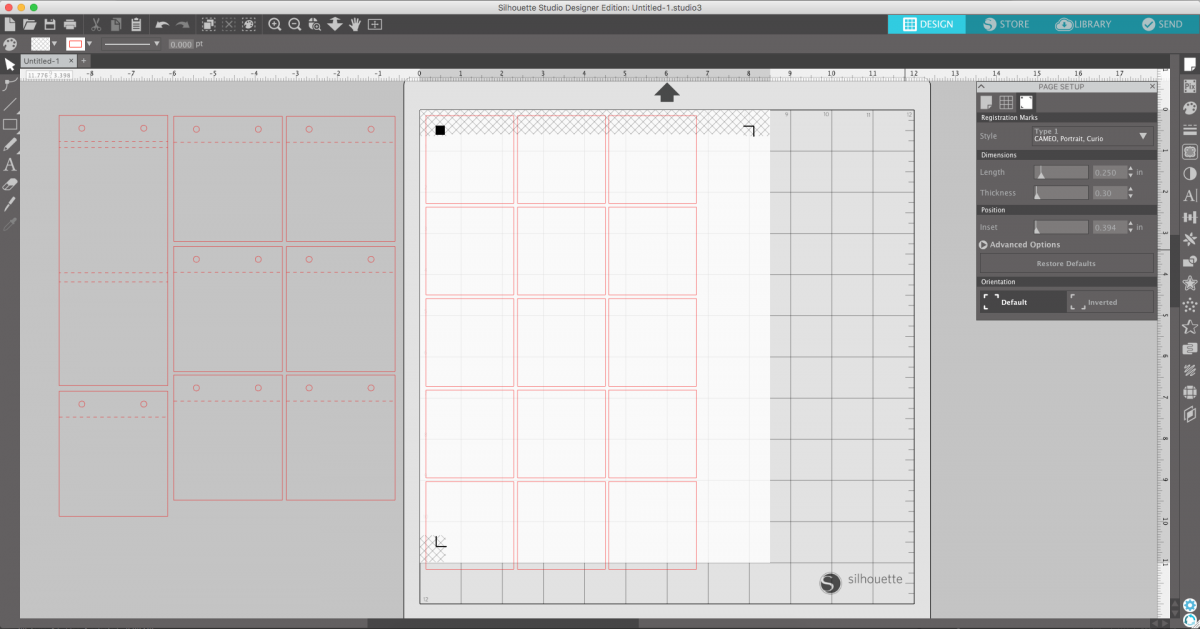
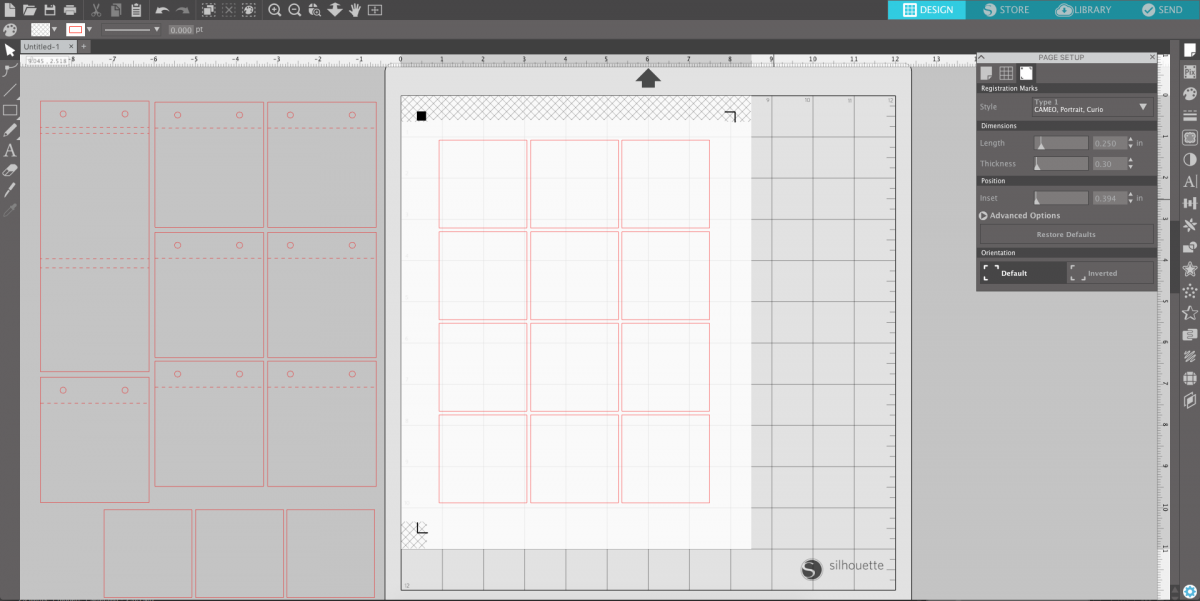
3. We’ll need to position our squares within the borders of the registration marks. Select the top 12 squares and move them into the center of the mat. Move the bottom three off of the mat.
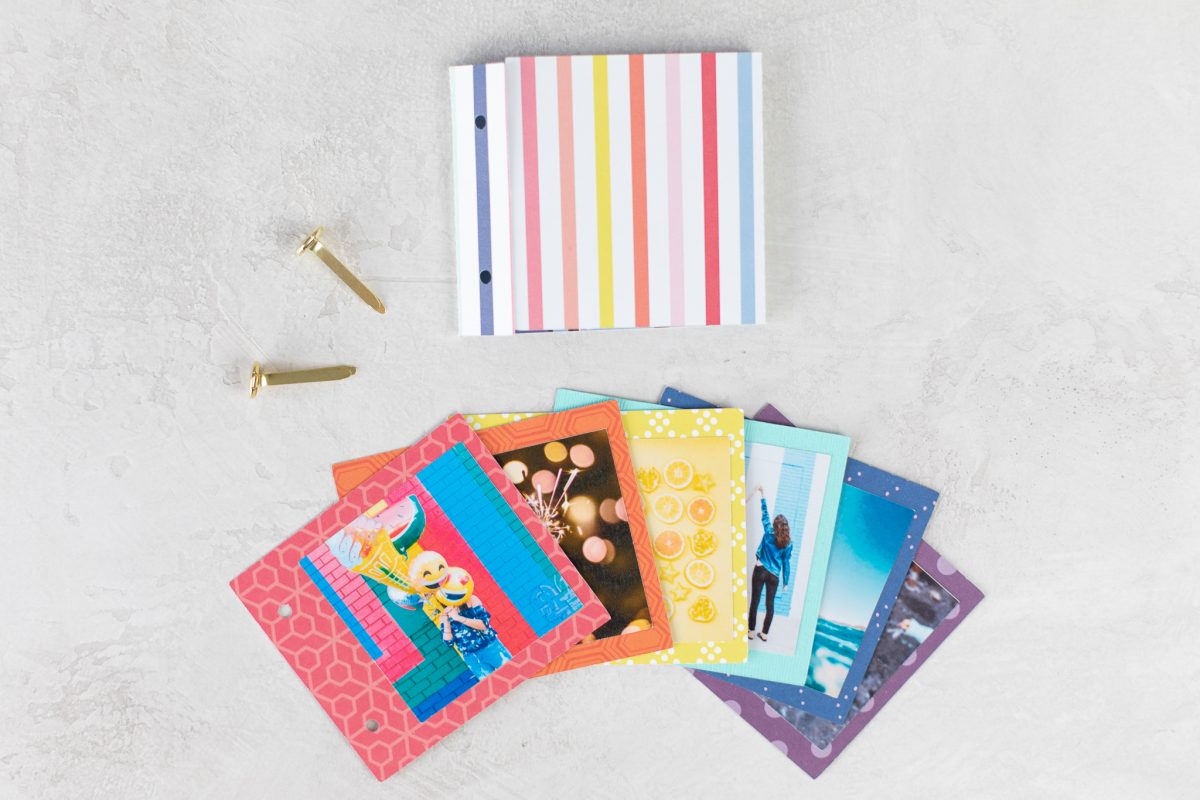
4. Let’s get your photos into the squares. Locate the photos you’re using on your computer. Click on the photo, and drag it from the folder where it is located into Silhouette Studio®, not releasing the mouse. Hover over one of the squares until the photo drops into it. Release the mouse. Repeat for the remaining squares and photos.
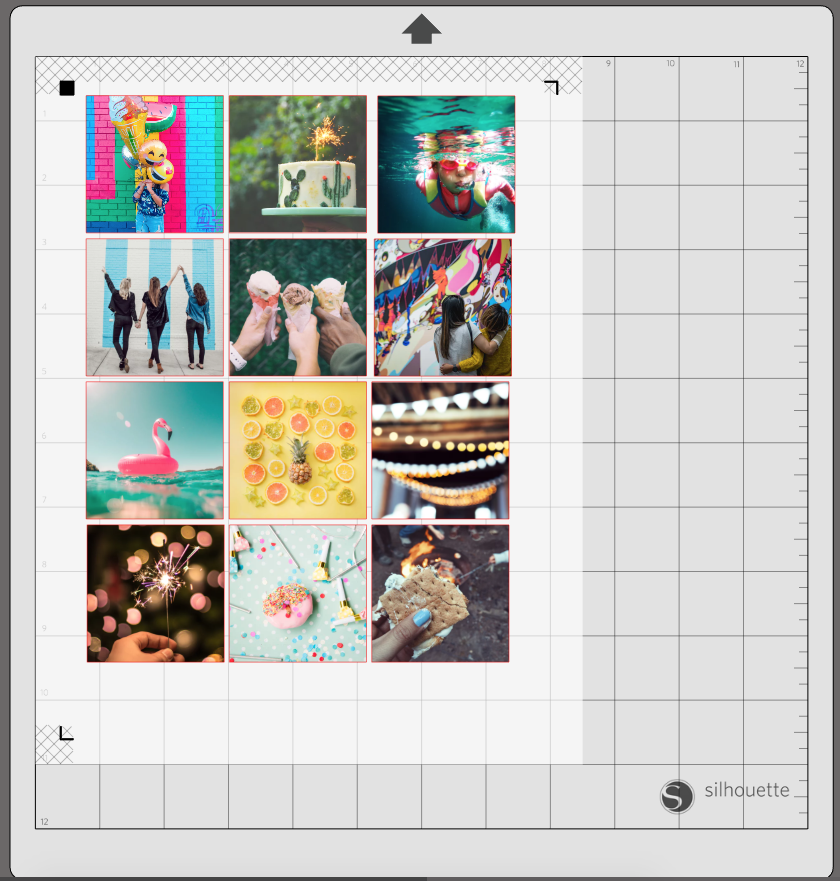
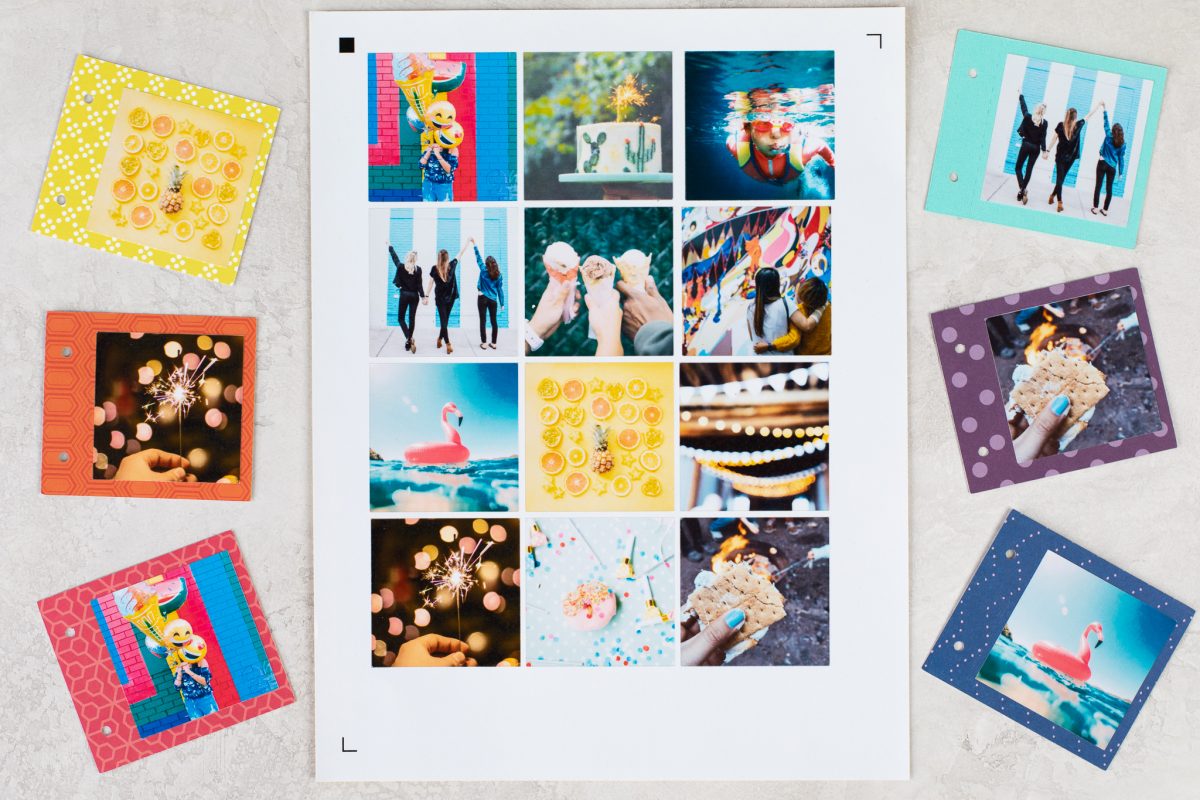
5. Turn on the Print & Cut feature from the right-hand menu. And then send to your printer. We printed the photos on Silhouette white sticker paper.
6. When the first photos have been cut out, we’ll need to finish up the last two and the cover of your mini photo book. Drag the left over 3 squares onto your mat. Drag your remaining photos into the first 2 squares.
Step Three: Assemble the Design
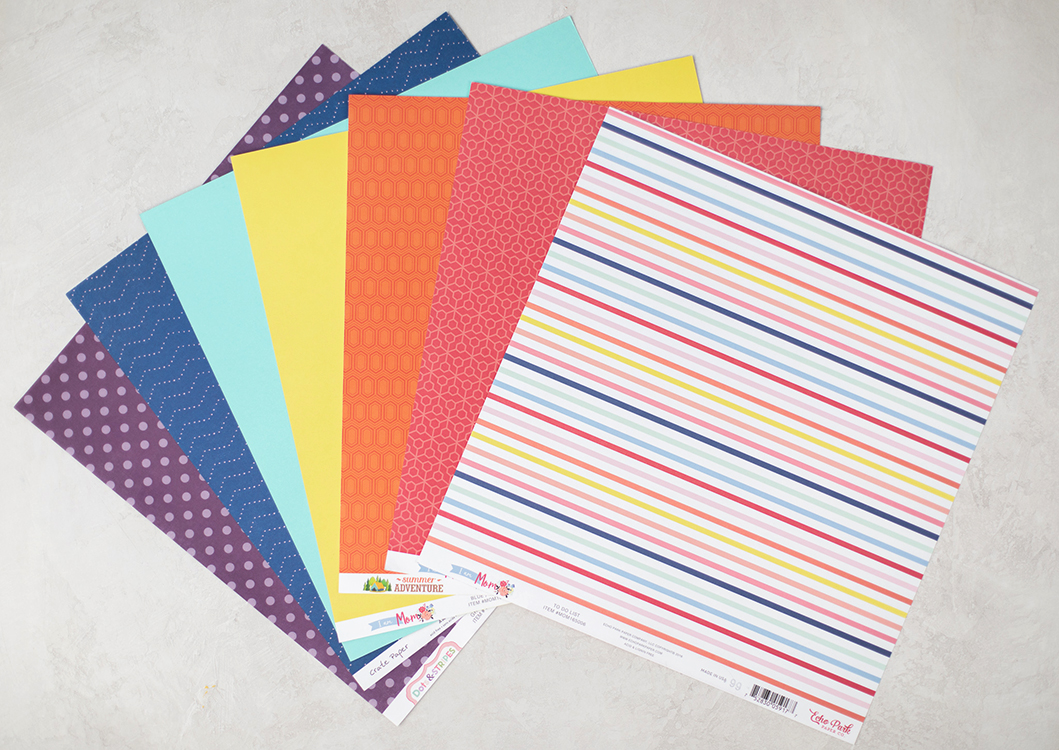
1. Cut the pages of the photo album out in the cardstock of your choosing.
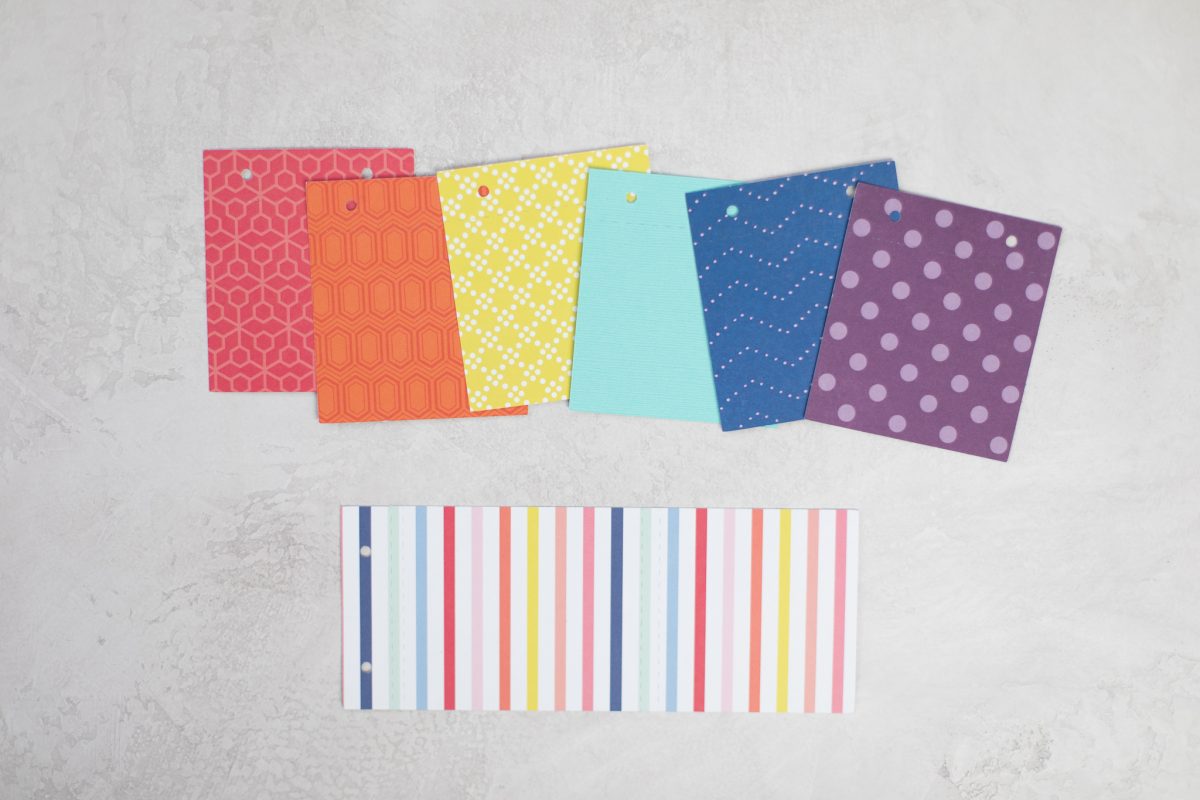
2. Then cut out the cover of the album and fold on the perforated lines.

3. Take the brads, and insert them into the holes. Take the assembled pages, and layer them onto the brads. Fold the tines of the brads to hold the pages into place.
4. The cover of the book will fold over & tuck under the flap with the brads. Use adhesive strips to adhere the cover of your mini book onto the front.
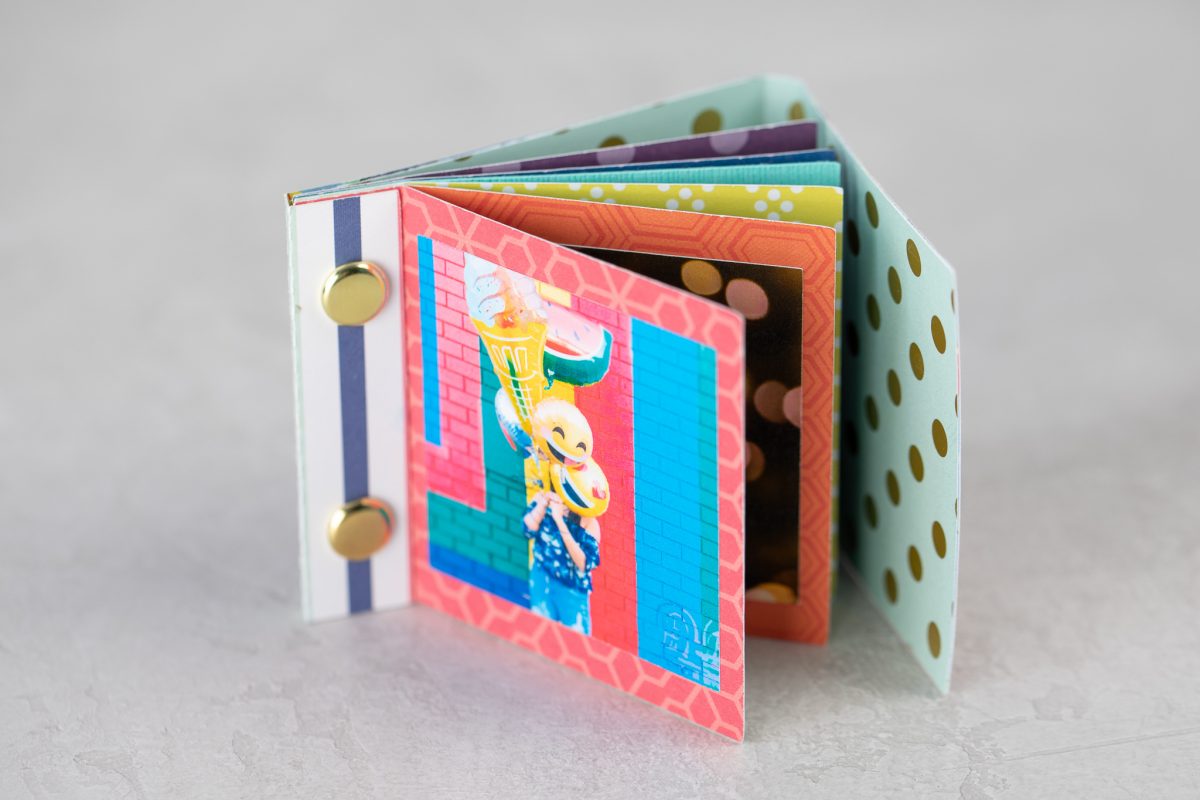
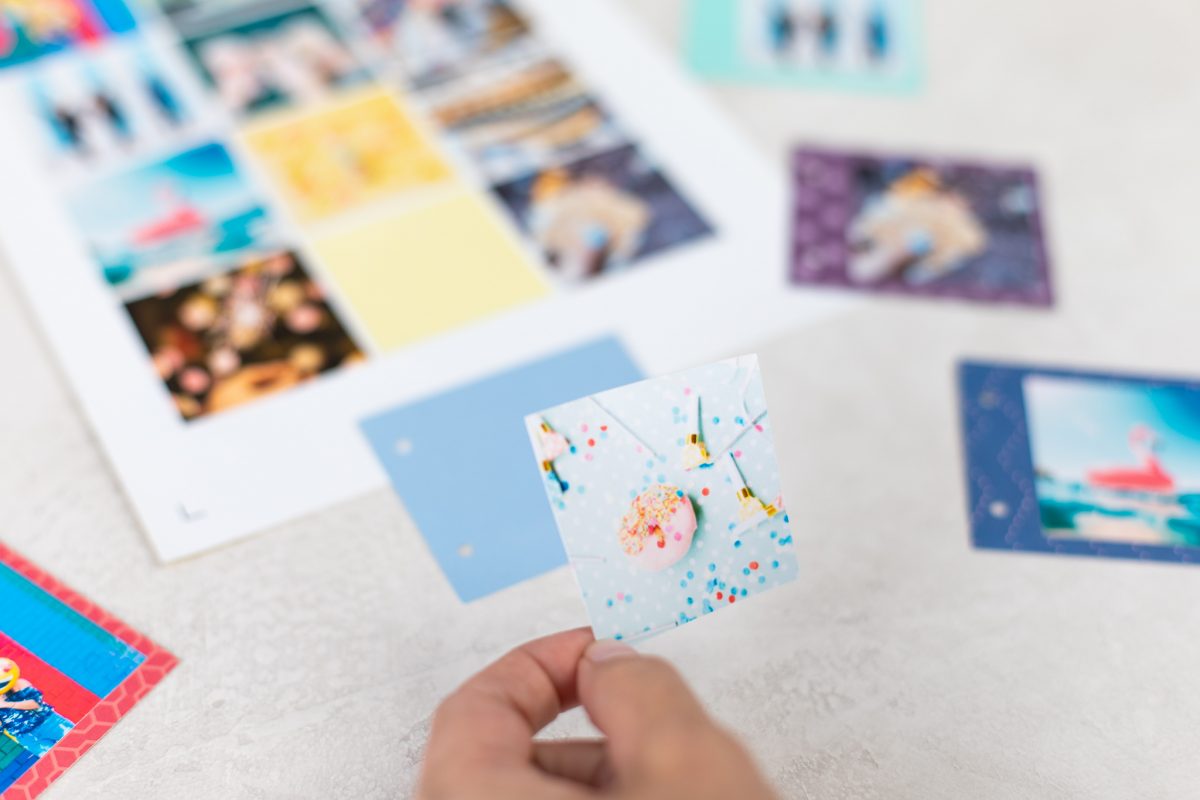
5. You’re done! The brads make it really easy to swap pages around, or to add new ones. This is a fun way to display photos!
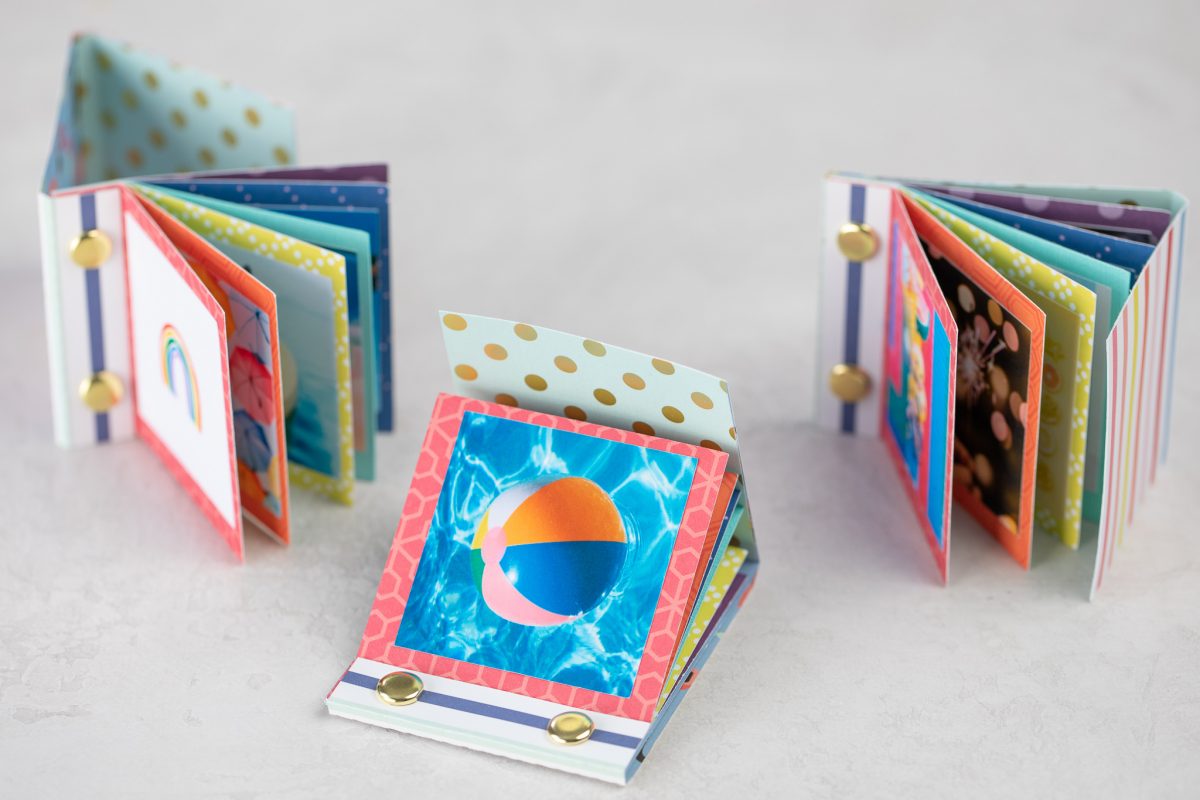
What pictures are you going to put in your mini photo album! Tell us all about it in the comments below!
Rosemary
July 4, 2019
Lindo, adorei