
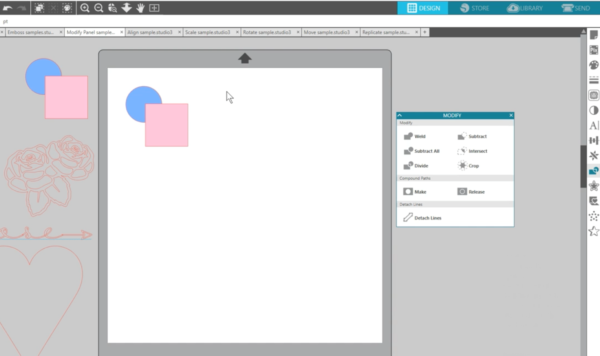
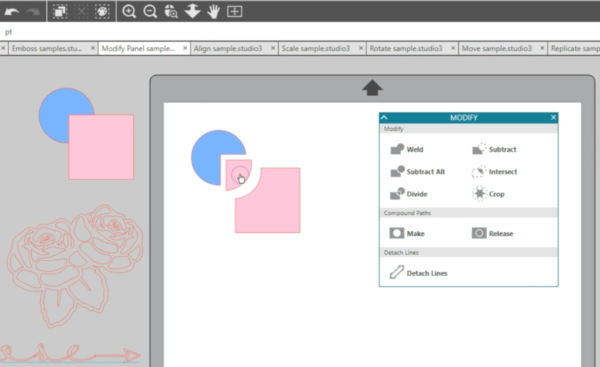
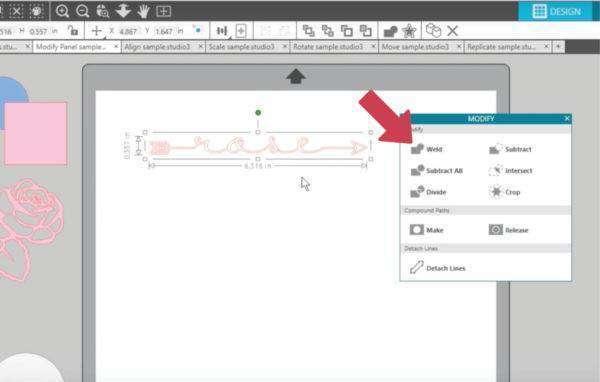
The Modify panel in all editions of Silhouette Studio® gives you a variety of options to change how overlapping objects interact with each other. You can find the Modify Panel along the right side of your screen that looks like an intersecting rectangle and circle.

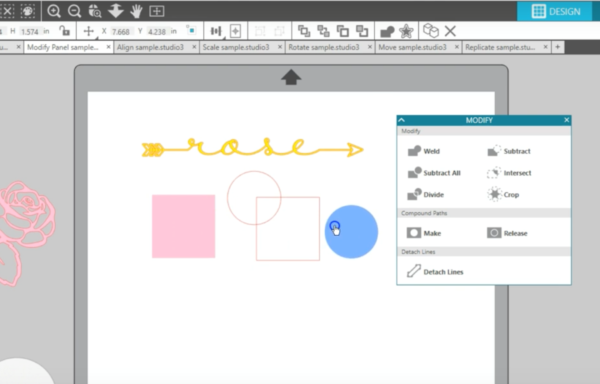
We will draw some overlapping shapes so you can see the interaction. We will fill each with a different color and make a copy to use later. You can make a quick copy of shapes while holding my Alt key (or Option on a Mac) then click and drag with the mouse. Saving copies of the original shapes off to the side is a great idea when working with Modify tools in case you don’t like the results.
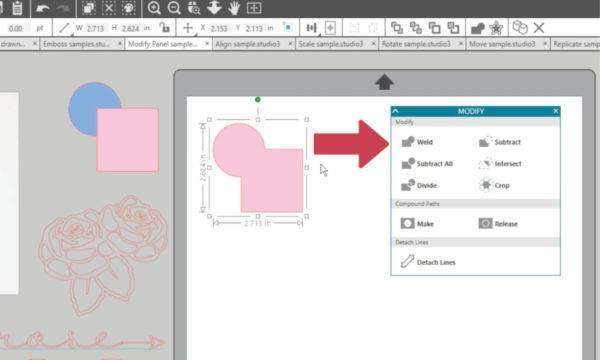
Now let’s look at these Modify options one by one. Weld will take two or more selected overlapping images and join them together into one continuous image. There are many reasons you would use this, but it’s especially helpful to stop overlapping areas from cutting into each other, like with a script text. Undo will remove that edit.
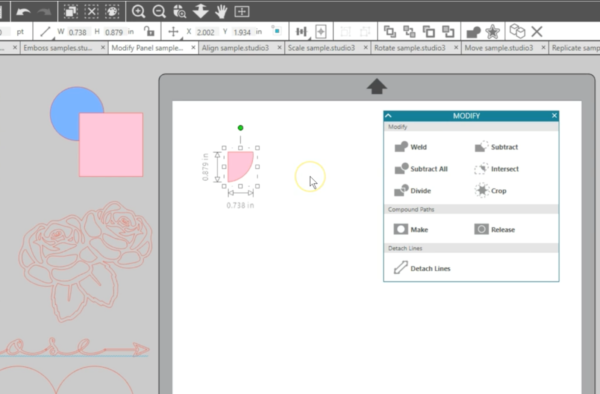
Subtract removes all the overlapping parts of images that are in front of other images.
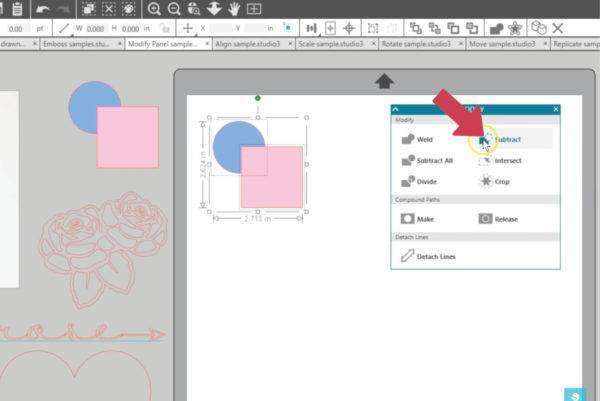
Only the back image remains, with the overlapping portion removed.

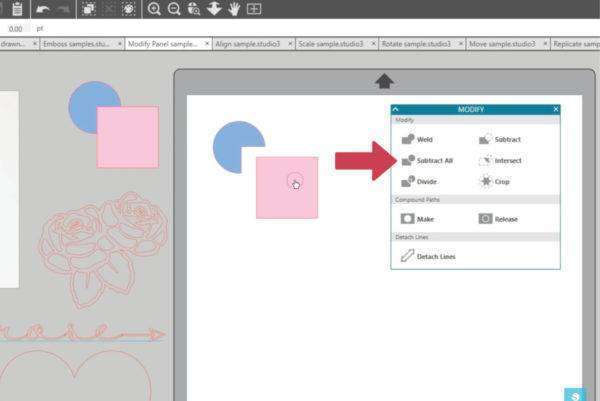
Subtract All removes any portion of an image that is hidden behind another image. No shapes disappear this time, but only the portion that was hidden.
Intersect leaves only the overlapping part, or the intersecting part, of selected shapes.
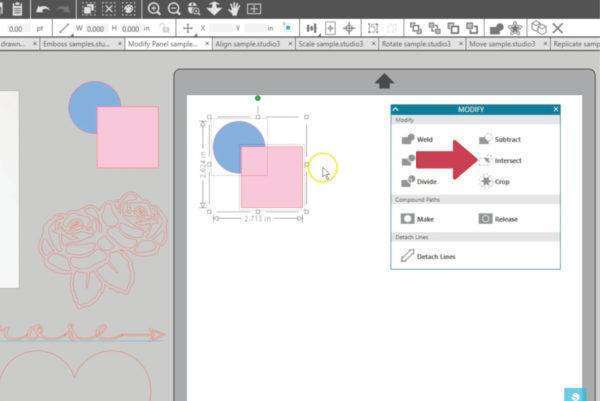
If you have two shapes, it leaves the intersecting part behind. If you have more than two shapes, it will only leave the intersecting portion of all the selected shapes.
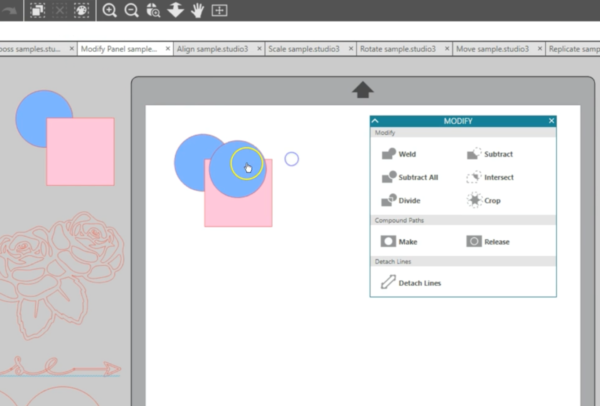
Divide creates individual objects from the intersections of your selected shapes. No pieces disappear, it just creates divisions at the overlaps.
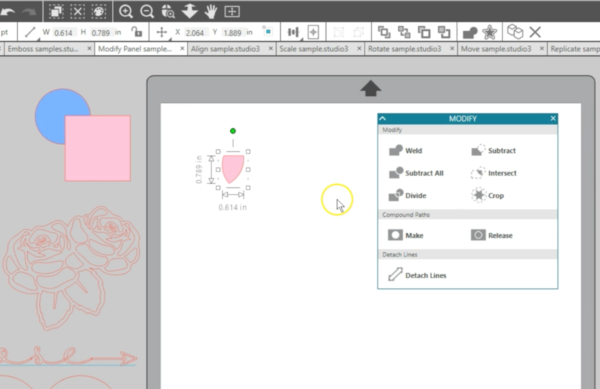
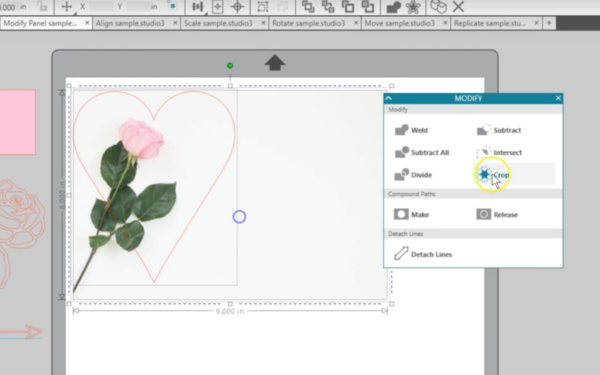
Crop removes all areas not shared by at least two overlapping shapes. It can be similar to Intersect.

One great way to use this is to place a shape over a picture, and it will crop the picture to that shape.
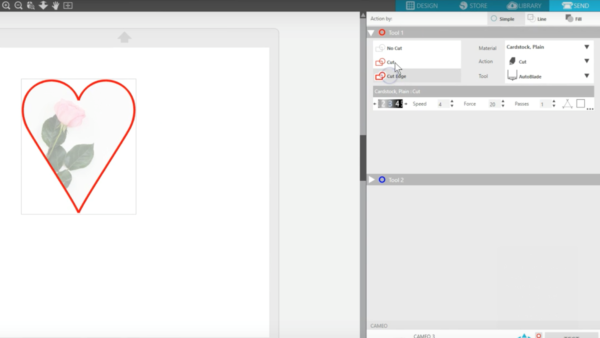
A cropped shape made from an image like this photo that did not have cut lines needs its cut lines turned on in the Send panel.
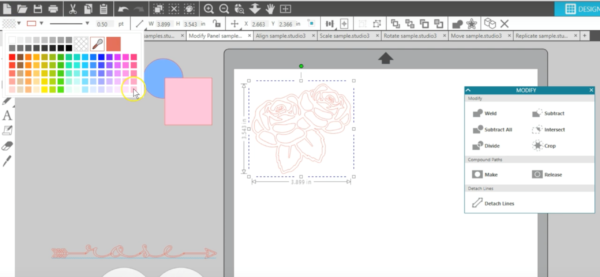
Make and Release Compound Paths are helpful options to know when you are working with designs in Silhouette Studio®. When you have a compound path, a shape is a single layer that can have holes, or voids, in the design.
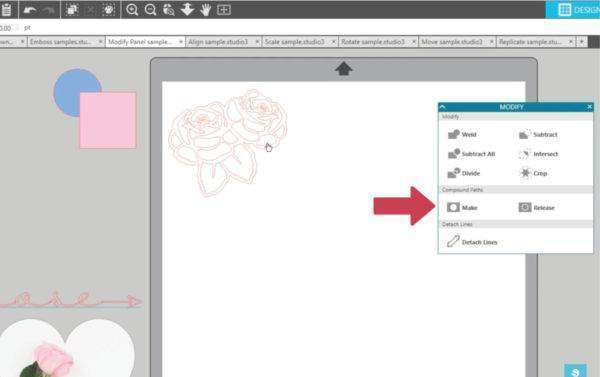
Take a look at this rose. When it has no fill color, you can’t tell if it’s grouped with multiple pieces or if it’s a compound path. So we’ll fill it with color. Since it’s a compound path, the holes remain unfilled with color.
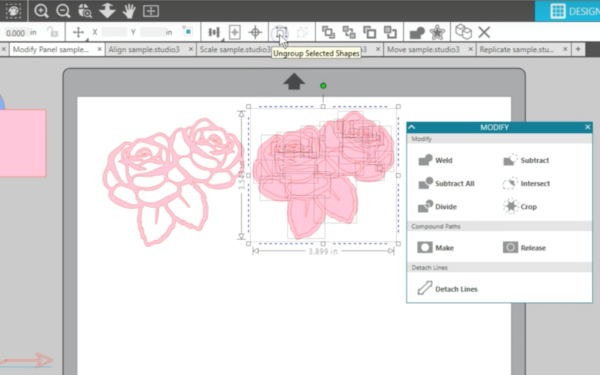
Now we’ll take a copy of this rose, fill it with color again, then in the Modify Panel choose “Release” to release the compound path.

These are currently grouped in this design, so we will ungroup them and now you can see that each of these holes has become a shape of its own that can be moved, manipulated, colored, deleted, and so forth.
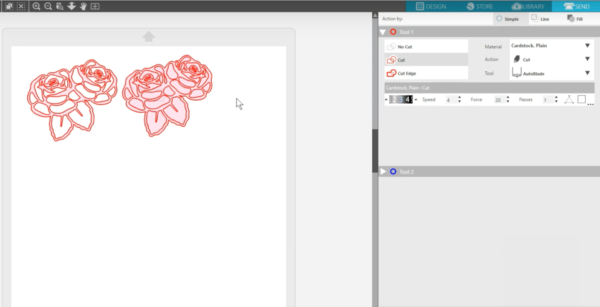
All those pieces have been “released.” We will put the pieces back in place, and let’s go to the Send panel so that you can see that the machine doesn’t care whether those cut lines are part of a compound path or not.
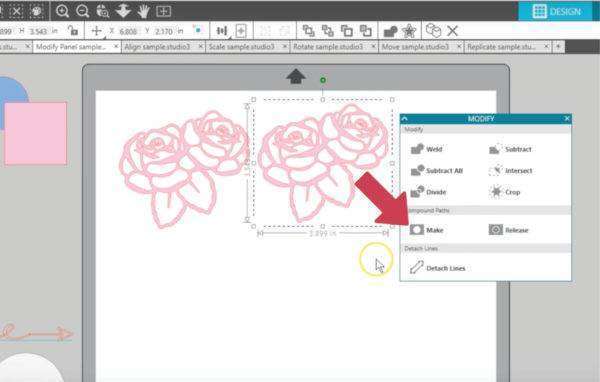
The compound path matters to us when designing for how shapes fill with color and how our designs interact with other shapes when using these modifying tools. Back in the Design view, we will select it all and choose “Make” in the Modify panel to make the design a compound path. All of those individual pieces become holes in the design. They cannot be ungrouped, and there’s only one fill color because it’s a single piece (which is what a compound path is).
These Modify tools can be really handy. Let’s quickly look at some overlapped text. You can see in this word we typed with a script text called “Dreamland Arrows” that there are areas that overlap.

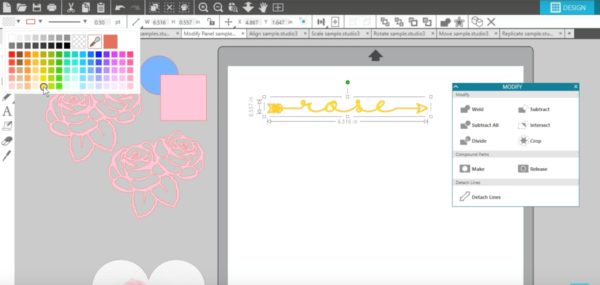
To ensure this word cuts as one single piece, you need to choose Weld from the Modify panel. Now the overlaps have fused together.
Fill it with color, and you can see this is a compound path since it leaves unfilled holes. I can actually access those holes as individual shapes, if we want, by choosing to “Release” the compound path.
If you ever have a design that you want to fill with color as a single layer and have inner pieces show as holes, simply choose “Make” under compound path.
Finally, at the bottom of the Modify panel is an option for “Detach Lines.”
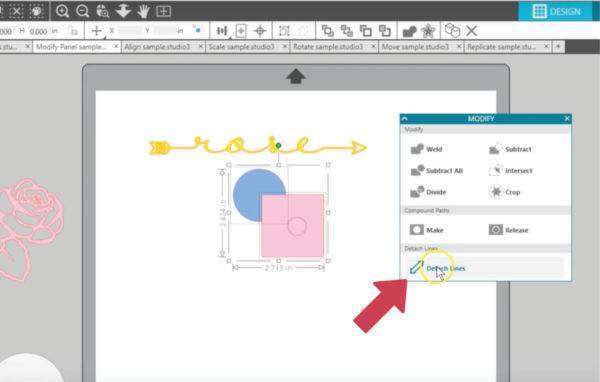
This detaches the outlines from their shapes and converts them into their own shapes that can have colors and patterns applied.
That’s it for the Modify panel! This is one feature that you may need to experiment with a little bit in order to get the results you’re looking for.