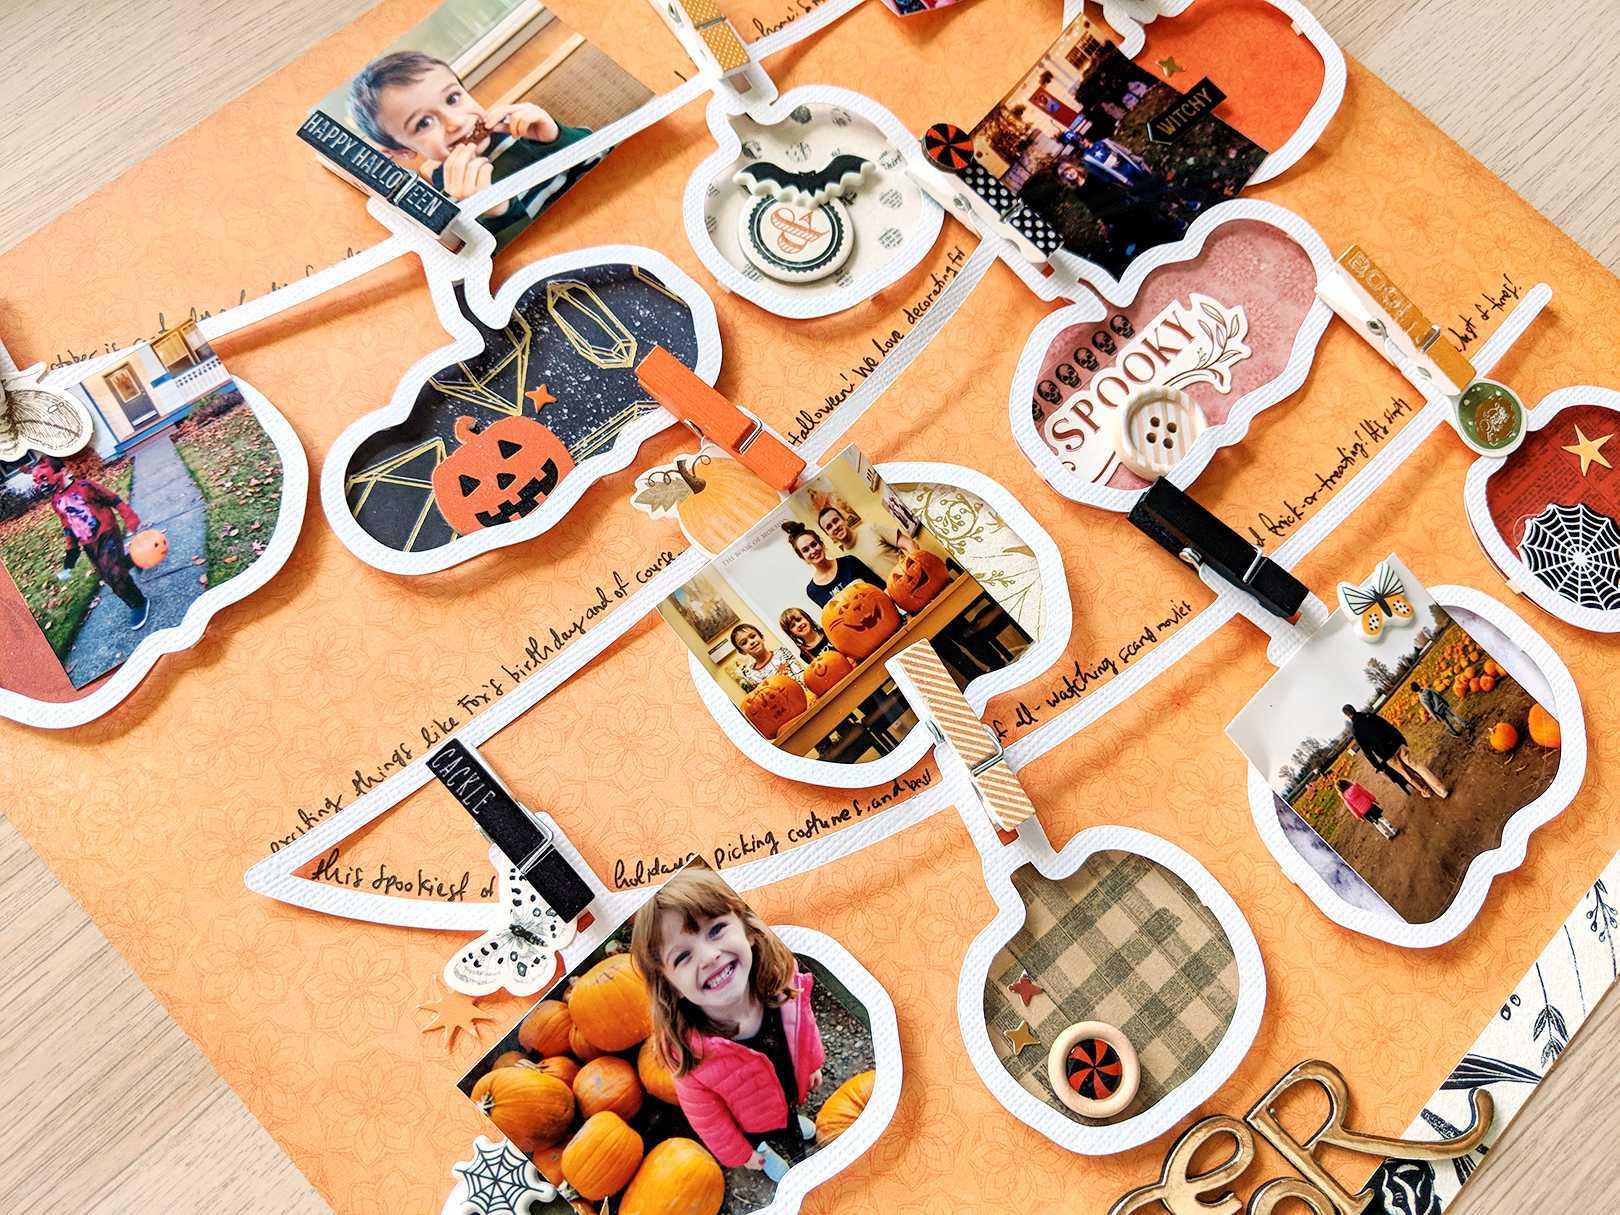
Document your spooktacular October adventures on a bewitching layout featuring lots of photos scattered over a pumpkin banner design! Take a look at the tutorial below to get some ideas on how you can create your own!
Supplies Needed:
- Silhouette CAMEO®, Silhouette Portrait®, or Silhouette Curio®
- Silhouette Cutting Mat
- Silhouette Cutting Blade
- Silhouette Studio®
- Halloween-themed Scrapbook Supplies
- White Cardstock
- Paper Trimmer
- Scissors
- 2-inch-by-2-inch Photos
- Adhesives (foam, sticky tape)
- Design ID #276148
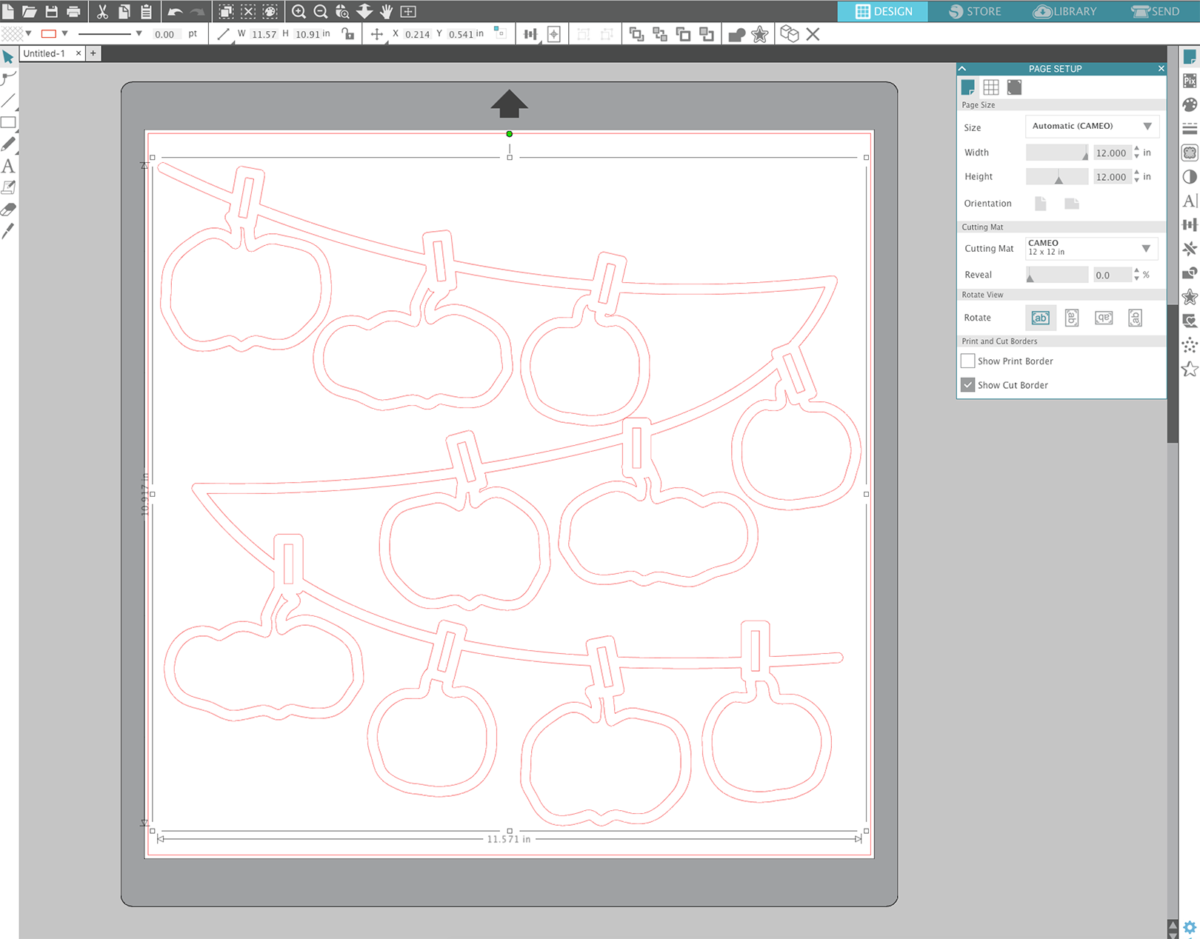
Step One: Prepare the Design
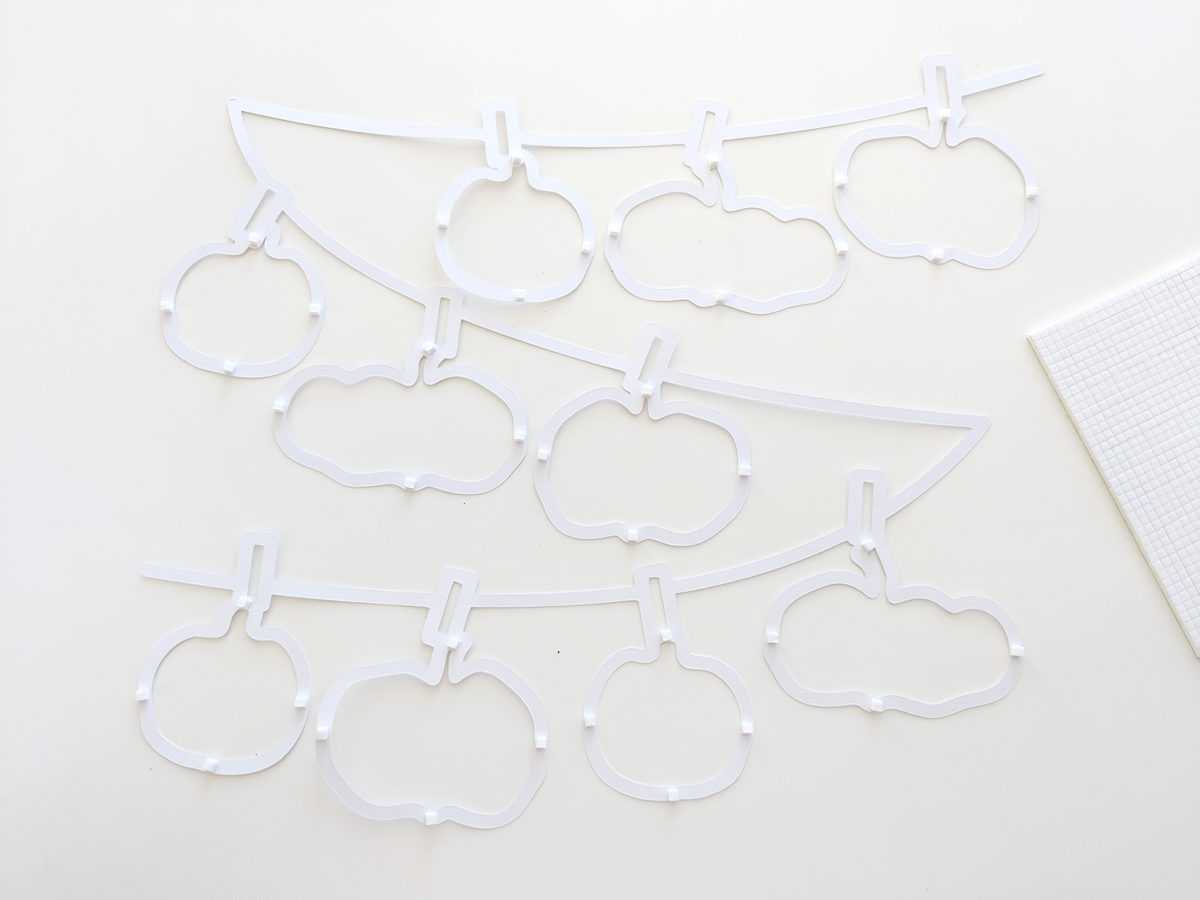
1. Open the Pumpkin Banner design in Silhouette Studio®. Size it as desired. I left it as-is, and it nearly fits the entire 12 x 12 format (it’s 11.571 x 10.917 inches).
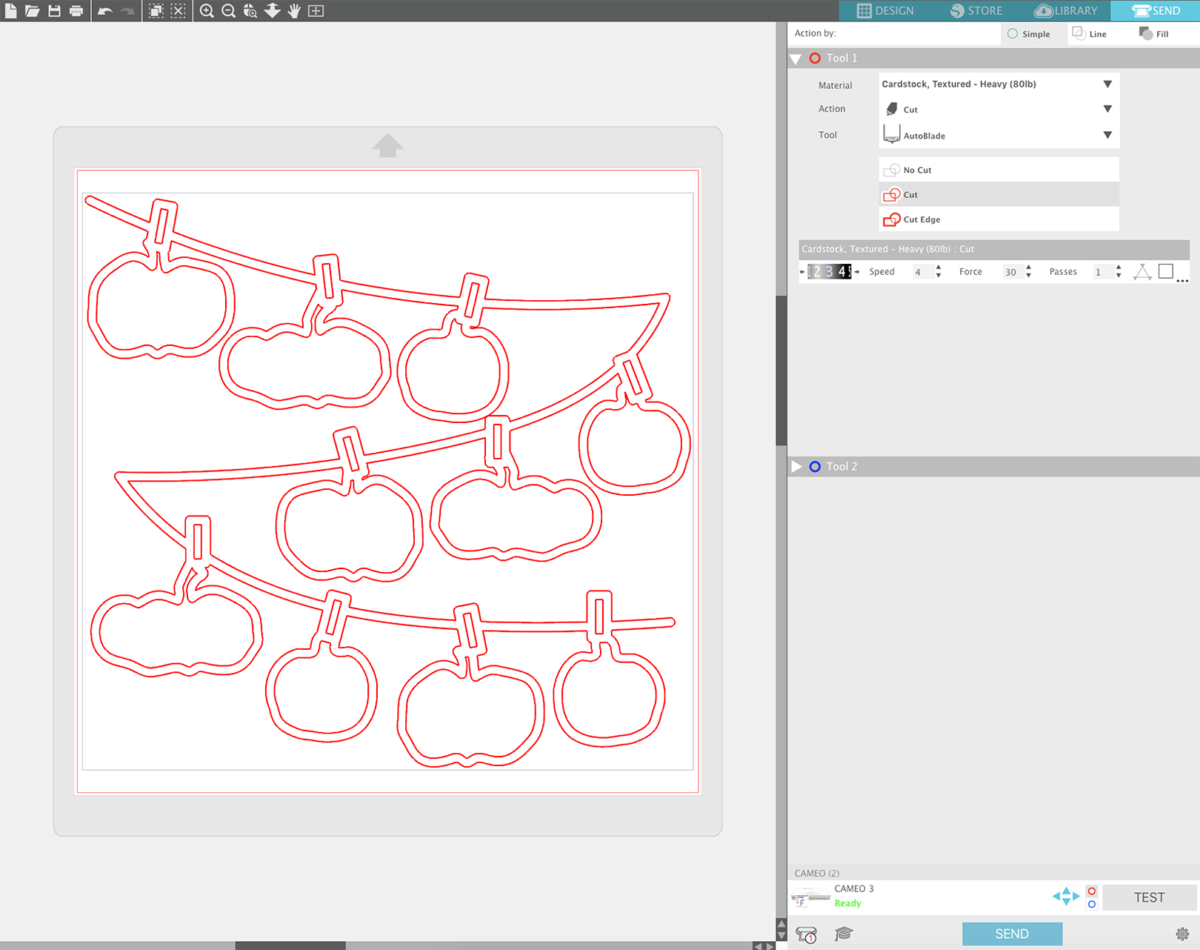
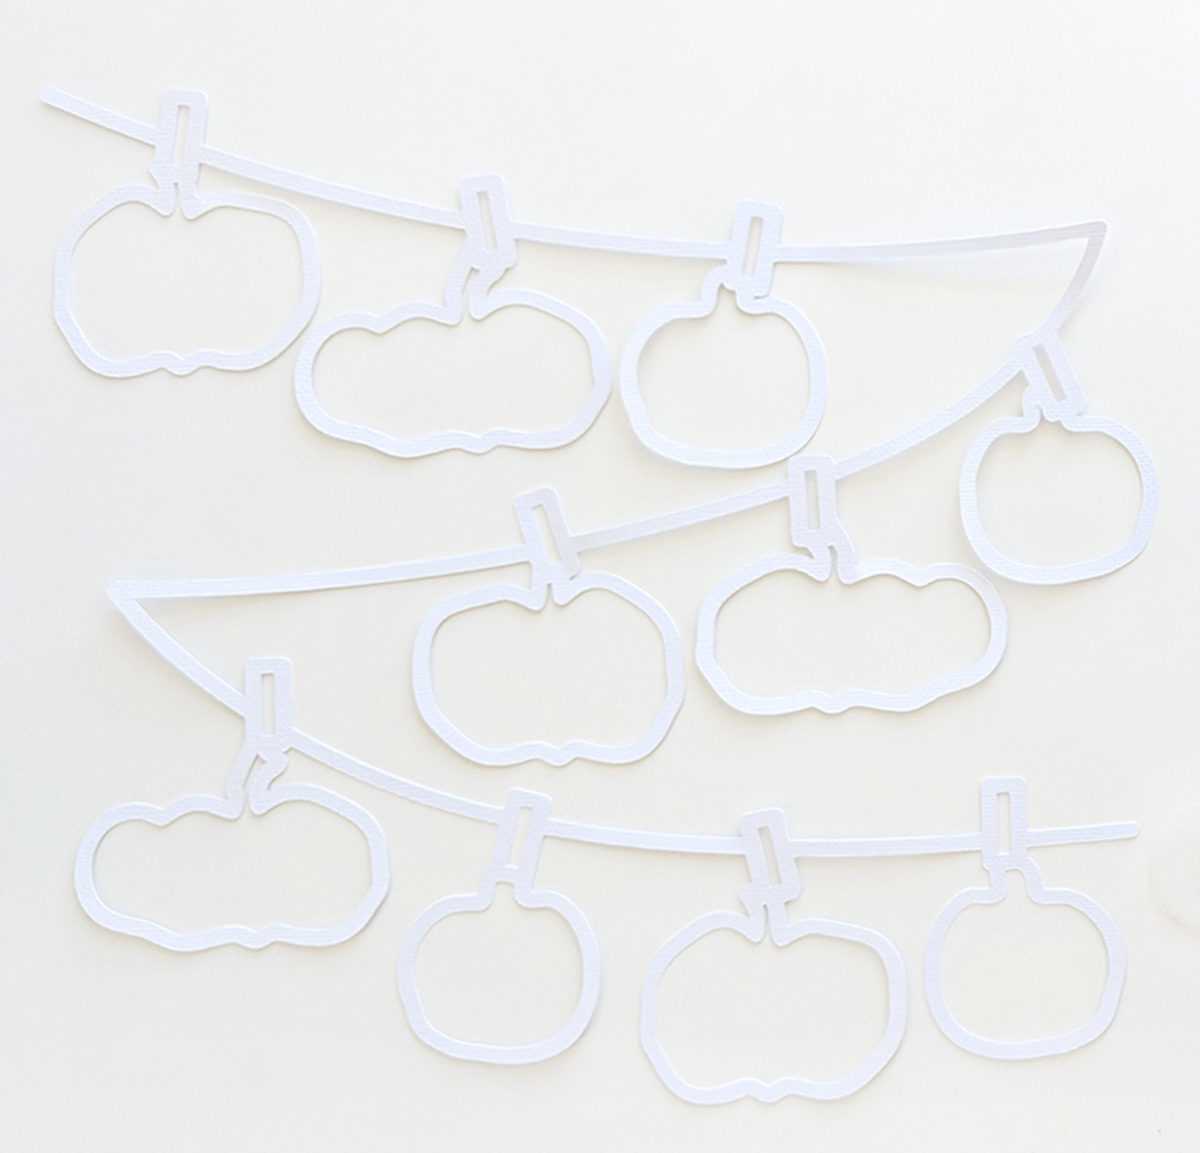
2. Cut the design from white textured cardstock.
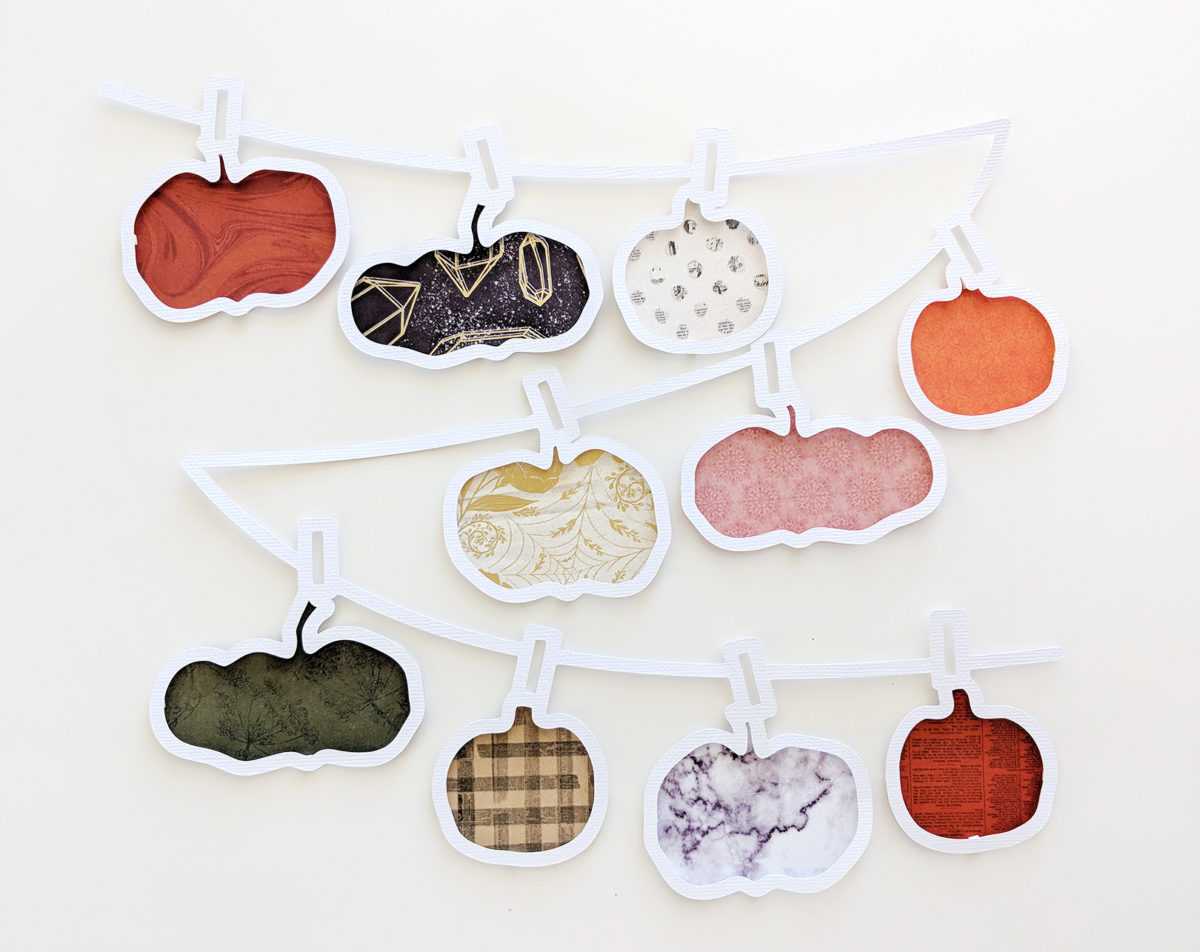
Step Two: Cut Pumpkin Pieces
1. To easily make the pieces for the back of the pumpkins, first right-click and then select Release Compound Path.
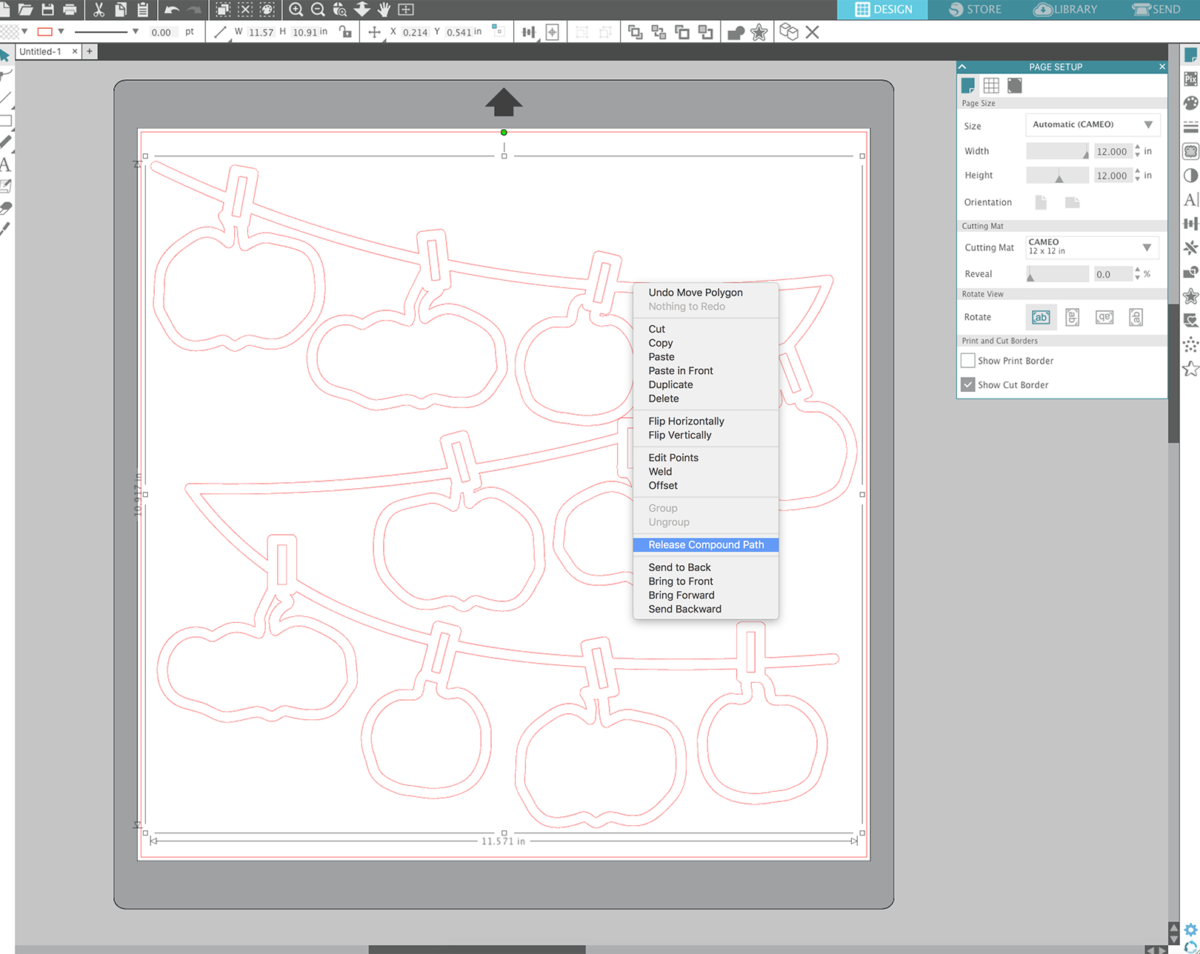
2. Releasing the compound path will turn the design into individual shapes.
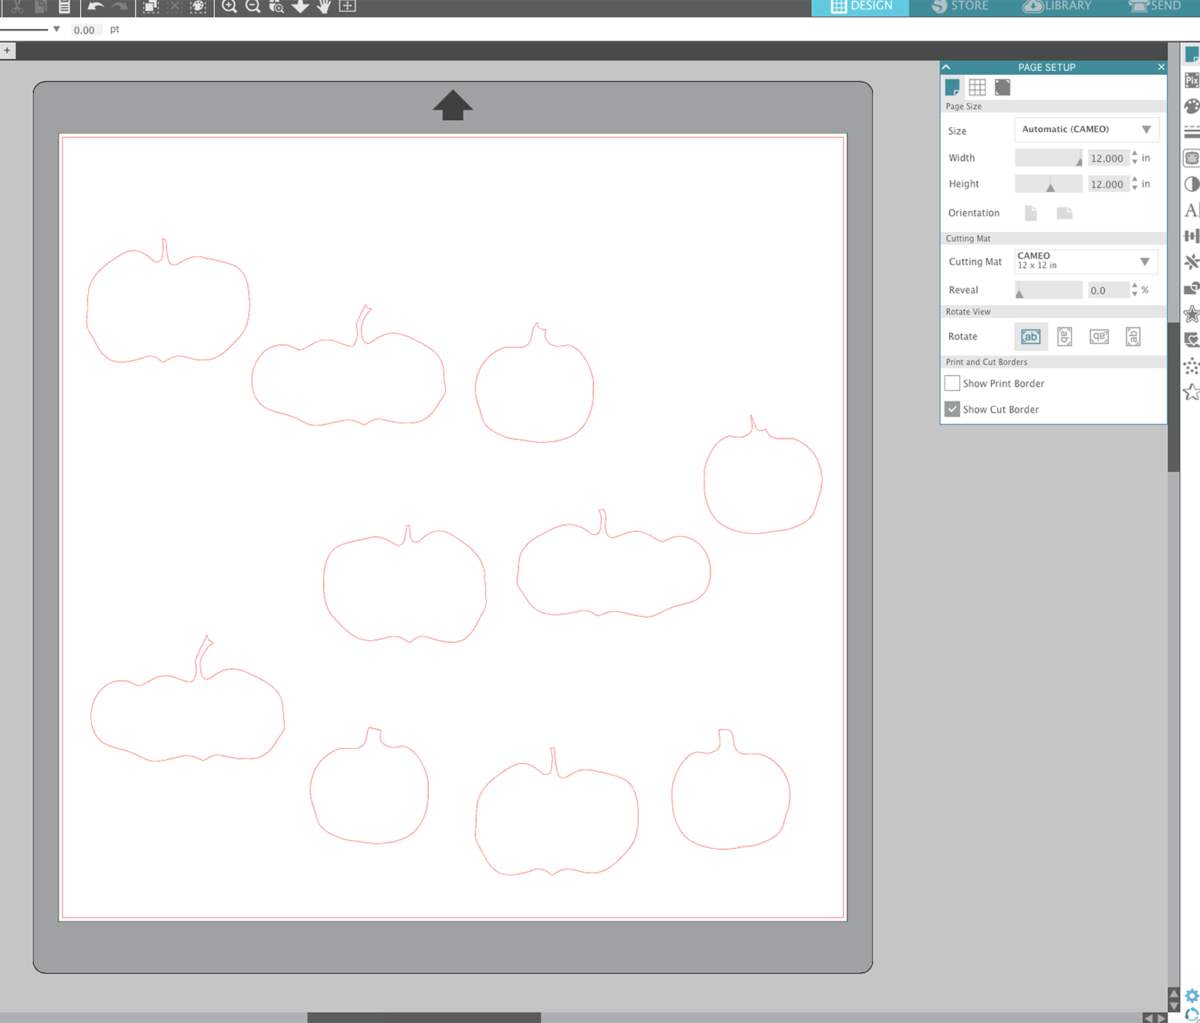
3. Delete everything except the inner pumpkin pieces.
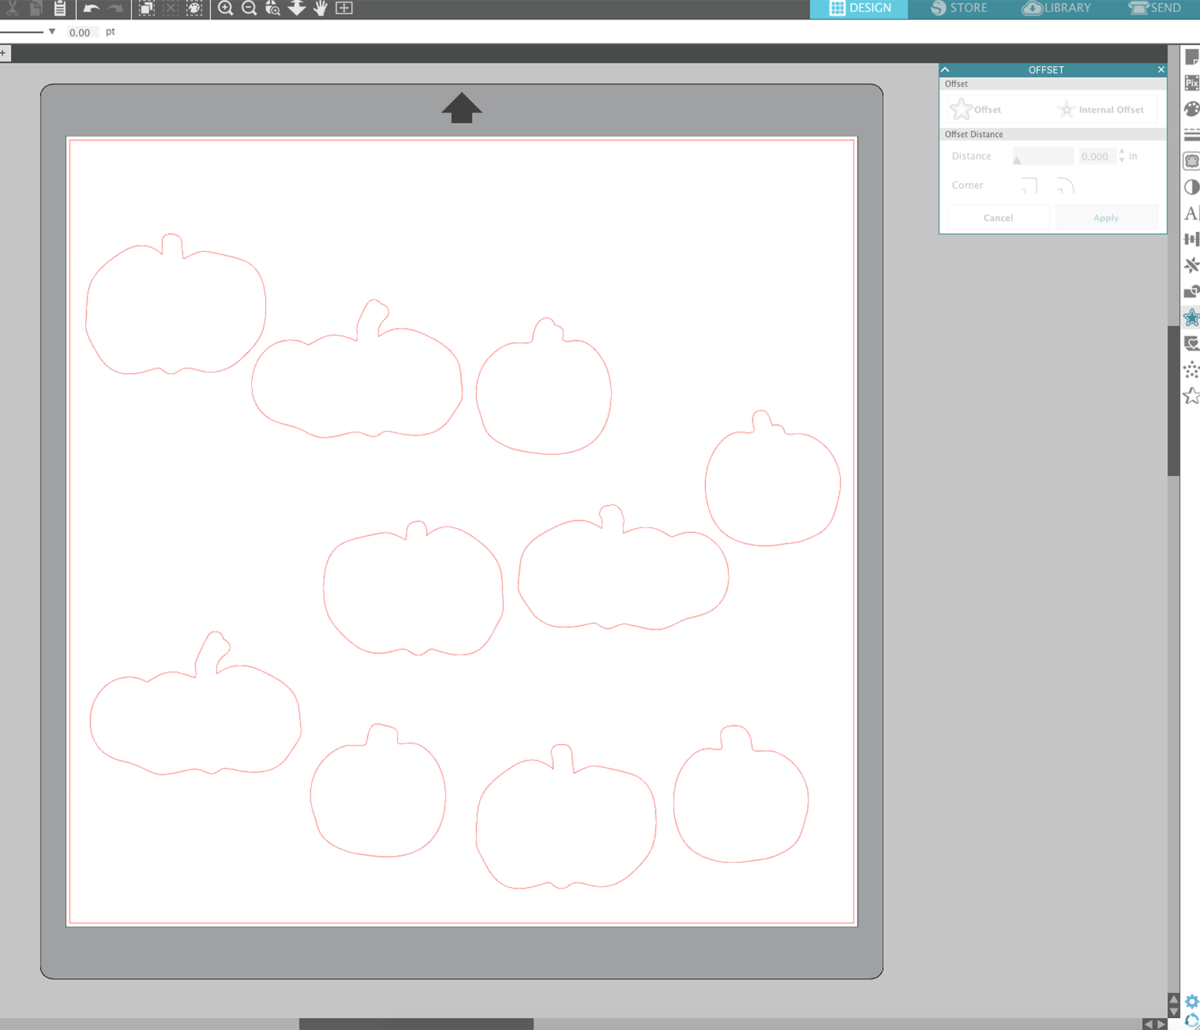
4. Open the Offset tool, select all of your designs, and click “Offset.” That will automatically apply a .125-inch offset line. Then click “Apply.”

5. Delete the inner pumpkins.
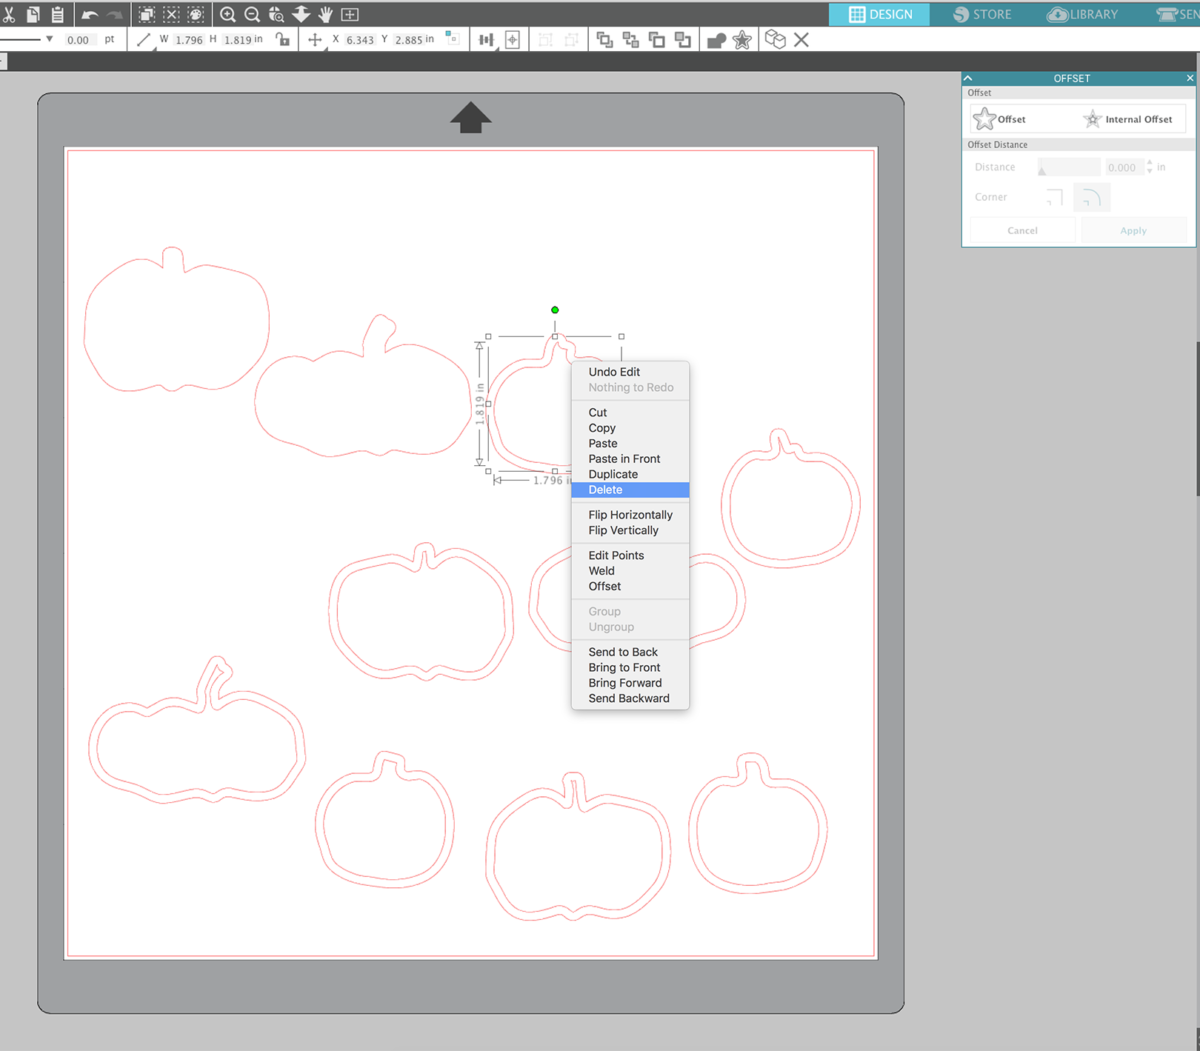
6. You are now left with the offset pumpkins, perfect to use for the backing of the original pumpkins!
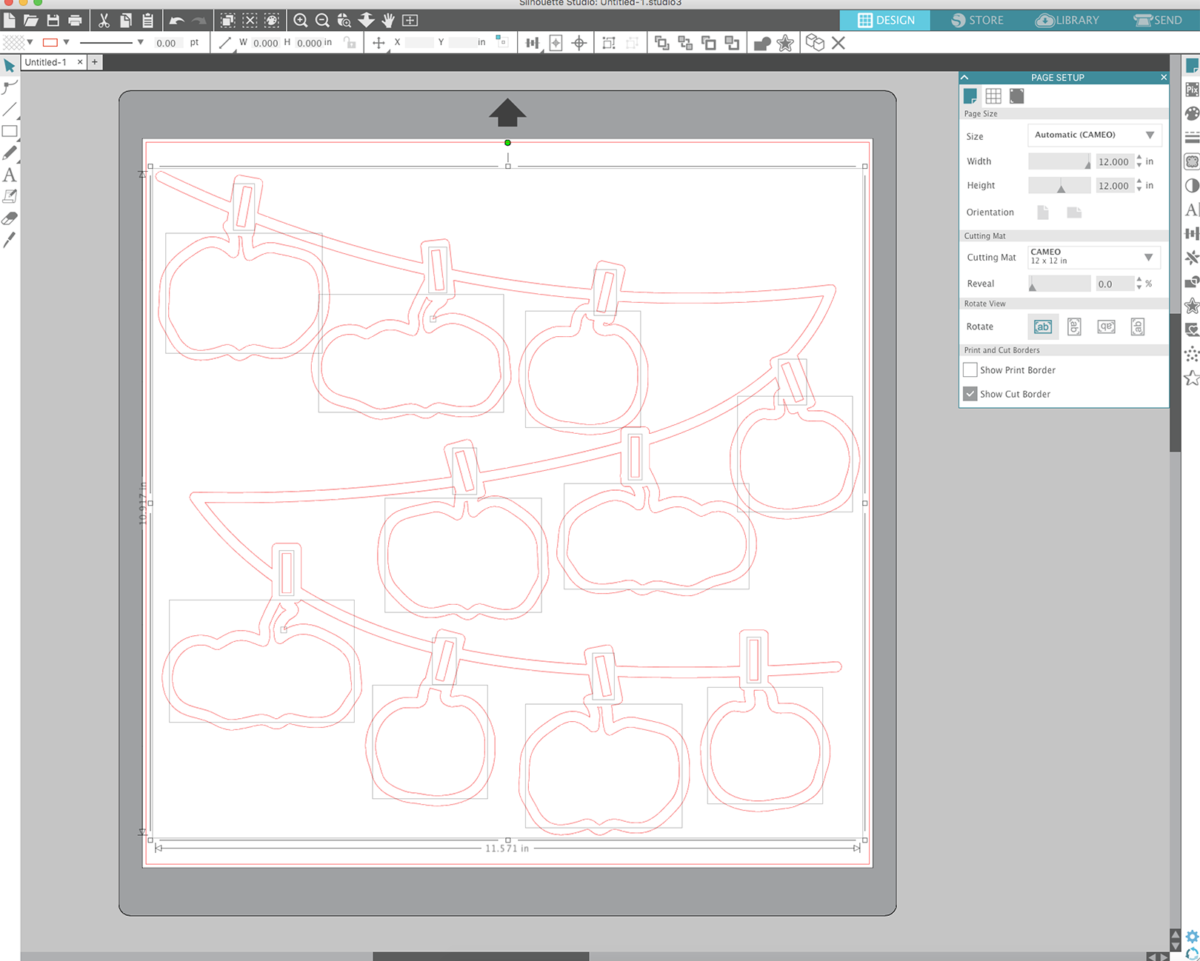
7. Open the Page Setup panel and click “Show Grid” spaced 1-inch apart with 1 division. This perfectly mirrors the lines that are shown on the Silhouette cutting mats.
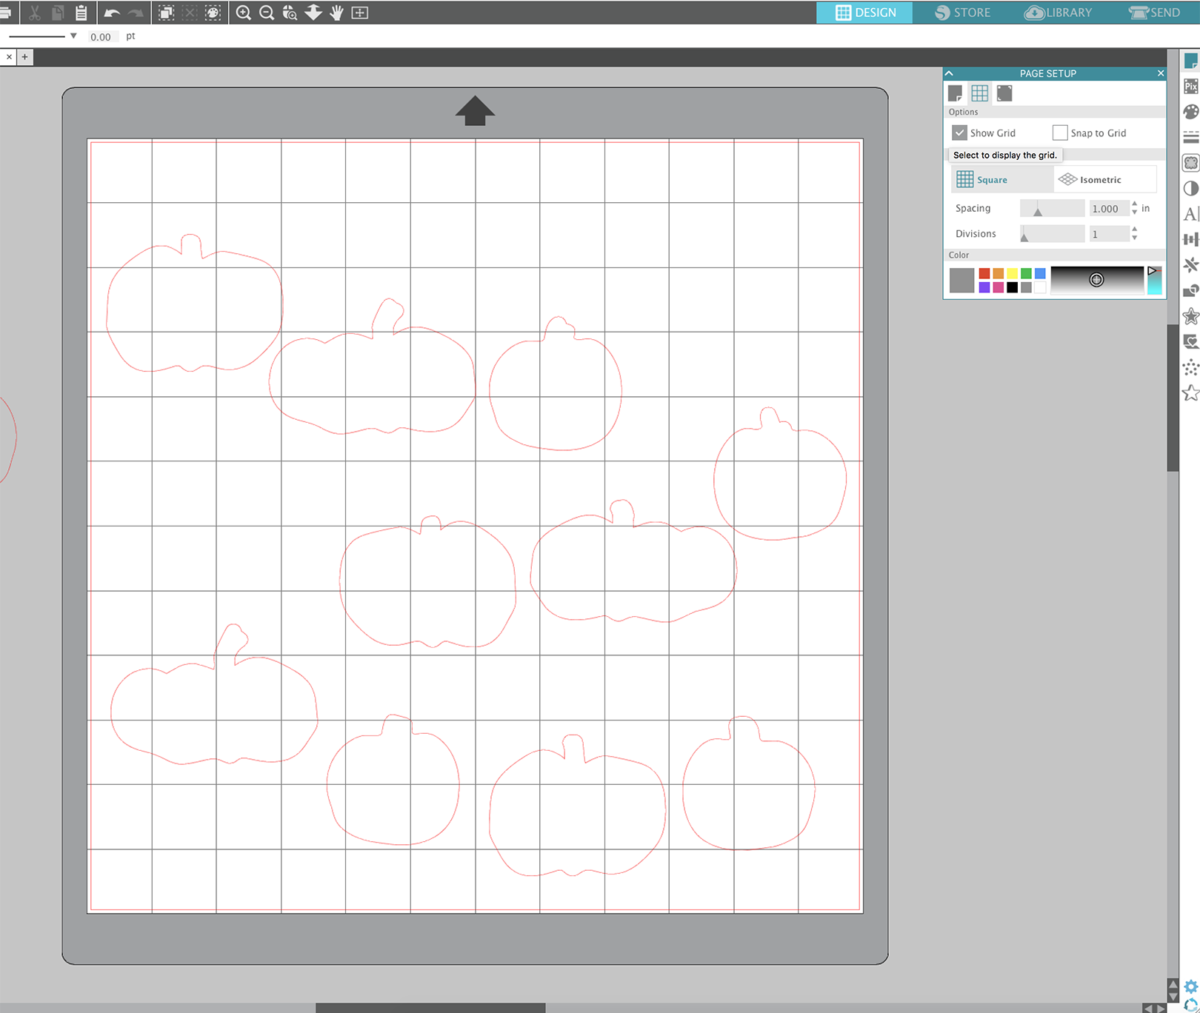
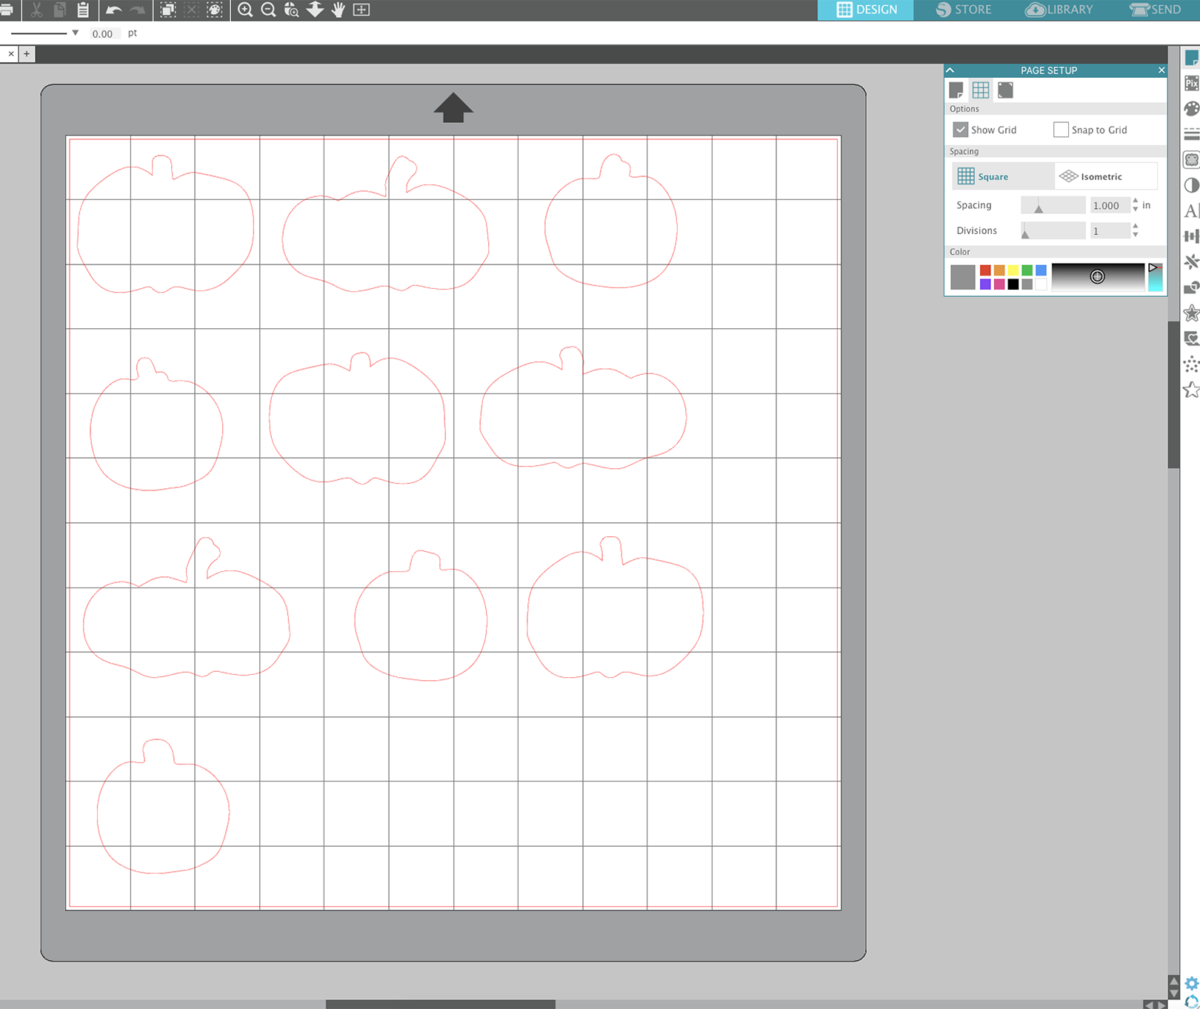
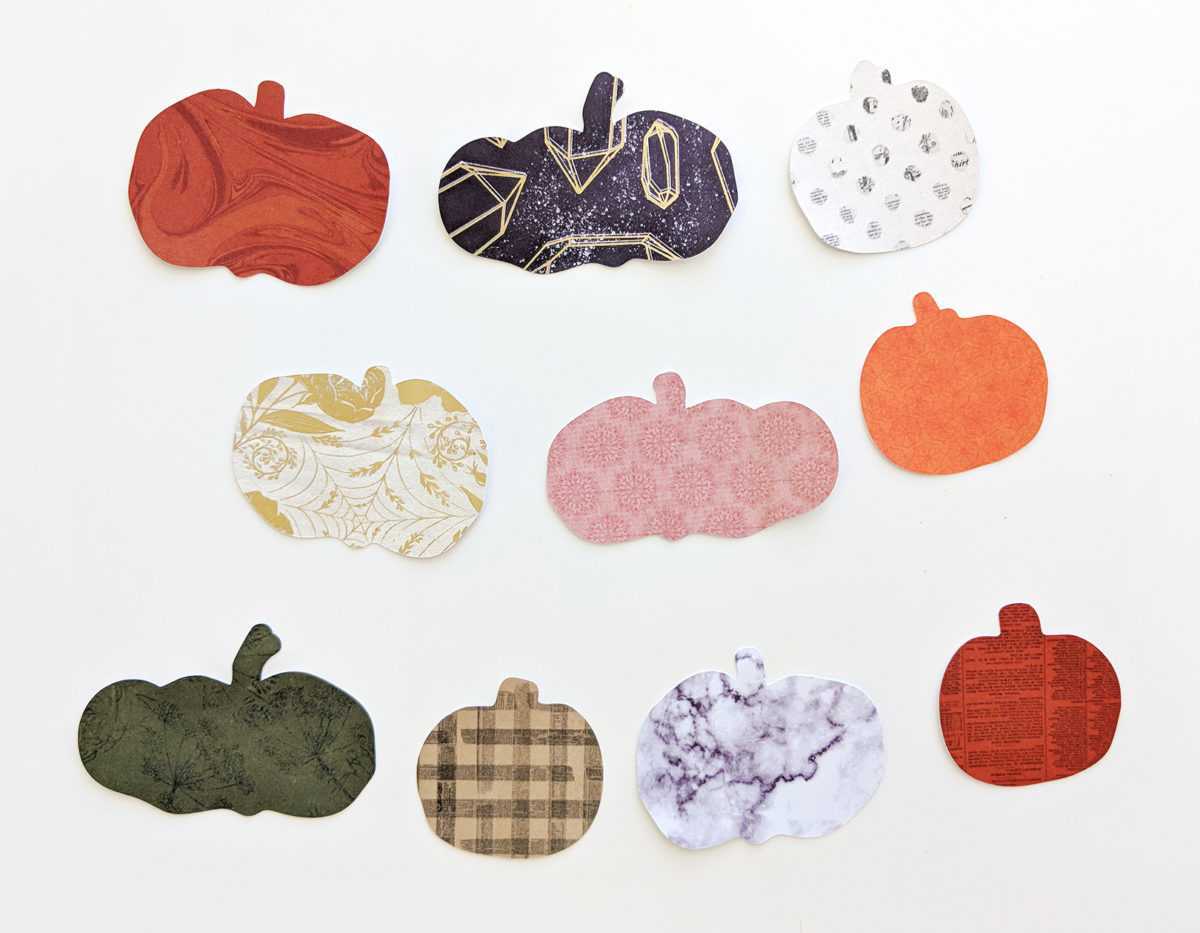
8. Arrange the pumpkins to fit in 3-inch-by-3-inch and 4-inch-by-3-inch sections.
9. Trim patterned papers to 3 x 3 and 4 x 3 pieces and adhere them onto a Silhouette cutting mat to mirror the placement of the pumpkins in Silhouette Studio®.
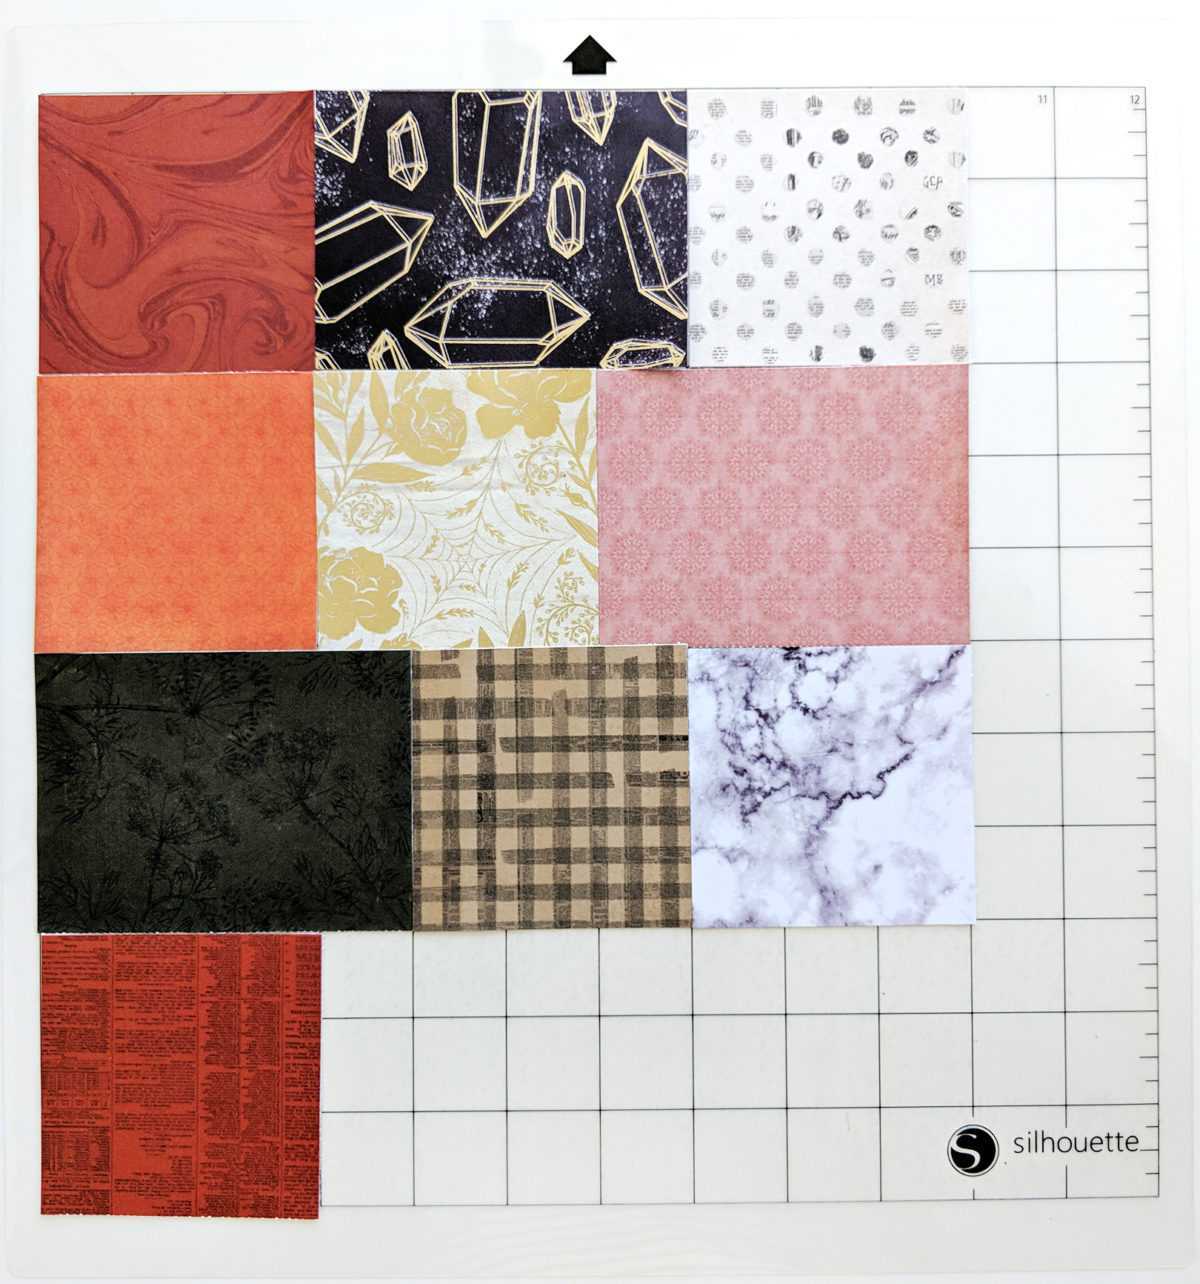
10. Send the design to be cut from patterned papers and carefully peel them off the mat when finished.
Step Three: Create the Scrapbook Layout
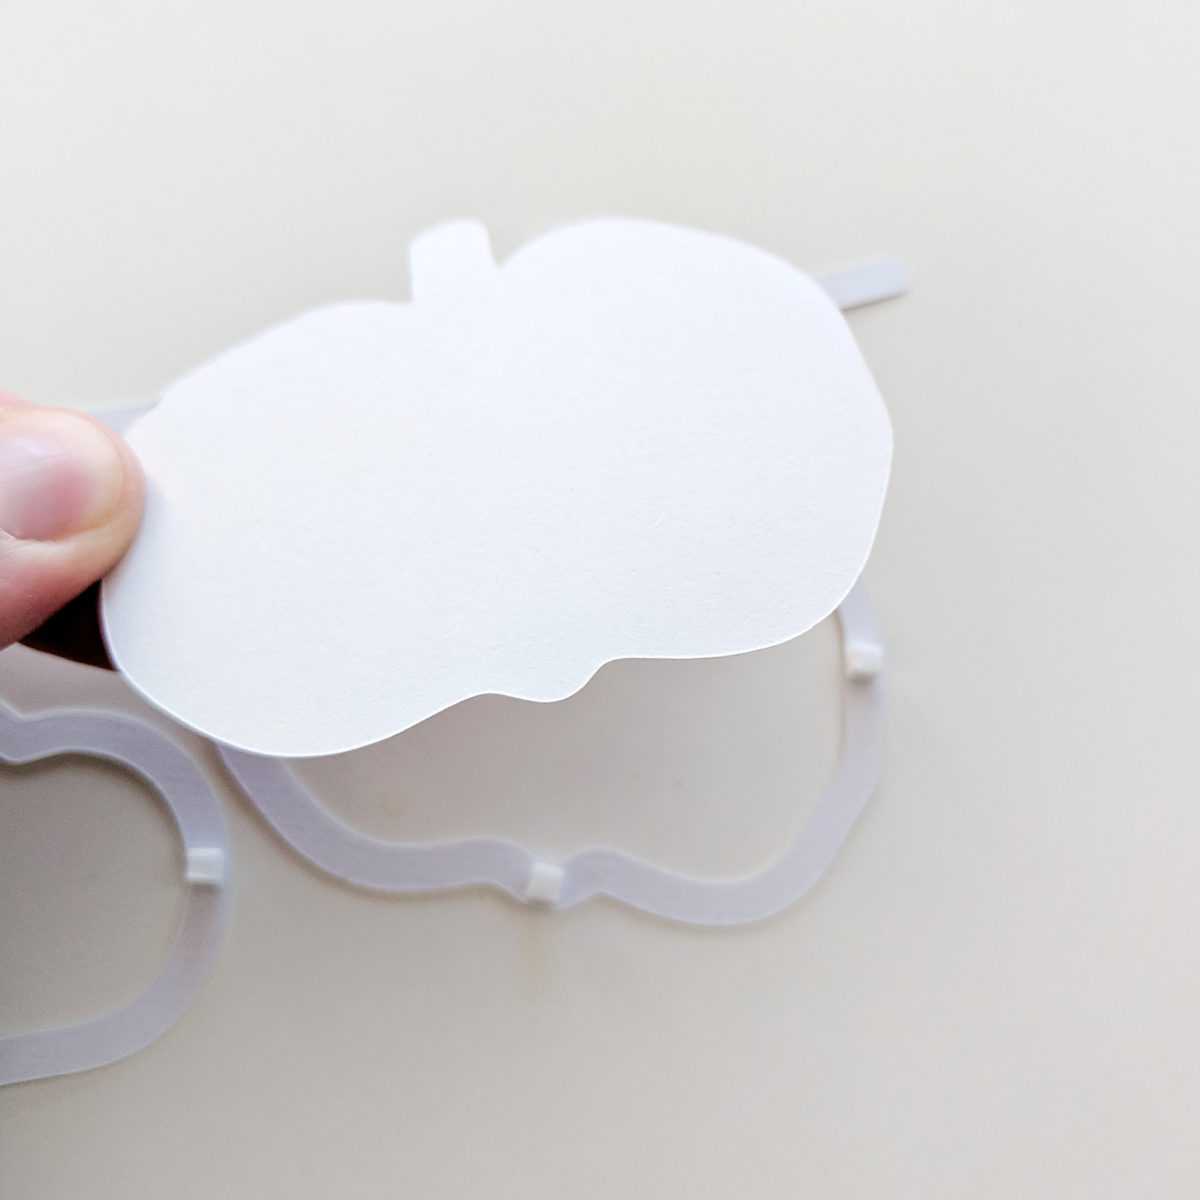
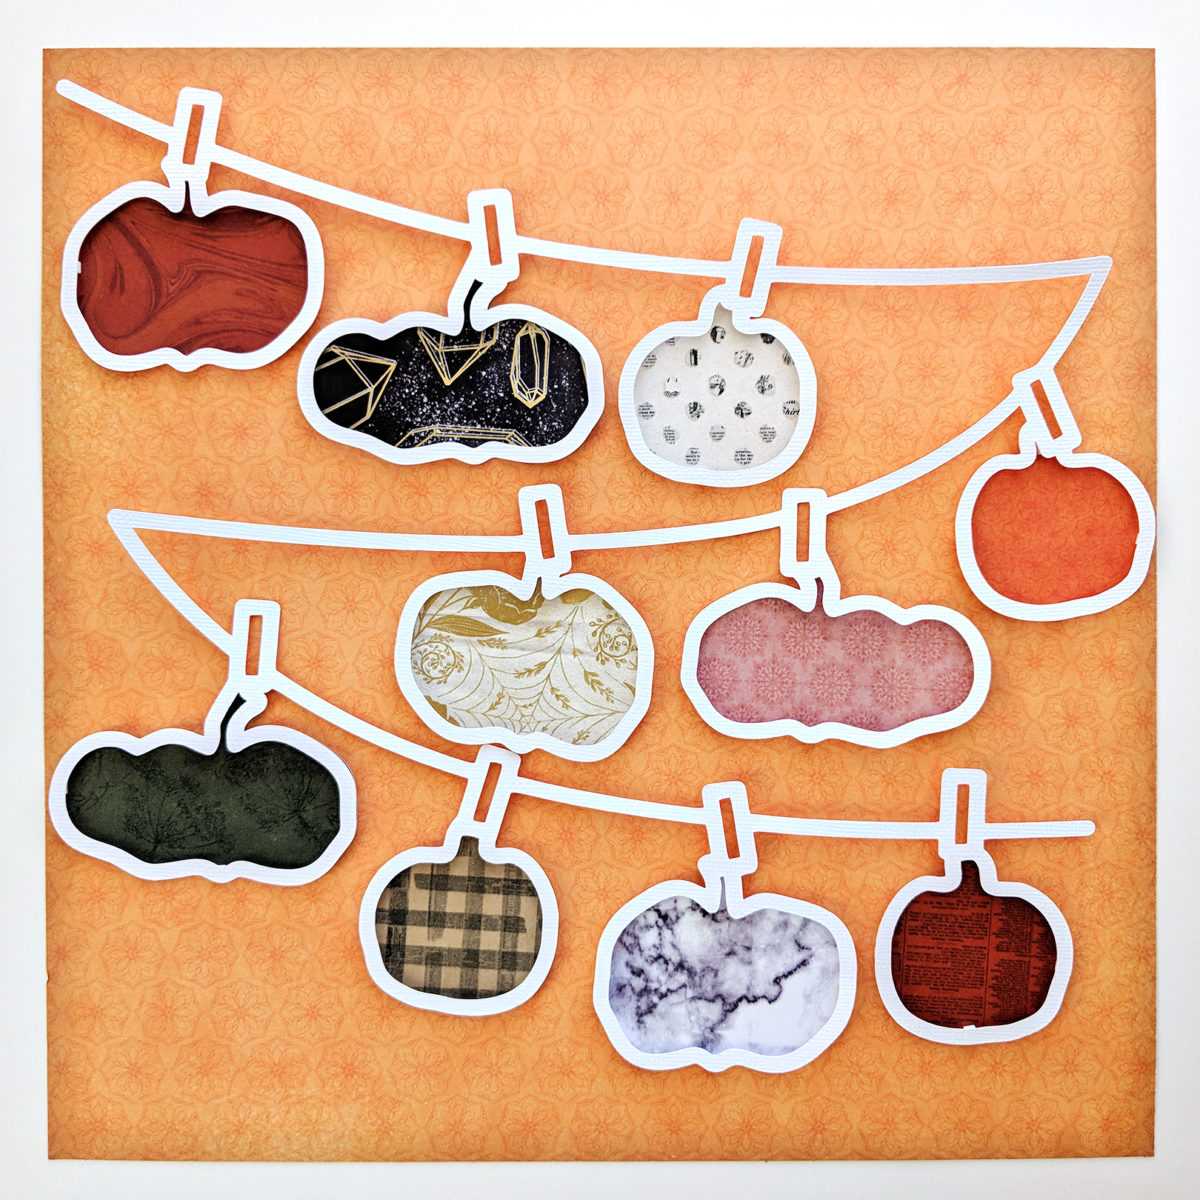
1. Flip the Pumpkin Banner design over and place tiny foam squares on the back of each pumpkin.
2. Place each patterned paper pumpkin, pattern side down, on the Pumpkin Banner pumpkins.
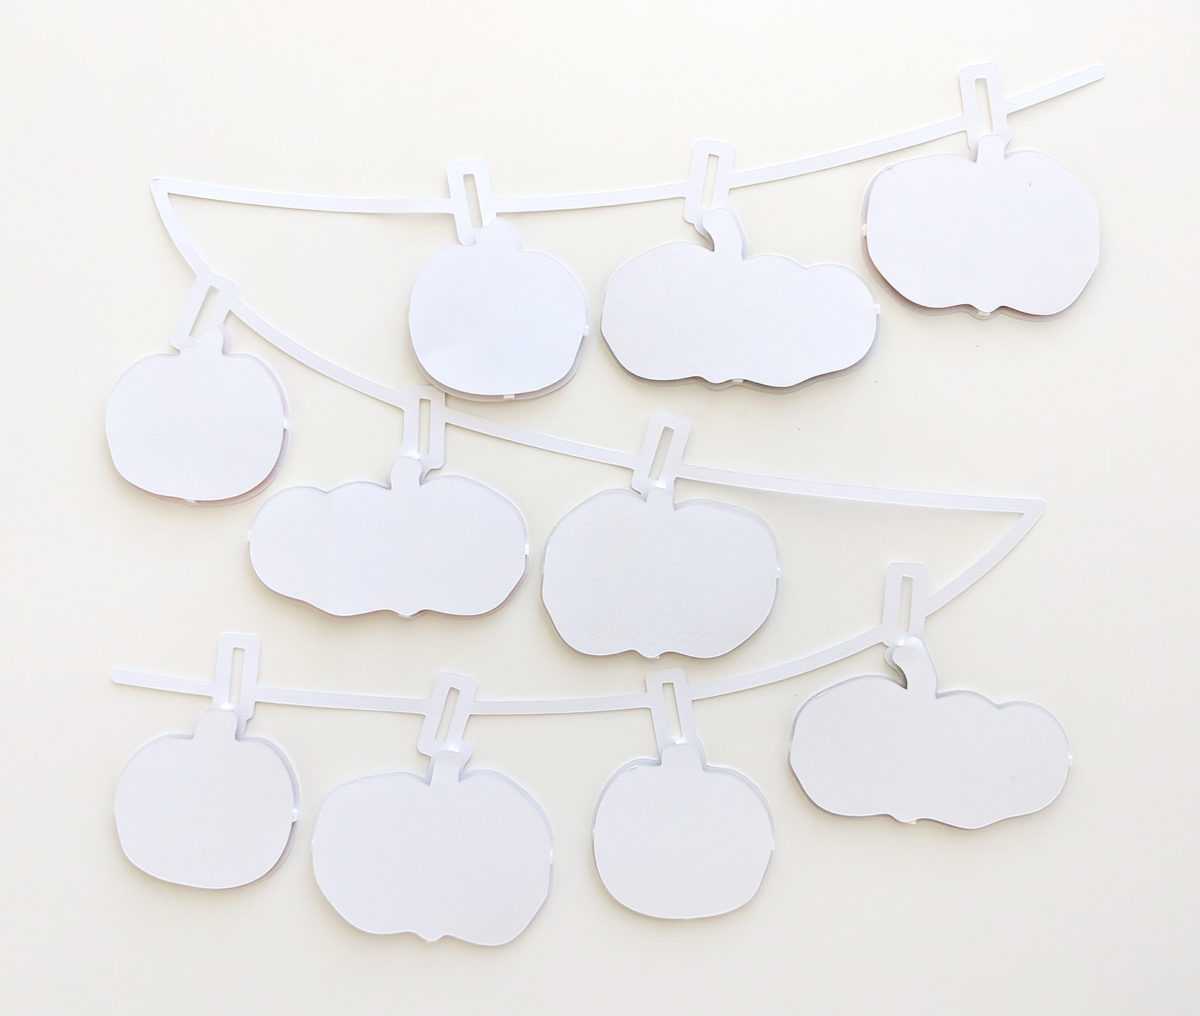
3. Flip the Pumpkin Banner over and admire your cool design!
4. Select a patterned paper background and then center the banner and adhere it on top of the background.
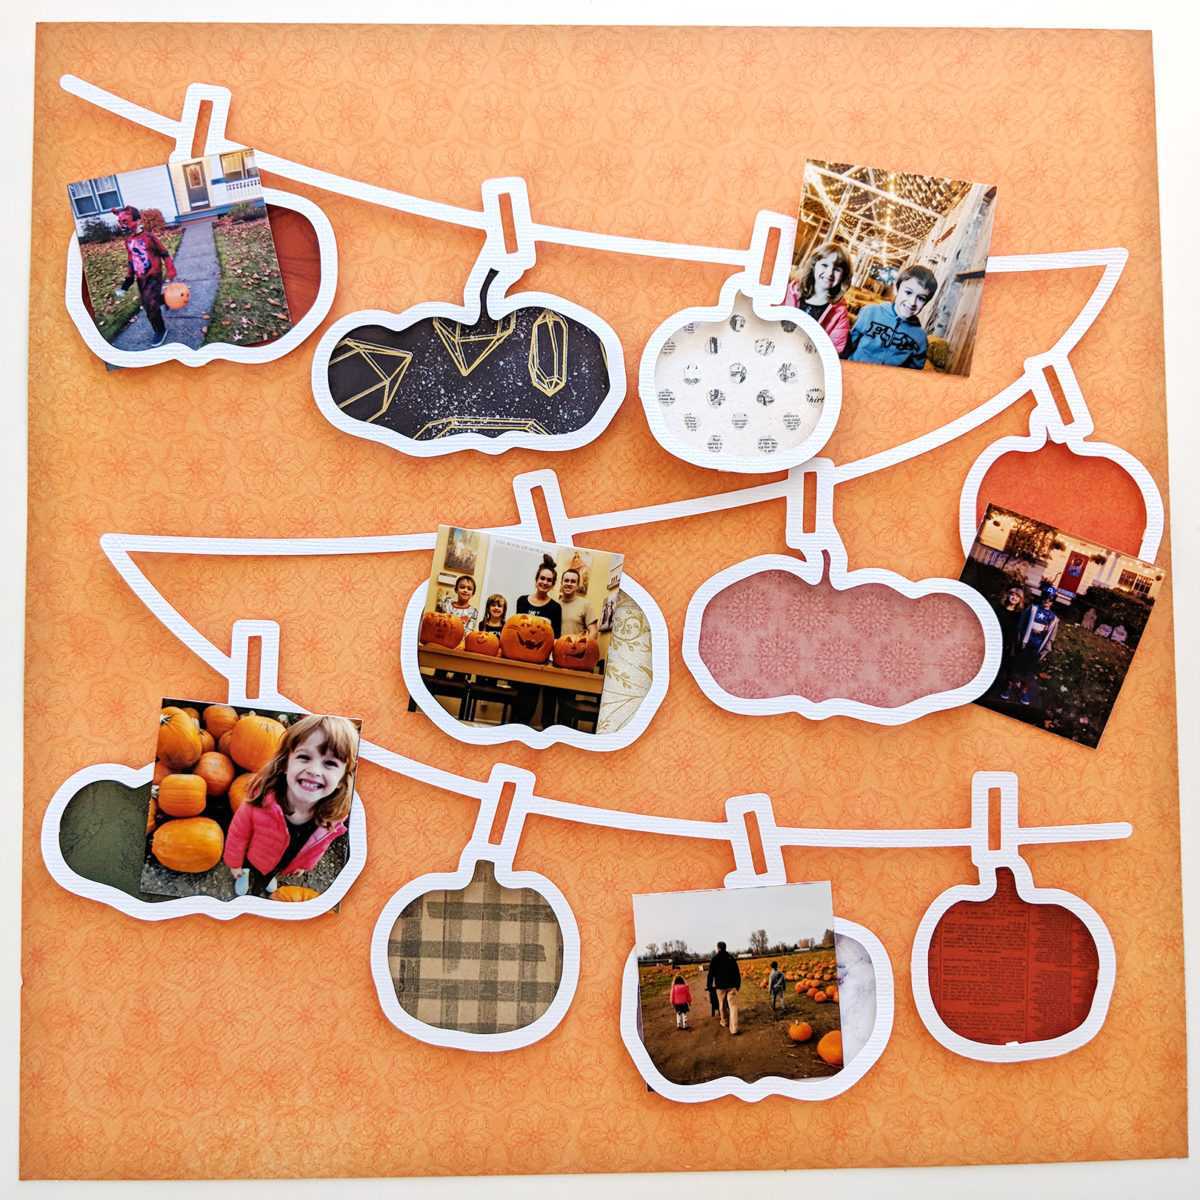
5. Choose several 2-inch square photos and tuck them in and around the banner.
6. Finish embellishing the page with all things Halloween—tiny wooden clothespins attached over the cut file clothes pins, printed buttons, stickers, a title, hand-written journaling, and more, as shown, until you are happy with the results!
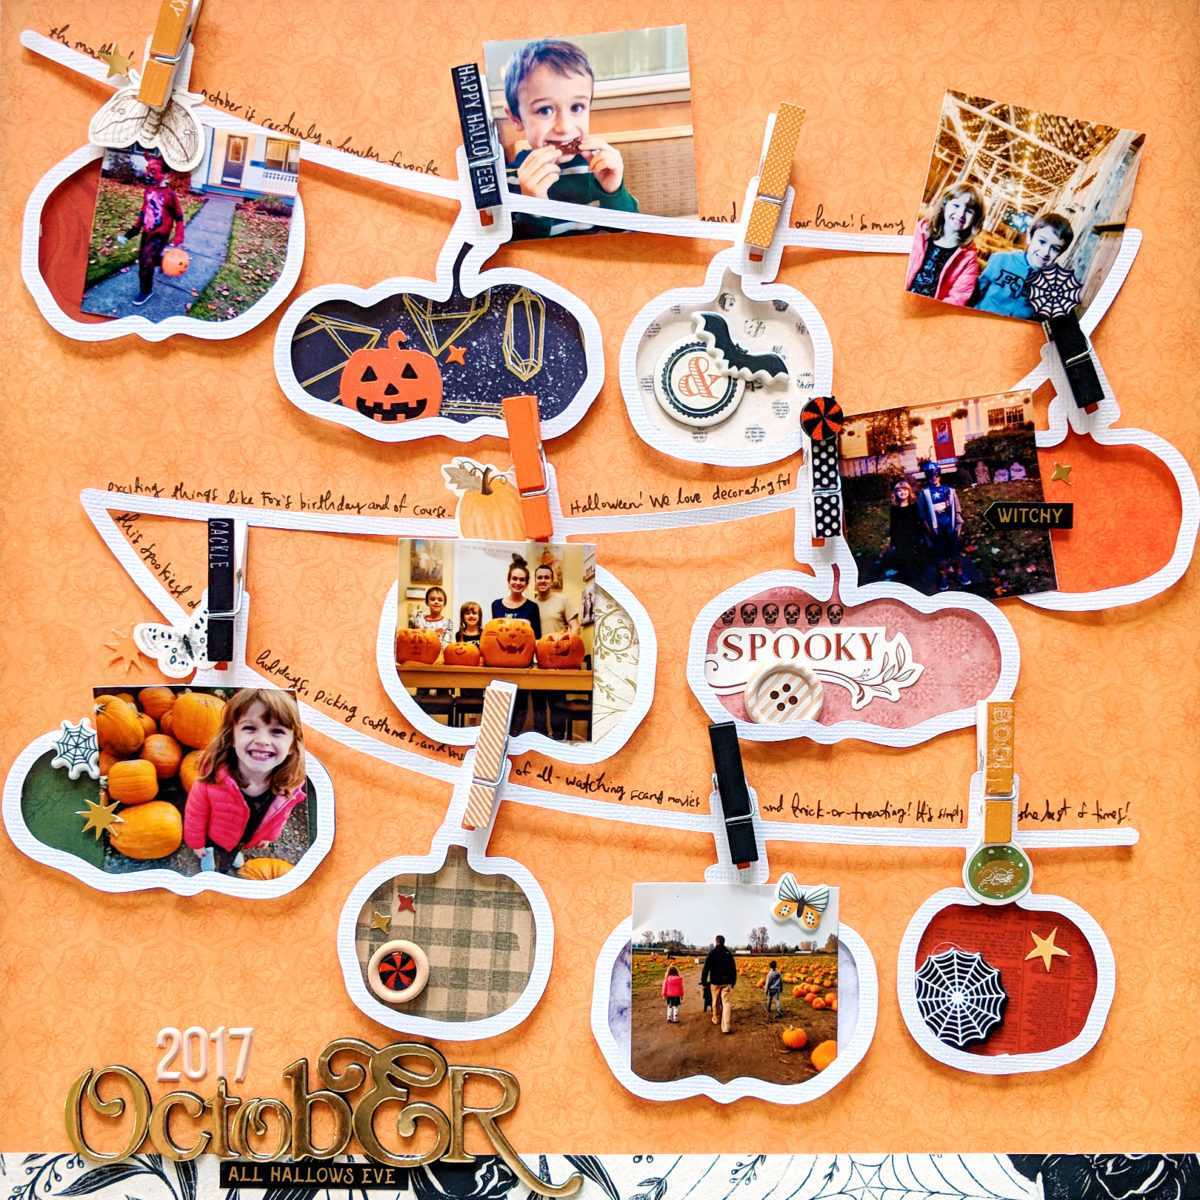
By limiting your color palette and sticking the pieces on top of the banner you can create a festive page highlighting favorite moments in October in no time!