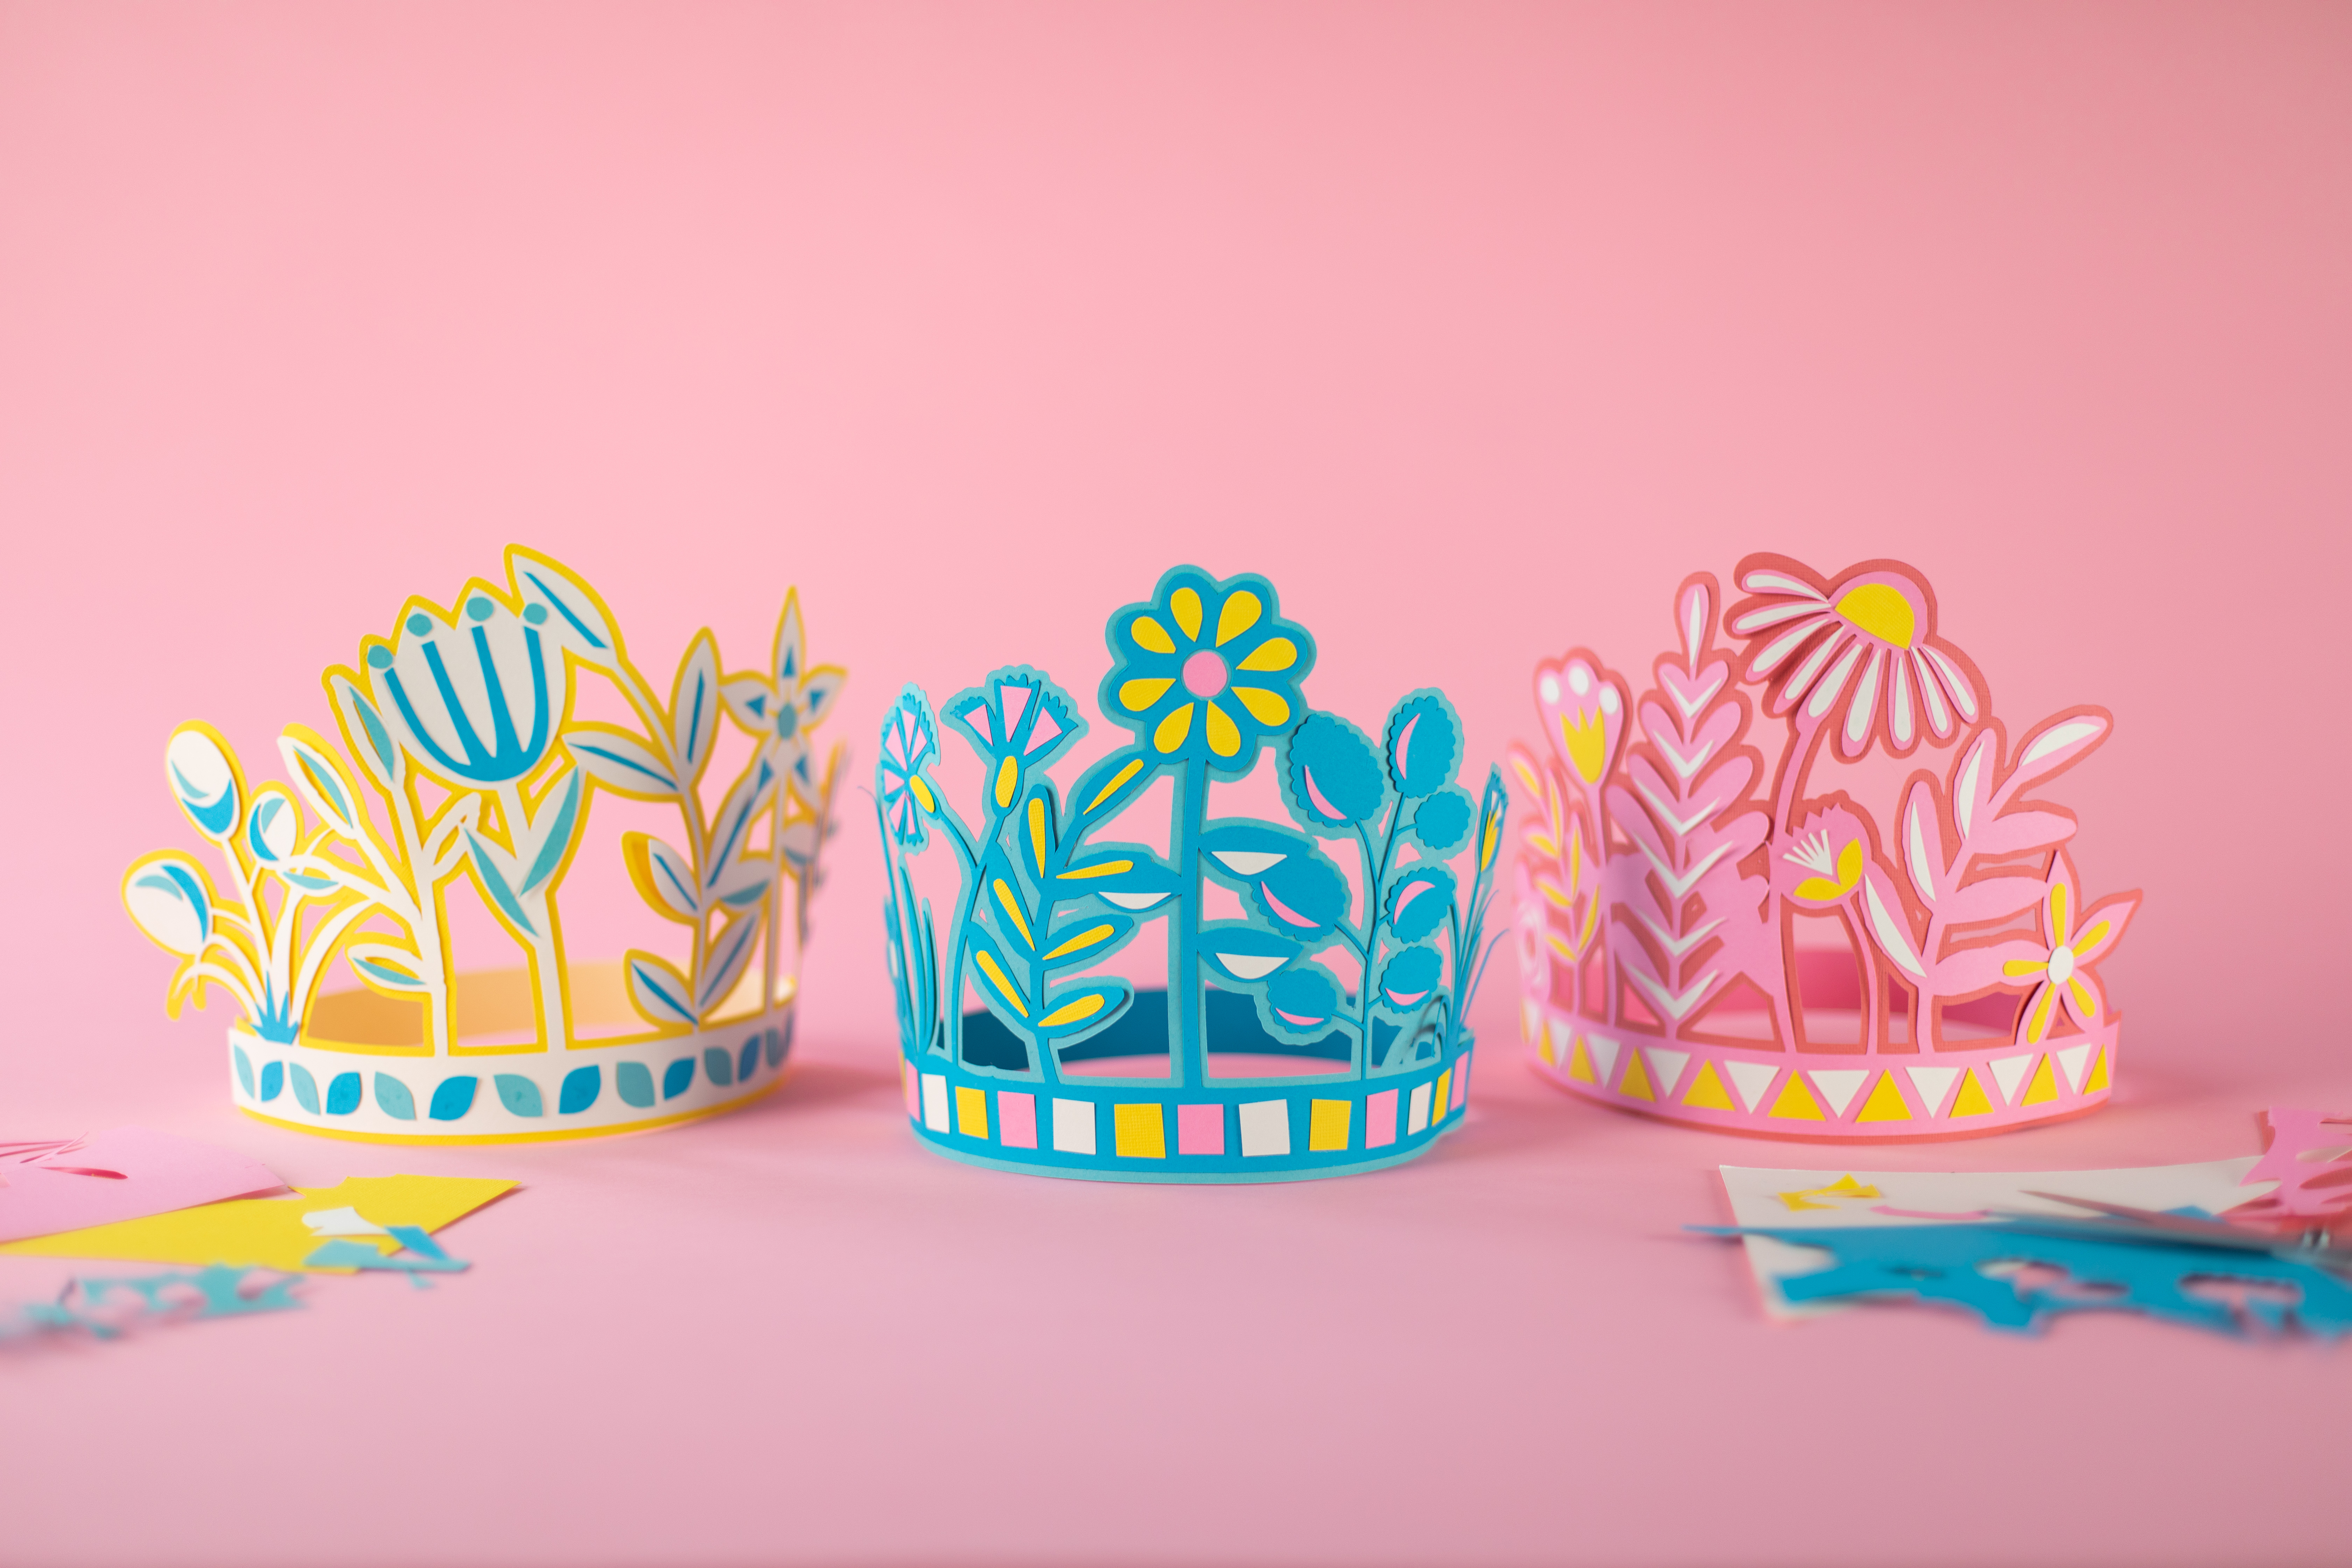
Plenty of occasions warrant a crown, and what better way to usher in spring than with a flower crown! This rendition is a little different from your usual flower crowns, and makes for a more graphic and intricate design. Made with various floral and foliage designs, you can easily customize this crown to your liking!

Supplies Needed:
- Silhouette CAMEO®
- Silhouette Studio®
- Silhouette Cutting Mat
- Silhouette Cutting Blade
- Cardstock in various colors
- Glue stick
- Design IDs—Fern: 67899, Daisy: 280181, Flower: 261563, Tulip: 272514, Flower Variety Pack: 76336, Leaf Bough: 110680
Instructions:
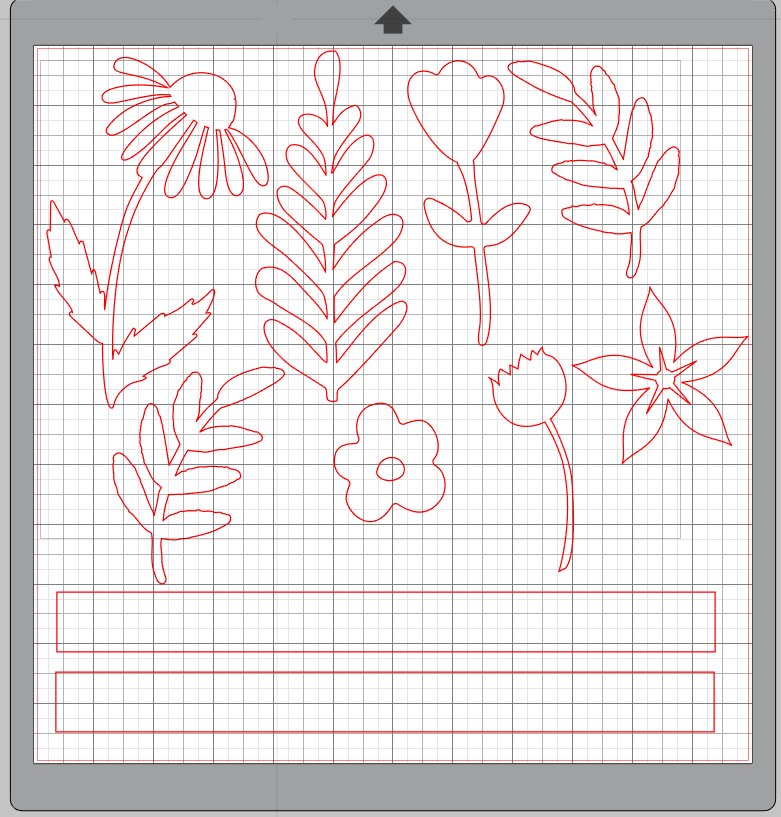
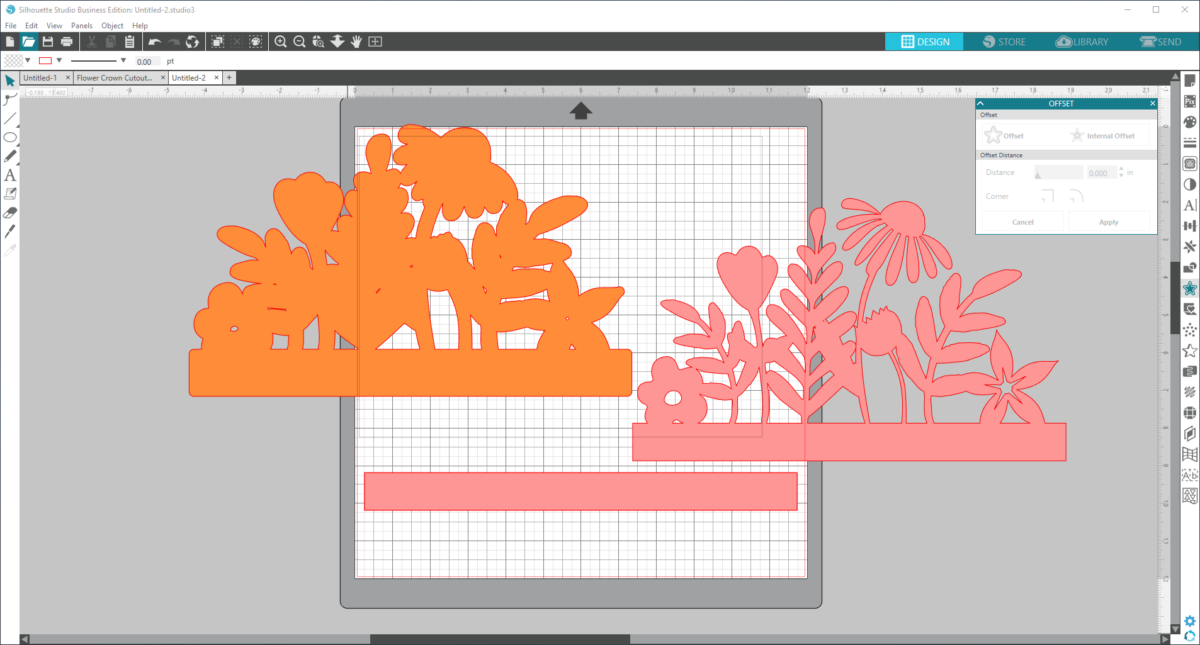
1. Insert various flower and foliage designs into Silhouette Studio®.
2. Draw a rectangle with dimensions 1 inch tall by 11.5 inches wide and duplicate it so that you have two.
3. Size your flower designs appropriately and arrange them above one of your rectangles, slightly overlapping with the rectangle. Overlap your flowers slightly as well.
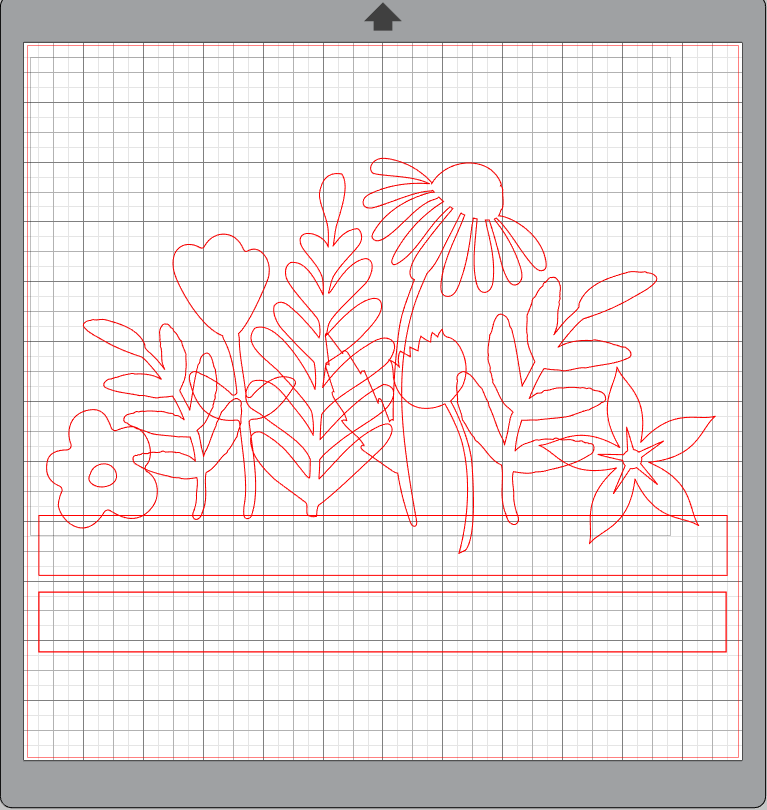
4. Once you’ve created an arrangement you’re happy with, select the entire crown image and weld it together by selecting the Weld option in the Modify panel.

5. While the crown is still selected, click on the Offset panel and select Offset. This will create a background to your crown.
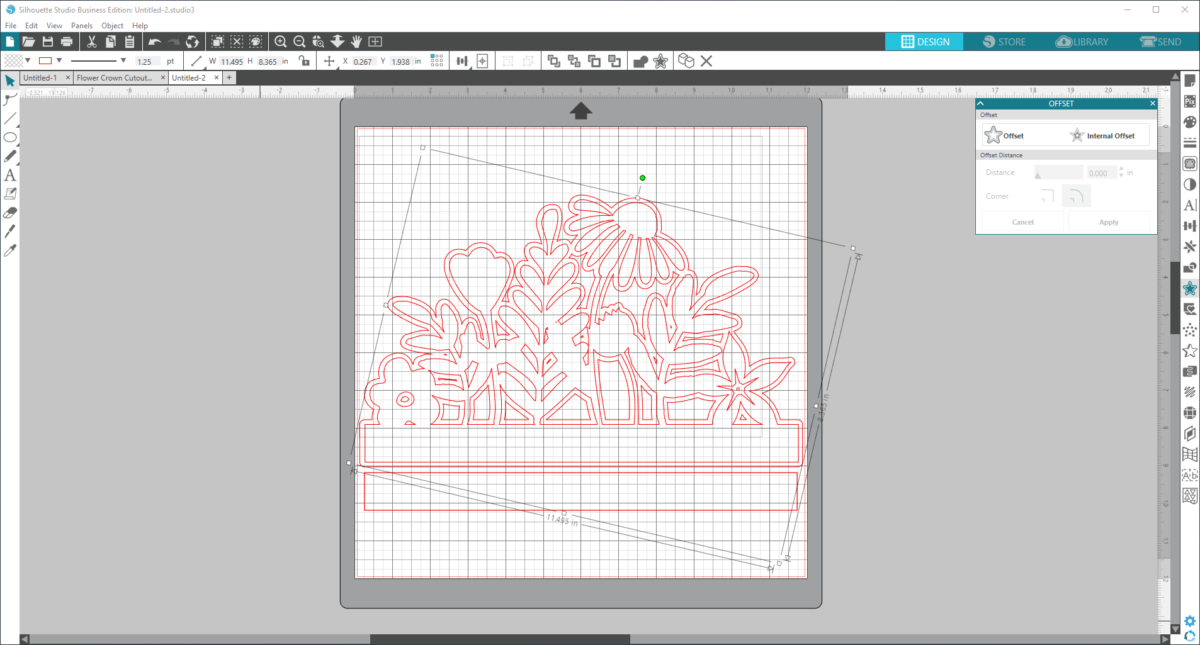
6. Separate the two crown pieces and fill them with the colors of your cardstock.
7. Send the designs to the your Silhouette Machine and cut out the pieces on two different colors of paper.
8. Once your designs are cut, glue the slightly smaller crown piece to the offset crown piece with a glue stick.

9. To add some detail to your crown, cut up small pieces of cardstock to create small abstract shapes to fill your flowers and plants. Adhere with a glue stick.

10. Once you’re happy with the look of the crown, glue the last rectangle to the sides of the crown to create a band to fit around the head of the recipient. The crowns are perfect for parties and dress up!

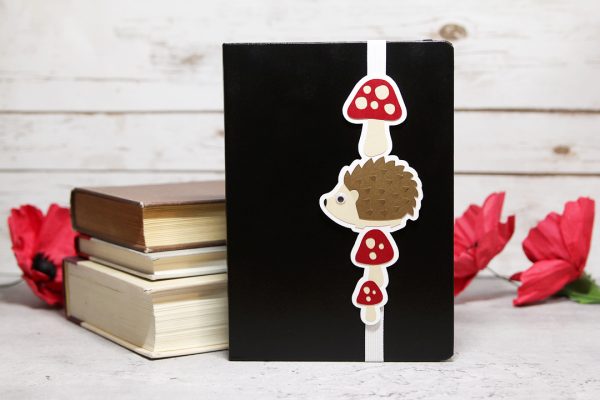 Hedgehog DIY Bookmark
  Quick Spring Welcome Sign
Robyn
March 10, 2019
These are so darn cute. My family and I celebrate the first day of Spring. Guess who will be wearing these crowns? Perfect!!!
Thanks for being so clever and sharing,
Robyn
Sue byers
March 22, 2019
Really cute idea