
Keeping my purse organized is a MUST, and I needed a new makeup bag. I decided to make this DIY Makeup Bag with Glitter Heat Transfer and a cute design from the Silhouette Design Store. It is perfect to hold my lip gloss, mirror, and miscellaneous makeup and keeps it all from making a mess in the bottom of my purse – nothing is worse than when your eyeliner lid pops off.
Supplies Needed:
- Silhouette CAMEO®, Silhouette Portrait®, or Silhouette Curio™
- Silhouette Cutting Mat
- Silhouette Cutting Blade
- Silhouette Studio®
- Glitter Heat Transfer – Black and Red
- Canvas Makeup Bag
- Design ID #172960
Step One: Creating Your Design

- Open Silhouette Studio®.
- Select the Page Setup panel and adjust your cutting mat size to 12 in x 12 in (or the size you would like for your tote bag).
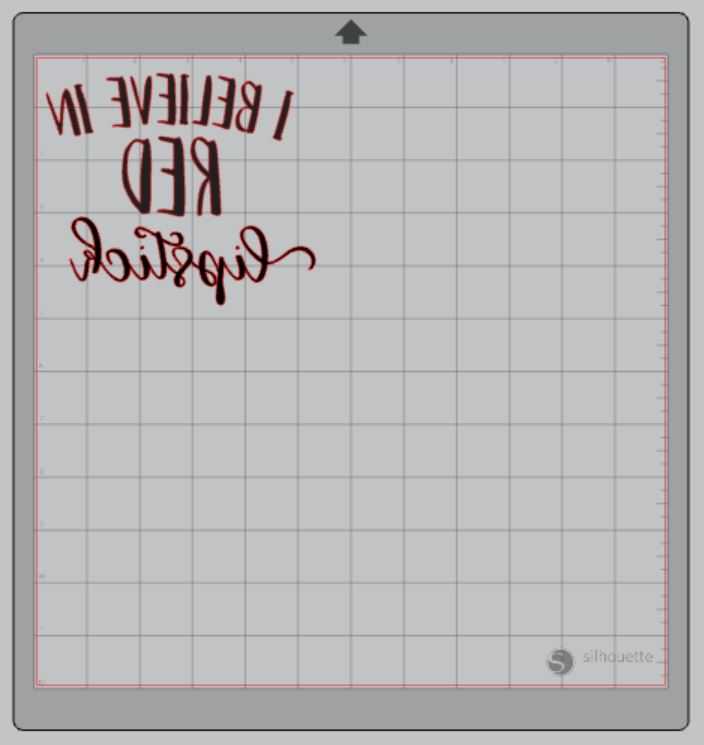
- Download and open your word art (Design ID #172960).
- Make your design fill the correct space on your template. Be sure to move the design as a group so everything stays lined up.
- Select the whole design and click “Object” in the top toolbar.
- Select “Mirror” and “Flip Horizontally”. Designs must be mirrored when you use heat transfer so that your design appears right side up when you iron it on your chosen surface.

- Load your black glitter heat transfer on a cutting mat, glitter side down, into your machine.
- Follow the prompts in Silhouette Studio® to adjust your blade (if using a ratchet blade) for glitter heat transfer and double-check to make sure your design has been selected to cut.
- Select “Send” to start cutting.
- Select “Unload” when your machine has finished cutting your design to remove the cutting mat from the machine.
- Remove your black glitter heat transfer from the cutting mat.
- Return to the design tab and select your design.
- Select “Object” from the toolbar and then “Ungroup”
- Remove “I Believe In” and “Lipstick” – the only word remaining should be “RED”.
- Load your red glitter heat transfer on the cutting mat (be sure you line it up using the guides in the software), glitter side down, into your machine.
- Follow the prompts in Silhouette Studio® to adjust your blade (if using a ratchet blade) for glitter heat transfer and double-check to make sure your design has been selected to cut.
- Select “Send” to start cutting.
- Select “Unload” when your machine has finished cutting your design to remove the cutting mat from the machine.
- Remove your red glitter heat transfer from the cutting mat.
Step Two: Preparing Your Design
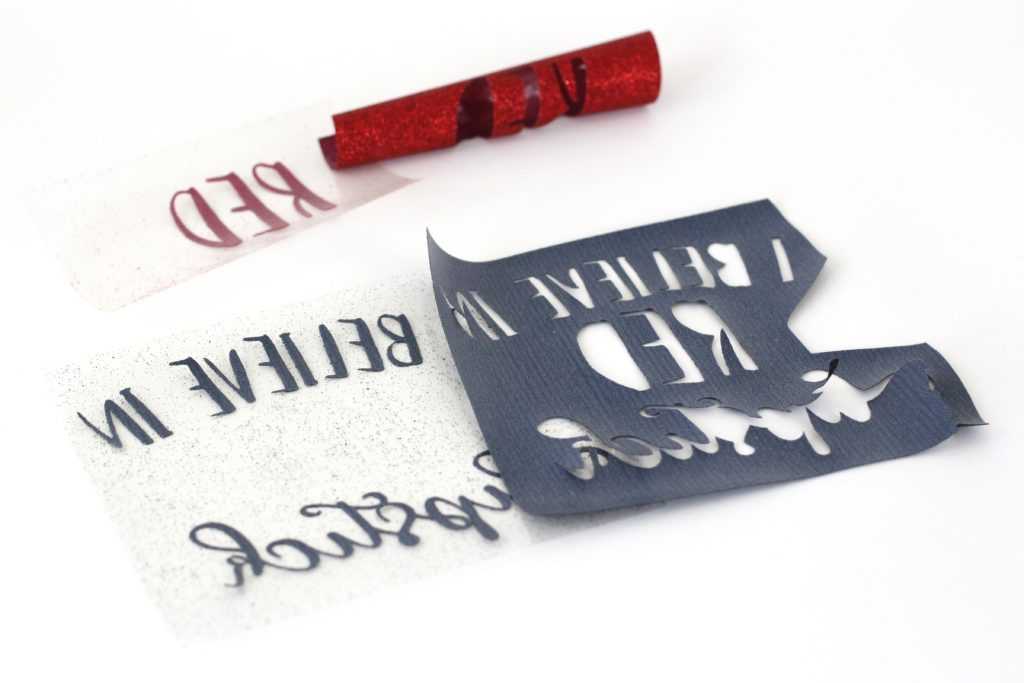
- Use your fingers or a weeding tool to remove the excess vinyl for both colors. Be sure to leave your design on the clear carrier sheet – this is how you will iron it onto your DIY makeup bag.
- Carefully remove the centers of the letters. Flip the sheets over to see the design facing the correct way to make sure you have completely weeded the design.
Step Three: Creating Your Makeup Bag
- Heat up your iron. I use medium heat with NO steam.
- Place your makeup bag on your ironing board and make sure the bag is flat.
- Place your weeded black glitter design face up on top of the makeup bag.
- Cover your design with a clean towel or cloth and apply firm pressure with your iron.
- Spot test your design to see if it sticks to your makeup bag when you pull up on the clear carrier sheet.
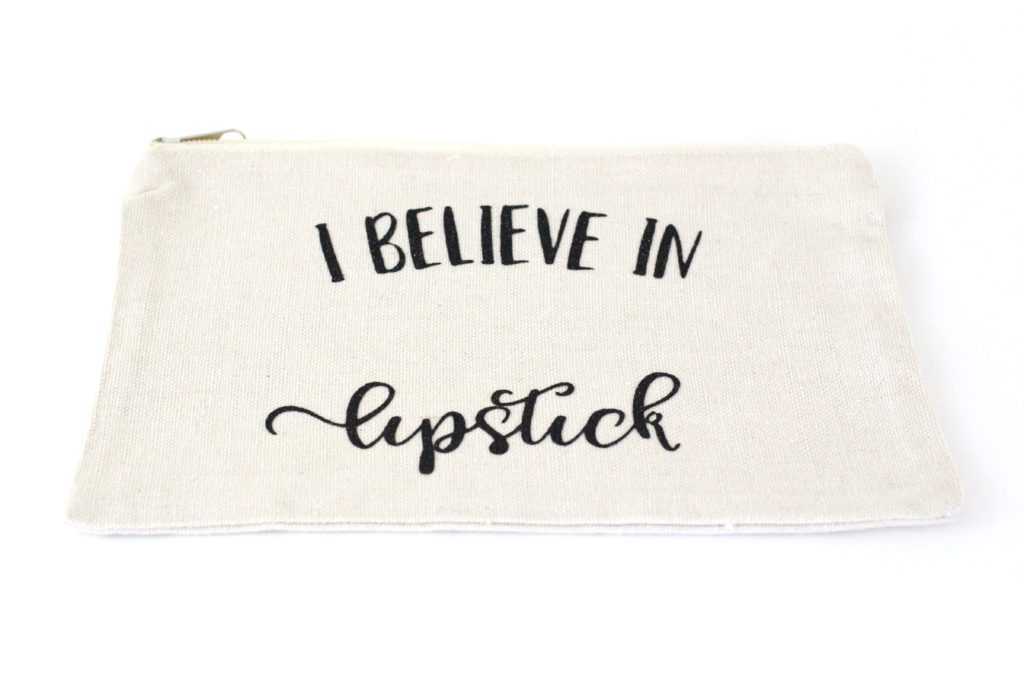
- Once your design has transferred, remove the clear carrier sheet and discard.
- Repeat with your red glitter design. Be sure the clear sheet from the red glitter heat transfer covers your black glitter heat transfer or the heat from the iron could damage the black letters.
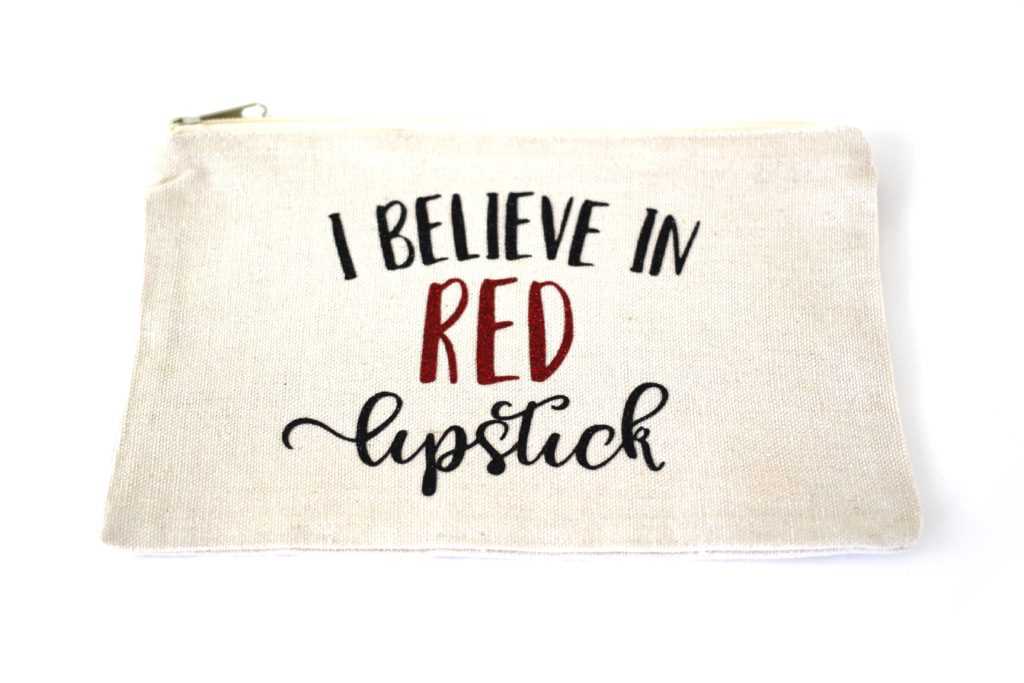
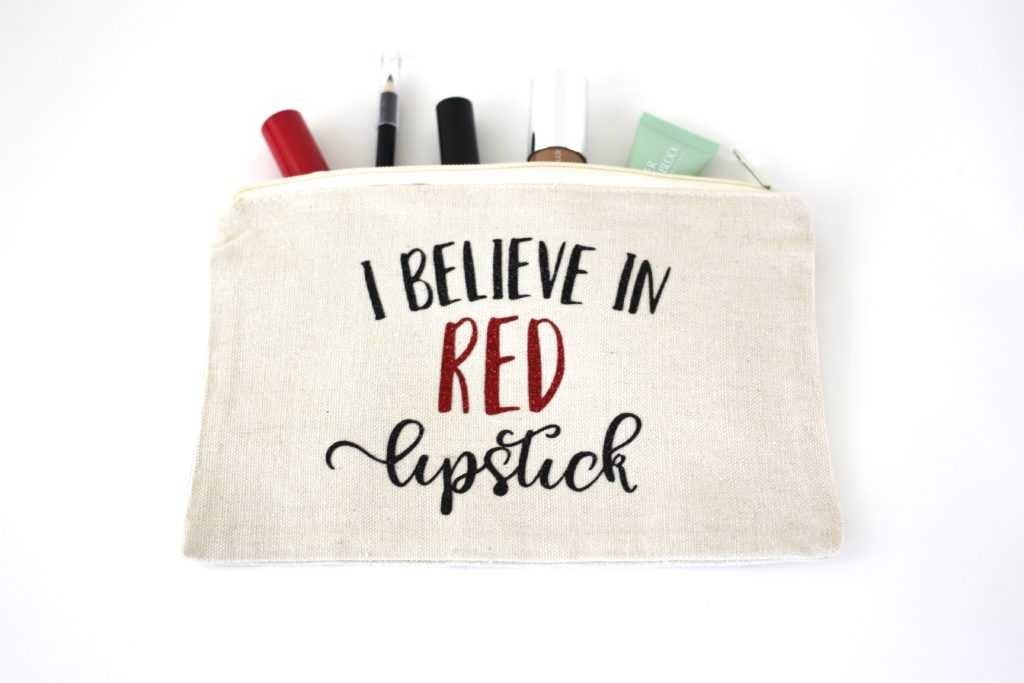
I love this DIY makeup bag so much, and I think I will create more of them for my girlfriends with personalized monograms! Tell me your favorite color of lipstick in the comments below.
This blog post was originally posted on the Polka Dotted Blue Jay blog. It has been edited and republished with permission from the author.
Tanzir Rahman
June 1, 2018
Very nice article about silhouette design…
Silhouette
July 11, 2018
Thank you! 🙂