
One option for creating and applying custom designs to fabric is to make a silkscreen design, which acts as a stencil, and use to apply fabric ink. We have a Silkscreen Starter Kit that comes with everything you need to get started. To see what supplies you need and the steps you need to take, follow the tutorial below.
Supplies Needed:
- Silhouette CAMEO®
- Silhouette Studio®
- Silhouette Cutting Mat
- Silhouette Cutting Blade
- Silkscreen Starter Kit
- Design ID #261308
Step One: Preparing the Design
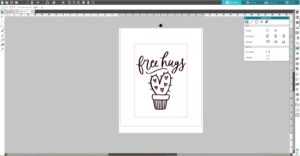
1. Open Silhouette Studio®. In the Page Setup panel, change the page size to 12 inches by 15 inches and select “None” as the cutting mat. Draw a rectangle 7.5 inches by 10.5 inches, and place it in the middle of the page. Open the Free Hugs Cactus Quote design (Design ID #261308) in Silhouette Studio®. Ensure that your design measures 7.5 by 10.5 inches or smaller in order to fit the silkscreen frame properly. Resize the design so that it fits the 7.5 inch-by-10.5-inch rectangle and center the design according the page (to do that, go to the Transform panel and click the center icon).
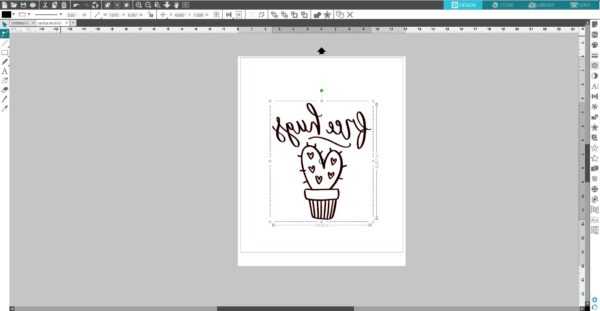
2. Delete the 7.5-inch-by-10.5-inch rectangle and MIRROR THE DESIGN IN SILHOUETTE STUDIO® BEFORE CUTTING IT. To mirror the design, go to the Object menu, select Mirror, and then click Flip Horizontally or you can select the design, right-click it, and choose Flip Horizontally.
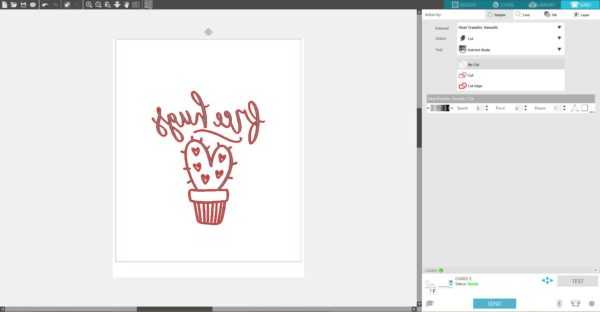
3. Load the heat transfer sheet that measures 12 inches by 15 inches directly into the Silhouette cutting machine (glossy side down). Adjust the rollers and press Load Media (Silhouette CAMEO® or Silhouette CAMEO® 2) or just Load if you use Silhouette CAMEO® 3. Go to the Send panel, and select “Heat Transfer, Smooth” as your material. Adjust the blade if necessary, unless you use the AutoBlade, and click Send.
4. After the cutting process is over, unload the heat transfer sheet from the cutting machine.
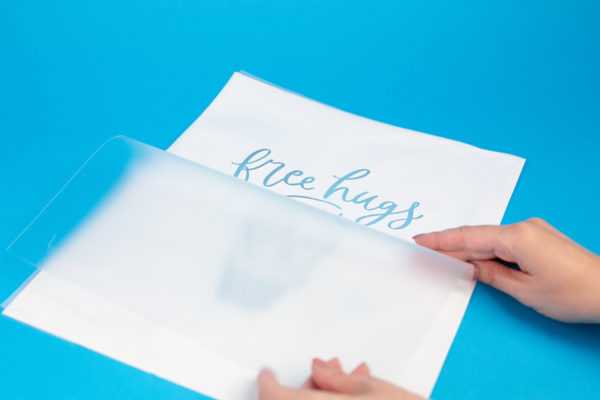
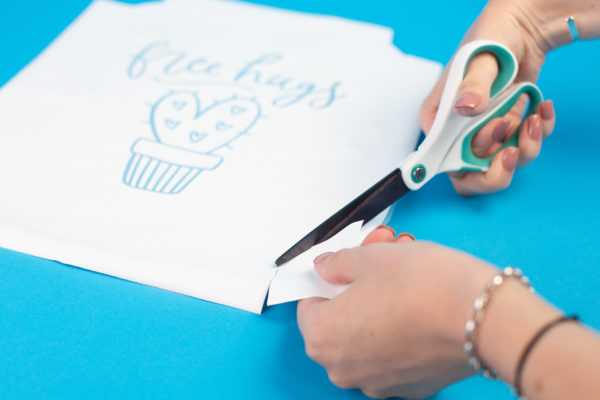
5. Weed away the design (not the negative space) from the heat transfer material in order to create your stencil.

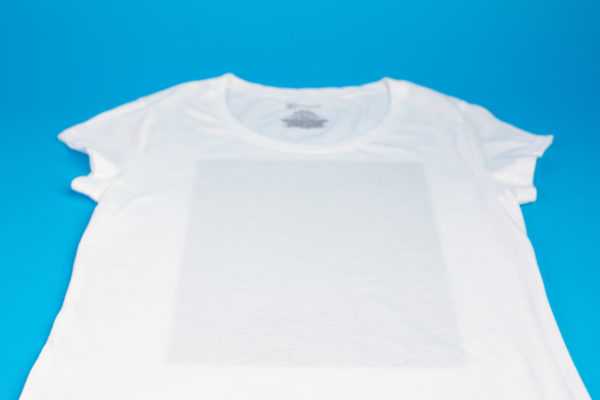
6. With the heat transfer material glossy side down, place the silkscreen sheet on top and then iron for 20–30 seconds using the standard cotton setting.

7. Once cooled, remove the glossy heat transfer liner.
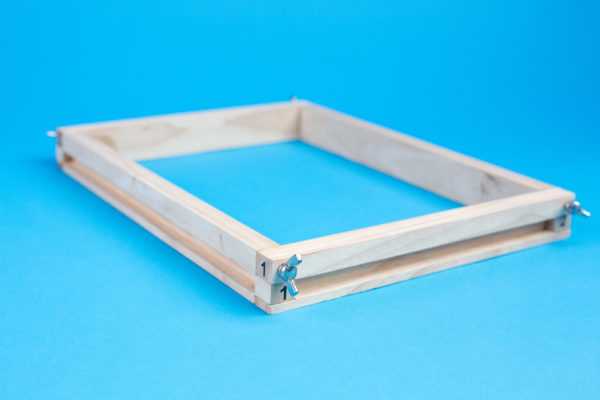
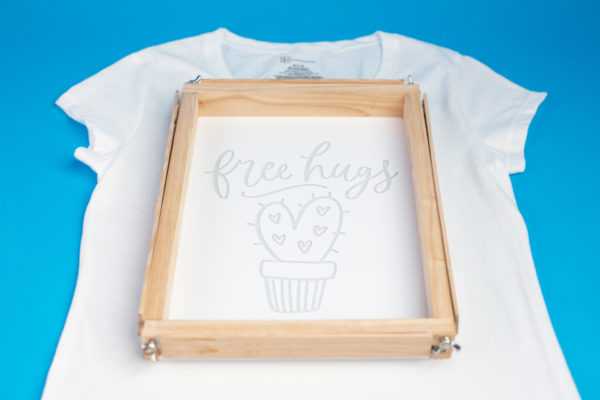
Step Two: Assembling the Frame
1. Assemble the frame by aligning the numbers in each corner and securing the pieces with the provided fasteners. Be sure that the grooves for the frame insert face out.
Step Three: Applying the Ink
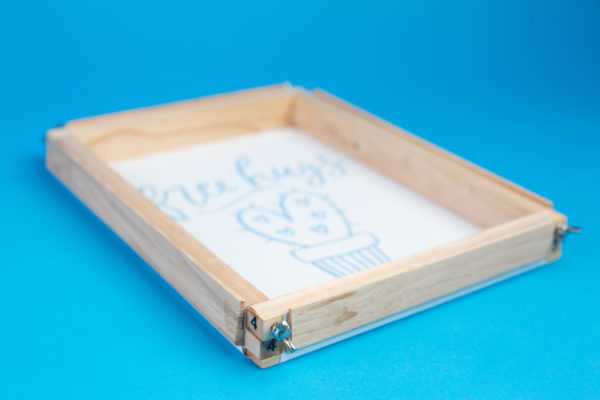
1. Cut a 2-inch-by-2-inch square from each corner to allow the stencil to be secured in the frame.
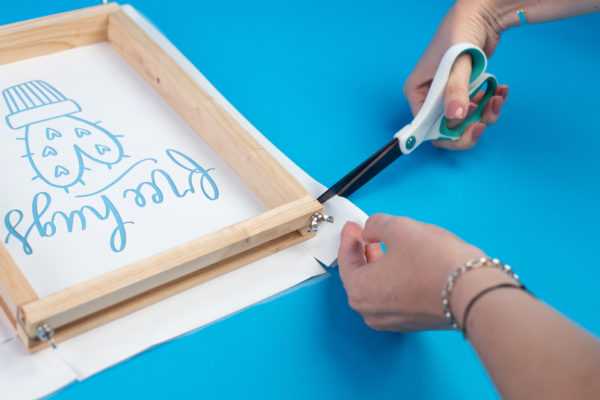
2. With the silkscreen side facing down, place the frame on top of the completed stencil and secure it into place by folding the edges upward around the frame and securing the stencil with the frame inserts.
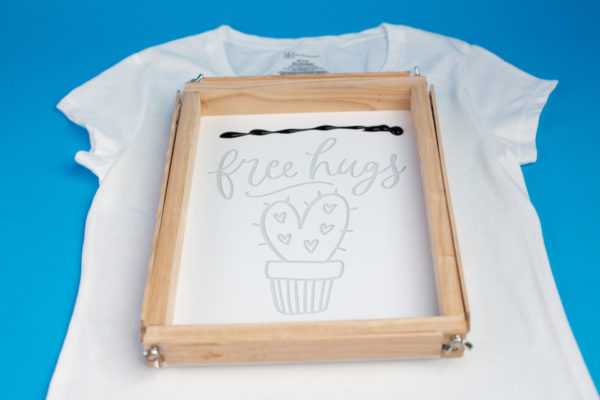
3. Place a thick piece of cardstock under the material you are going to apply fabric ink on to prevent ink from bleeding through.
4. Place the frame with the silkscreen side facing down onto your fabric. NOTE: You should always practice on a spare piece of fabric before you commit the design to your final project to ensure the proper technique and ink usage.
5. Apply a line of fabric ink horizontally above the stencil spanning the width of the design. For best results, be sure to use enough ink to avoid having to make multiple passes. Some practice may be required.
6. Using the squeegee tool, spread the ink down the stencil in a top-to-bottom direction using a smooth, uninterrupted motion. For best results, spread the ink in a single pass. If repeat passes are required, spread the ink in the same direction. Results may vary on projects that require repeat passes.
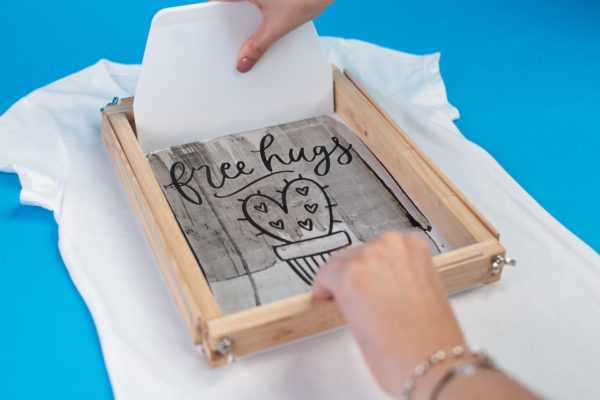
7. Lift the frame and the stencil off your fabric. Allow the fabric ink to dry and then set the ink by ironing over it.

8. Rinse the stencil with water or wipe it with a damp cloth every 5–10 uses as needed in order to avoid clogs in the silkscreen. When finished, rinse the stencil and store it in a dry location for repeated use.
Kelly Wayment
June 28, 2024
You can use it with vinyl as long as it is smooth and flat to allow the static charge to hold on to it. Rolled vinyl that wants to go back to its rolled shape will not necessarily work well, and it would need to be trimmed to fit the ES mat cutting area.
Kelly Wayment
June 28, 2024
Yes, you can use the heat pen while using the ES mat. 🙂
Yurii
March 2, 2024
Hello. May it be used with heat pen?
Thanks
Jerome
February 24, 2024
Hi, works this with the normal vinyl foils or only with printer papter etc?
Kelly Wayment
February 16, 2024
Once you’ve pushed the mat up against the rollers, just press the “Load” arrow button (bottom right on the display). Does a regular sticky mat load into the machine for you?
Michelle a goodall
January 24, 2024
Hello! I just got my new electrostatic mat and have watched every video i can find on it. However, what i can t find is why it wont feed into my cameo 5/ it slides right up the rollers but wont go any further. and yes- iam pushing the into button. help!