When you are preparing to cut material with your Cameo or Portrait machines, depending on the material, it is sometimes necessary to load the material onto a cutting mat first, and then load the cutting mat into your machine. Follow the steps below to see what you need to do to load the cutting mat.
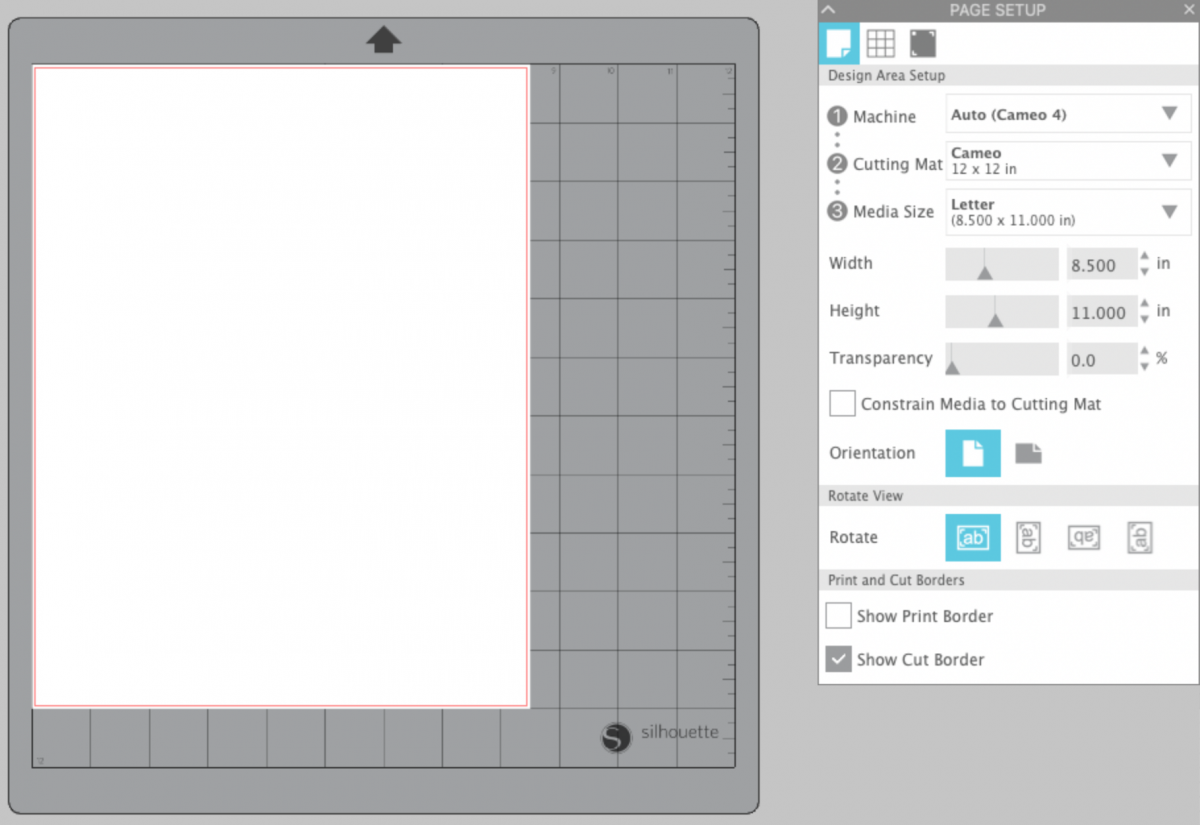
1. Silhouette cutting mats are available in several sizes. Be sure that you select the machine and the mat you are using from the Page Setup panel in Silhouette Studio® before beginning your project. We are using a Cameo 12 x 12 mat. Make sure you also specify the size of material you’re using.
2. Cutting mats are printed with a grid pattern to help you position and align your material. Place your material on your mat to correspond with the display in Silhouette Studio® before cutting.
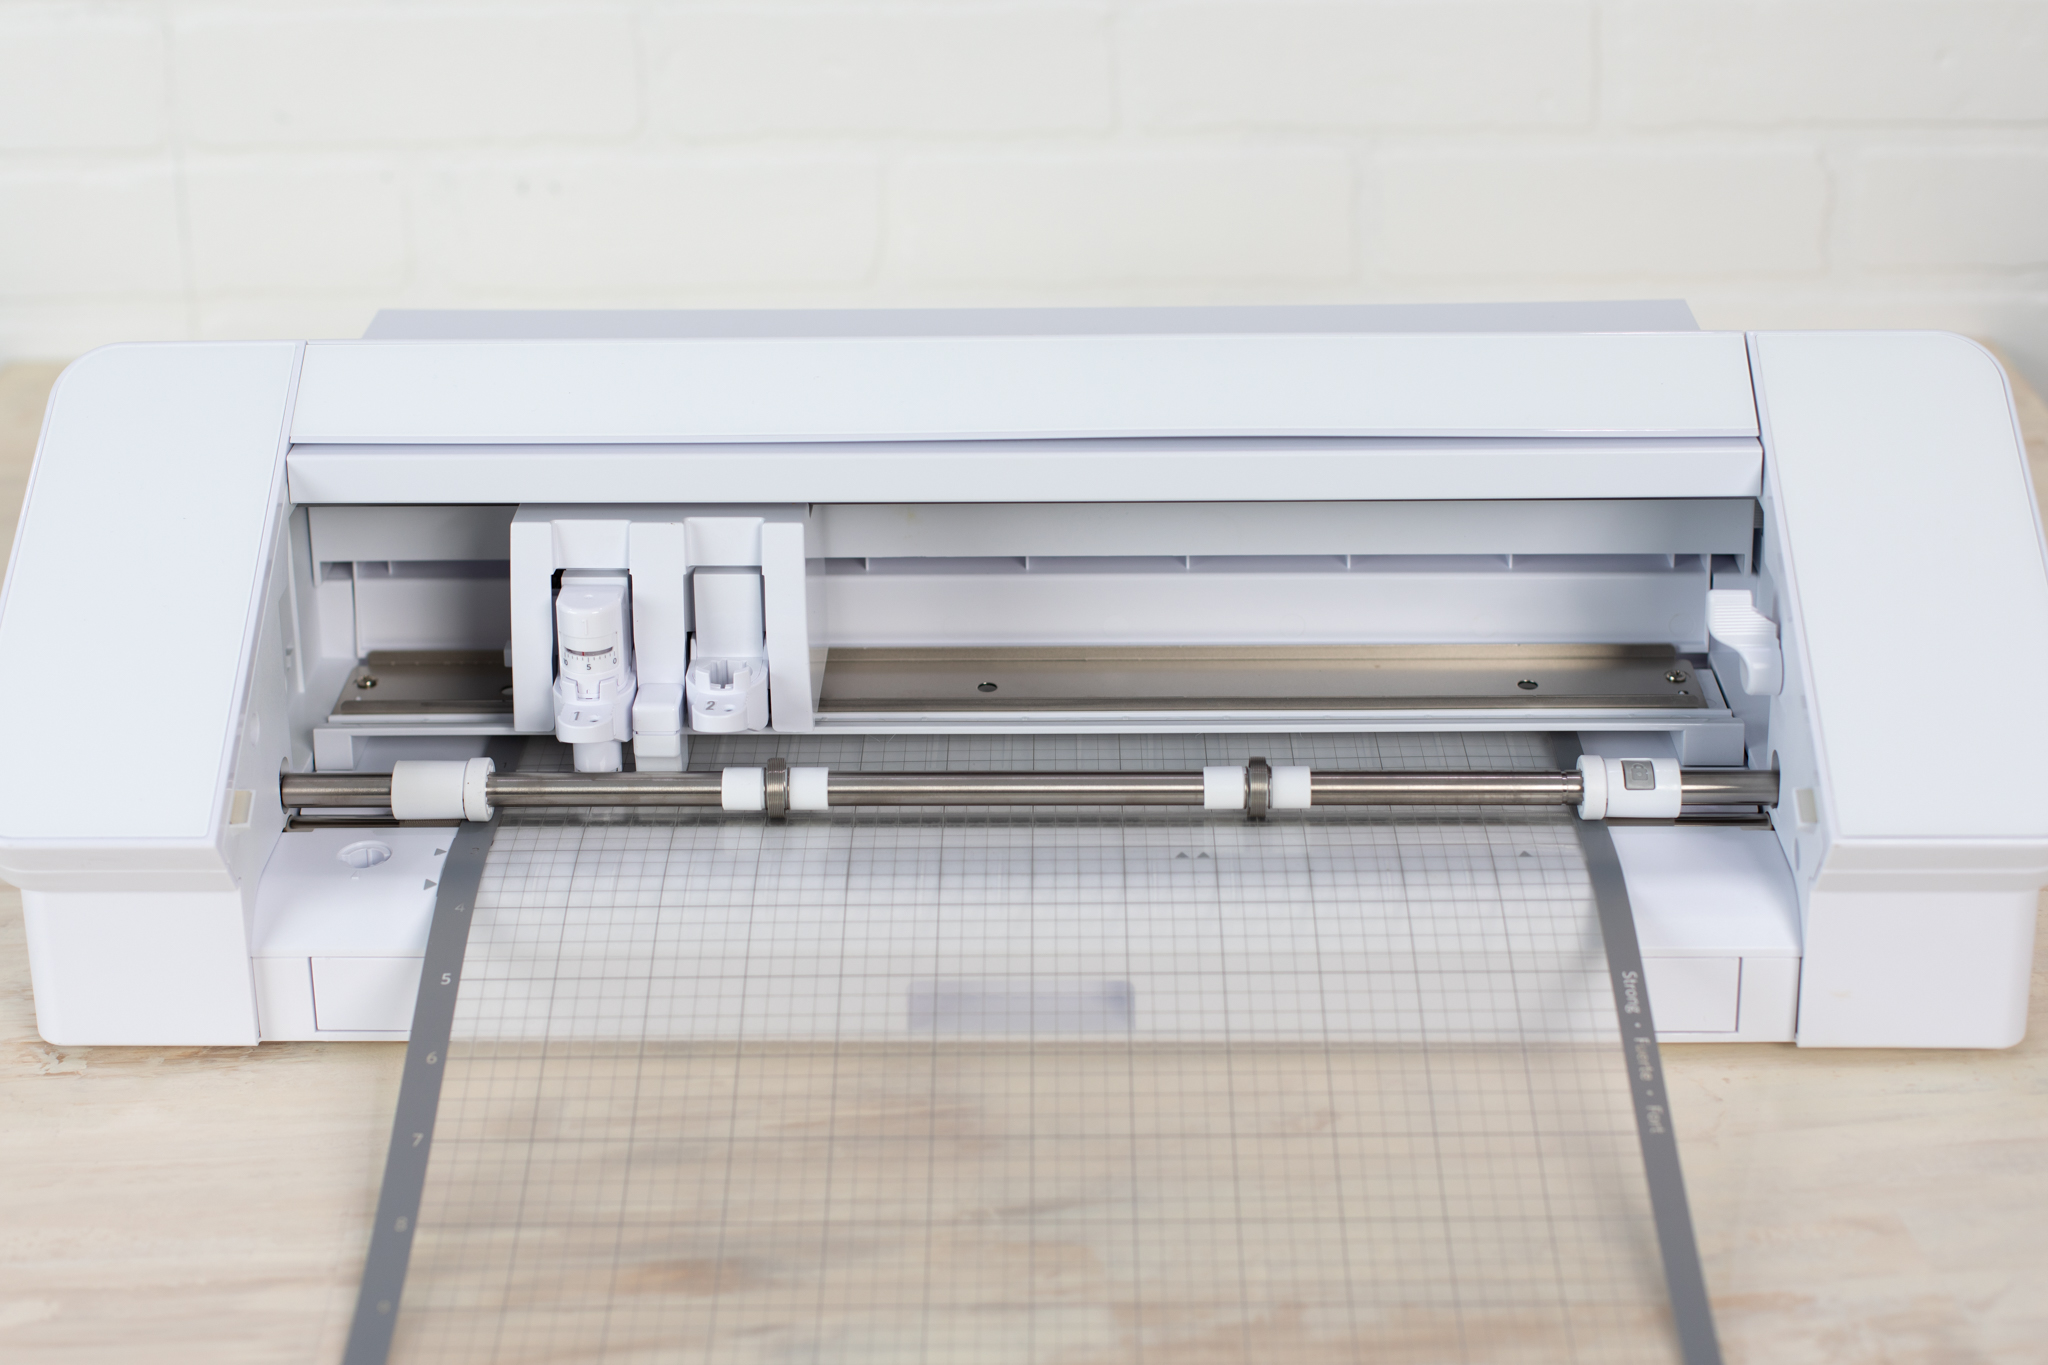
3. Use the blue or gray line (depending on your machine model) on the left-hand side of the machine as a guide to align your mat.
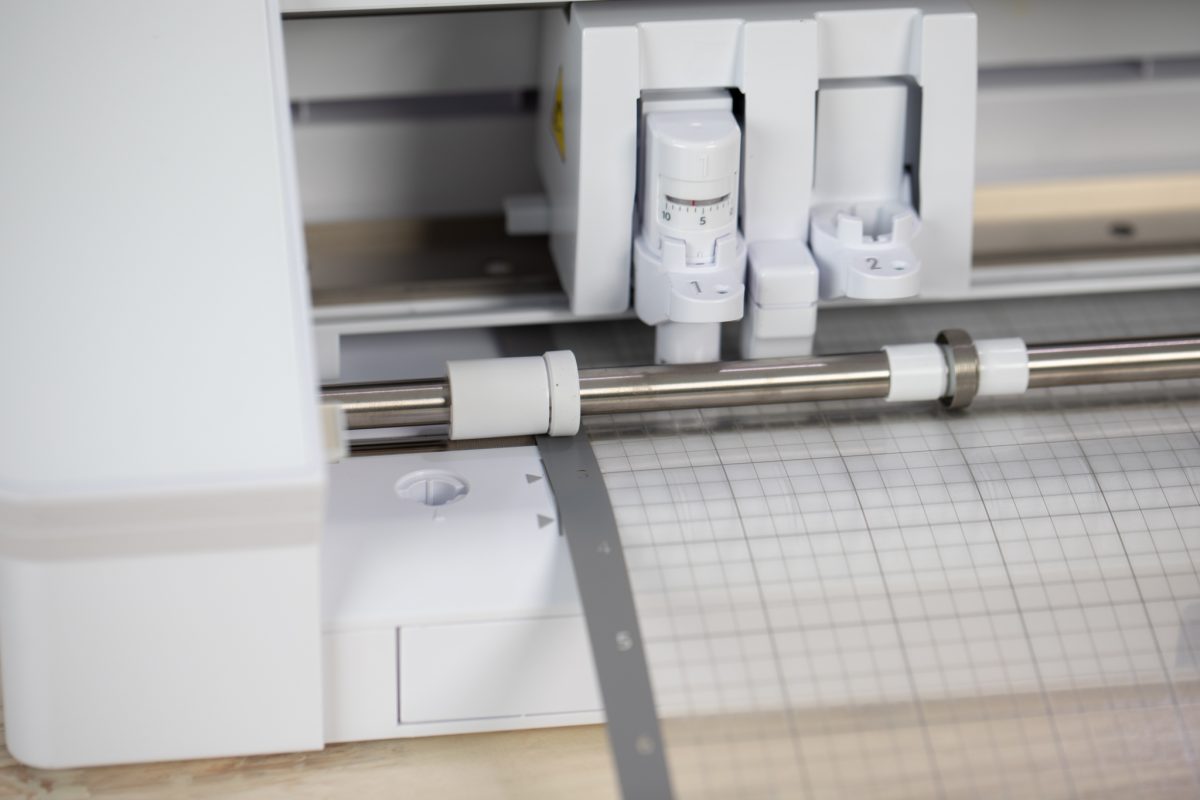
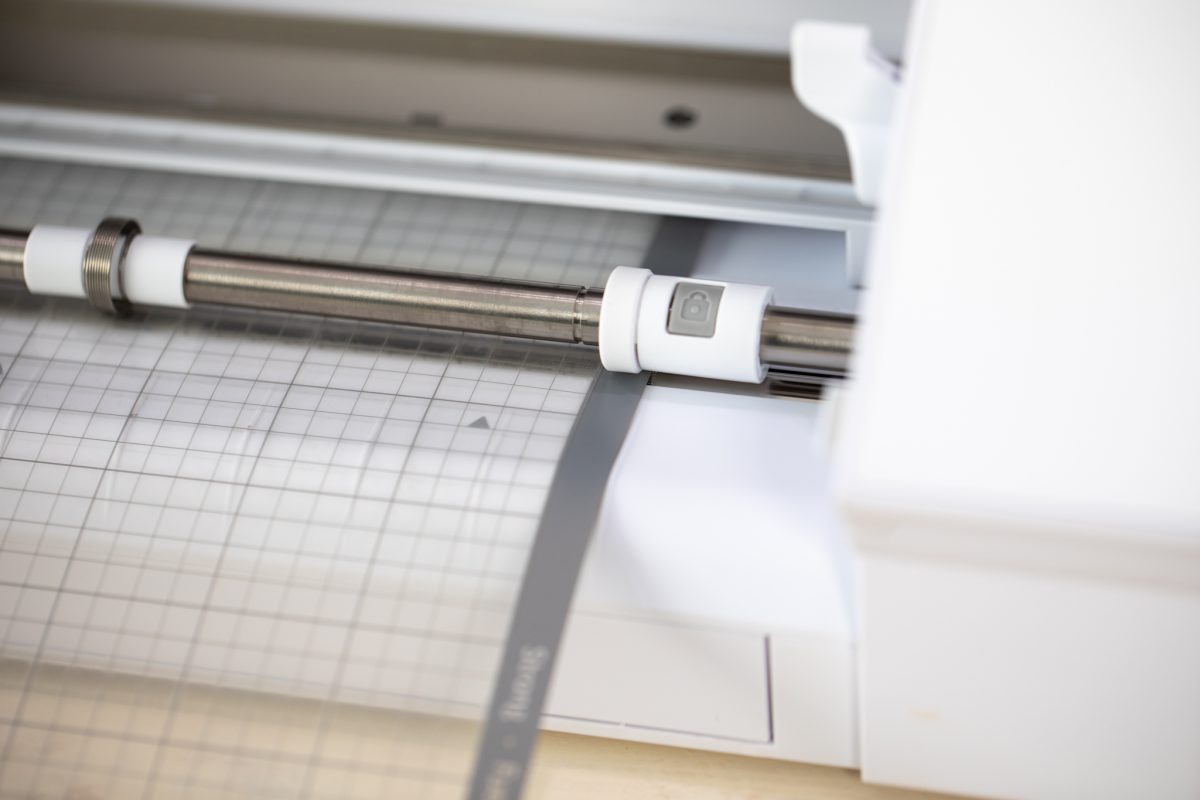
4. When loading a cutting mat into your Silhouette, make sure the arrow on top of your mat is pointing into the machine and press the mat against the white rollers. If you are using the Cameo, make sure you adjust your white roller on the right-hand side accordingly. Because we are using the 12 x 12 cutting mat here, we want the white roller to be at the right-most mark on the roller bar. This will ensure that the Cameo grips the edge of the cutting mat.
5. Load the cutting mat using the up arrow button (on any Portrait machine or Cameo 4 models) or the “Load Cut Mat” button on the machine’s display (for the Cameo 2 or 3). Your machine will grip your mat and roll it into the cutting area. You are now ready to cut.
