
With the Silhouette Curio™, you have the ability to etch custom designs on metal. This opens up so many possibilities for you! You can make some awesome artwork, jewelry, or decor items. Follow these steps to see how it’s done.
Supplies Needed:
- Silhouette Curio™
- Silhouette Curio™ basic base and cutting mat (8.5 inches by 6 inches)
- Curio 7 inches by 5 inches metal etching sheets
- Curio stippling & etching tool
- Frame
- Design ID#271642
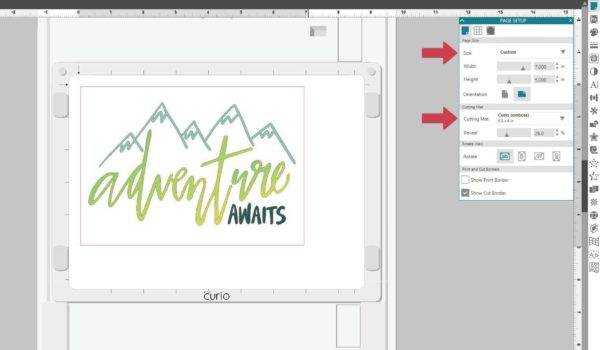
1. Open a design in Silhouette Studio®. Under the Page Setup panel, change your cutting mat to Curio (emboss) 8.5 inches by 6 inches mat. Resize your page to 7 inches by 5 inches (the same size as the metal etching sheet).
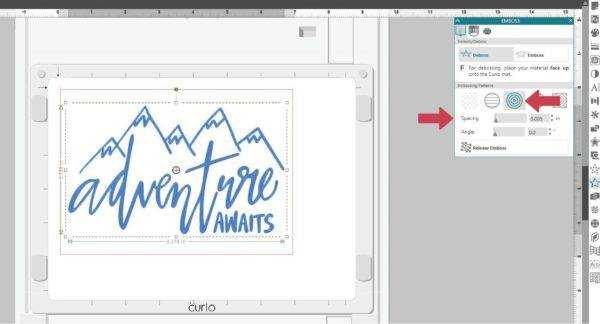
2. Open the Emboss panel and select your design. In this example, we used the concentric fill with a spacing of 0.005 inches.
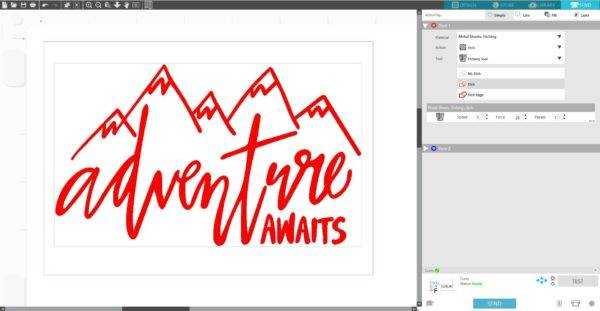
3. In the Send panel, choose your material type as “Metal Sheets, Etching” and change your action to “Etch” and your tool as “Etching Tool.”
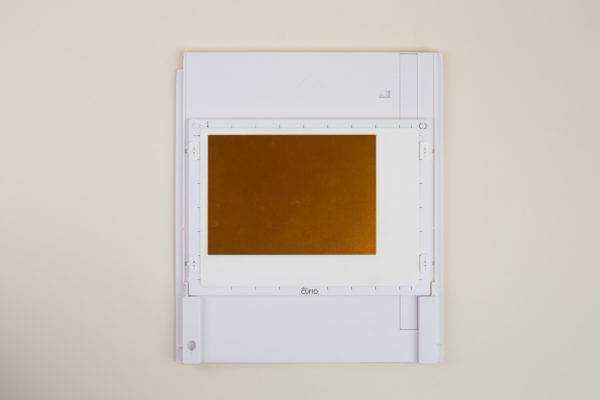
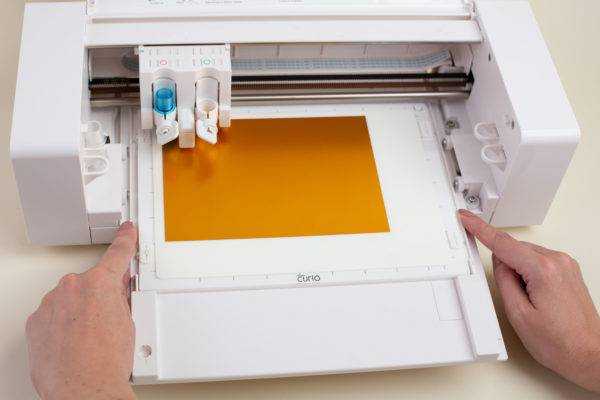
4. Place 2+2 platforms + embossing mat onto the Curio base (use the snaps on both sides of the etching space to hold the platform and embossing mat in place). Place a metal etching sheet on the embossing mat.
5. Insert the stippling and etching tool into the tool holder. Load the Curio base into the machine. To do so, locate the arrow at the top of the base. This tells you which way to load the base into your Curio. Gently insert the base into your Curio. Continue pushing until the small notches on the base are pushed farther in than the front of your machine.
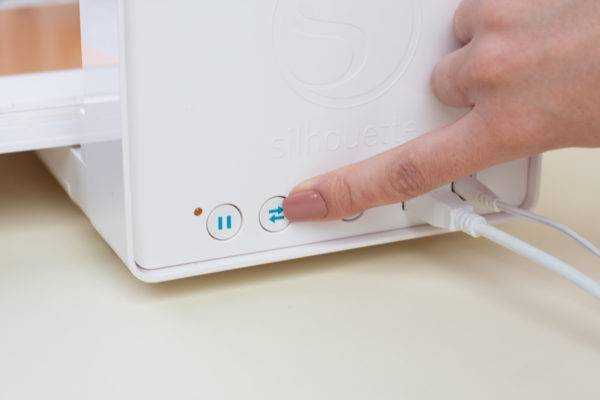
6. Hit the load button on the right side of your Curio. The Curio will pull the base in place.
7. After you have loaded the Curio base, you will see that Curio status will change to Ready. After checking all of your settings, click Send. Your machine will proceed to etch.
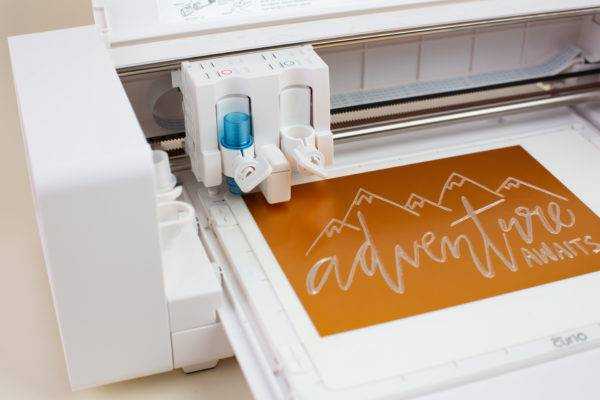
8. Once the etching is complete, unload the base from the Curio. Removed the etched metal sheet and insert it into a frame.