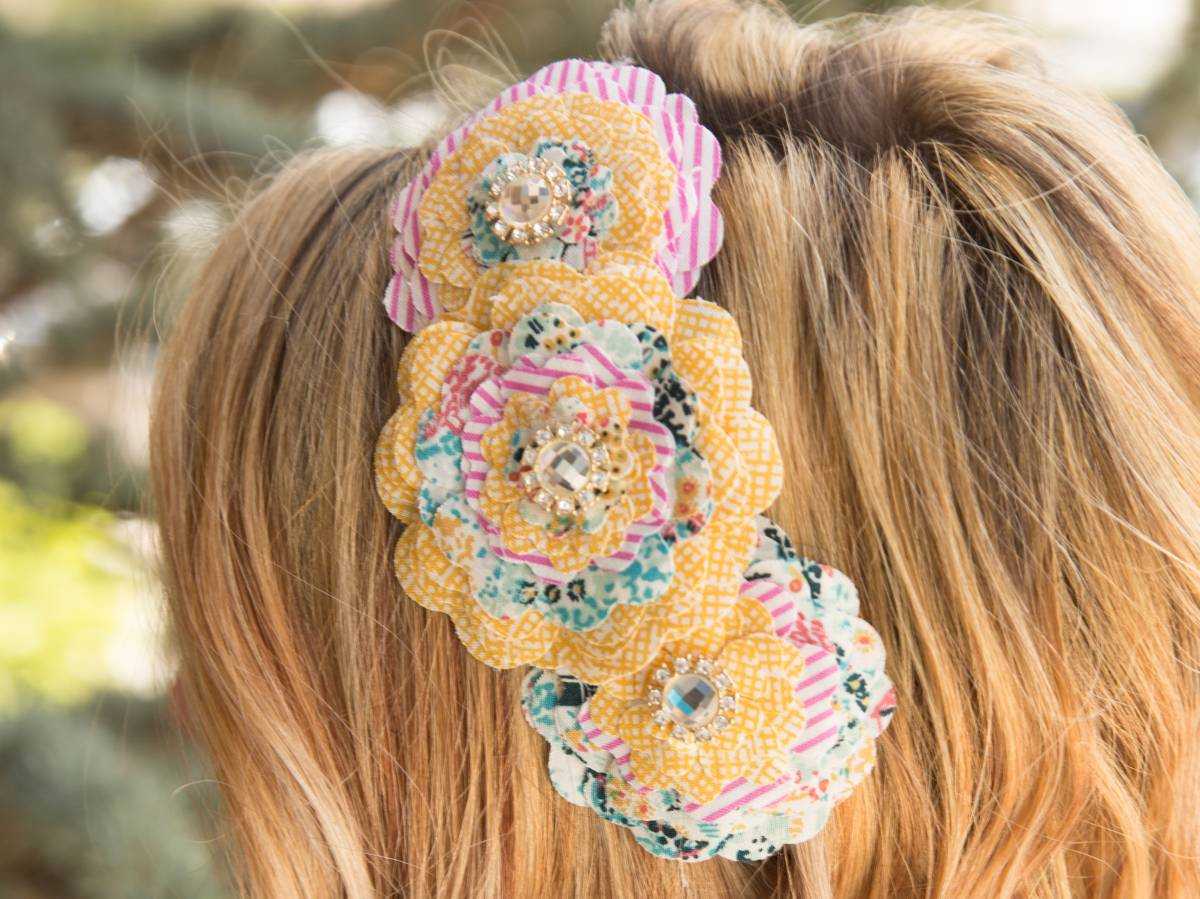
Did you know that you can cut fabric with your Silhouette machine? This is a fantastic feature of the Silhouette machines because you are able to cut fabric precisely. You might be too scared to try, but we hope we can put your mind at ease with this tutorial; it’s easier than you think. Let’s get started!
Supplies Needed:
- Silhouette CAMEO® or Silhouette Portrait® or Silhouette Curio™
- Silhouette Cutting Mat
- Silhouette Fabric Cutting Blade
- Silhouette Fabric Stabilizer
- Iron
- Scissors
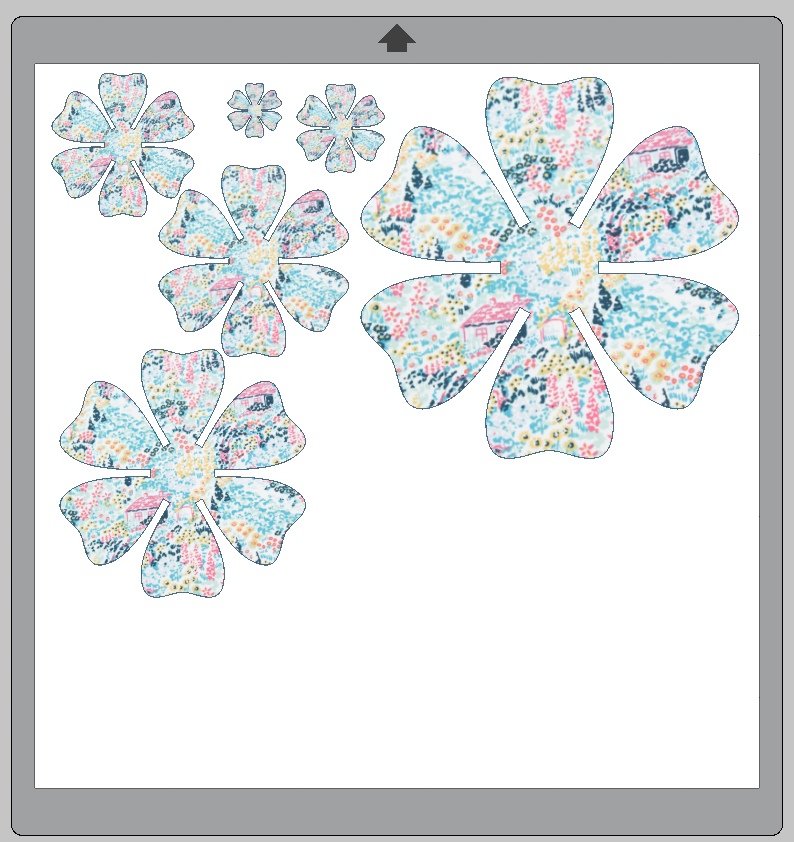
- Design ID #49442
- Open design in Silhouette Studio®.
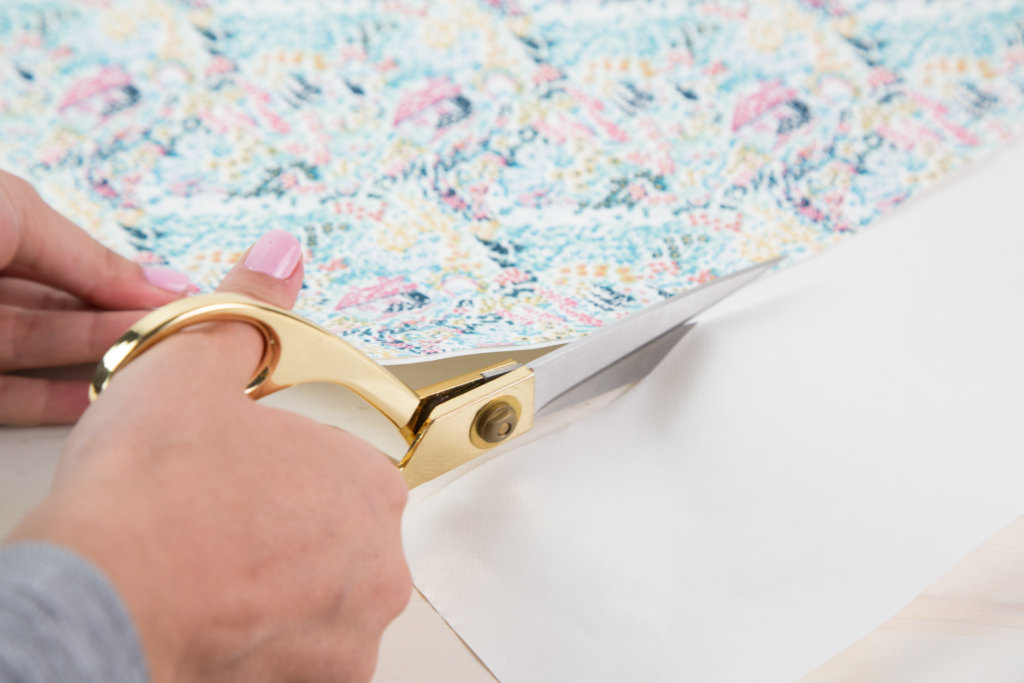
- Cut a piece of fabric that is larger than your design.
- Cut a piece of fabric stabilizer that is the same size as your material. To cut fabric, you will need to apply some type of fabric stabilizer because the fabric is not rigid enough on its own to cut, even with a cutting mat. Silhouette offers three types of fabric stabilizers — clean cut, cut and sew, and wash away.
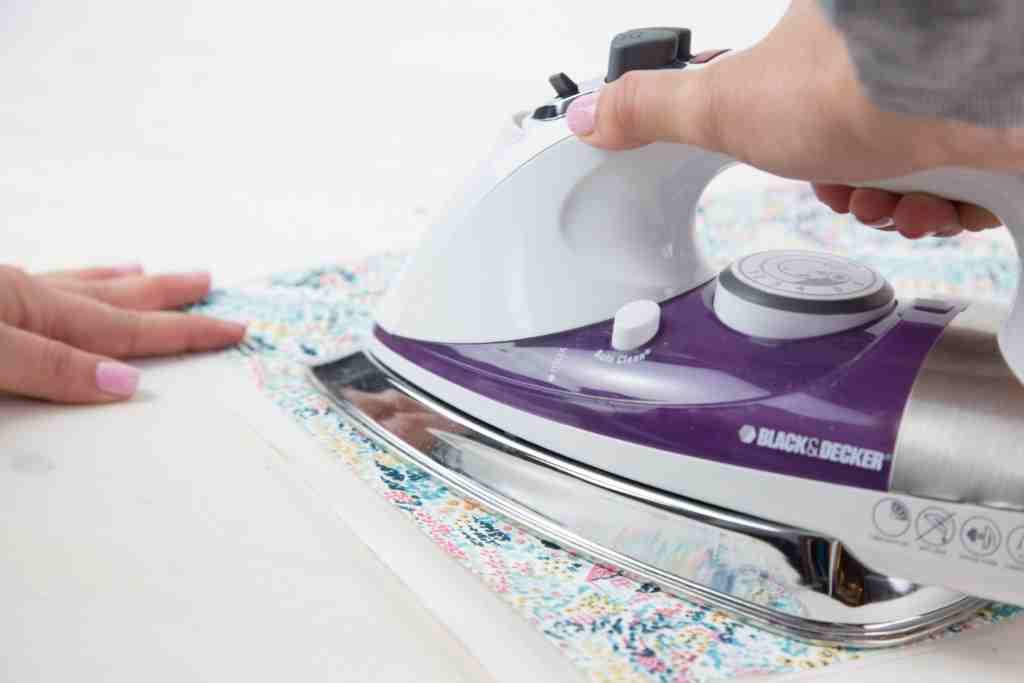
- Iron together the back side of the fabric with the rough side of the fabric stabilizer.
- Let your fabric and stabilizer cool. Trim off any excess fabric on the edges.
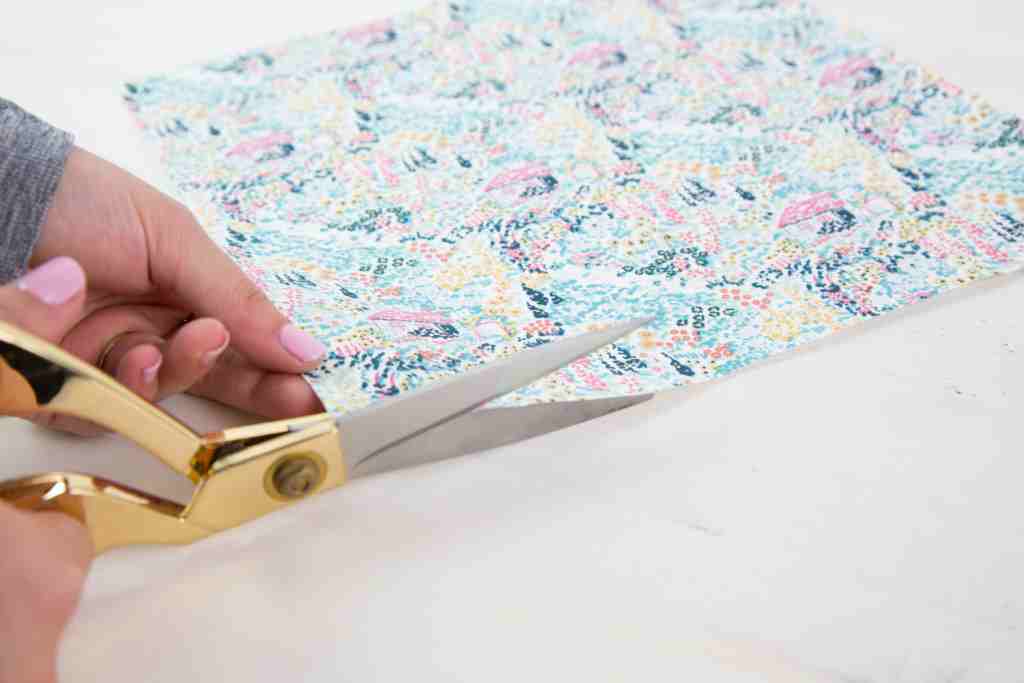
- Put your fabric on your cutting mat with the right side of the fabric facing up.

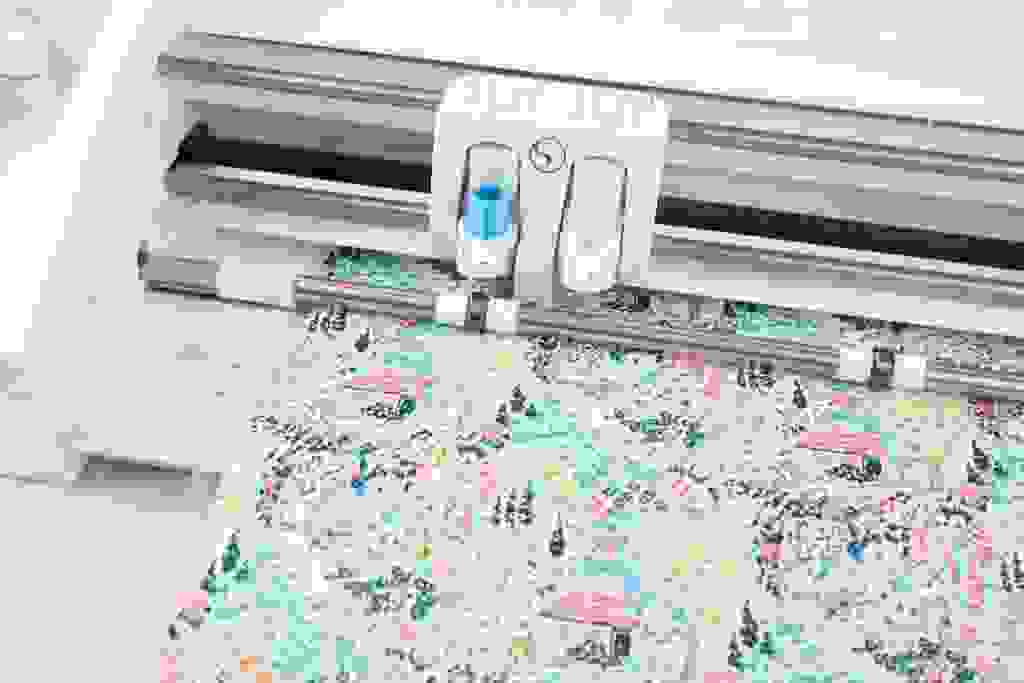
- In the material drop-down menu of the Send panel, choose “Fabric” as your material type. Send your design to your Silhouette. Use a fabric blade to get the cleanest cut.

- If you used Fusible Fabric Stabilizer, you can now iron your cut fabric onto whatever surface you are working with. If you used Cut and Sew Fabric Stabilizer, your fabric is ready to sew. If you used Wash Away, wash your fabric with soap and water and then let it dry.