
I’m so excited to be getting into the Christmas spirit, and today I’m sharing the how-to for these DIY Santa gift tags! When it comes to Silhouette, the possibilities are ENDLESS! I always say that, but it’s SO TRUE! I dreamed up these Santa tags and knew what I wanted them to look like, but I couldn’t find a Silhouette file that would bring my creation to life. But that’s the thing; in Silhouette Studio® you can create ANYTHING! So I found a couple of Santa designs that I thought were cute, and then I opened up my FAVORITE Silhouette Studio® tool, which is the modify panel! If you haven’t played with the modify panel yet, it’s so easy to use! You’ll be a pro in no time. Using the modify panel AND the new eraser/knife tool (shown below) is how I combined shapes and took the parts of the designs I liked to create something brand new!

Supplies Needed:
- Silhouette CAMEO® or Silhouette Portrait® or Silhouette Curio™
- Silhouette Cutting Mat
- Silhouette Blade
- Silhouette Studio®
- Silhouette Double-Sided Adhesive (optional)
- Red, White, Black and Cream Paper
- Glue
- White Pom Poms
- Small Gold Fasteners
- Red/White Twine
- Pink Paint (optional)
- Small, Red Honey Comb Balls
- Design #69485
- Design #70540
- Design #16861
Step One: Open All Designs
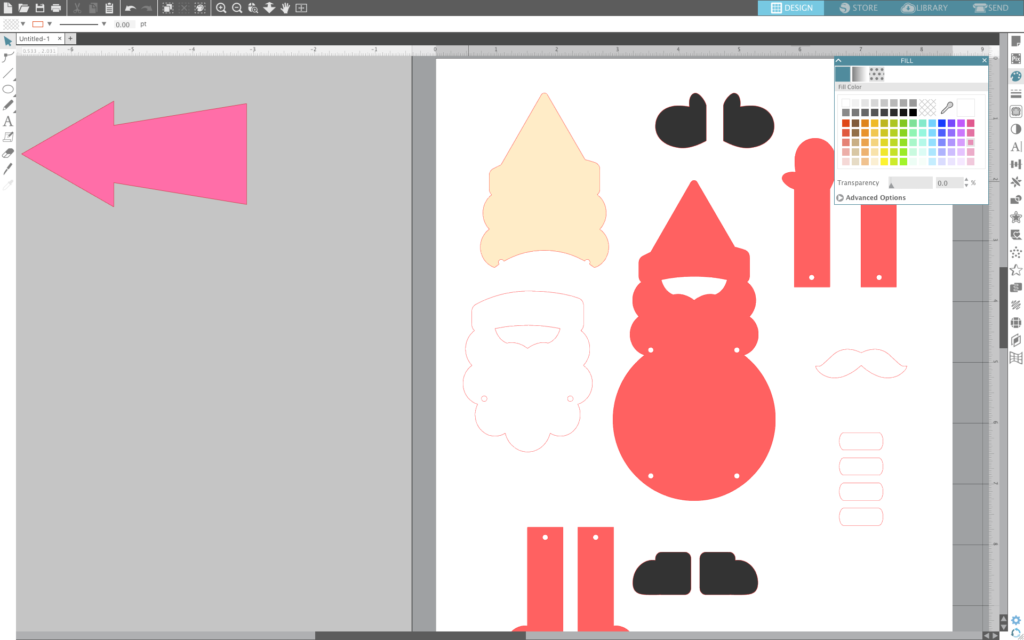
- Start by downloading and opening the designs. You can see my starting line below.
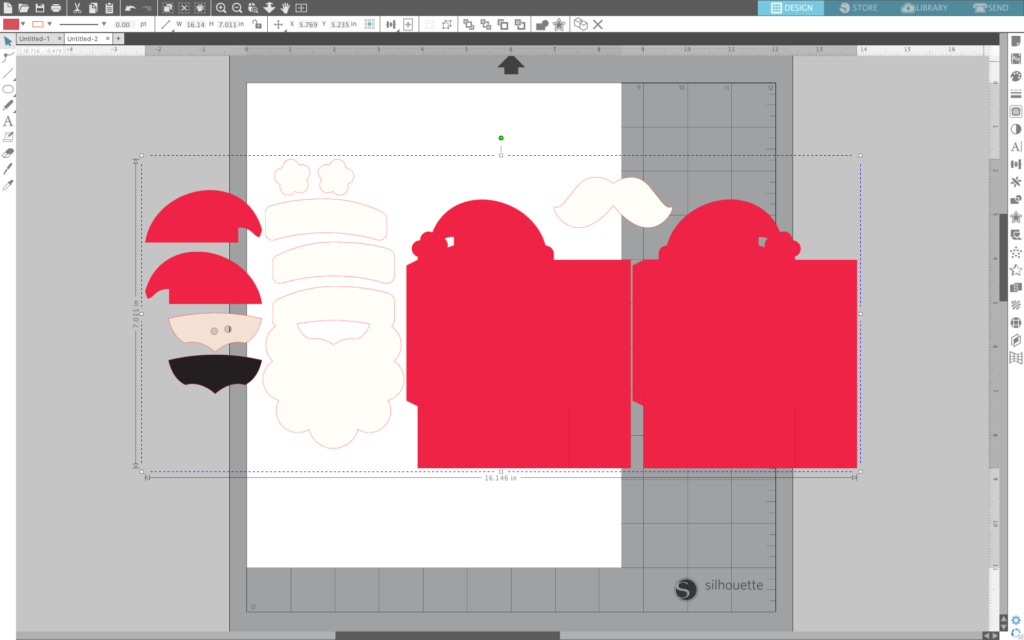
Step Two: Create the Necessary Pieces
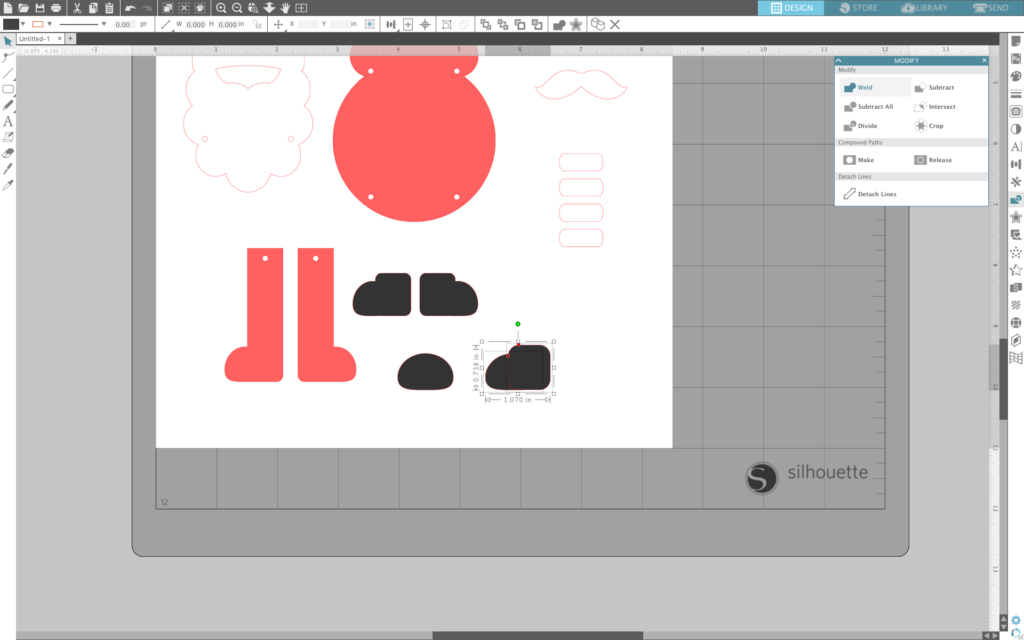
- Now the Modify panel and the eraser/knife tool come into play. As you can see below, I used the boots from Design #70540 and WELDED a rectangle (from the draw a rectangle tool, from the panel on the left-hand side), and BINGO! Boots.
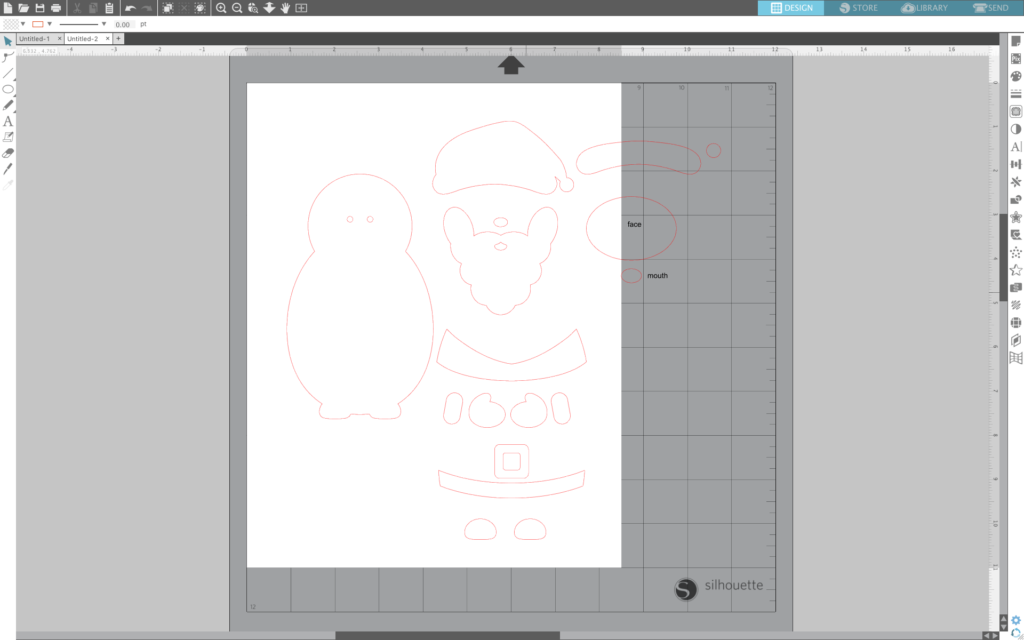
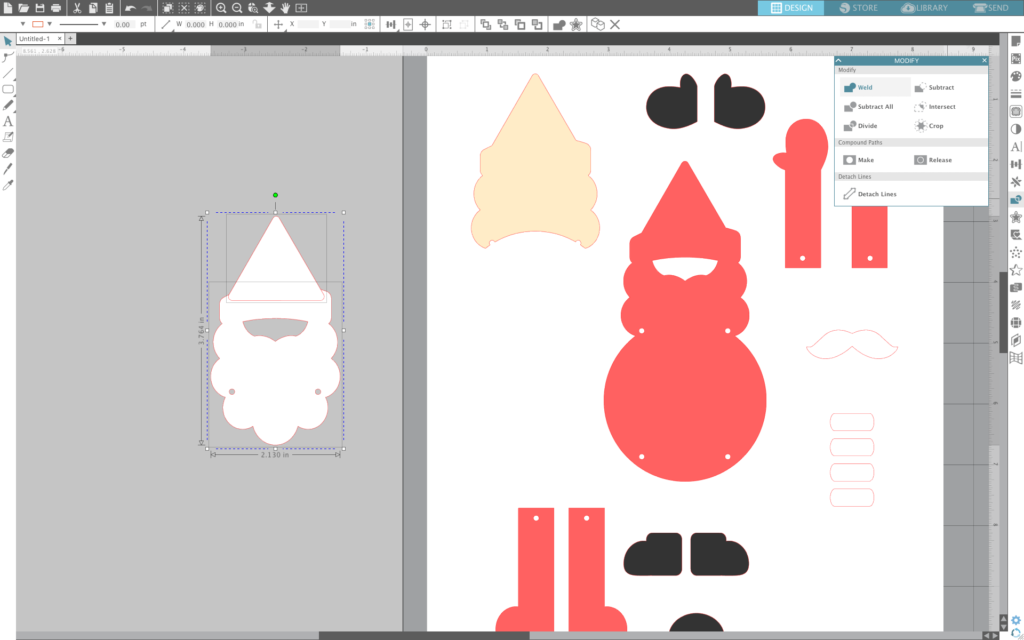
- I made the beard and the Santa hat shape, using Design #69485 and Design #16861. I simply welded the Santa beard to the triangle shape (see below).
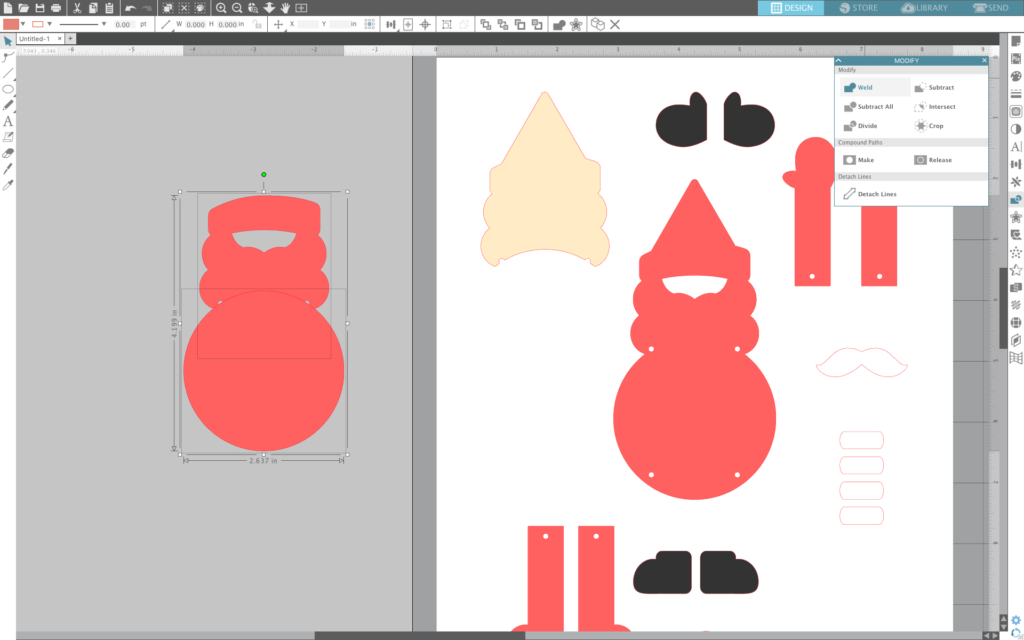
- For Santa’s body, I welded a circle from the draw window to the beard from design #69485, which you can see from the example below.
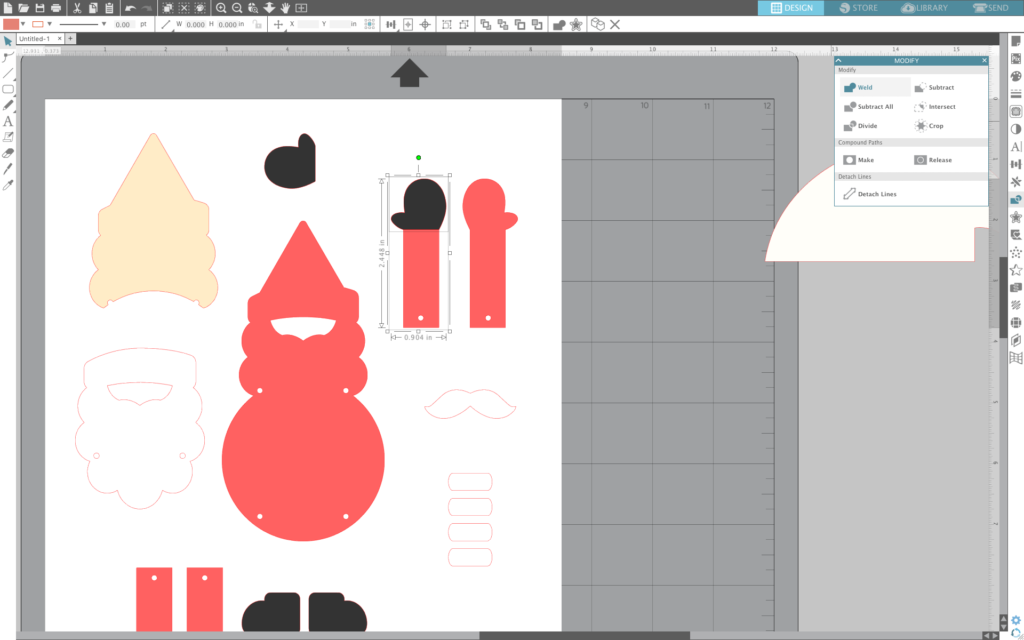
- I made the arms from Design #70540, drew another rectangle from the draw window, and then simply welded the two together.
Step Three: Cut and Assemble
- This project definitely falls into the category of “Some Assembly Required.” Ha. But once you’ve assembled Santa’s body to his hat and beard, you will connect Santa’s arms and legs using the small gold fasteners. When Santa finally looks like a Santa, it’s time to give him the classic Santa belly. I attached my red honeycomb ball to the middle of Santa’s tummy using a hot glue gun. Finally, glue a piece of red and white twine to the back, and you are good to go. For an example of the finished design, take a look below. I created ALL of this by simply welding and subtracting things in the Modify panel and using the eraser/knife tool, which is located on the panel on the left in Silhouette Studio®.

Step Four (Optional)
- Santa isn’t Santa without his cheery cheeks. So I cut tiny little circles from the Silhouette Double-Sided Adhesive, took one side of the sticker off, painted it pink, and when it was dry, I stuck it right onto Santa’s face to give him the cutest rosy pink cheeks and add more texture to my project. BTW, I use Silhouette Double-Sided Adhesive for EVERYTHING! I love the stuff!

- Proceed to attach these Santa tags to EVERY gift because they are THAT cute! I hope you enjoy playing with the Modify panel because experimenting with it is how I taught myself how to do these things.