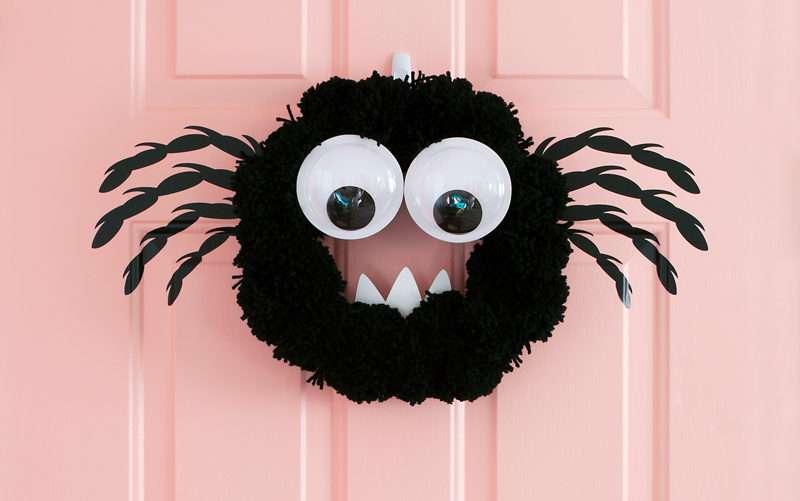
I love LOVE crafting for Halloween, and this DIY spider wreath is one of my all time, TOP holiday projects! I think it turned out so so so cute! Even my hubby was like, “WOAH, I really like that Brie,” and when your husband notices, then you know you did something right.
To make your own creepy-crawly wreath, follow the steps below.
Supplies Needed:
- Silhouette CAMEO® or Silhouette Portrait® or Silhouette Curio™
- Silhouette Cutting Mat
- Silhouette Cutting Blade
- Silhouette Studio®
- Silhouette Matte Vinyl
- White Card Stock
- White Foam Wreath, Painted Black
- Giant Googly Eyes
- An Assortment of Black Pom-Poms
- Hot-Glue Gun
- Design #67120
- Design #108211
Step One: Dress Up The Wreath
Start by painting a foam wreath black. Once dry, attach the black pom-poms to the foam wreath with a hot-glue gun. I feel like EVERYBODY has made a pom-pom wreath, RIGHT? Once your wreath looks like the beginnings of a hairy spider, attach the googly eyes with your BFF, the hot-glue gun.
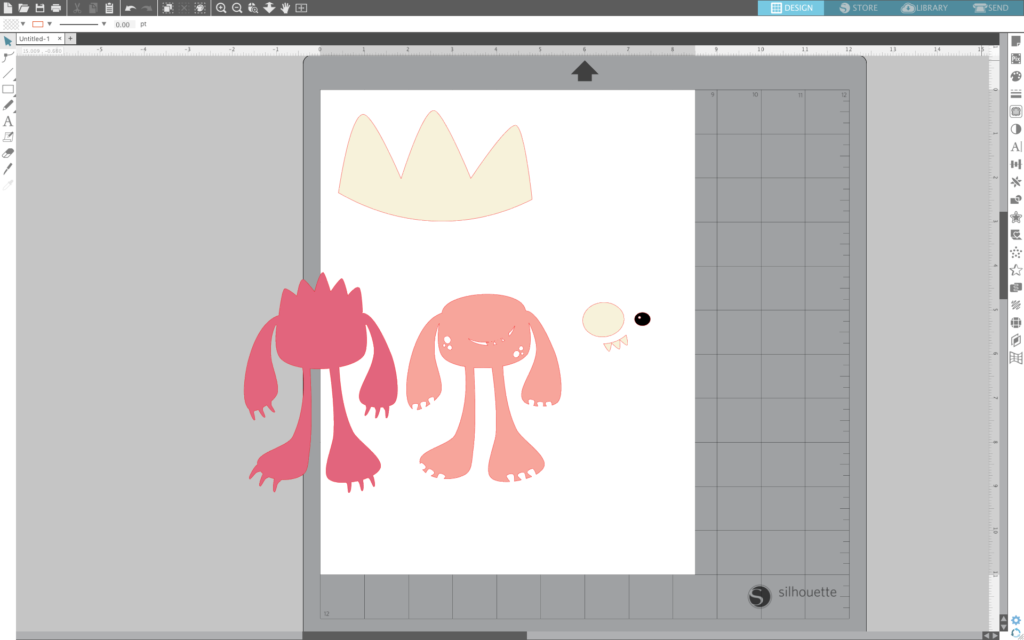
Step Two: Cut The Spider’s Legs
Now comes the fun part. To make the creepy-crawly spider legs, you will need the legs (and only the legs) of Design #67120. Really any spider legs in the Silhouette Design Store are super cute, but I liked this design the best. As you can see below, I sized my legs the biggest they could go horizontally with the Silhouette matte vinyl, so 9 inches across.

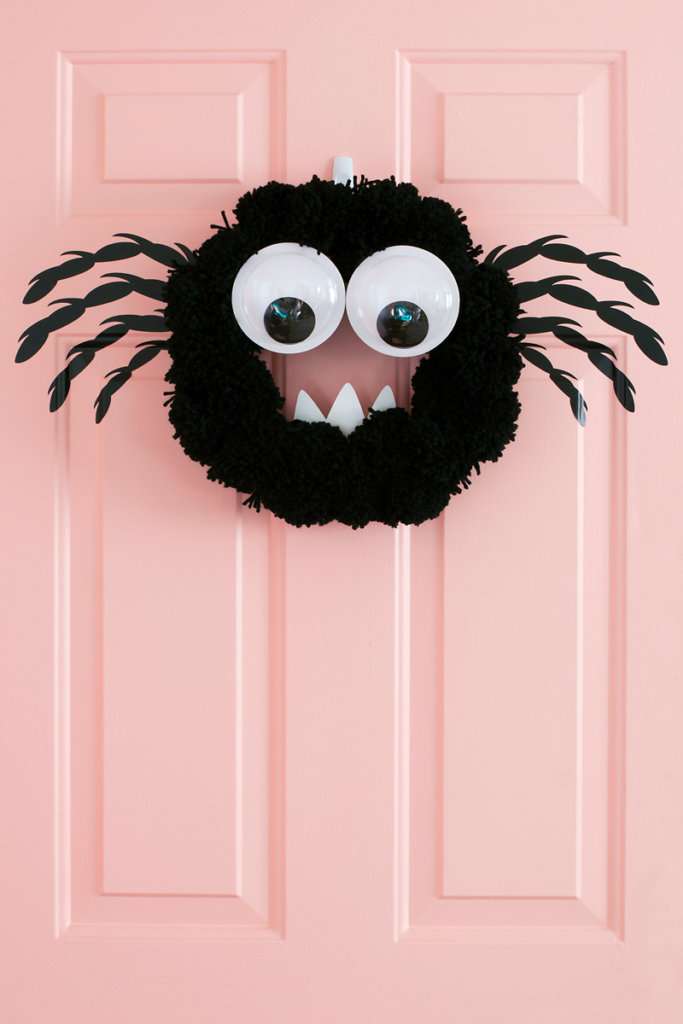
Once your spider’s legs are cut from the vinyl, apply them to your door. The legs will be BEHIND the wreath, so eyeball accordingly.
Step Three: Cut The Spider’s Teeth
Next, you will need to add some yummy teeth. I searched “Monsters” in the Silhouette Design Store, and I found a cute little monster with some pearly whites that I liked. I used only the teeth from Design #108211, as you can see below.
I did use a toothpick to attach the teeth to the wreath (hey, that rhymed) by simply adding a drop of hot glue to the teeth and attaching the toothpick. VOILA.
Hang your adorable creepy, crawly spider wreath over the legs, and you have a Halloween wreath that is sure to attract some attention… errr, flies.
Dawn McCloskey
October 28, 2017
Such a cute Halloween wreath. Thanks for sharing!