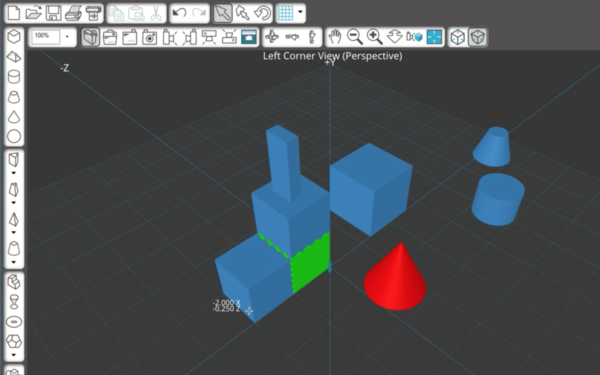
Drawings created in ModelMaker™ are in 3D. Although your computer screen is flat and doesn’t have depth, features in ModelMaker™ are in place to create a 3D effect with virtual width, height, and depth. The grid, axes, and perspective views all help with this 3D appearance. Models are drawn with their dimensions adjusted to show perspective, so the dimensions at the rear of the model are smaller than those at the front.
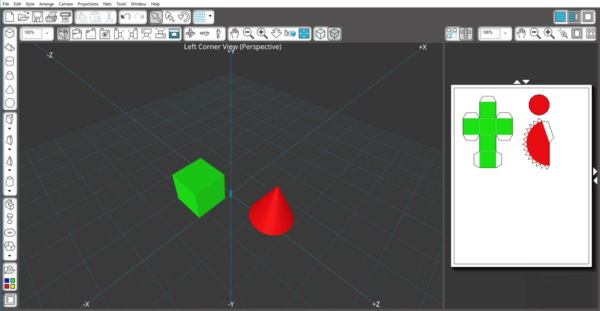 Also, models placed toward the rear of the screen are smaller.
 The grid is in place in the default drawing window to act as a floor for 3D shapes.
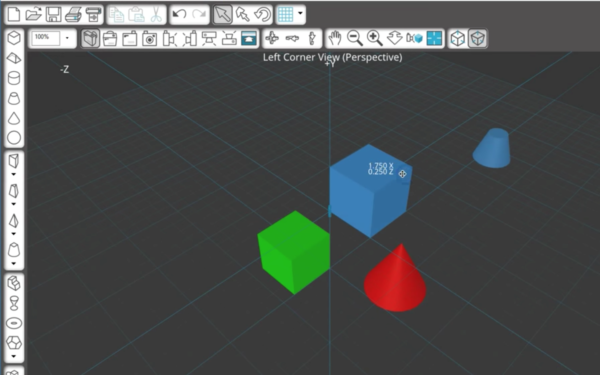
When in the default left corner view of the Edit Window, the grid provides a solid floor, and all the shapes drawn in this view are automatically drawn on the floor.
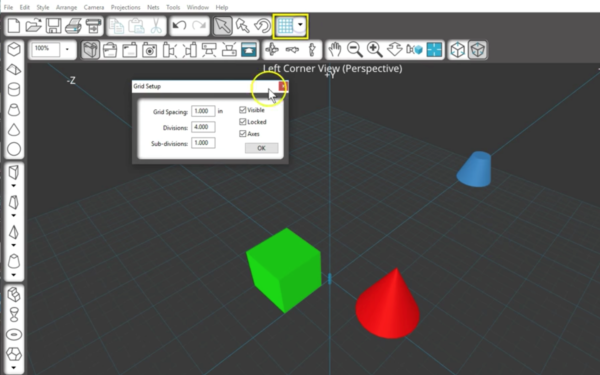
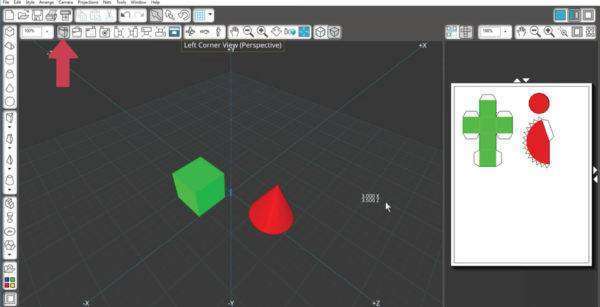 If you click this small arrow next to the Grid icon, you can adjust the grid settings.
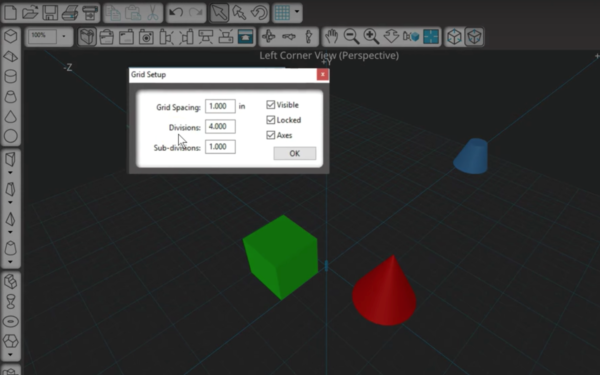
 Whether you’re working in metric units or inches, you can adjust the grid spacing for your project. We want to simplify it for my purpose at the moment, so we’ve set the spacing to 1 inch, with 4 divisions and 1 subdivision. You can choose to make the grid invisible or not, and you can choose to have the axes visible or not.
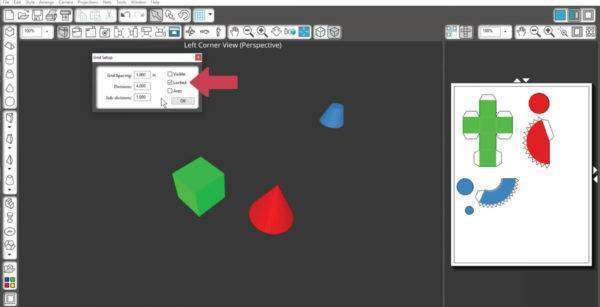
 By default, your grid is locked, which means your shapes as they are drawn or subsequently moved will snap to the grid spacing you’ve established. Unchecking the locked box means your shapes will not snap to the grid. We are going to keep it locked.
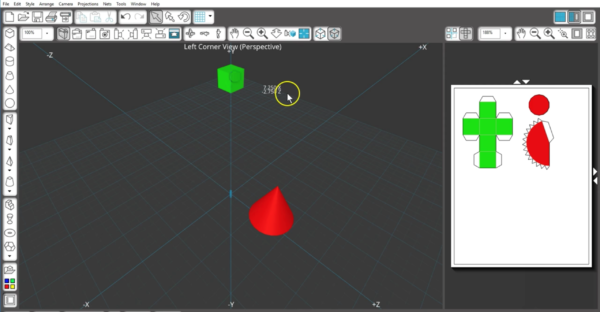
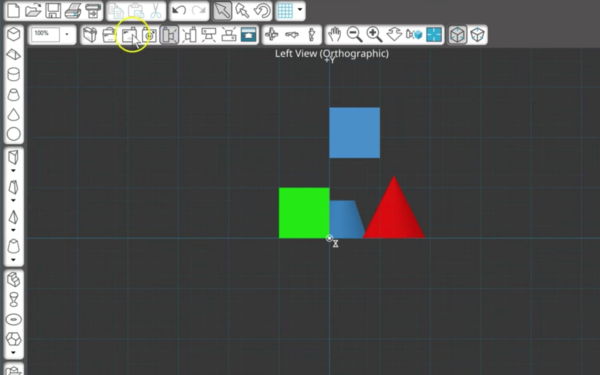
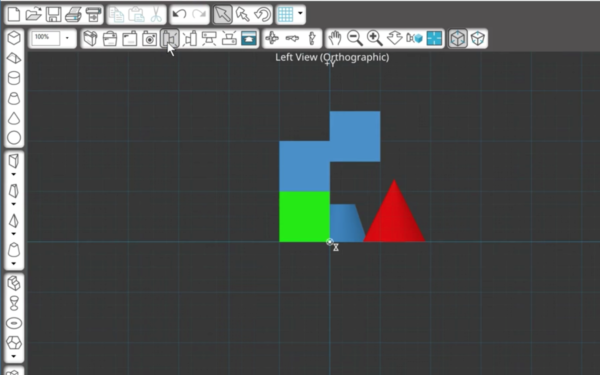
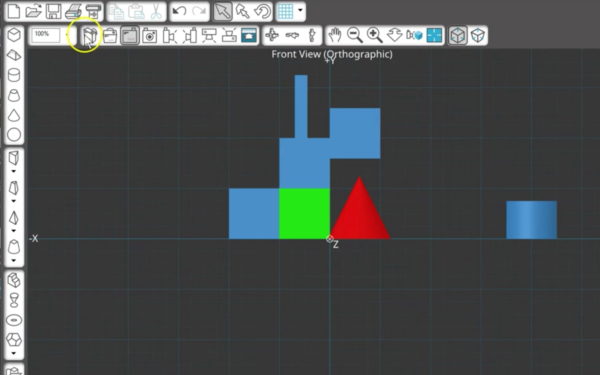
 Once a shape has been drawn on the floor, it remains on the floor when moving it around on the screen. In this way, ModelMaker™ makes it easy to build models with a lot of shapes on the same plane. If we switch to a side view, you’ll see they all share the same floor.
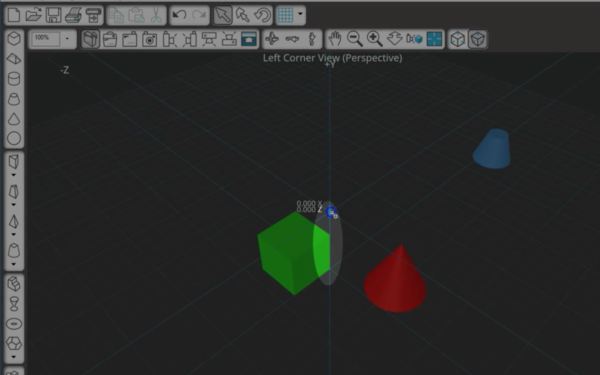
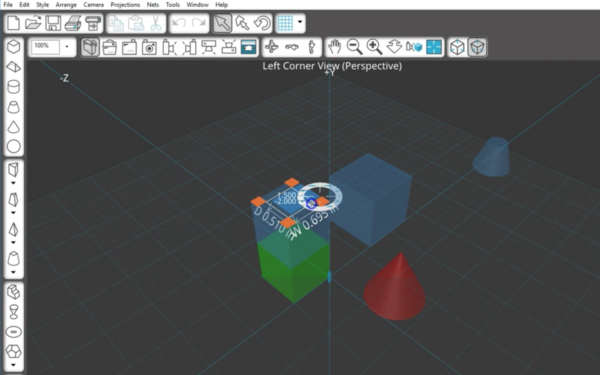
 What if you want to draw another shape but on a different floor? You can adjust the grid floor to a new height by dragging this blue handle and create a different floor for a new shape.
 We’ll look from the side, and then go back to the corner view.
 The grid floor easily snaps back to its original position.
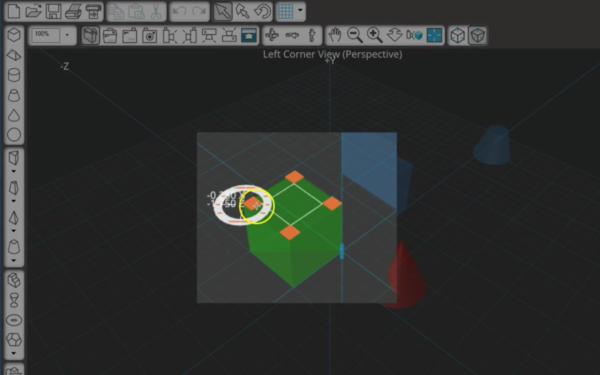
 There’s another way to use a different floor, and that’s by drawing a shape on top of another. Choose a new shape, and as you hover your elliptical cursor over a shape, it changes from blue to orange, and hot spot guides appear on top of the shape.
 While the cursor is orange, click to draw a new shape, and it will snap to the face of the shape below it, making a perfect match.
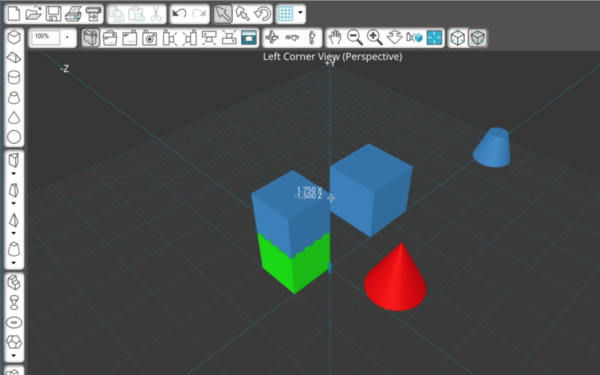 From the side, you can see the floor for the new shape is the top of the first shape.
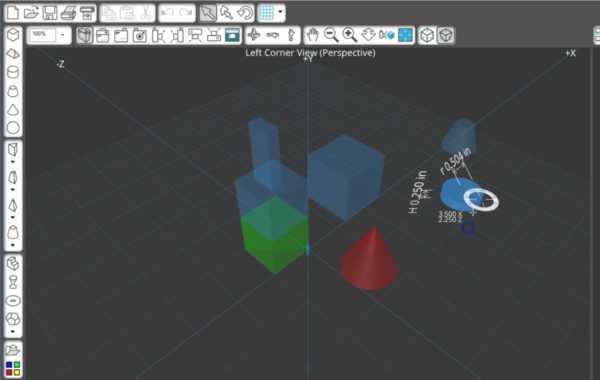
 When the cursor is blue, you can choose your own position to draw the second shape, but the hot spots indicate it will use the first shape as the floor.
 Notice that all existing shapes become transparent when a new shape is being drawn, which helps us see what’s happening during construction of the new shape.
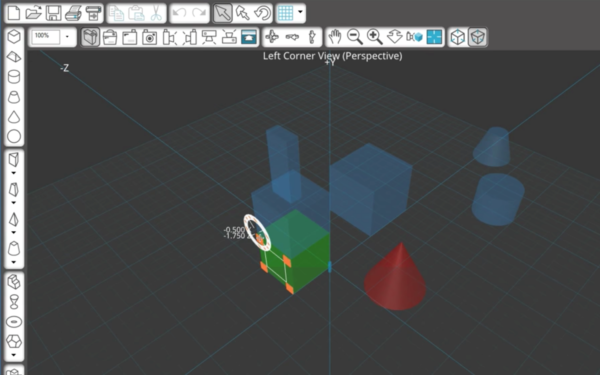
 The hot spots don’t just show up on top of a shape. You can also use the guides to snap and draw perfectly-joined shapes to the sides of existing shapes.
 That’s how to draw 3D shapes in the default perspective corner view.
 ModelMaker™ draws shapes a little differently when viewing from other angles, such as side or top, and we’ll cover that in a separate tutorial.