What if I told you that you could make wooden-style signs without woodworking tools? Yes, it’s totally possible with Silhouette’s wood sheets! The pack comes with two sheets of three different stains: light, dark, and gray. Now that I have a kindergartner learning to read, I made a faux wooden mini letter board so that I could surprise him with fun short encouraging messages like “Dream Big” or “Good Luck Today”! Follow along with the tutorial below to see how you can make one for your home!
Supplies Needed:
- Silhouette CAMEO® or Silhouette Portrait®
- Silhouette Cutting Blade
- Silhouette Cutting Mat
- Silhouette Studio®
- Silhouette Wood Sheets – 2 Gray Sheets and One Dark Sheet
- Professional Hot Knife (or a really sharp utility knife)
- Black Foam Core Board
- 8.5-inch-by-11-inch Cardstock
- Pencil
- Tweezers
- Plastic Letter Board Letters
- Design ID #219306
- Design ID #236110
Step One: Create the Faux Letter Board Design
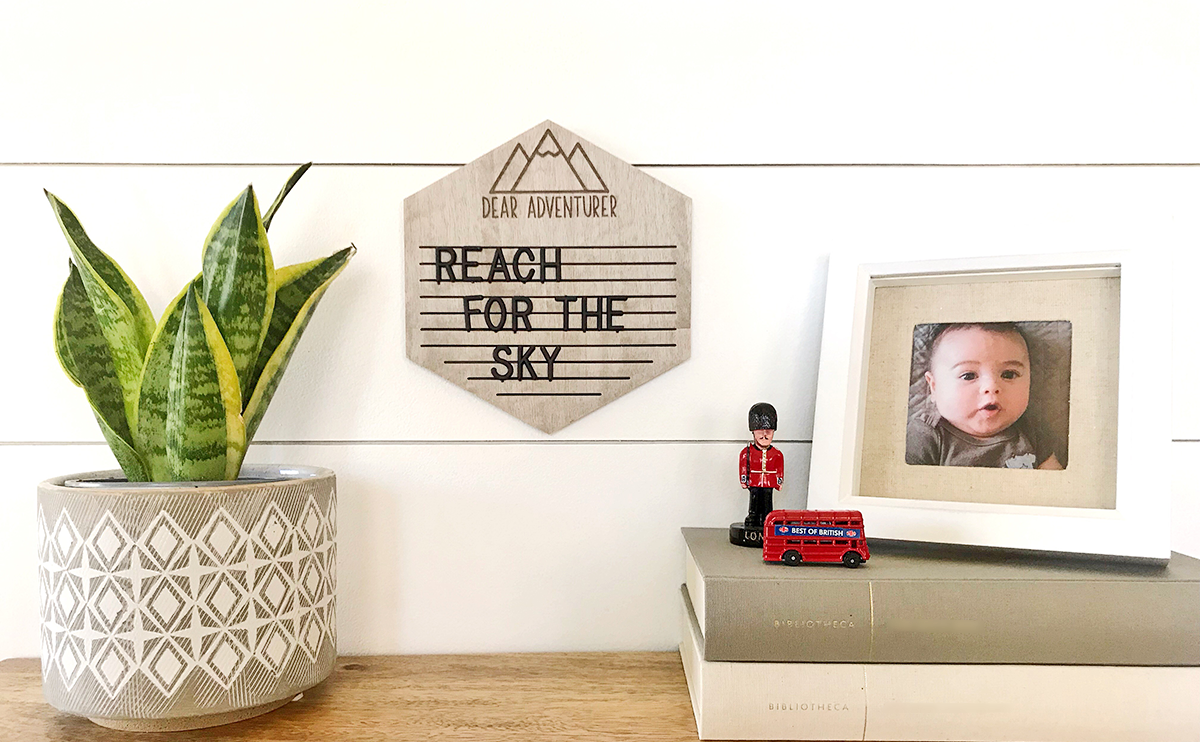
1. Draw a polygon. The default shape is a pentagon. Move the slide cursor to 6 to make a hexagon.

2. Click and drag on the tiny red dots to rotate the hexagon so that the top and bottom points horizontally align. Tip: I suggest turning on “Show Grid” under the View menu to help you with alignment.
3. Click on the hexagon and within the Scale Window, change the height to 6.75 inches and width to 6.25 inches.
4. Draw a rounded rectangle shape and click and drag the red dot to adjust corner to be slightly rounded.
5. Resize your rounded rectangle to 5.5 inches wide and 0.05 inches tall. This is the slot for the plastic letter board letters.
6. Copy and paste the rounded rectangle nine more times so that you have a total of 10. Set them about 0.3 inches apart or however far apart you would like. Tip: I created a 0.3-inch tall rectangle as a spacer to determine the placement of each rounded rectangle.
7. Select all 10 rounded rectangles and horizontally center align together. You can do this by going to the transform panel and selecting on of the horizontal alignment options.
8. On the most bottom rounded rectangle, change width to 0.25 inches. You do not want to change the height, so make sure the aspect ratio is unlocked. On the second to last rounded rectangle, change width to 0.35 inches. On the third to last rounded rectangle, change width to 0.45 inches.
9. Select all 10 again and right-click to group. Shift the group up or down as necessary to fit within the hexagon shape.
10. Next, horizontally center align the grouped rectangles to the hexagon and group together. Now you have created the base piece of your faux letterboard.
Step Two: Create the Letter Board Embellishment Design
1. Open Design ID #219306. In the Scale Window, lock the aspect ratio prior to changing the design size to 2.5 inches wide.
2. Right-click and ungroup the design. Delete everything but the mountain range.
3. Add the text “Dear Adventurer” or whatever you would like using the Carley & Co Bold Font (Design ID #236110).
4 . Once you like your text, right-click and select “Convert to Path” from the drop-down menu.
5. Resize text to 3 inches wide and adjust the placement as necessary.
6. Select both the mountain range and text, horizontally center align them, and finally group them together.
Step Three: Send to Silhouette
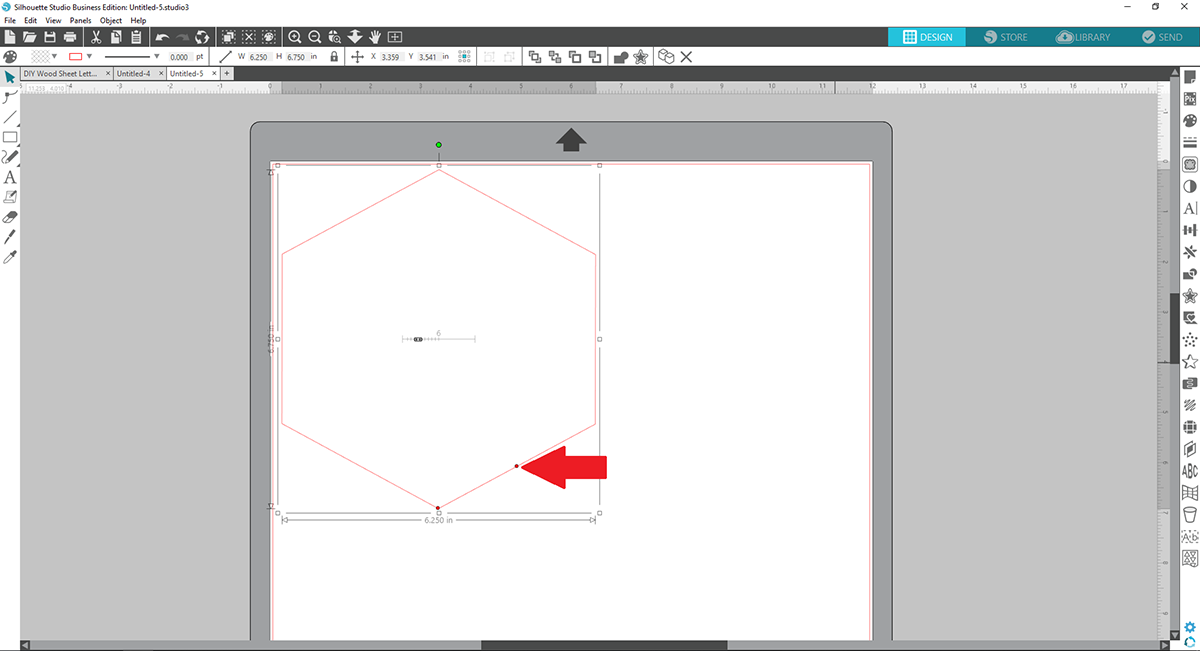
1. Move the grouped objects in Step 2 off the Silhouette Studio® design space.
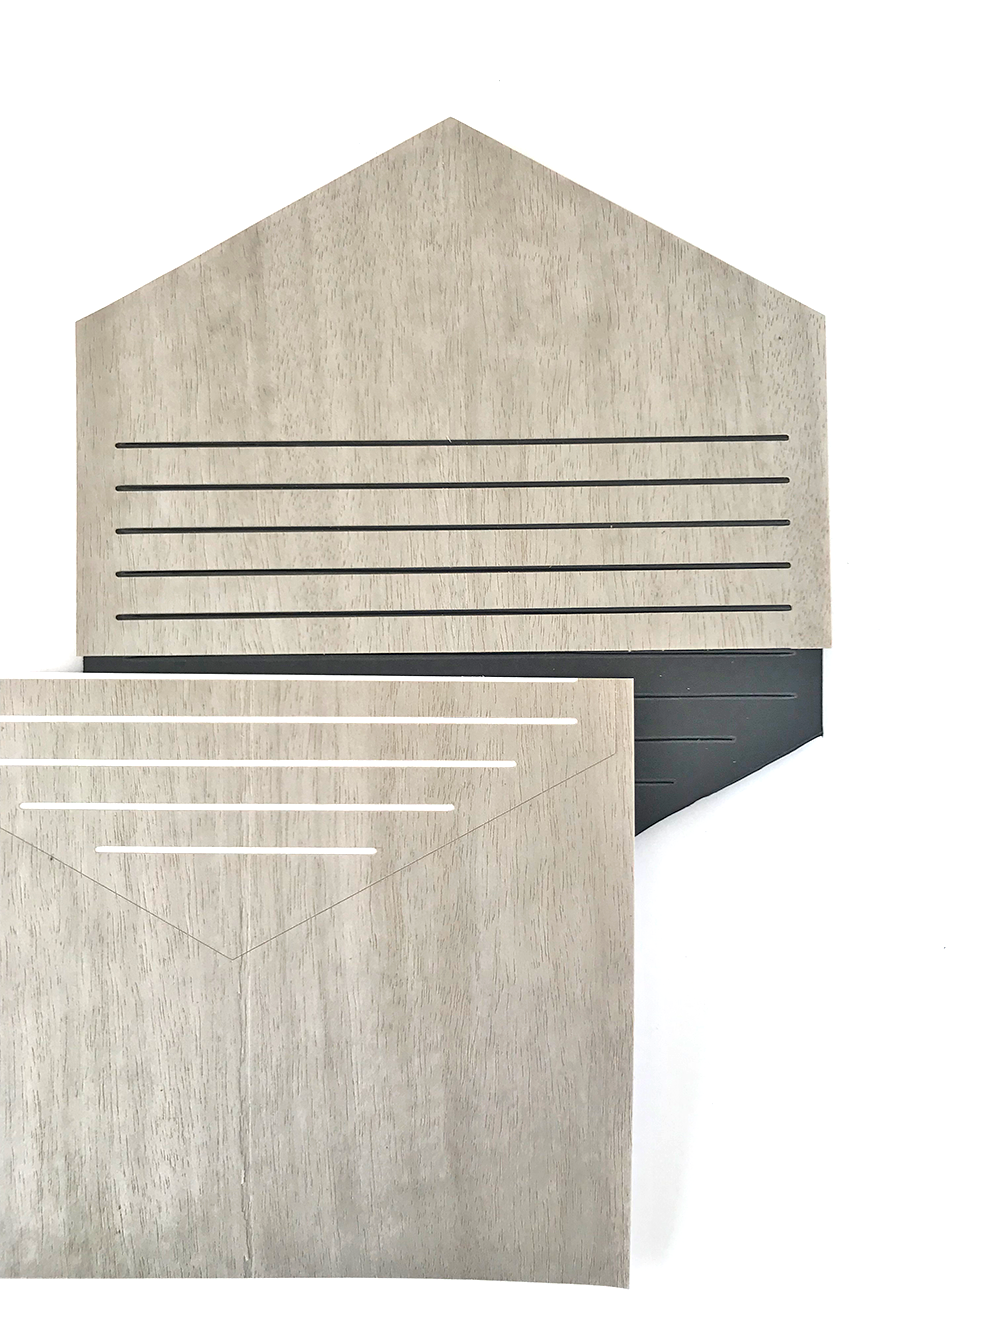
2. On your cutting mat, place two gray wood sheets side by side with the long sides of the sheets touching.
3. Send your base piece shape to your Silhouette machine with the proper wood sheet cut settings. Tip: I highly recommend doing a test cut first.
4. Once the wood sheets are cut, remove them from the cutting mat and place the letter-sized cardstock.
5. Send the same design to your Silhouette again with the cardstock cut settings. We are going to use the cardstock to a stencil to use on the black foam core board.
6. Next, place one dark wood sheet on your cutting mat and send your grouped embellishment design from Step Two to your Silhouette with the proper cut settings.
Step Four: Cut Black Foam
Core Board
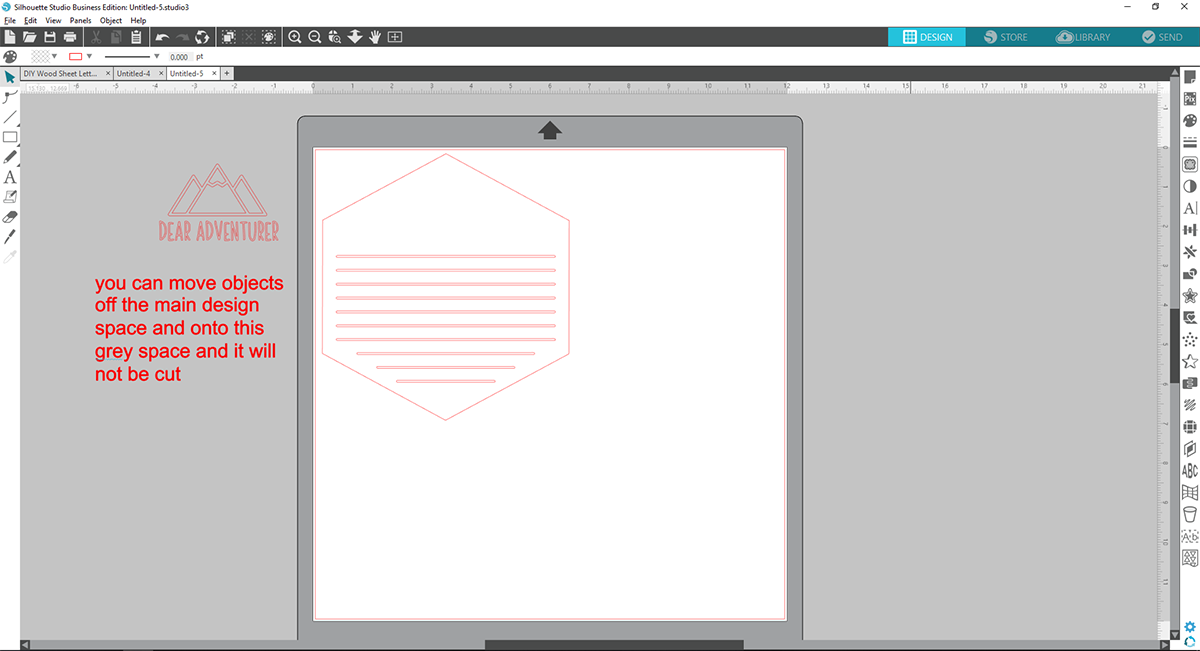
1. On the black foam core board, trace the cardstock stencil you cut in Step Three with a pencil.

2. Turn on your professional hotknife, and when it’s ready, cut along the traced lines.
3. Cut through on the hexagon lines. Cut lightly as if scoring (do not cut through) for the horizontal lines.
Step Five: Assemble the Pieces
1. Peel off the cut design from the gray wood sheets and apply them to the front side of the hexagon foam board. IMPORTANT NOTE: Make sure the rounded rectangle cutouts on the gray sheets line up with the scored lines on the foam board.
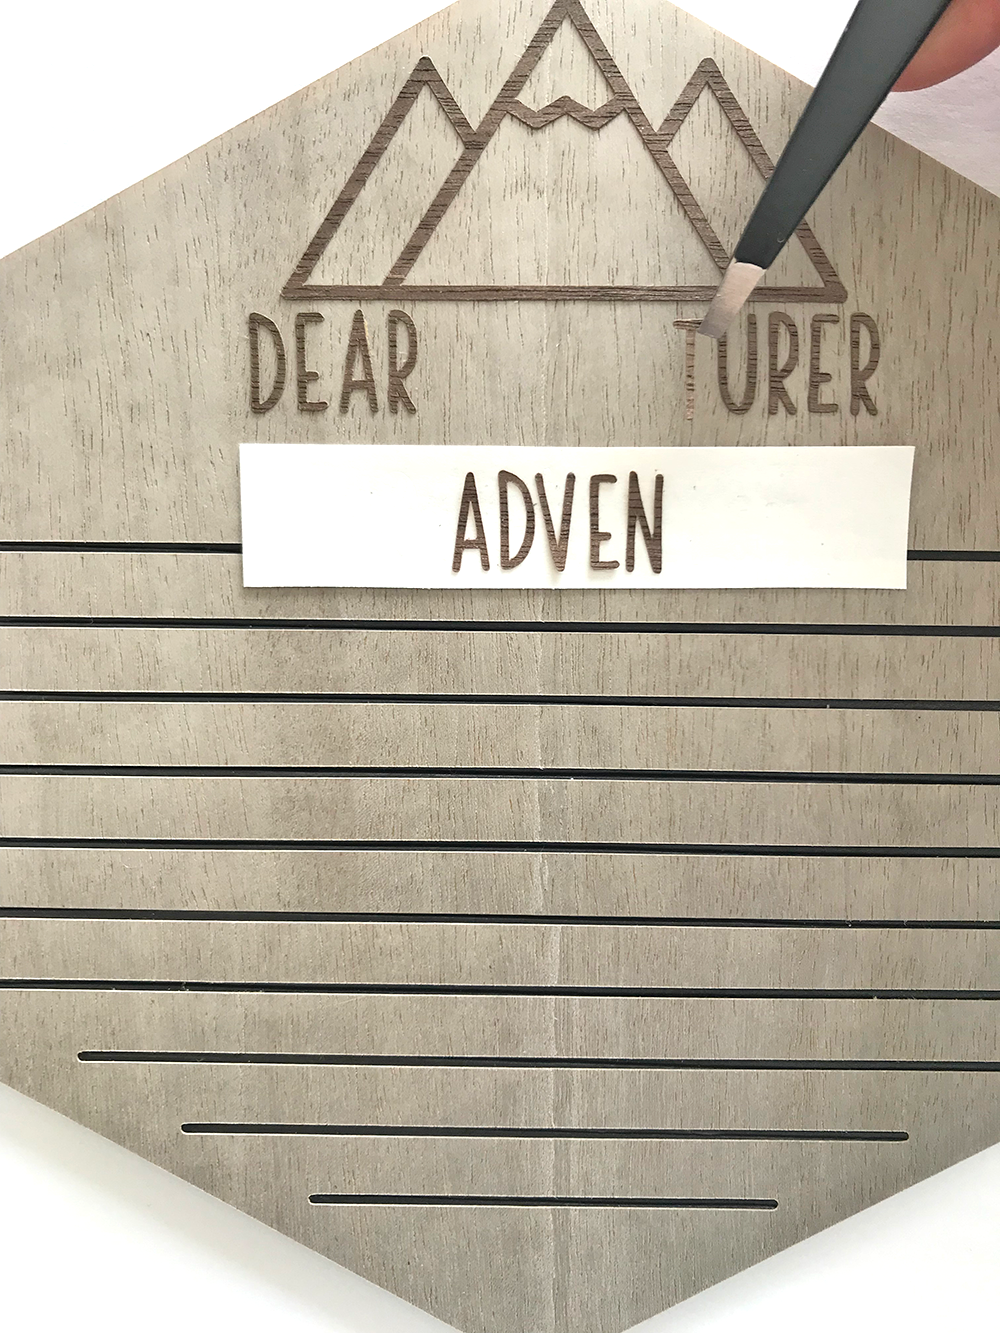
2. Peel off the mountain range from the dark wood sheet and apply it on top of the gray wood sheet.
3. For the text, apply the letters individually with the help of tweezers. NOTE: You could probably also use transfer tape. I found it quicker to apply each letter by hand.
4. Your faux letter board is completely assembled and now you just need to add a fun phrase with your plastic letters!


Aren’t these wood sheets genius? It’s a great way to transform the look and feel of any project, and I am already thinking of future crafts where I can use them. How have you used Silhouette’s wood sheets?