Save yourself hours of tracing and fussy cutting by utilizing the Silhouette and the offset tool to cut all of the little backing pieces for you!
Supplies Needed:
- Silhouette CAMEO®, Silhouette Portrait®, or Silhouette Curio®
- Silhouette Cutting Mat
- Silhouette Cutting Blade
- Silhouette Studio®
- Scrapbook Paper and Embellishments
- White Cardstock
- Paper Trimmer
- Scissors
- 3-by-4-inch photo
- Adhesives (foam, sticky tape)
- Design ID #279011
Process Video
Here is a process video showing how this layout can be created from start-to-finish:
Step One: Prepare the Design
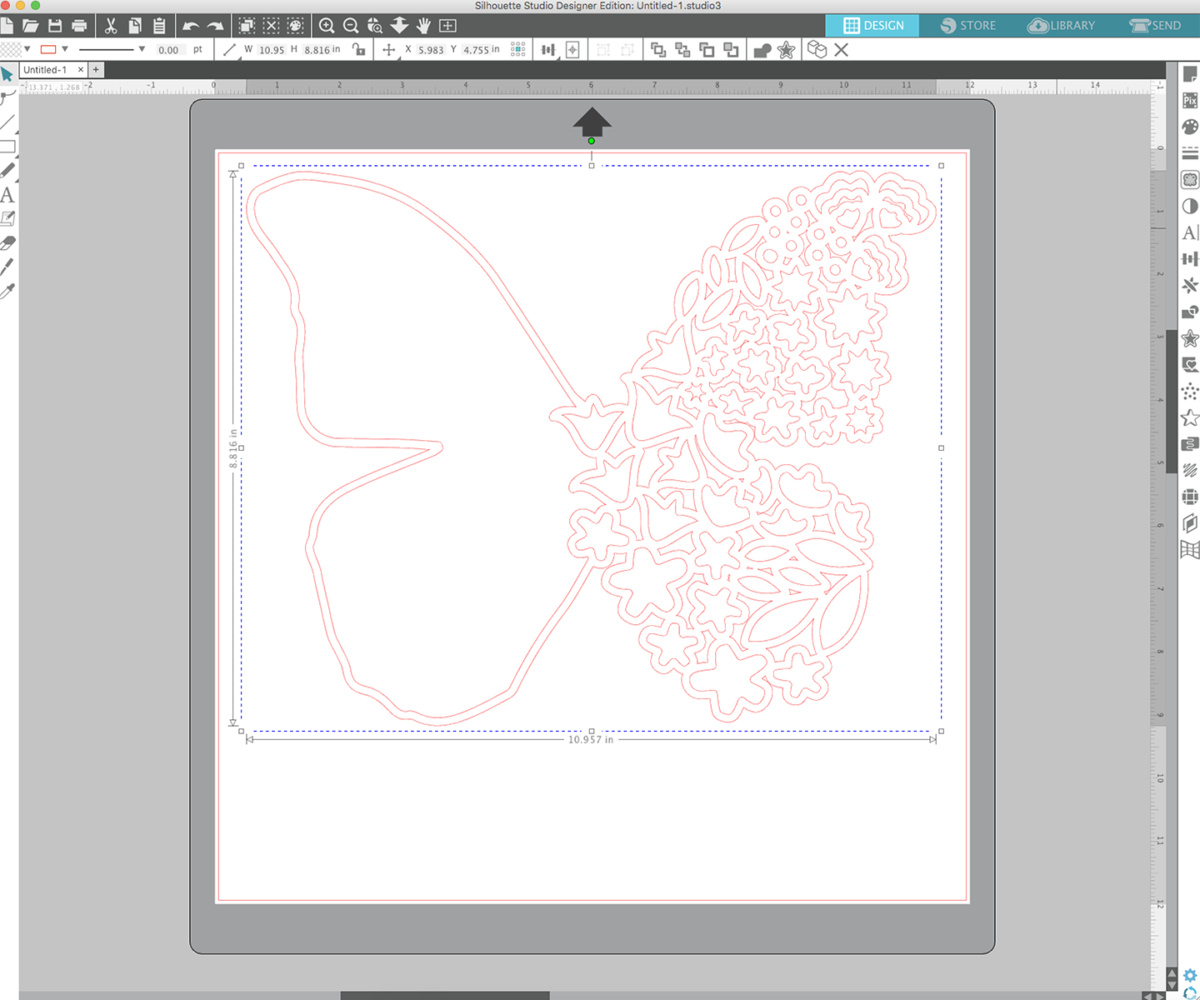
1. Open the Floral Butterfly Outline design in Silhouette Studio®. Size it as desired. I made mine 10.957 by 8.816 inches.
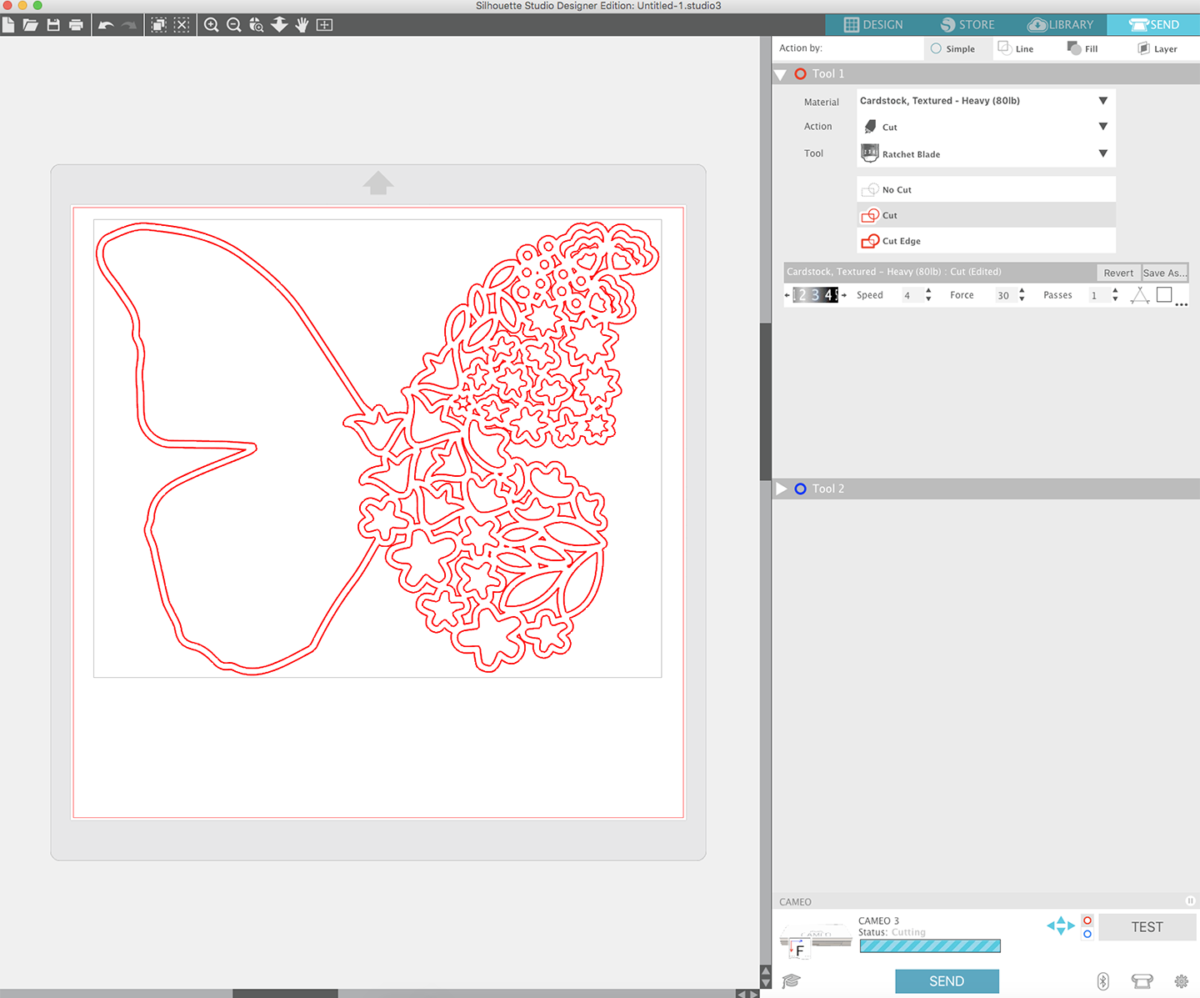
2. Cut the design from white smooth cardstock.
Step Two: Cut the Backing Pieces
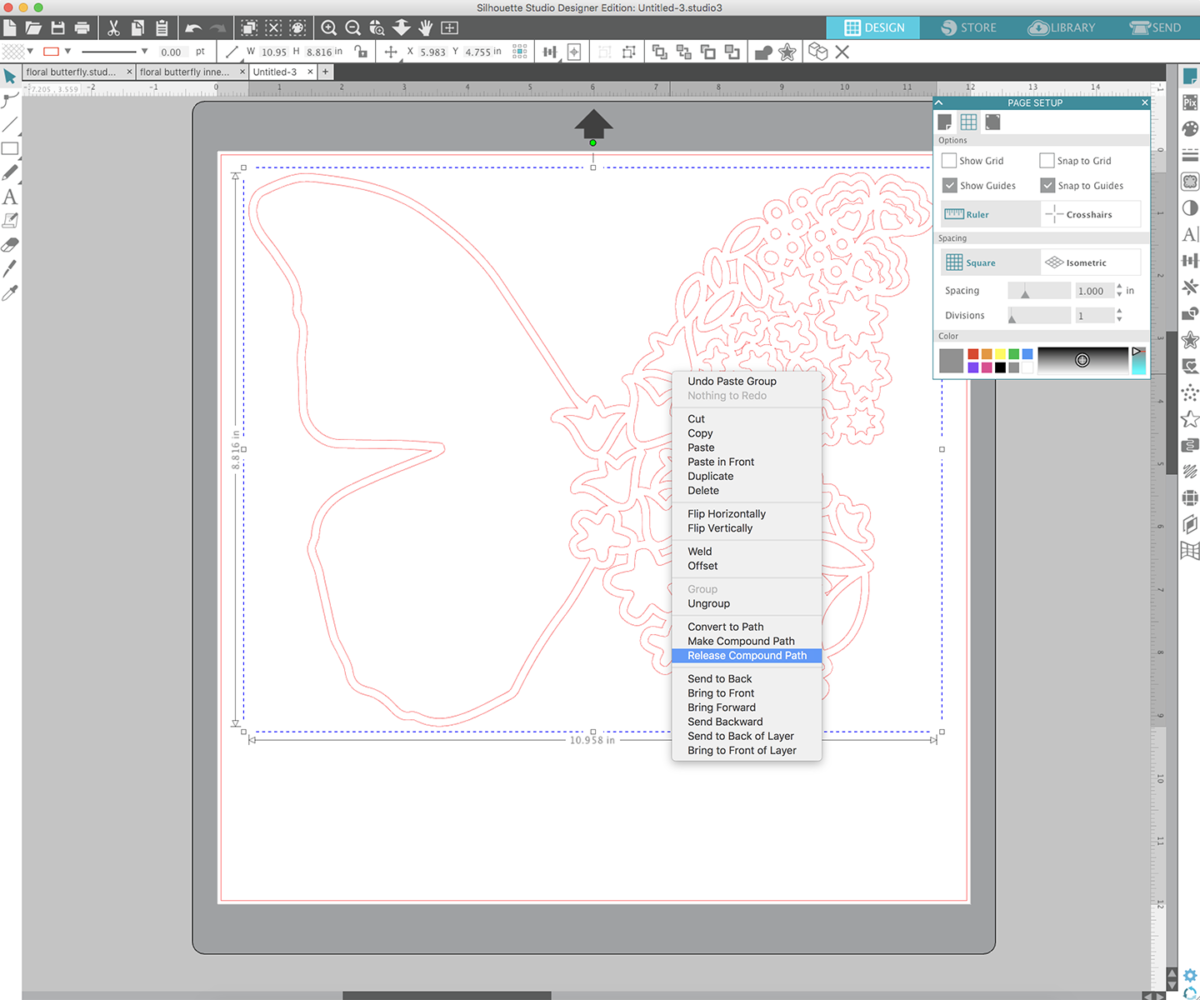
1. To easily make the pieces for the back of the flowers and leaves, first right-click and then select Release Compound Path.
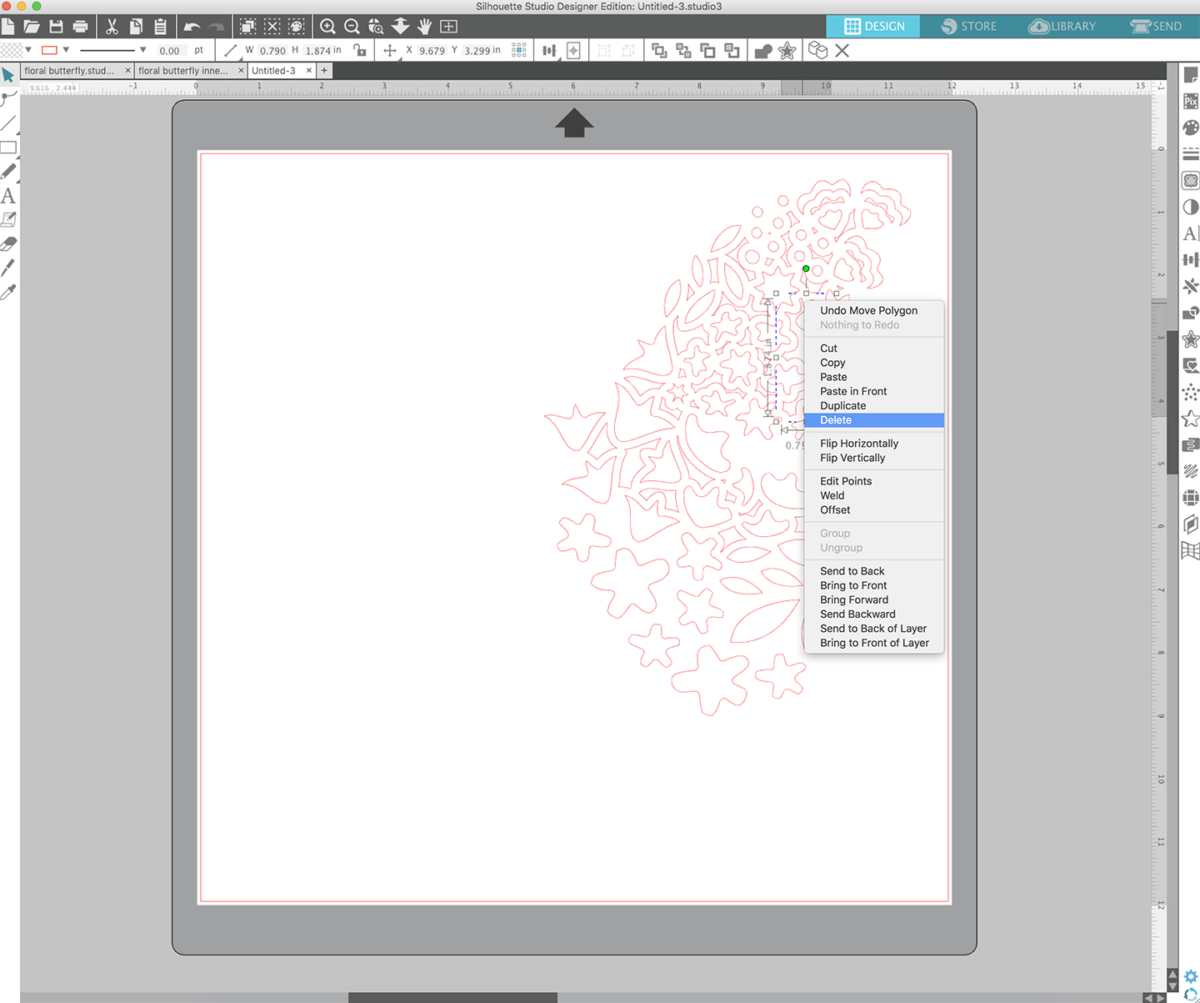
2. Releasing the compound path will turn the design into individual shapes. Ungroup the design then delete everything except the inner floral, leaf, and dot shapes.
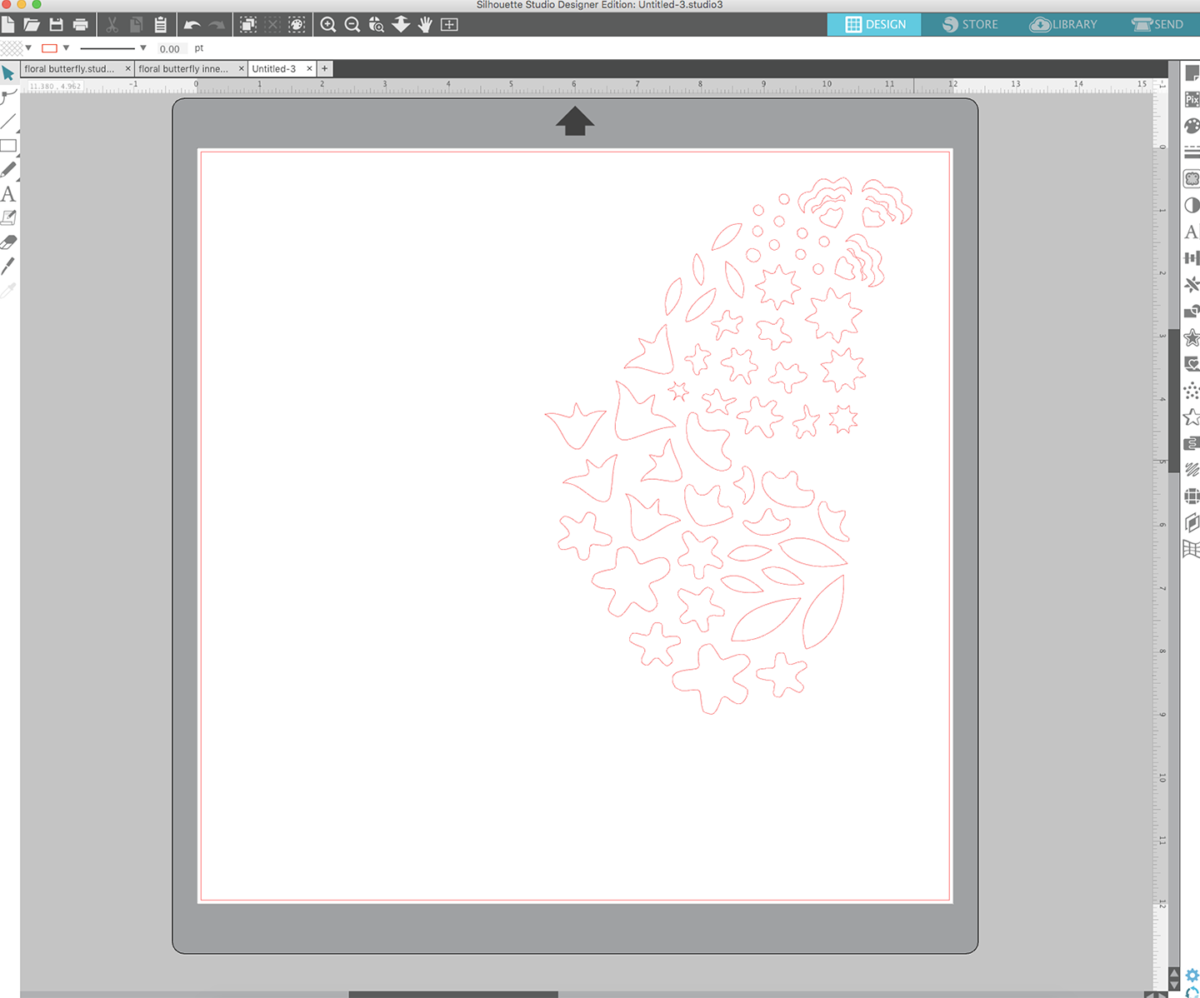
3. Move the similarly shaped pieces into bunched groups.
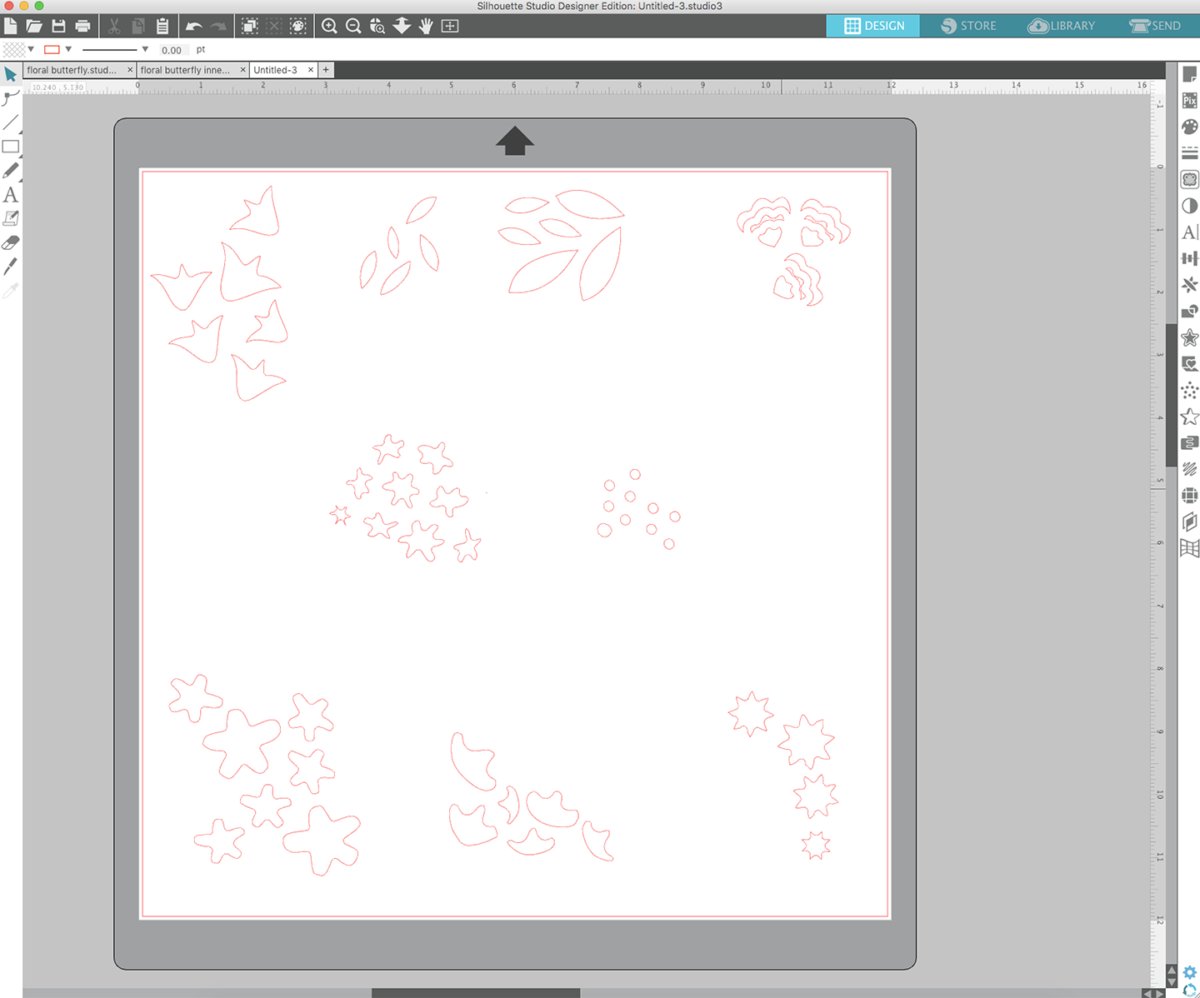
4. Open the Offset tool, select all of your designs, and click “Offset.” That will automatically apply a .125-inch offset line. I changed it to a .065-inch offset line. Then click Apply.

5. Delete the inner shapes.
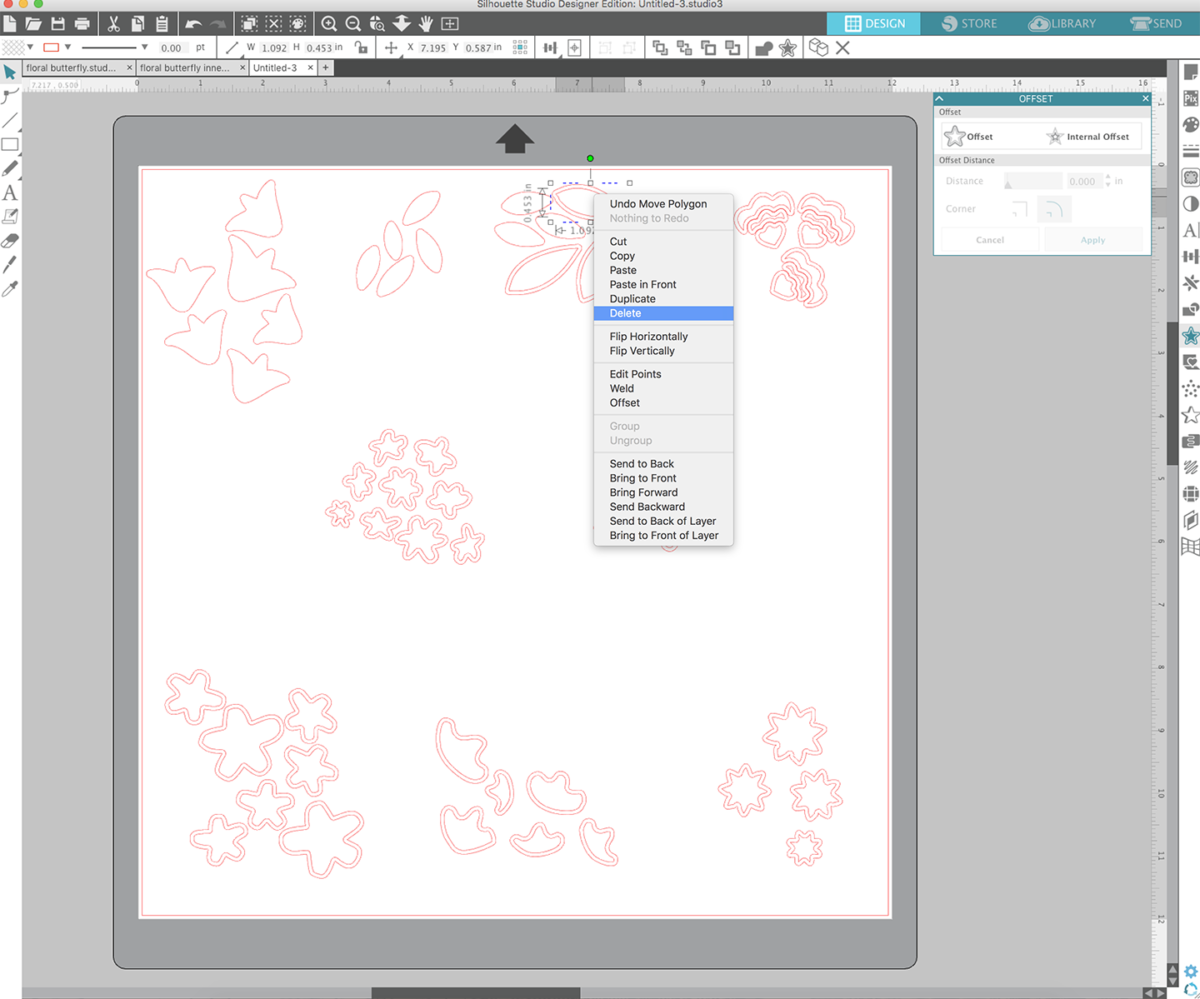 6. You are now left with the offset flowers, dots, and leaves, perfect to use for the backing of the butterfly!
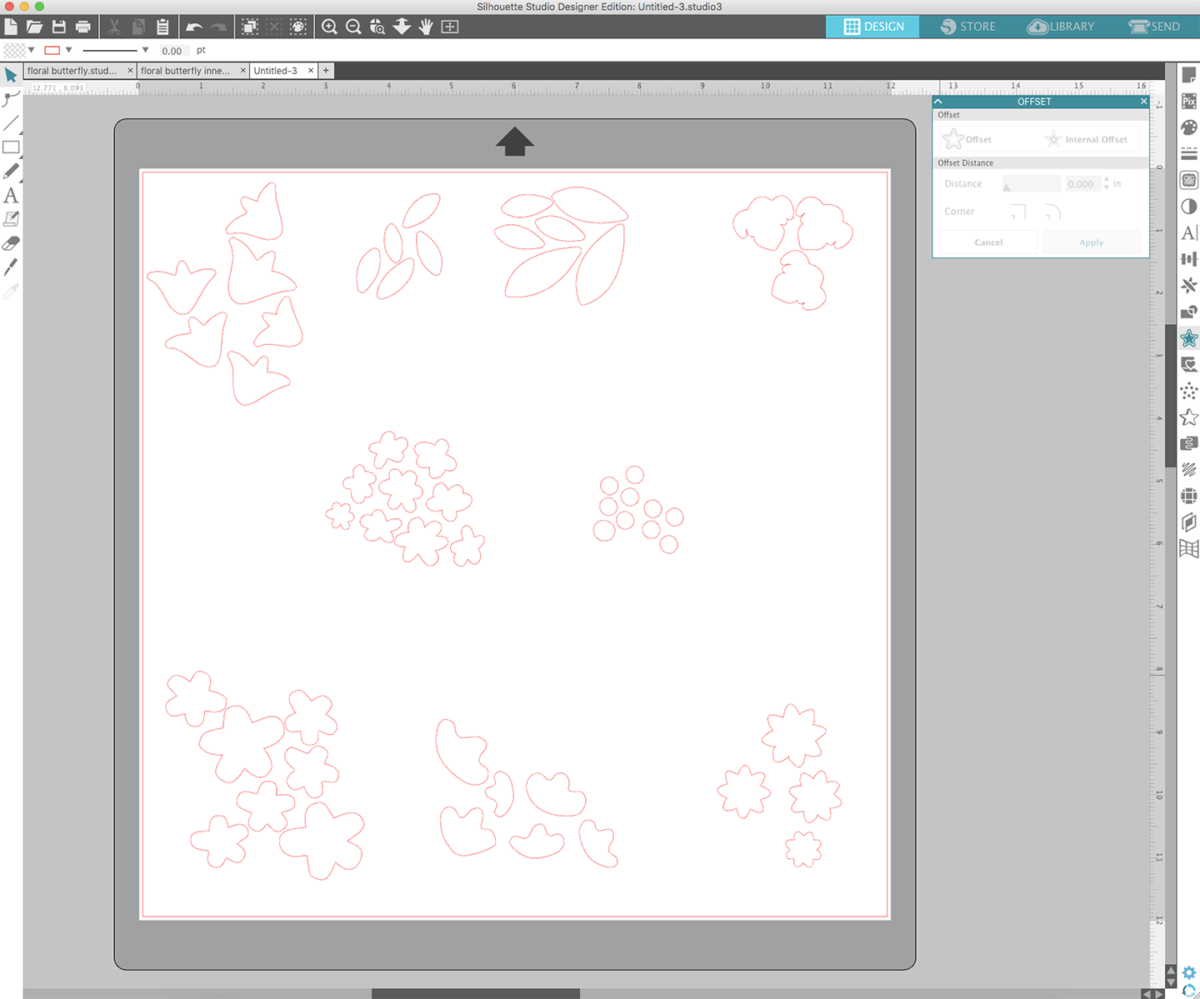 7. Open the Page Setup panel and click “Show Grid” spaced 1 inch apart with 1 division. This perfectly mirrors the lines that are shown on the Silhouette cutting mats.
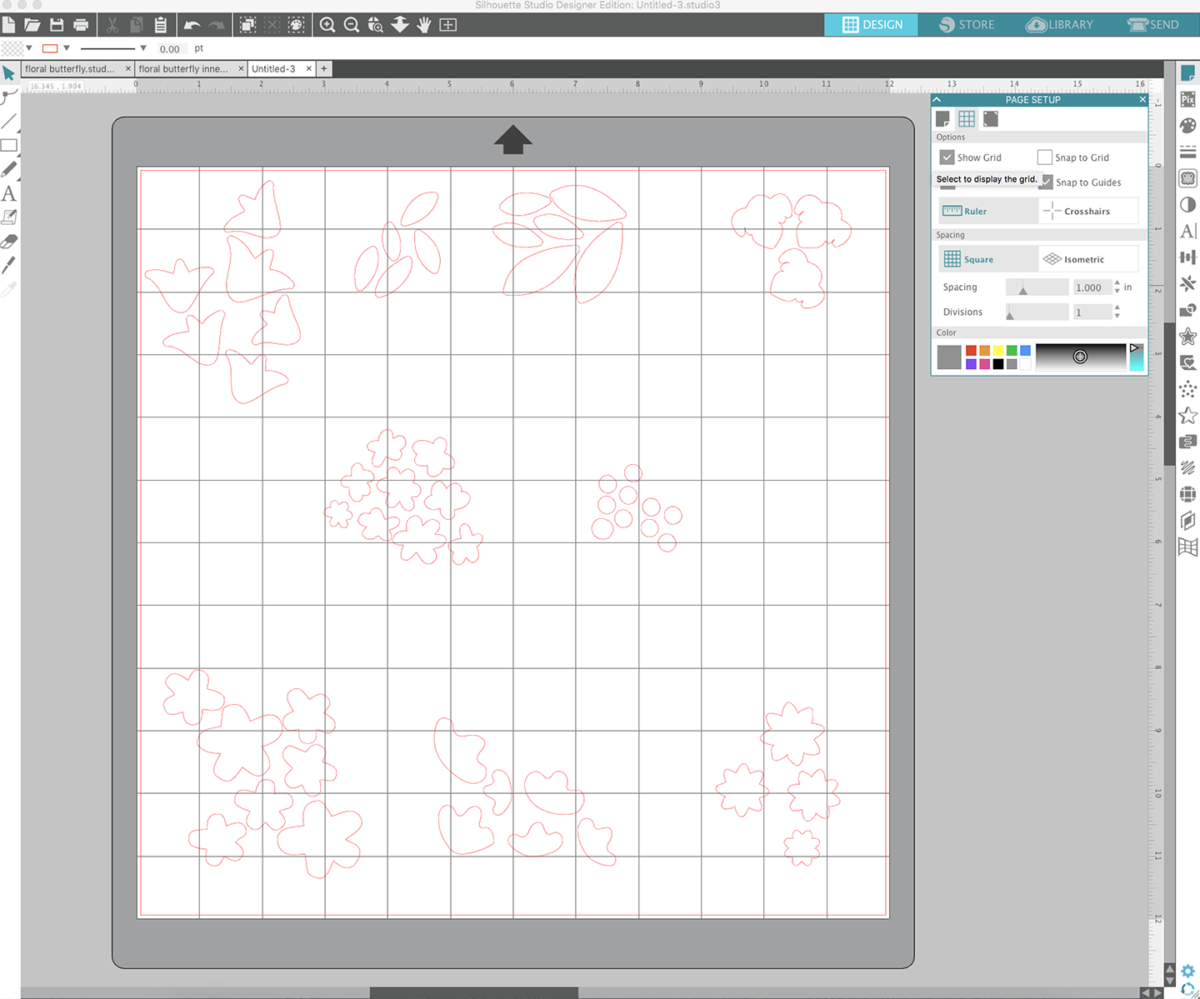
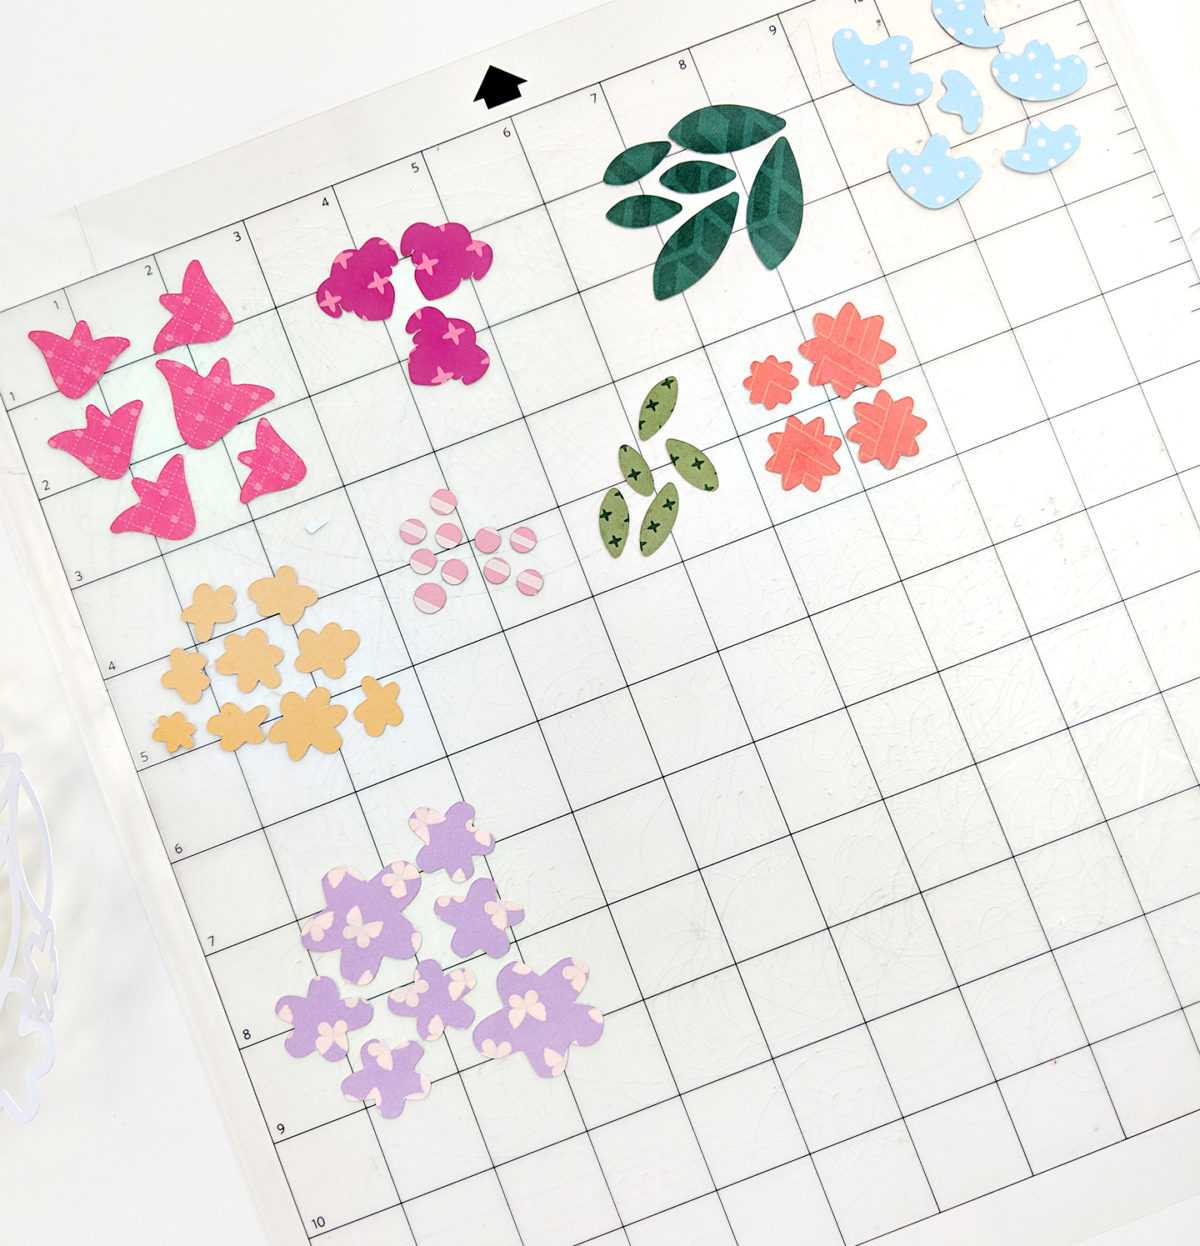
8. Arrange the groups of shapes to fit in 2-inch-by-2-inch, 3-inch-by-3-inch, and 4-inch-by-4-inch sections.

9. Trim patterned papers to 2-inch-by-2-inch, 3-inch-by-3-inch, and 4-inch-by-4-inch pieces and adhere them onto a Silhouette cutting mat to mirror the placement of the shapes in Silhouette Studio®.
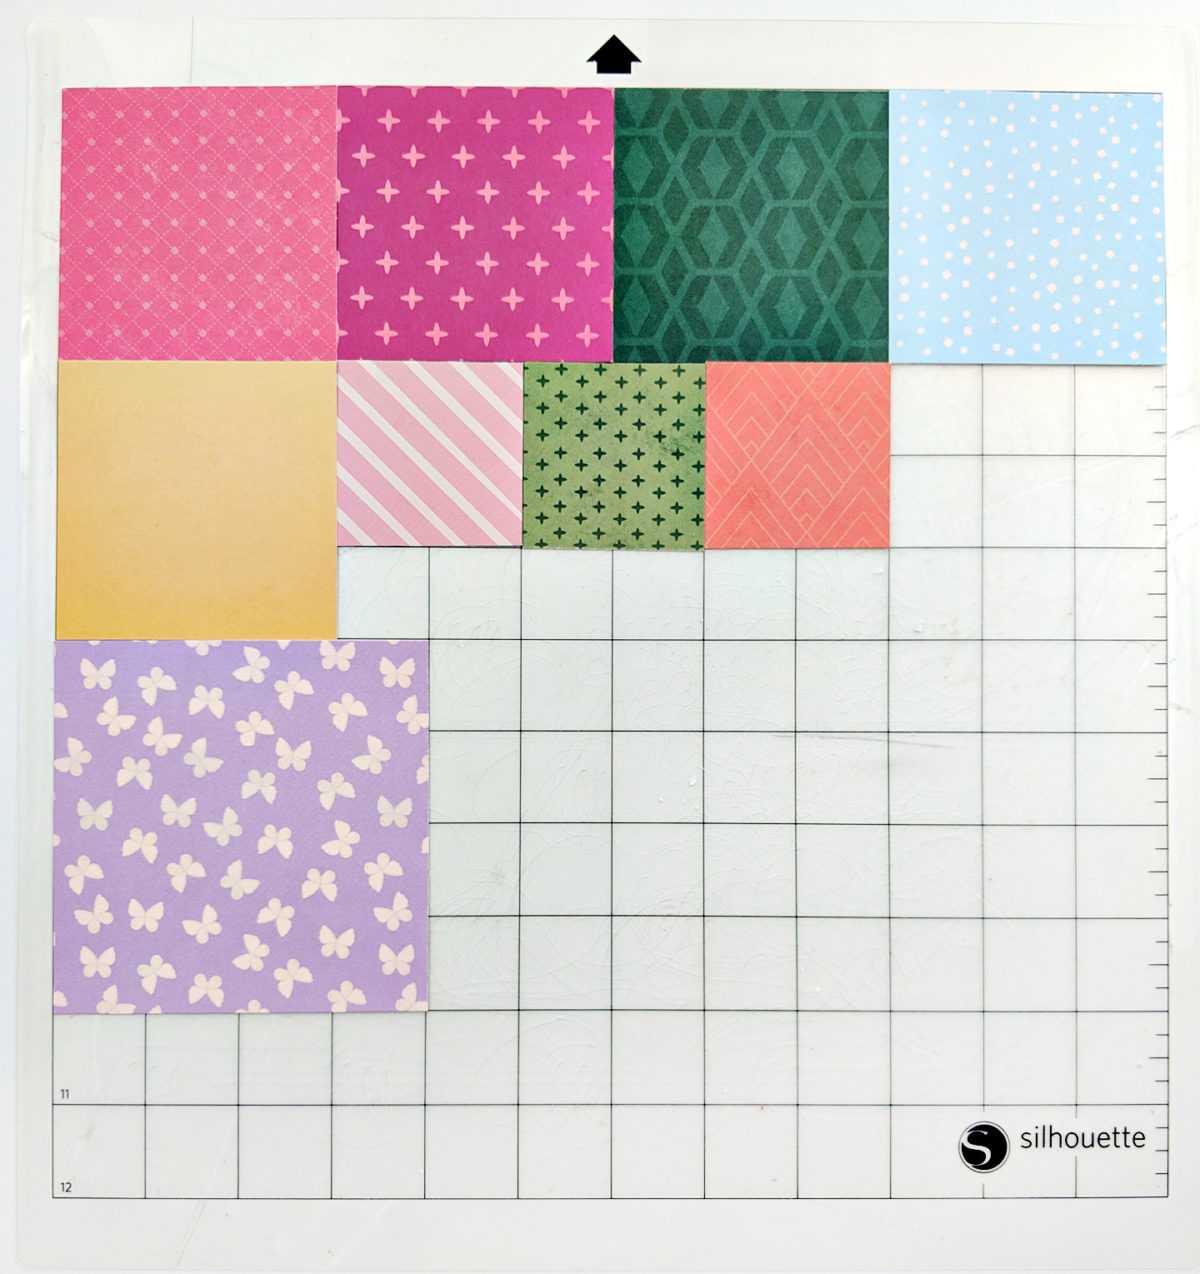
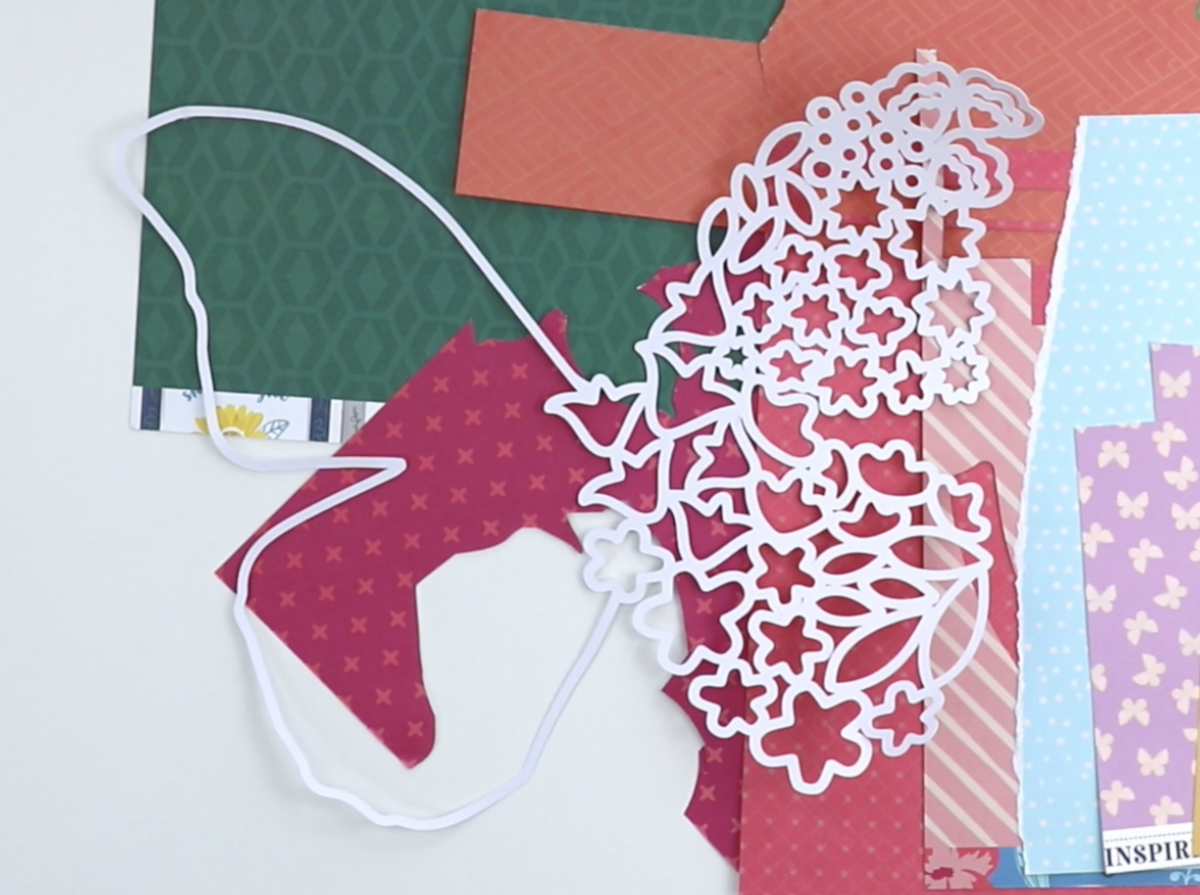
10. Send the design to be cut from patterned papers and carefully peel them off the mat when finished.
Step Three: Create the Scrapbook Layout
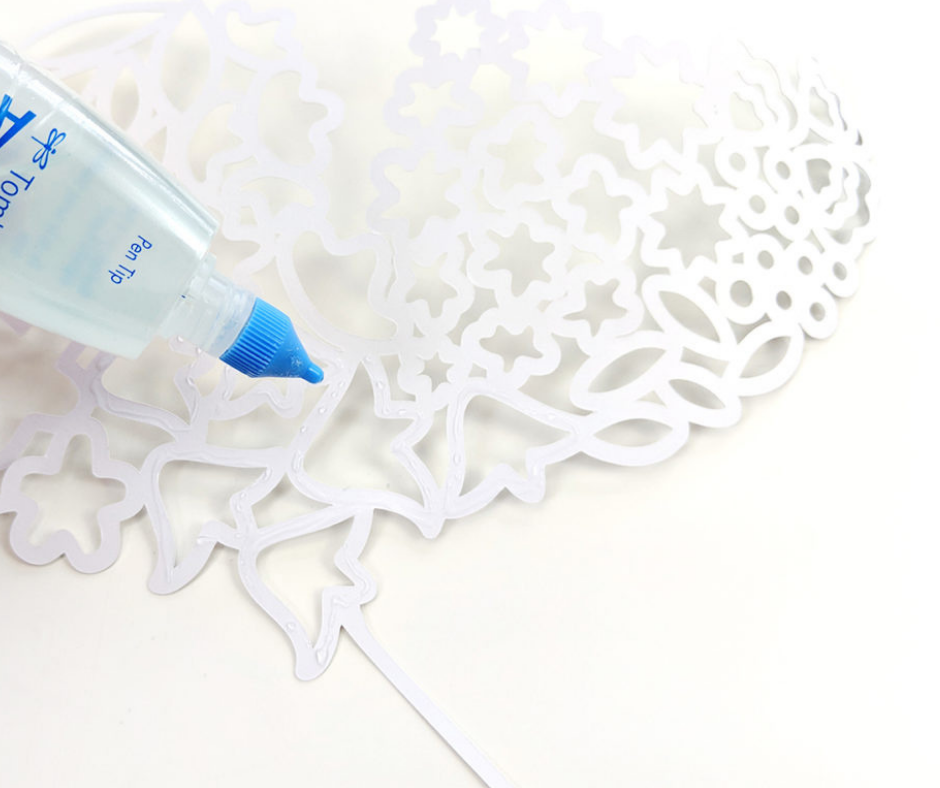
1. Flip the Floral Butterfly Outline design over and add liquid glue to the back.
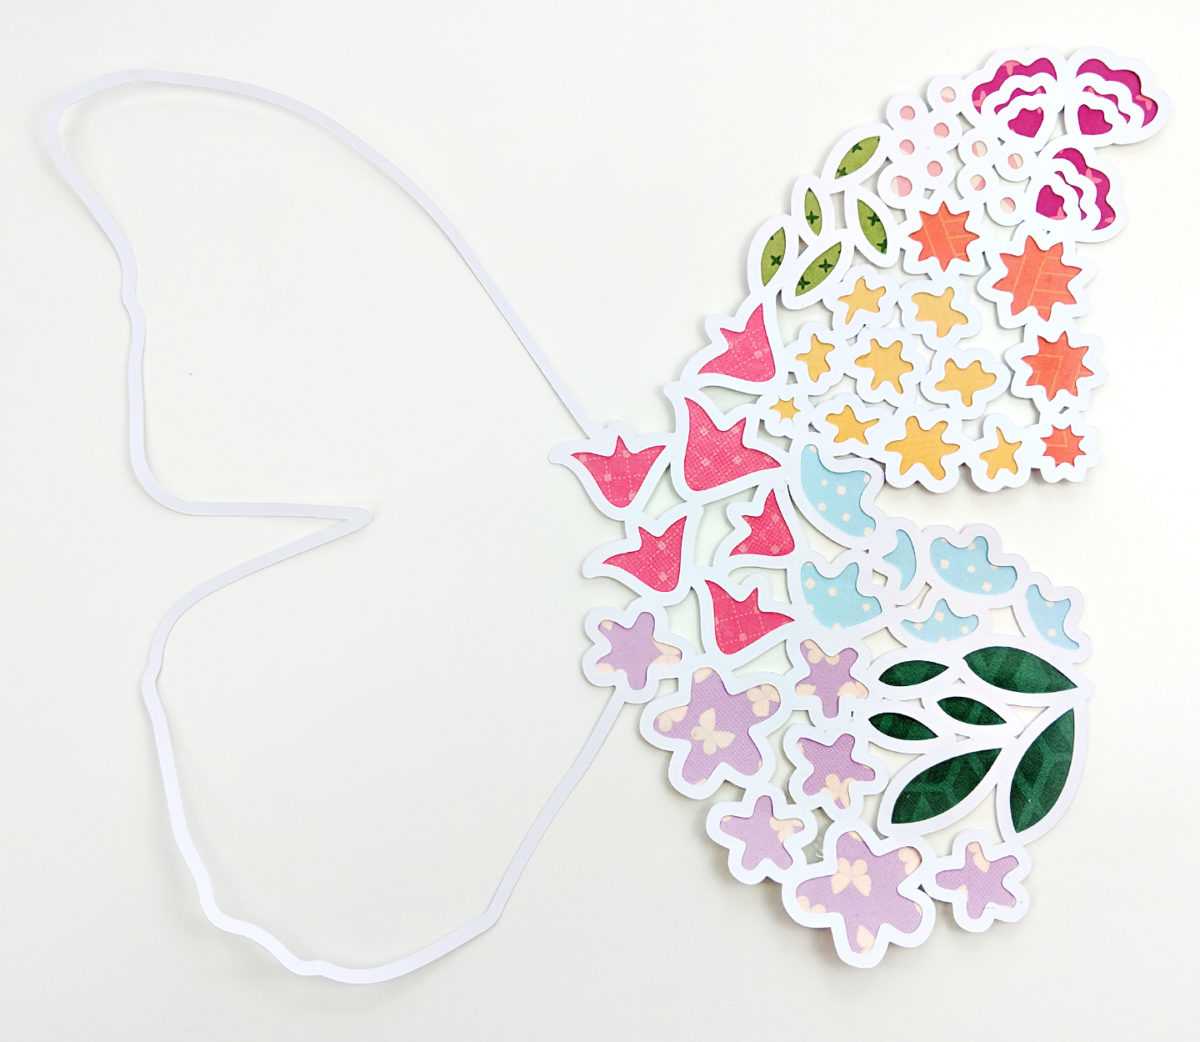
2. Place each patterned paper piece, pattern side down, on the design.

3. Flip the Floral Butterfly Outline over and admire your pretty work!
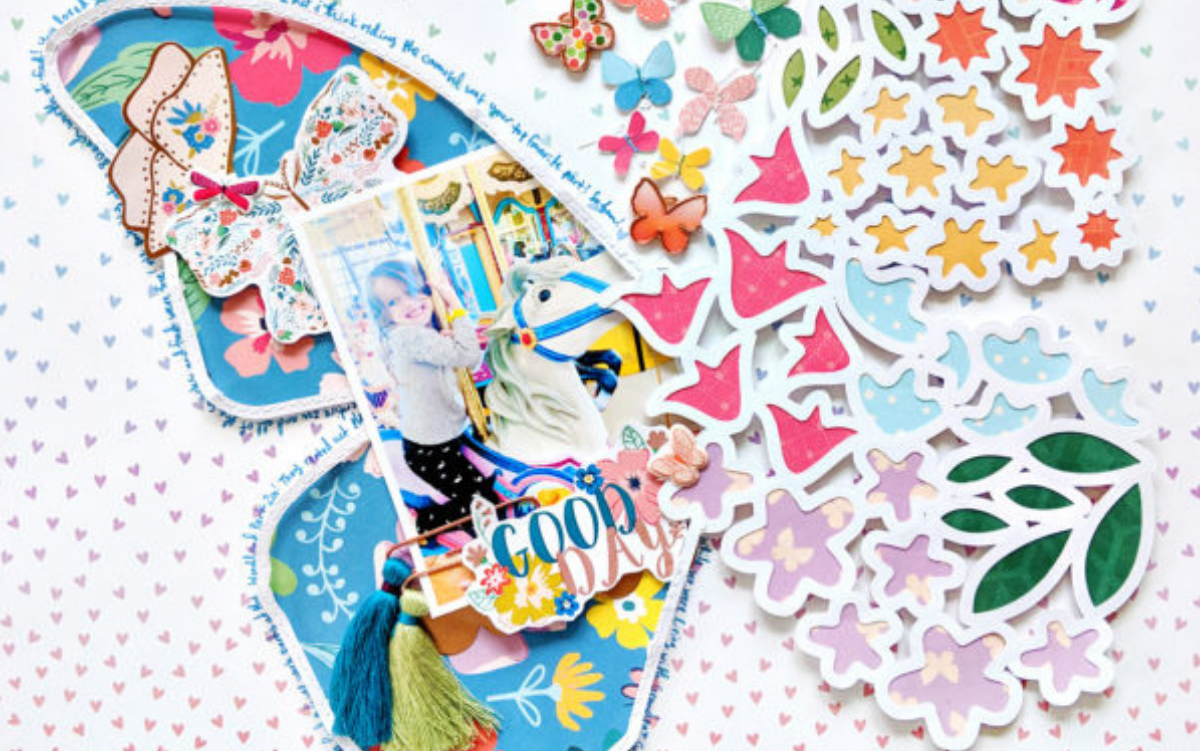
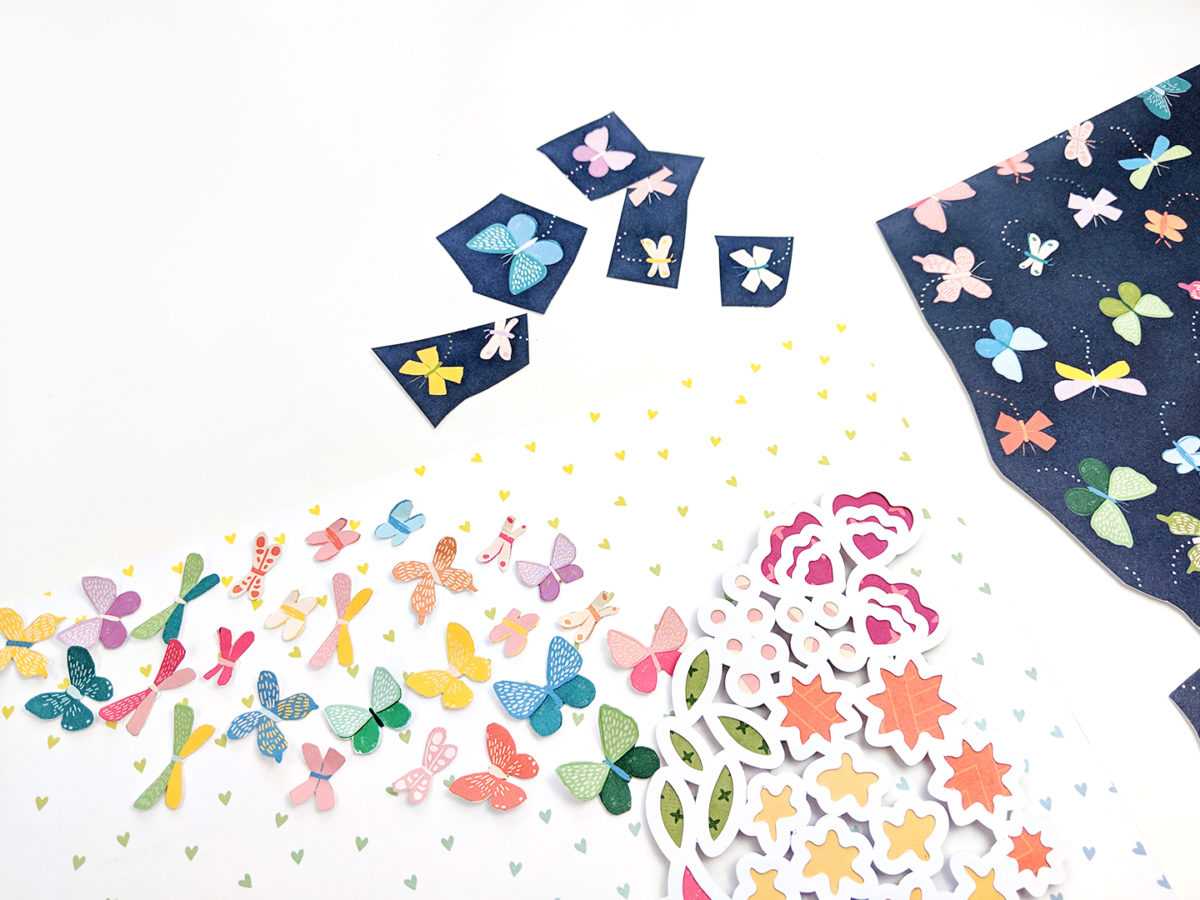
4. Select a patterned paper background, adhere the backed butterfly on top, and embellish as desired.
5. Choose a 3-inch-by-4-inch photo, and add a title and decorations, and write your captions.
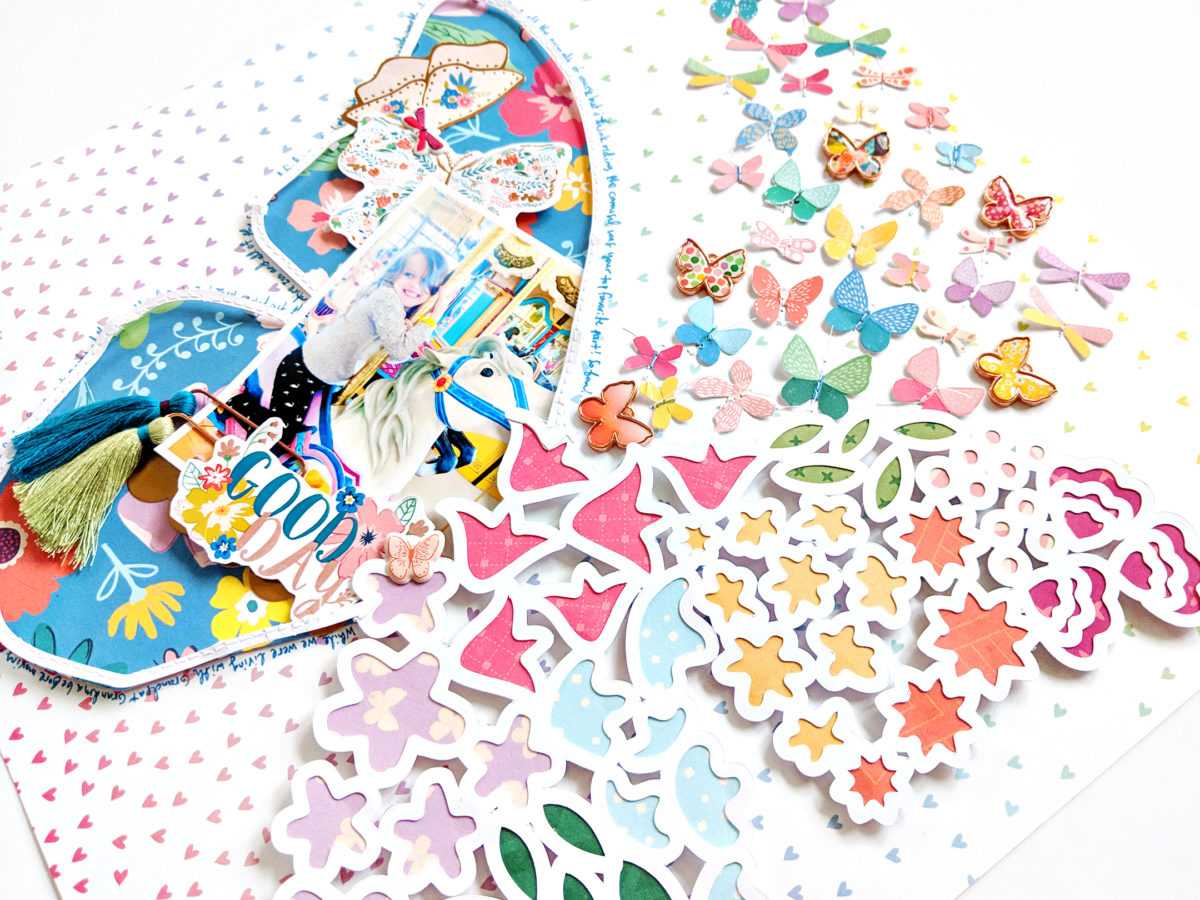
6. Finish embellishing the page until you are happy with the results!
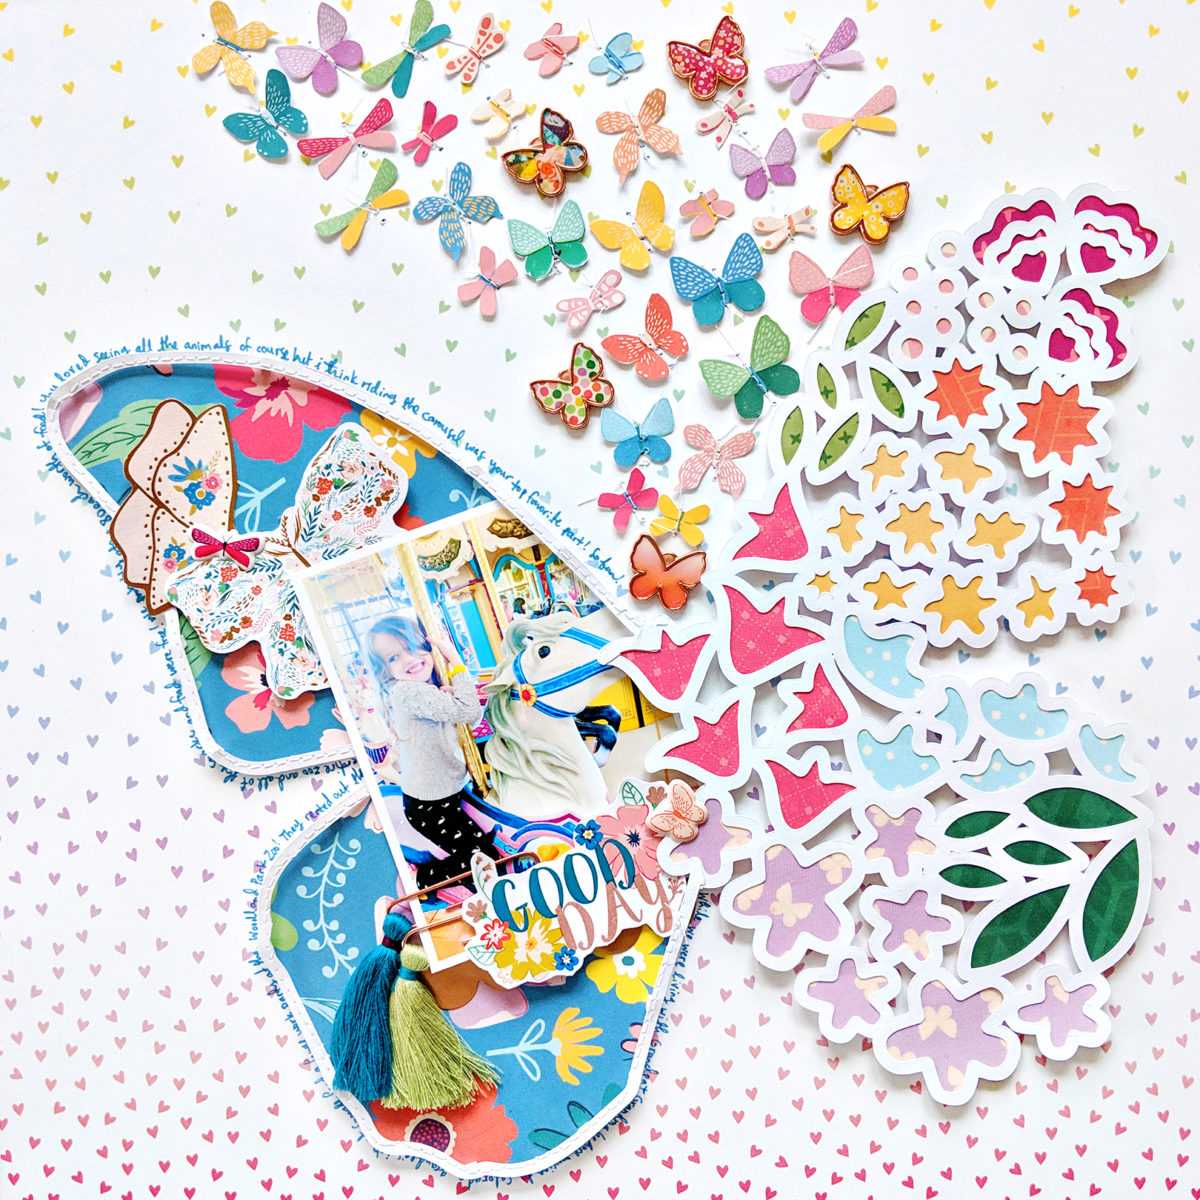
This is such a fun and colorful layout that you can use anytime during the year. If you want to use it for fall or winter, just swap our your color palette and change the theme a little bit!