If you’re like me and love party planning, then keep reading to learn how to make the cutest paper bows that can be used as embellishments for the perfect party favors!
Supplies Needed:
- Silhouette CAMEO® or Silhouette Portrait®
- Cardstock (in your color choice)
- Hot Glue Gun and Glue Sticks
- Pencil or Paint Brush for Curling
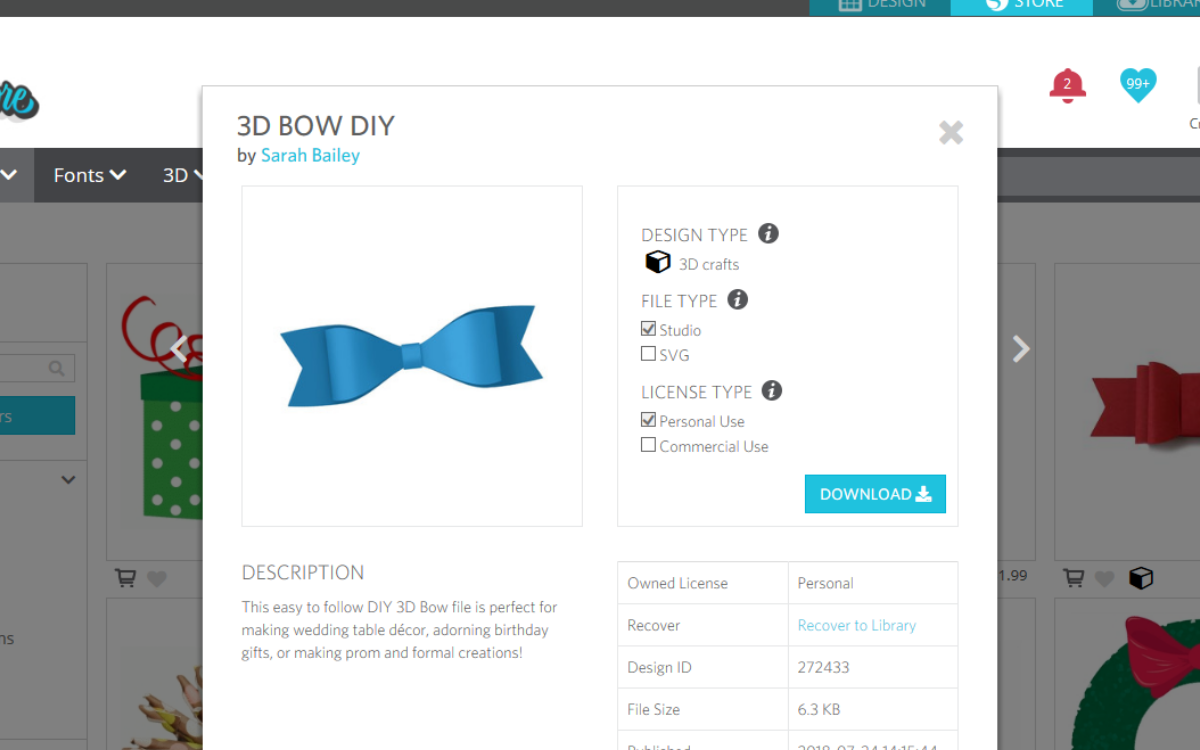
- Design ID #272433
Step One: Download, Open, and Resize the Design
1. Go to the Silhouette Design Store and purchase Design ID #272433.
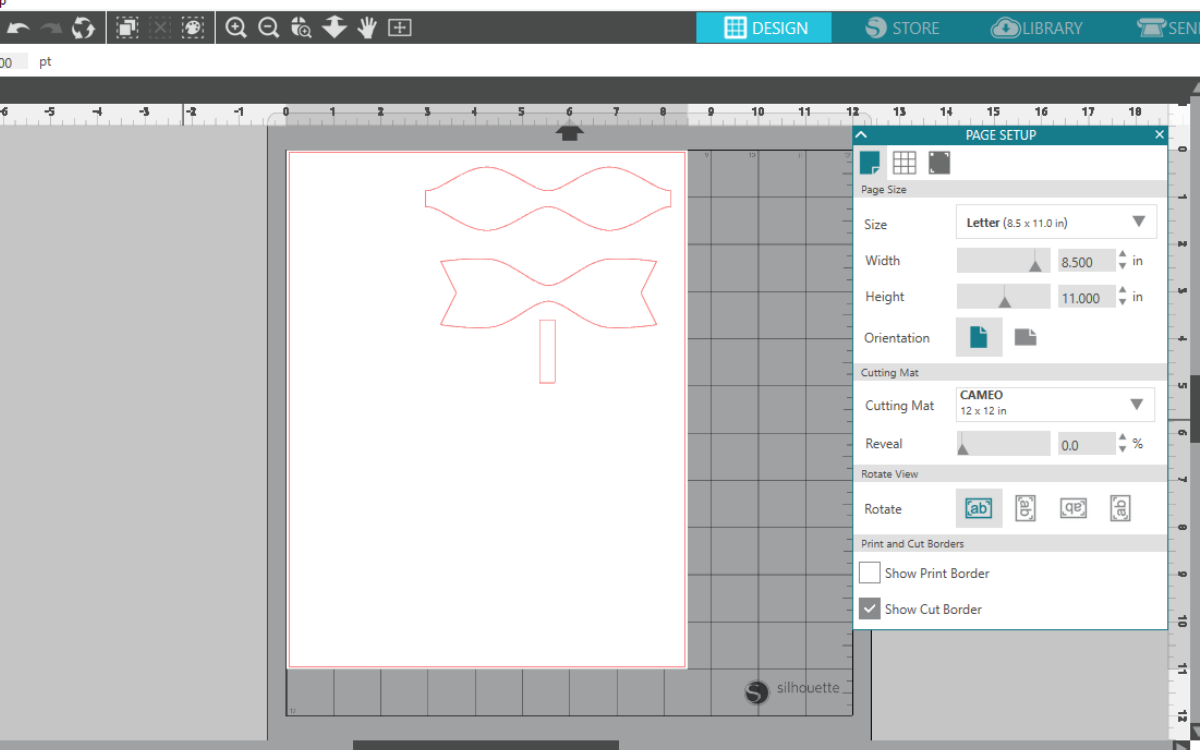
2. Open the design from your Silhouette Studio® Library in a new document and resize it according to the size you would like to make your bow. I will be using these bows to decorate favor boxes, so I made them smaller.
Step Two: Cut the Design
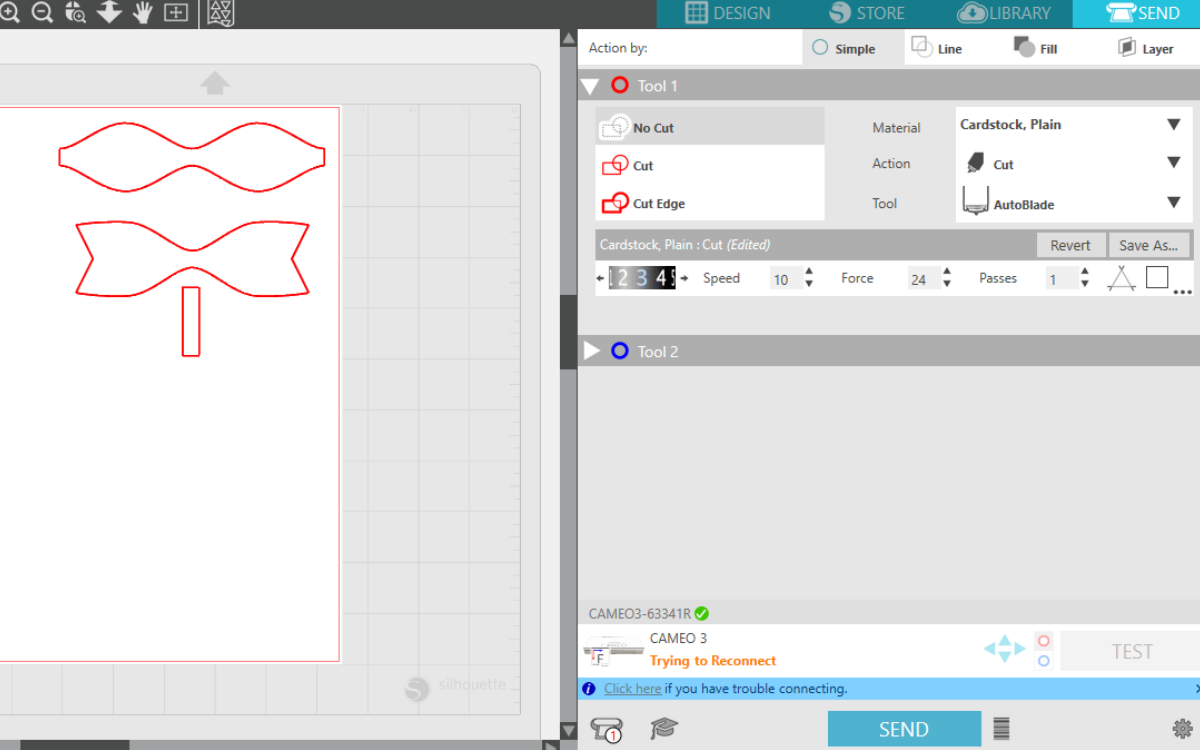
1. It’s now time to cut! Load your machine with your mat and cardstock, and then send your design to cut. Use the correct settings for the type of paper you are cutting. You can see here that I’ve altered the settings a bit and used 10 for the speed and 24 for the force.
Step Three: Assemble the Design
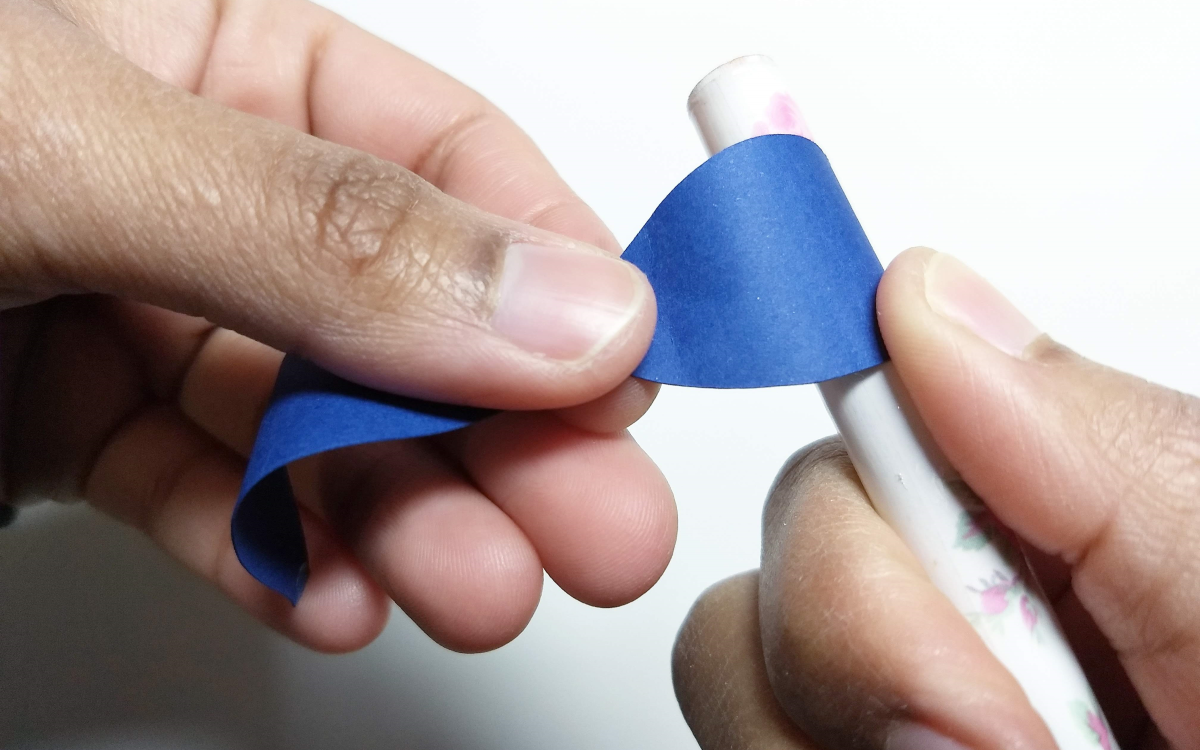
1. Once your design is cut, it is time to start putting together the bow. Start by curling the edges of loops by using either a pencil or paint brush handle. Do this to both sides.
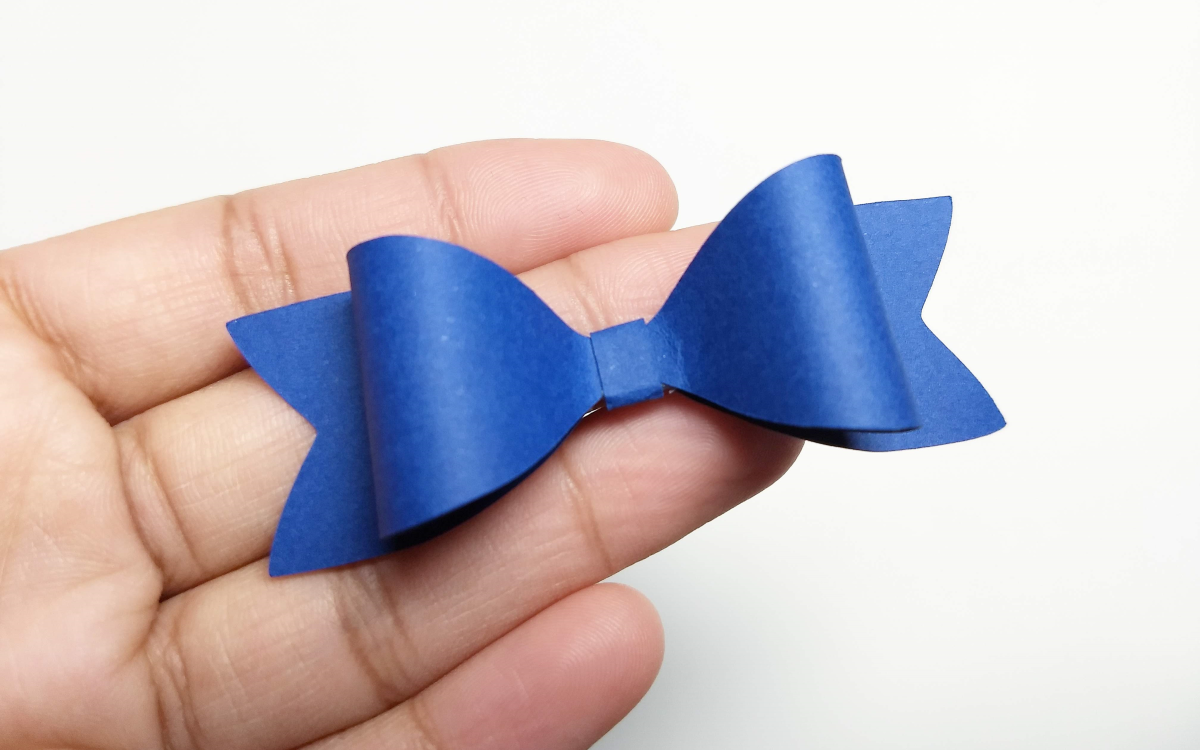
2. Next, layer the two layers together and adhere them by using your hot glue gun. Place the layer with the loops on top.
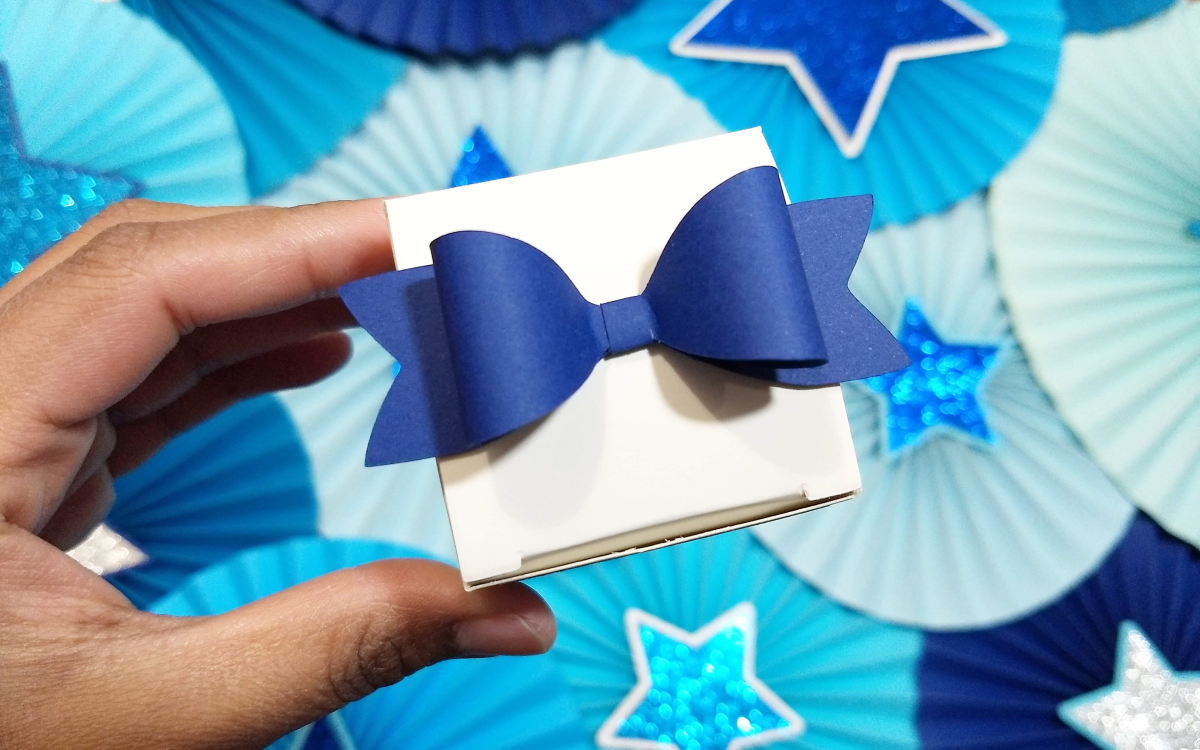
3. To finish it off, glue the thin strip of paper around the center of the bow, and you’ll be all set! A cute little bow ready to use!
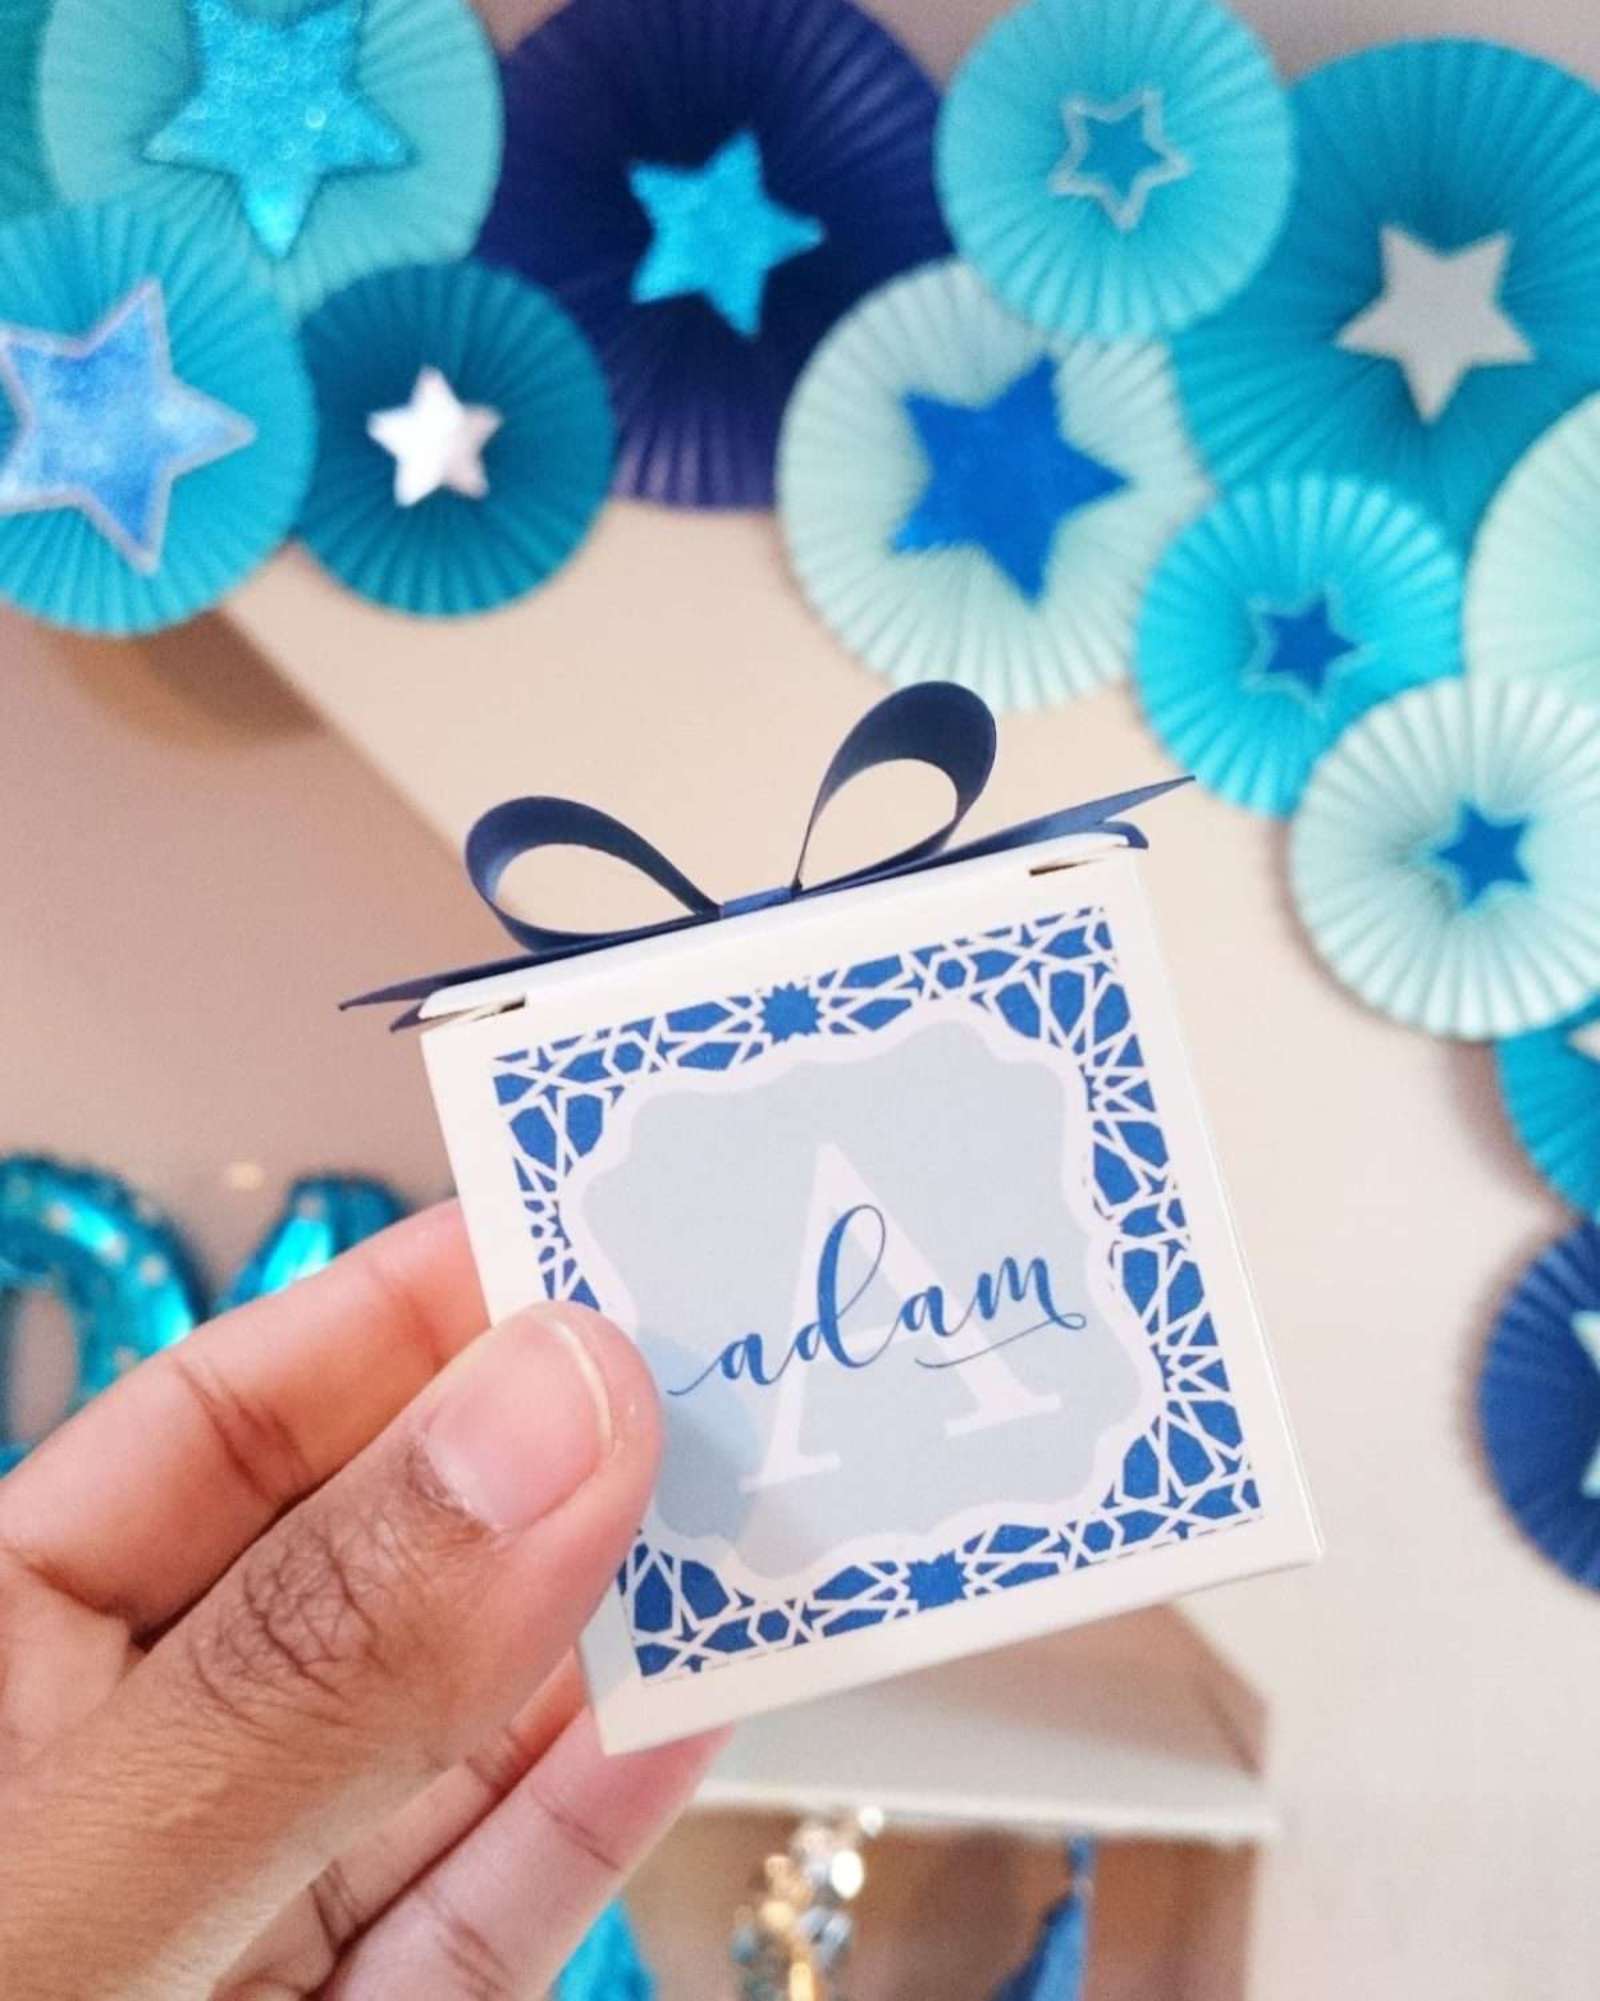
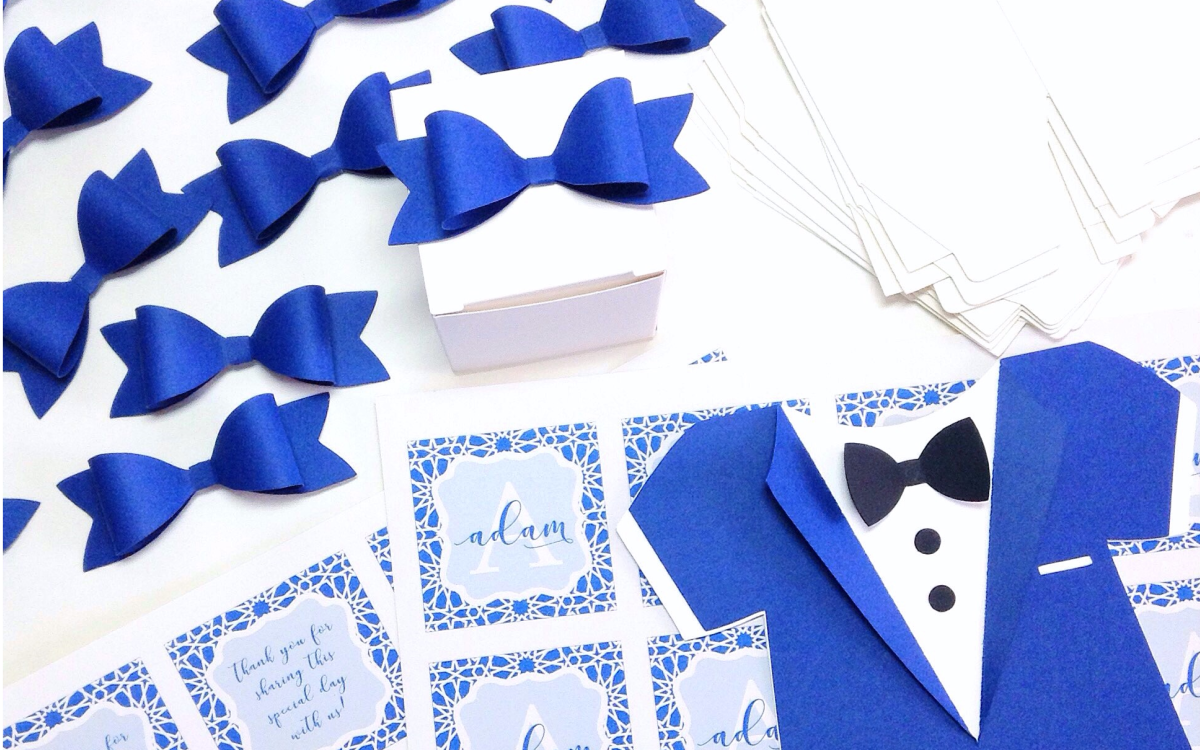
I made a bunch of these for my son’s party to add as embellishments to the favors we were giving out to our guests. I think they added the perfect touch!
These bows are very easy to make and can be used on so many different types of projects! Have fun creating! 🙂