
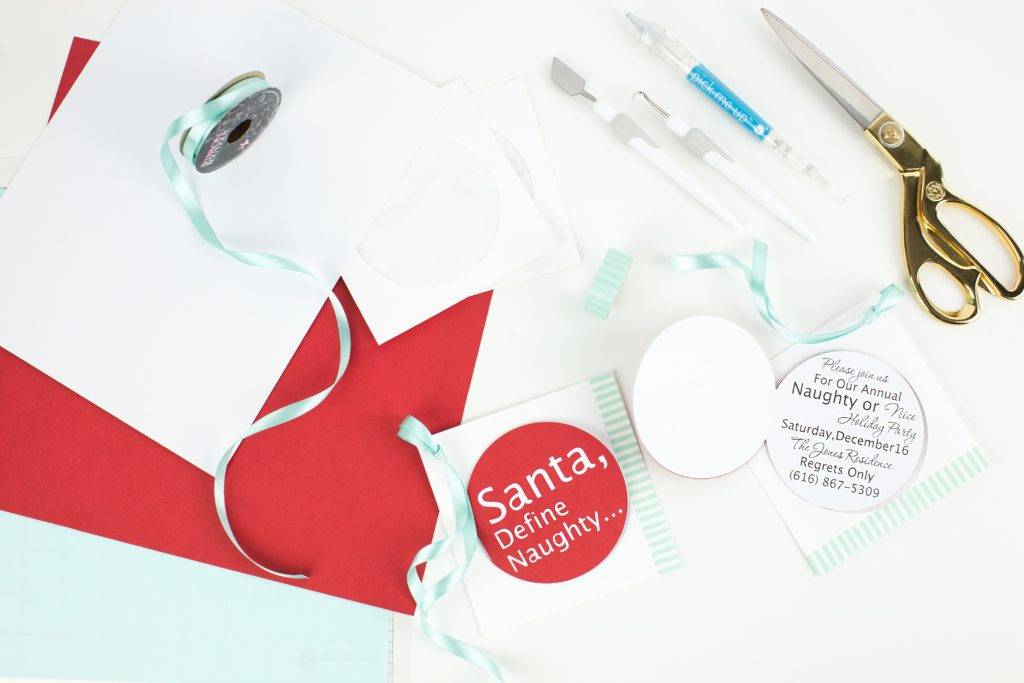
We can all agree that the holidays are an extremely busy time of year. But it’s also amazing to spend with family, coworkers, neighbors, and friends. I seem to have at least a few parties and get-togethers to attend in December. Crazy, I know! With that being said, I try to host my own small get-togethers. Every year, I try to keep the theme simple and fun! This year’s invite was a round invite and inspired by Santa’s hat. The front says, “Santa, Define Naughty…” Everyone is sure to get a good laugh out of that! These invites are not only eye-catching but also quick and simple to make, which is key during this time of year. I love all the details, like the round card, cute Santa hat, ribbon, and color theme as well as the CD sleeve as the envelope. How cool is that?! People can see this amazing invite from the second they receive it. Follow the instructions below to create your very own custom invite, just in time for the holidays.

Supplies Needed:
- Silhouette CAMEO® or Silhouette Portrait® or Silhouette Curio™
- Silhouette Cutting Mat
- Silhouette Cutting Blade
- Silhouette Studio®
- Red, Aqua, & White Cardstock
- Ribbon
- Washi Tape
- CD Sleeves
- Printer
- Scissors
- Glue
- Design ID #52239
- Design ID #20252
Step One: Set Up The Design
- Start by choosing your invite theme, text, and designs from www.silhouettedesignstore.com. I used Designs #52239 and #20252.
- Select the Page Setup window (this icon can be found on the toolbar on the right-hand side of your page) and adjust your page width and height to the dimensions your machine can cut.
- Since we would like the invitation to fit within the CD sleeve, you will want to measure the size of the CD sleeve so that you know how big everything can be. Open up Design ID #20252 and start with the circle as your base for the design. Adjust the size of the design by selecting it and dragging the outer corner to make it larger or smaller.
- Now that you have the base of the invitation, take the designs, fonts, and colors you choose and begin to customize the invite.
Step Two: Cut And Assemble
- In Silhouette Studio®, go to Page Layout and turn on your registration marks. We will be using the Print & Cut feature, so you will want to be sure that your registration marks are turned on.
- With the design ready to go, print out your invitation.
- Now that your invite is printed, place it on your cutting mat. Load your cutting mat into your machine.
- Select the Send window in the top right-hand corner. Select your entire design and make sure the Cut option is selected. Because we only want the circle outline to be cut, make sure to set your fonts and Santa hat to No Cut.
- In the Send window, select Cardstock as the material and select Send. (Remember that if you don’t have an AutoBlade, you will need to adjust your blade.)
- Once you are done cutting, you will then want to gather your pieces and glue them together.
- Now you are ready to apply your washi tape to your CD sleeves. Punch a hole in the corner to add ribbon. Place your invite inside and you are done!