Working with shrink plastic material is so much fun, but it can be a little tricky to deal with. So in addition to our video about Silhouette shrink plastic, we wanted to share all the tips we have about working with the shrink plastic material. To do that, we will show you how to make a shrink plastic charm bracelet.
Supplies Needed:
- Silhouette CAMEO® or Silhouette Portrait® or Silhouette Curio™
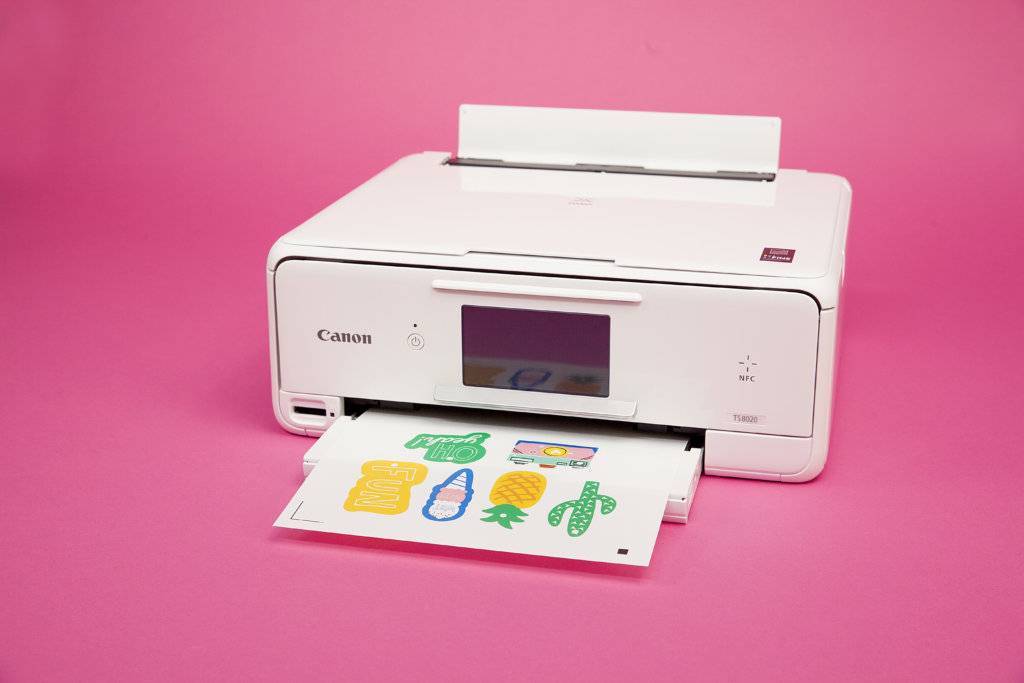
- Silhouette Cutting Mat
- Silhouette Cutting Blade
- Silhouette Shrink Plastic – White
- Printer
- Oven
- Baking tray
- Parchment paper
- Flat tool
- Bracelet chain
- Jewelry jump rings
- Plyers
- Design ID#182509
- Design ID#181384
- Design ID#181372
- Design ID#181342
- Design ID#181324
- Design ID#150380
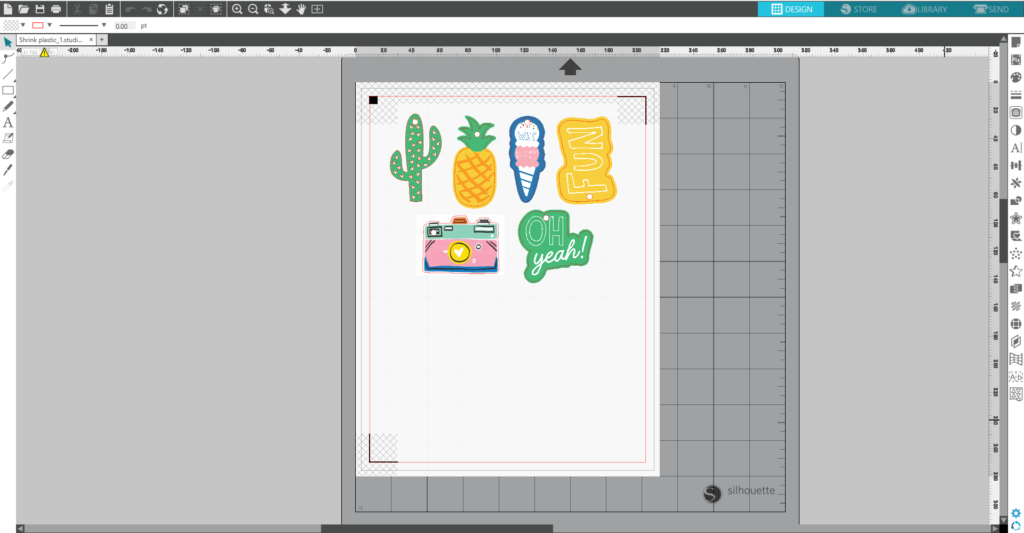
Step One: Preparing the Design
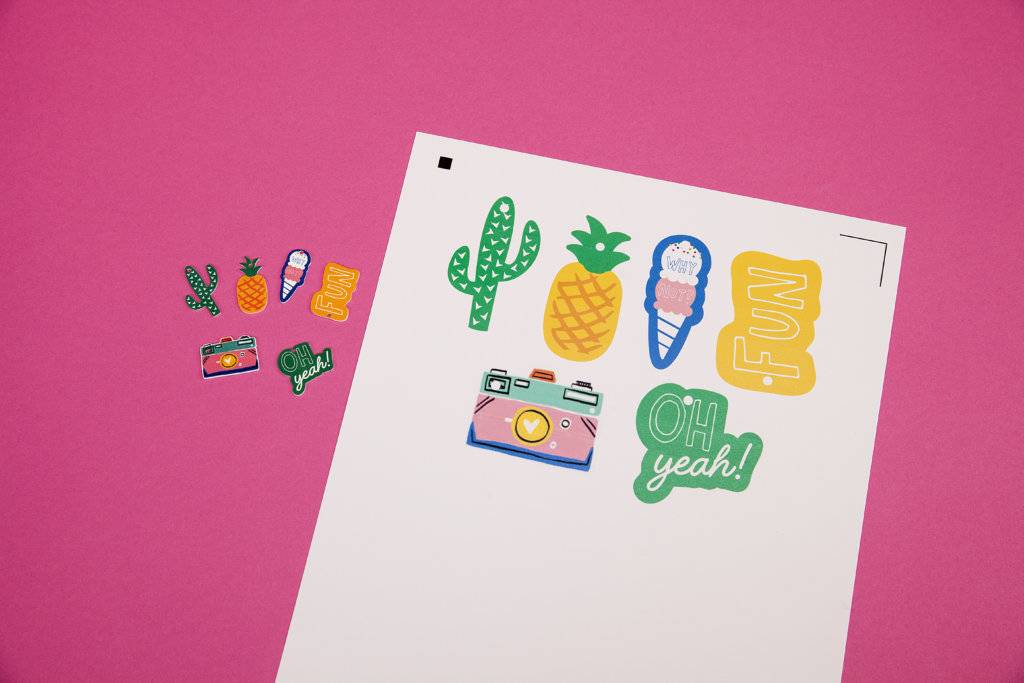
1. Open your designs in Silhouette Studio®. Resize them. Keep in mind that a baked piece will be approximately three times smaller than a printed one, as shown below. (Note: it is easier to get perfect results with small shrink-plastic projects.)
2. Add a circle to each design for the jump rings to go through. If you are using shrink plastic for the first time, add a couple of extra designs that you can use as test items. Also, make sure to turn on the registration marks (found in the Page Setup panel).
3. Feed the shrink plastic sheet into your home printer. If you are using the white shrink plastic, print on the matte side. If you are using the clear shrink plastic, print on the side with no Silhouette watermark. (Tip: Print your design using the low-quality printing settings to prevent the designs from printing too dark. After baking the plastic, the printed colors will be a couple of shades darker than what was originally printed, so for the best results, the colors of the design should be lightened. Another way to make your image lighter is to change the image transparency, which you can change using the Fill panel. For more accurate colors, change the transparency to be between 30% and 50%. However, this method isn’t the best method if your image has overlapping details. If you do have overlapping details, changing the transparency could alter how some of the layers are printed.)
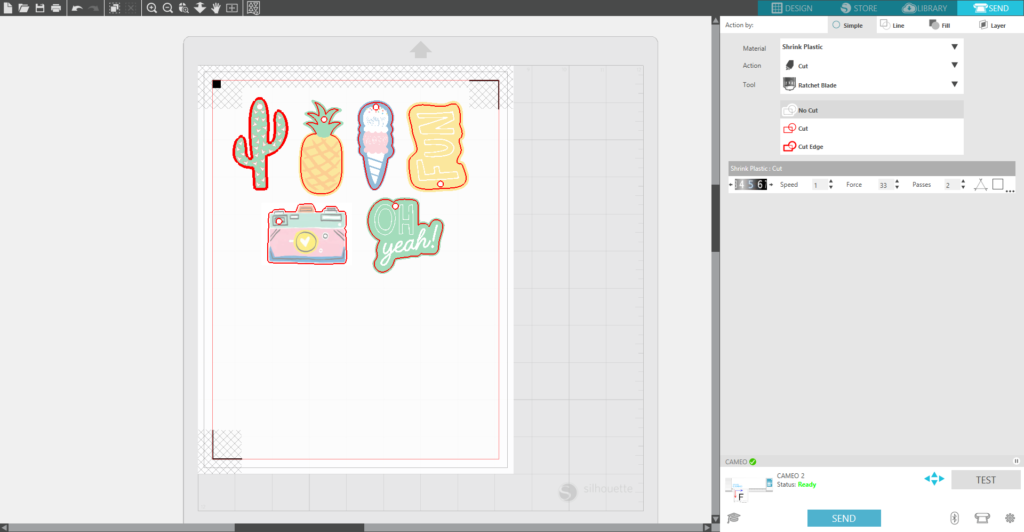
3. Place the printed sheet on your mat and feed it into your Silhouette machine.
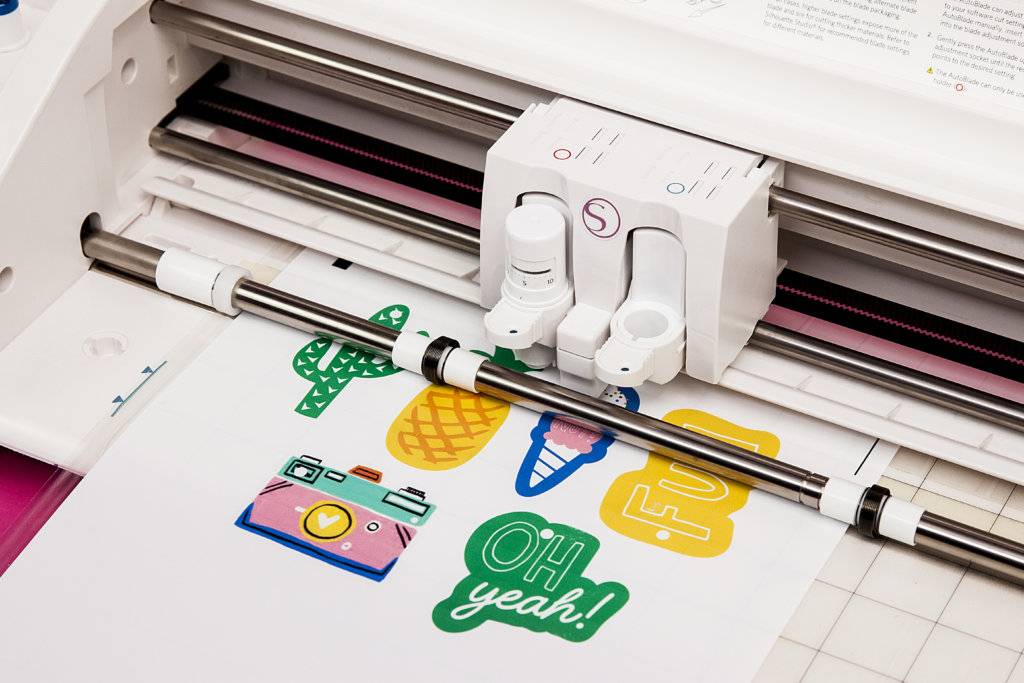
4. In the Send panel, choose Shrink Plastic as your material type. Make sure your Silhouette machine will just cut out the outline and the inside circle of your shapes. Adjust your blade if necessary and send your cut job to your Silhouette machine. (Tip: If your machine is having trouble reading the registration marks, try manually moving the blade over the black square by using the blue arrows in the Send panel.)
5. After cutting the designs, remove the designs from the cutting mat.
Step Two: Baking the Shrink Plastic
1. Preheat the oven to 290–325° F (140–160° C). We suggest testing your oven first by using a test piece to find the right temperature to bake the shrink plastic. For some ovens, 325° F (160° C) is normal for shrink plastic baking, but for other ovens, 290° F (140° C) is the perfect temperature because it’s not too hot.
2. If you use the clear shrink plastic, remove the Silhouette-branded liner and place the shapes printed side up onto a parchment-lined cookie sheet. If you use white shrink plastic, place the printed shapes printed side up onto a parchment-lined cookie sheet. (Tip: If you are using shrink plastic for the first time, we recommend baking one piece at one time.)
3. The baking process takes approximately two minutes. Watch as the piece shrinks (it will curl and move and then lay flat again).
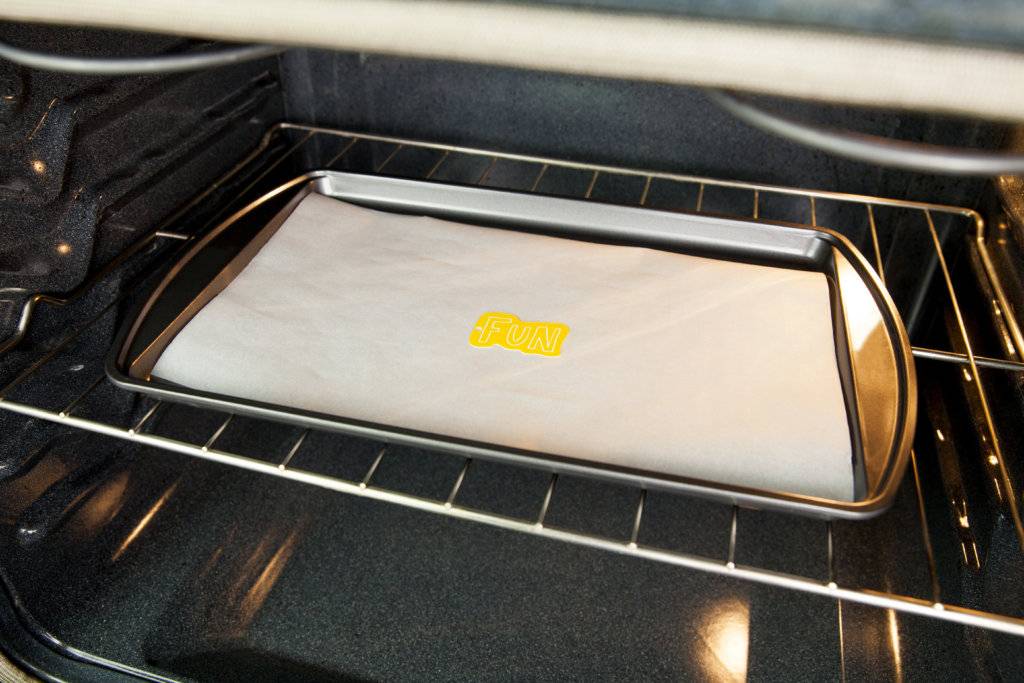
4. The shapes will be much smaller and thicker than the shapes you started with.

5. When you see that your piece is flat (or almost flat if you bake a bigger piece), quickly but carefully remove the cookie sheet from the oven. Right away, gently press the piece flat using a flat tool. You have a couple of seconds to flatten the piece because it cools down pretty quickly. The piece may stay slightly curled if you don’t flatten it fast enough.
6. Remove the piece from the cookie sheet, and repeat the process with each piece you have.
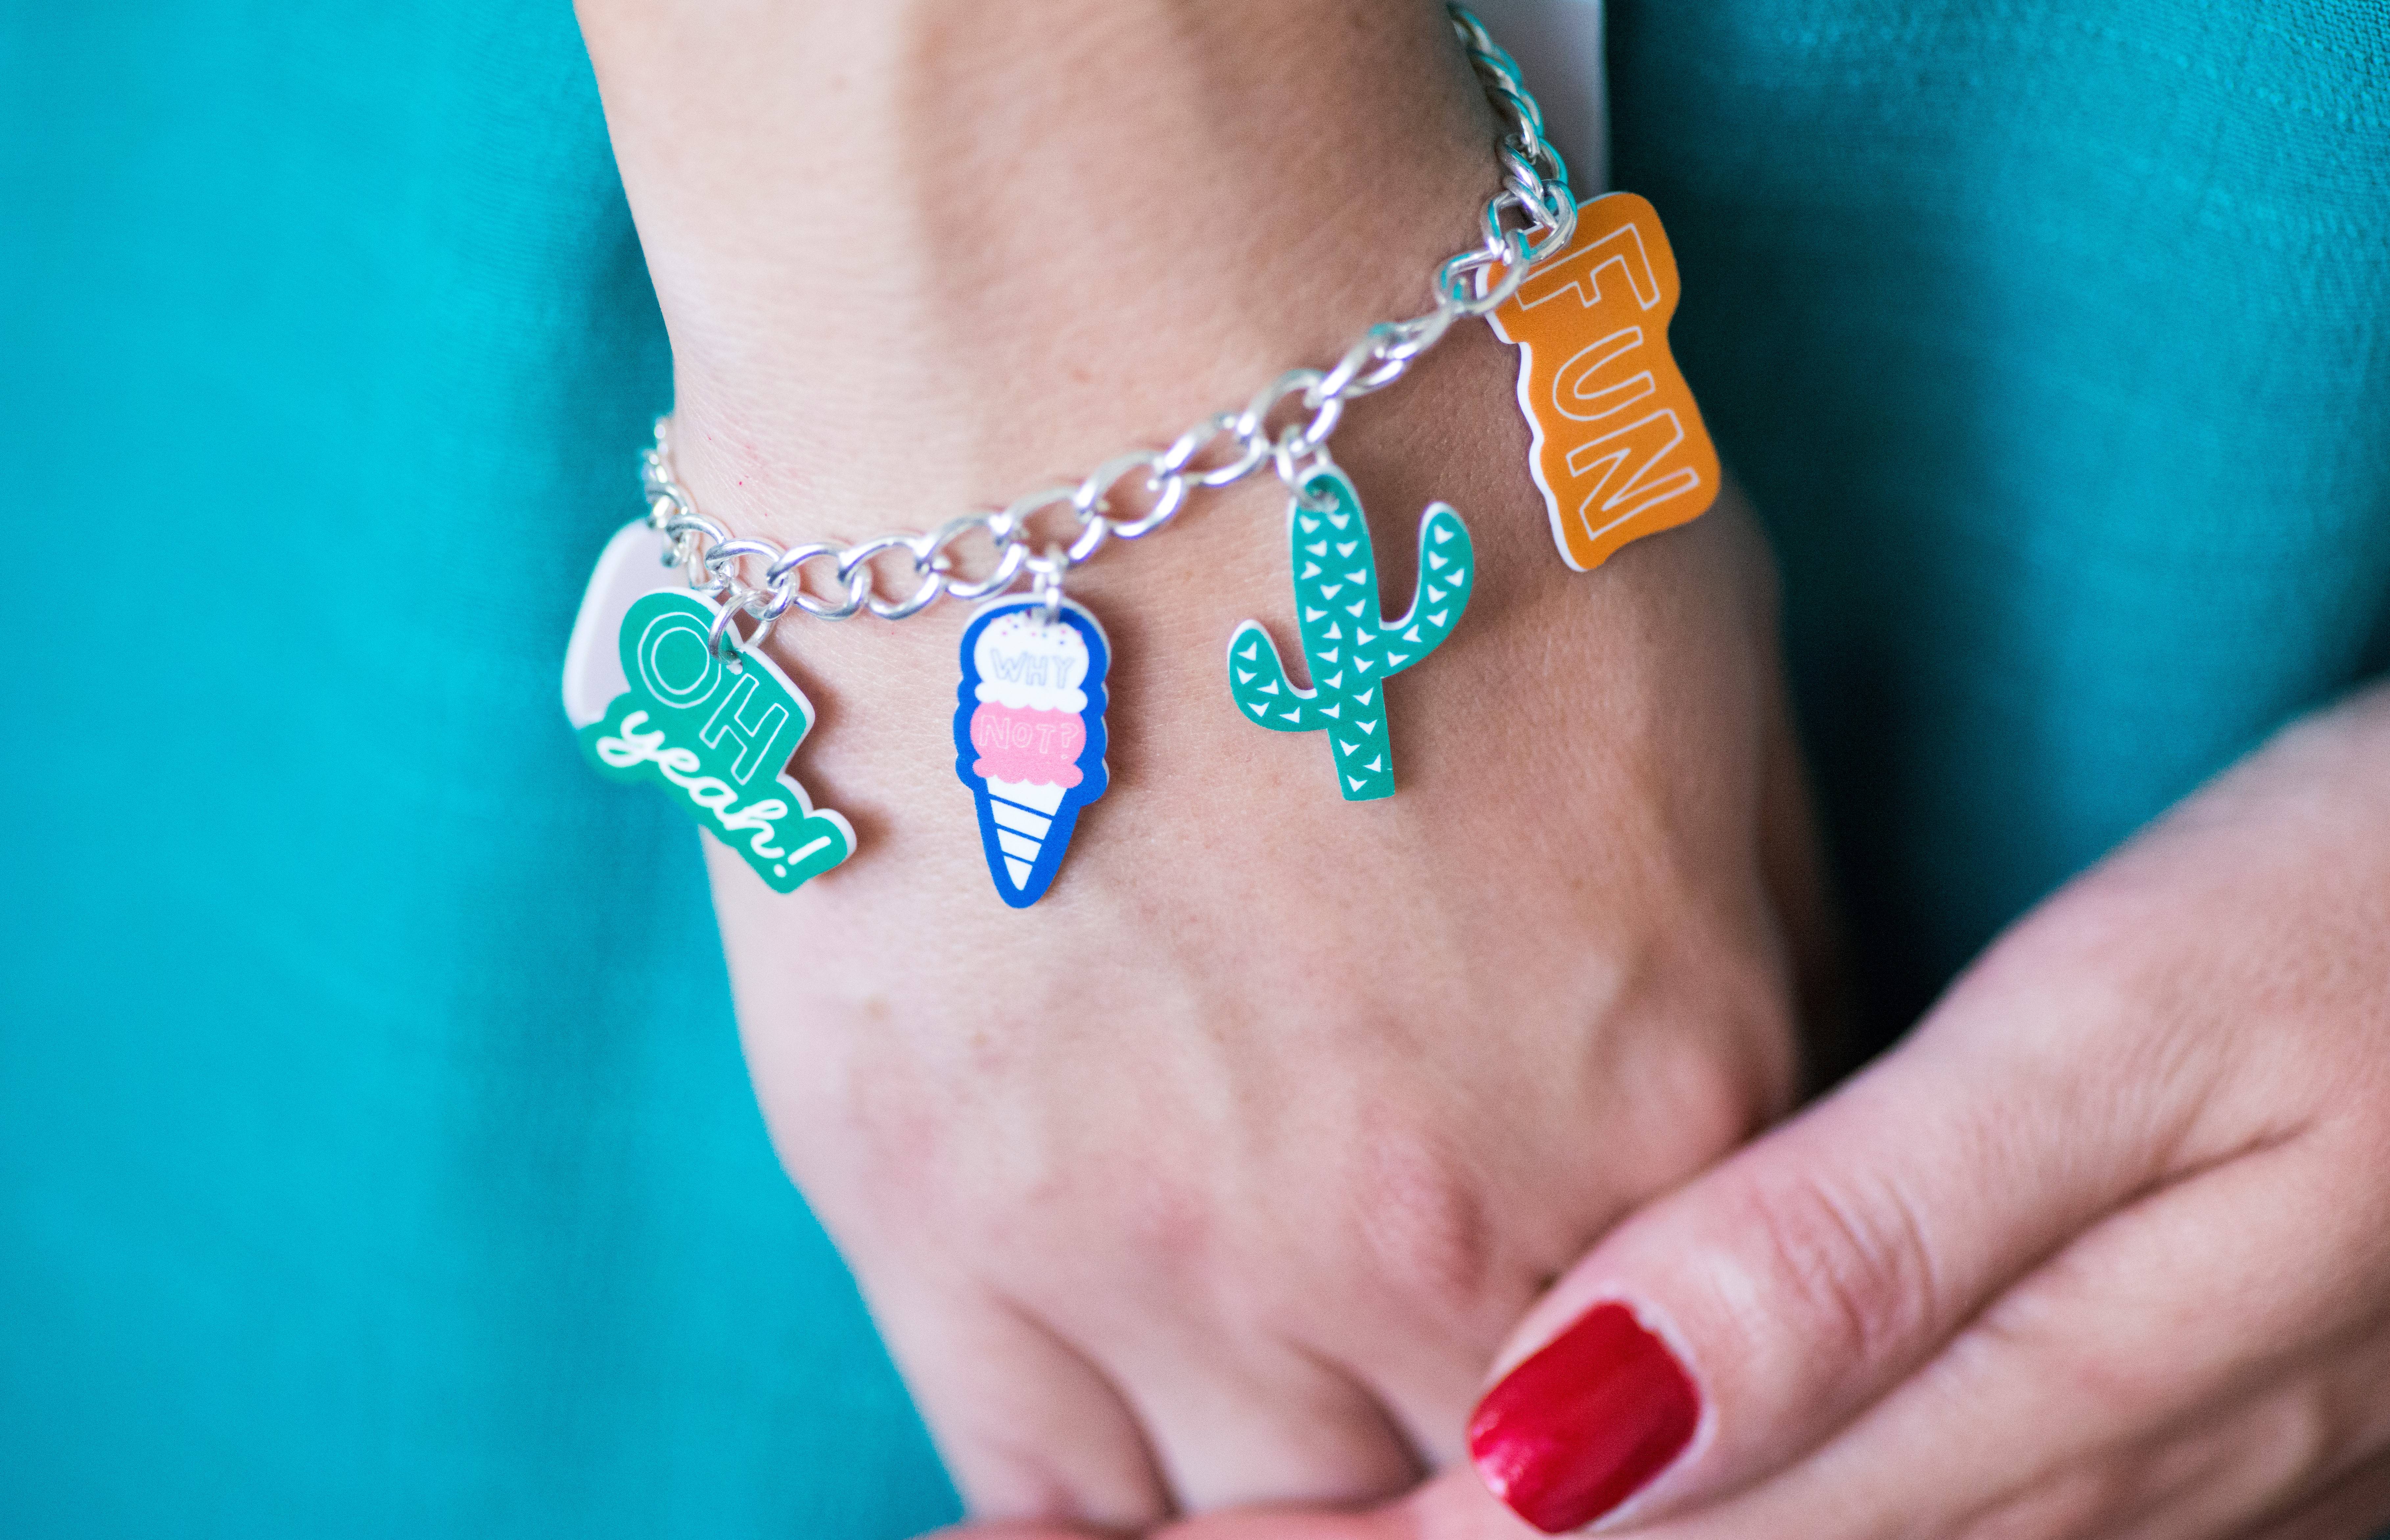
Step Three: Assembling a Bracelet
1. Add the charms on the bracelet chain by using jump rings and plyers.
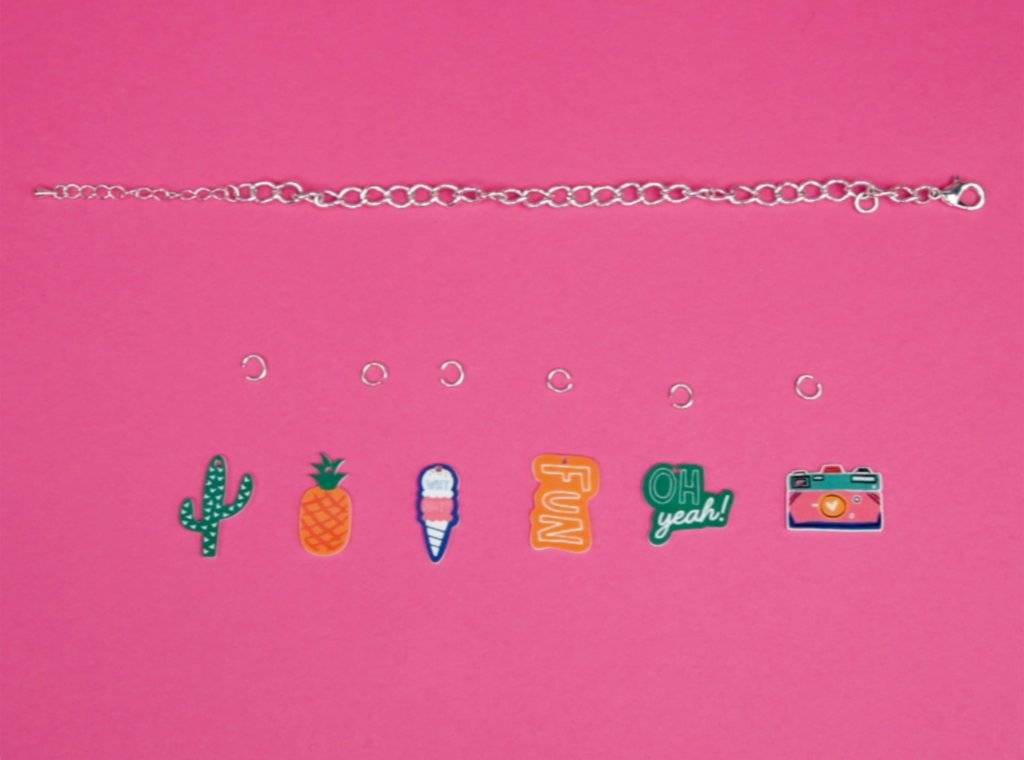
Now you have a nice custom bracelet to wear. Using shrink plastic, you can make all kinds of different jewelry projects and kids’ crafts.
Tell us about the projects you’ve made with shrink plastic.
Kelly Wayment
June 28, 2024
You can use it with vinyl as long as it is smooth and flat to allow the static charge to hold on to it. Rolled vinyl that wants to go back to its rolled shape will not necessarily work well, and it would need to be trimmed to fit the ES mat cutting area.
Kelly Wayment
June 28, 2024
Yes, you can use the heat pen while using the ES mat. 🙂
Yurii
March 2, 2024
Hello. May it be used with heat pen?
Thanks
Jerome
February 24, 2024
Hi, works this with the normal vinyl foils or only with printer papter etc?
Kelly Wayment
February 16, 2024
Once you’ve pushed the mat up against the rollers, just press the “Load” arrow button (bottom right on the display). Does a regular sticky mat load into the machine for you?
Michelle a goodall
January 24, 2024
Hello! I just got my new electrostatic mat and have watched every video i can find on it. However, what i can t find is why it wont feed into my cameo 5/ it slides right up the rollers but wont go any further. and yes- iam pushing the into button. help!