Vinyl is a staple in the Silhouette universe because it’s so versatile and can be used for so many different things! In this tutorial, we’re going to show you how to cut vinyl and apply it using transfer tape.
Supplies Needed:
- Silhouette CAMEO®, Silhouette Portrait®, or Silhouette Curio™
- Silhouette Cutting Mat (if you cut a small piece of vinyl)
- Silhouette Cutting Blade
- Silhouette Vinyl
- Silhouette Transfer Tape
- Roll Feeder (only use with Silhouette CAMEO® or Silhouette Portrait®)
- Silhouette Hook
- Silhouette Scraper
- Design ID#245842
Step One: Preparing the Design
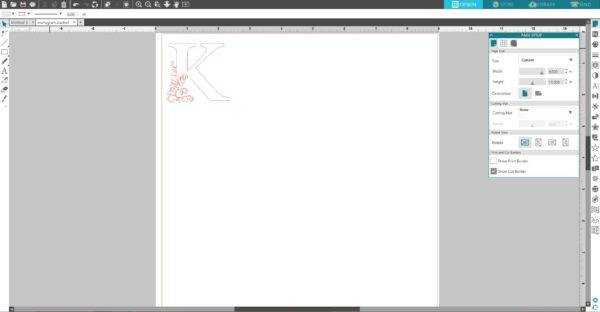
1. Open the design in Silhouette Studio® and resize it as desired.
2. If you’re cutting vinyl directly from the roll, feed a vinyl roll directly to the Silhouette cutting machine using the roll feeder. If you are using the CAMEO, don’t forget to adjust the rollers according the size of the vinyl roll you are going to cut.

3. In Silhouette Studio®, go to the Page Setup panel, choose None as your mat option, and adjust the page size.
4. If you use a cutting mat, in the Page Setup panel, choose the type of cutting mat you will use and adjust the page size according the size of vinyl piece you will cut.
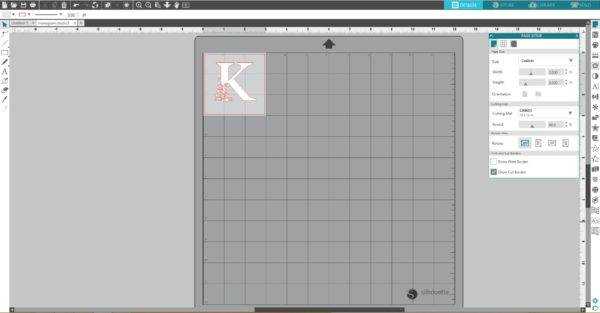
5. Place a piece of vinyl on the cutting mat on the same spot as you placed the design on the working space in the Silhouette Studio®. Make sure the piece of vinyl is not smaller than your design. Adjust the rollers if needed, and feed the mat into the cutting machine.

Step Two: Cutting the Design
1. Under the Send panel, select “Vinyl” as your material type. Adjust the blade if necessary, and click Send.
2. Once the image is cut, select Unload on your machine and remove the vinyl from the machine.
3. Remove the excess vinyl from your design in a process called weeding with your Silhouette hook tool.

Step Three: Applying Vinyl Using Transfer Tape
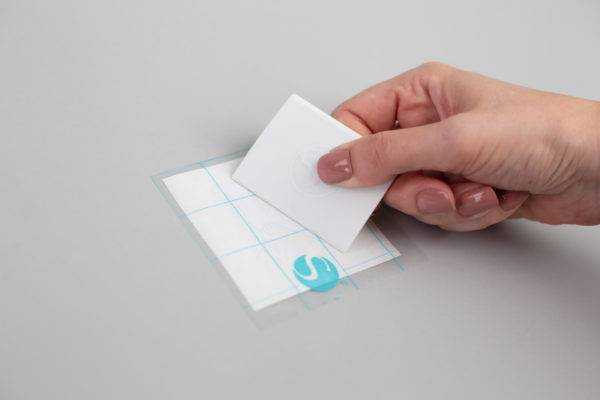
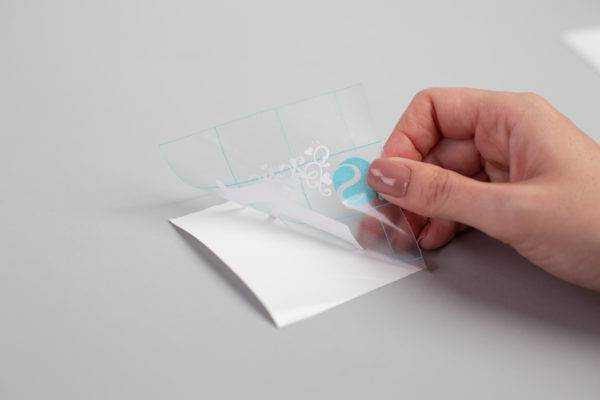
1. Place the transfer tape over your design to help move your design over to the tumbler. Use the scraper tool to adhere the transfer tape to the vinyl.
2. Slowly peel away the vinyl from the white backing. If parts of the design are not adhering to the transfer tape, place the design back on the white backing and try adhering the design again.
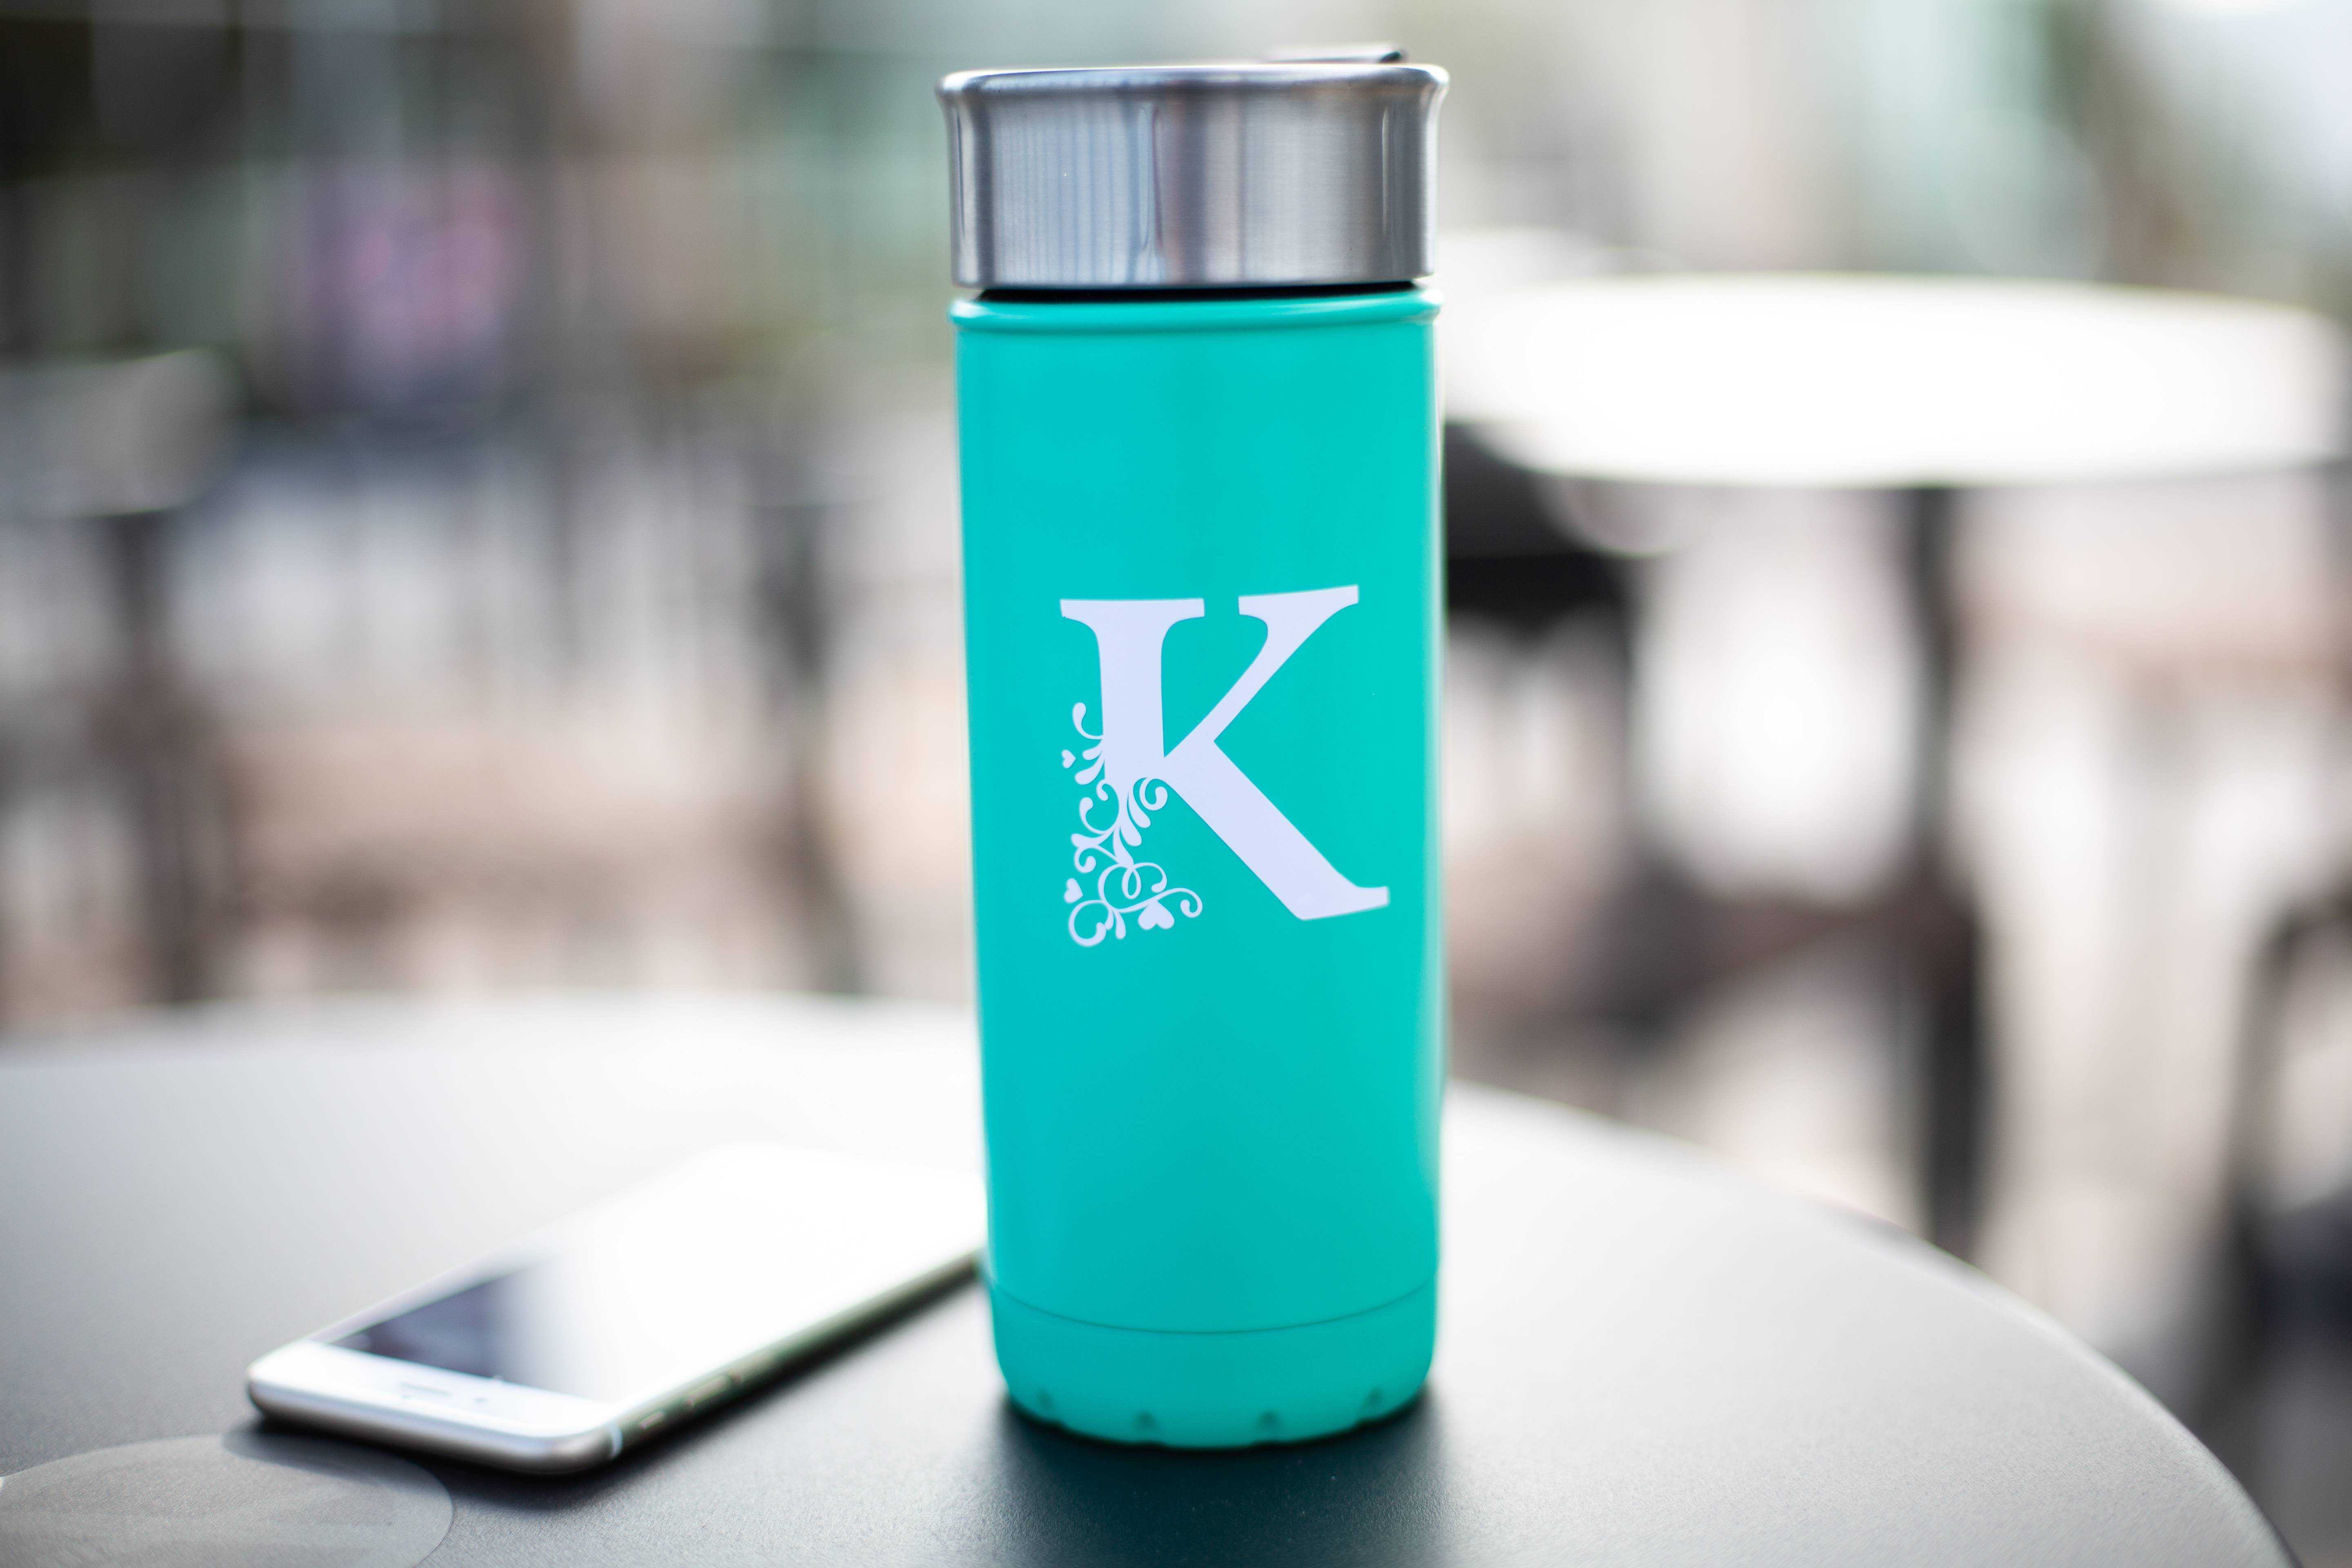
3. Apply vinyl on the tumbler.

4. Slowly, peel away the transfer tape to reveal your vinyl decal.
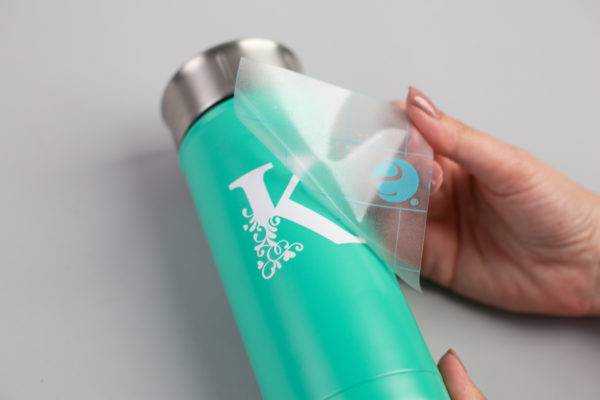
Now our project is ready!
