It’s Breast Cancer Awareness Month, and we thought a pink ribbon decal would be the perfect thing to create. You won’t believe how surprisingly easy it can be. We grabbed a roll of our matte vinyl and got to cutting. The best thing about our matte vinyl is that it’s easily removable. You can make dozens of decals and replace them every so often if you’d like. Let’s jump into the tutorial!
Supplies Needed:
- Silhouette CAMEO® or Silhouette Portrait® or Silhouette Curio™
- Silhouette Matte Vinyl – Pink
- Silhouette Transfer Tape
- Silhouette Scraper Tool
- Design ID #225720
Step One: Set Up The Design
- Select the Page Setup window (this icon can be found on the toolbar on the right-hand side of your page) and adjust your width and height to the dimension of your machine.
- Open Design ID #225720 in Silhouette Studio® by locating the design in your library.
- Adjust the size of the design by selecting it and dragging the outer corner to make it larger or smaller. We wanted this to be placed on the back window of a car so we made the design 5.269 inches by 4.516 inches.

- Once your design is adjusted to the size you want, you are ready to cut.
Step Two: Cut Your Design
- In Silhouette Studio®, select the Send window in the top right-hand corner. Select your entire design and make sure the Cut option is selected.
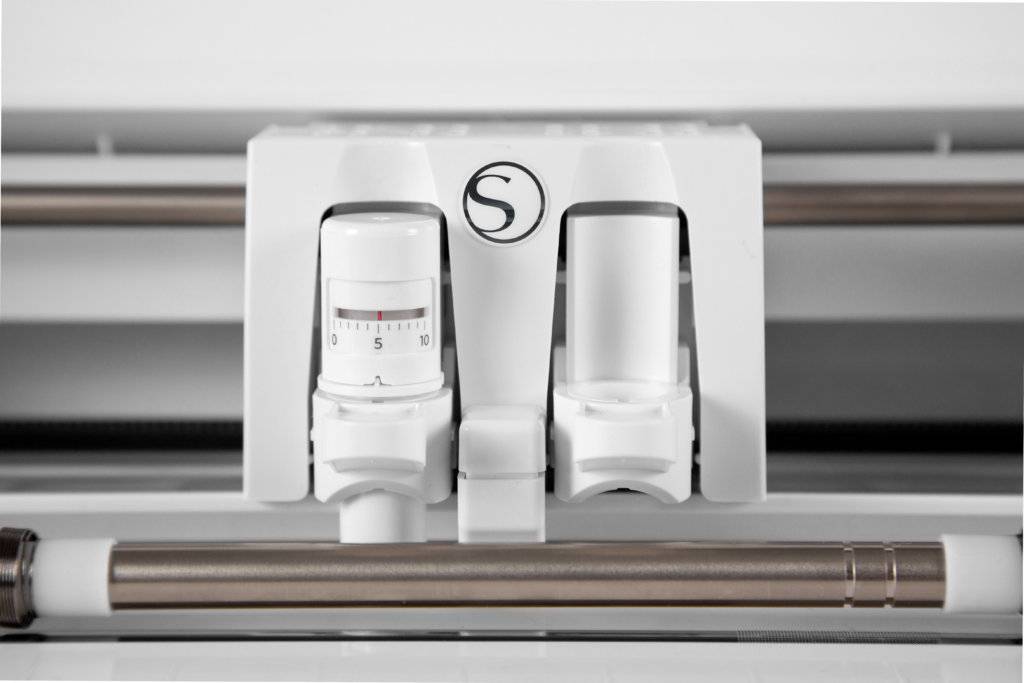
- Load your vinyl into your machine. You can load vinyl directly into your machine if you’d like. To do so adjust your rollers to ensure your machine will properly grip your material.
- In the Send window, select the “Vinyl, Matte” setting, and select Send. (Remember that if you don’t have an Autoblade, you will need to adjust your blade settings.)

Step Four: Assemble
- After your machine is done cutting, unload the vinyl from your machine and weed away unnecessary parts of the design.
- Place the transfer tape over your design to help move your design over to the car window. Use the scraper tool to adhere the transfer tape to the vinyl.
- Bring your decal over to your car window. Make sure that the area where you are looking to place your design is clean.
- Slowly peel away the white backing from the vinyl. If parts of the design are not adhering to the Transfer Tape, place the design back on the white backing and try adhering the design again.
- Align your design onto the car window. Once you have it in the position you like, use your scraper tool again to help adhere the vinyl to your car.
- Slowly, peel away the transfer tape to reveal your car decal.


Doria Garza
October 25, 2017
I can’t seem to get the design to show up in my library.
Silhouette
October 26, 2017
Can you contact us at support@silhouetteamerica.com. We’d love to help.