
With the holidays coming up, we thought it might be fun to show you how to create your own Christmas ornaments! It’s really easy, and they look really cute when they’re done. Continue reading to see what you need to do!
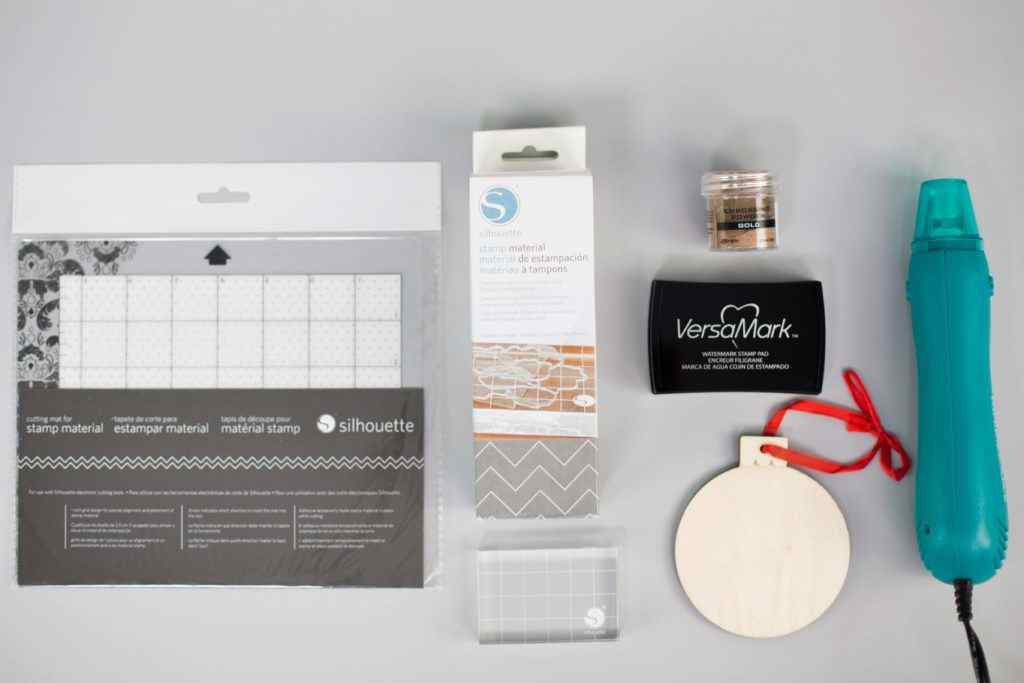
Supplies Needed:
- Silhouette CAMEO® or Silhouette Portrait®
- Silhouette Cutting Blade
- Silhouette Studio®
- Cutting Mat for Stamp Material
- Silhouette Stamp Material
- Acrylic Block for Stamp
- Embossing Powder
- Watermark Stamp Pad
- Embossing Heat Tool
- Round Wood Ornament
- Design ID#232204
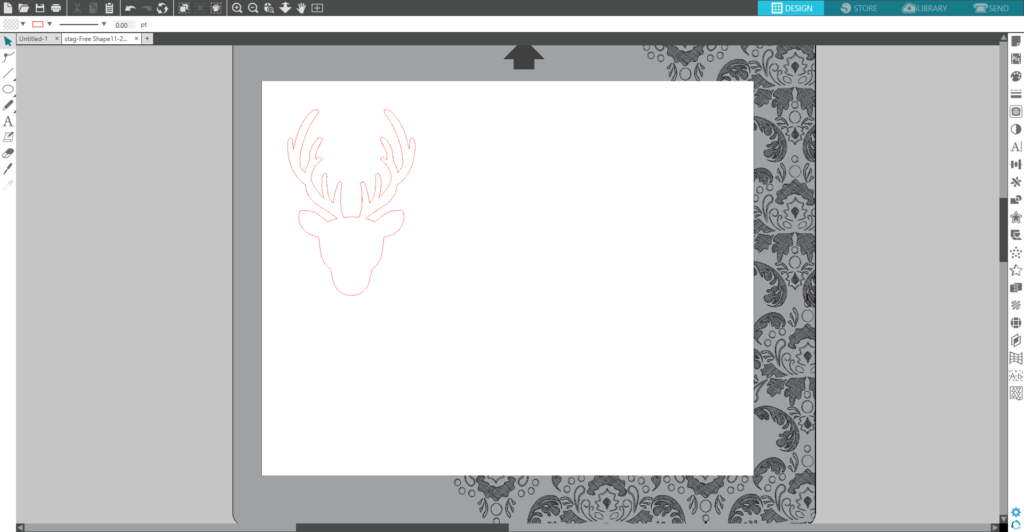
Step One: Making the Stamp
1. Open the Stag design (Design ID#232204) in Silhouette Studio®. Change your page size and cutting mat to the stamp default settings.
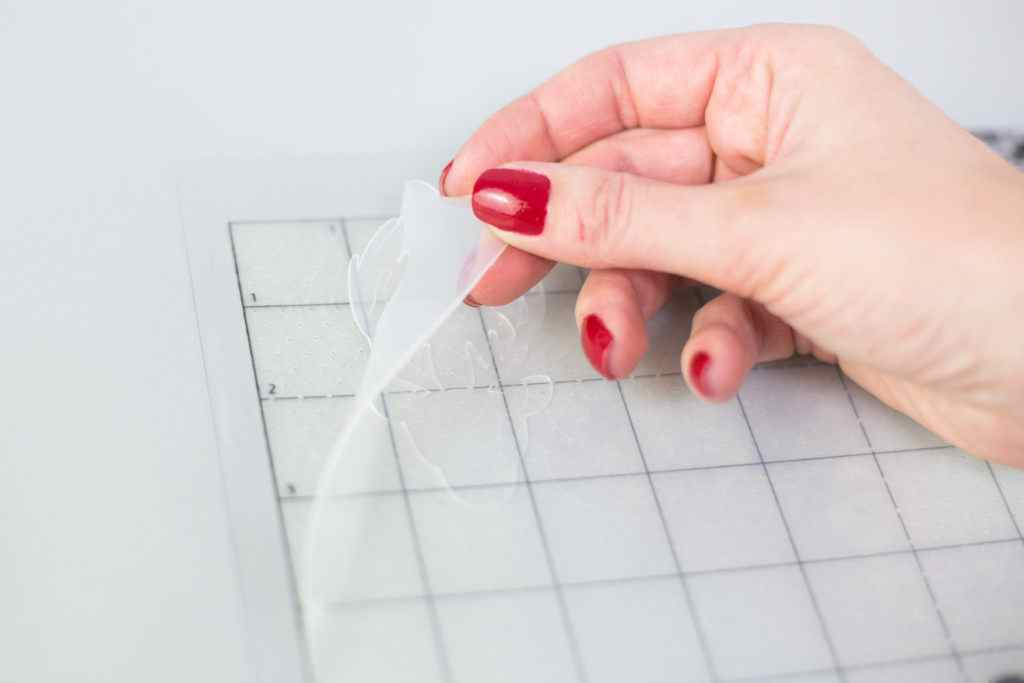
2. Remove the liner from the perforated cutting mat.
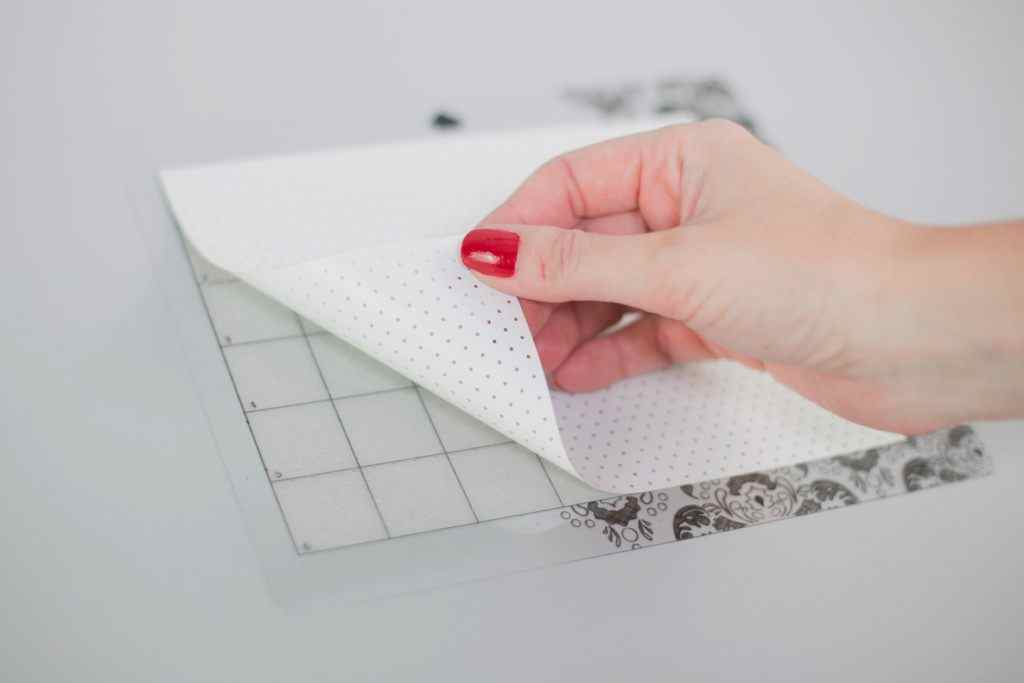
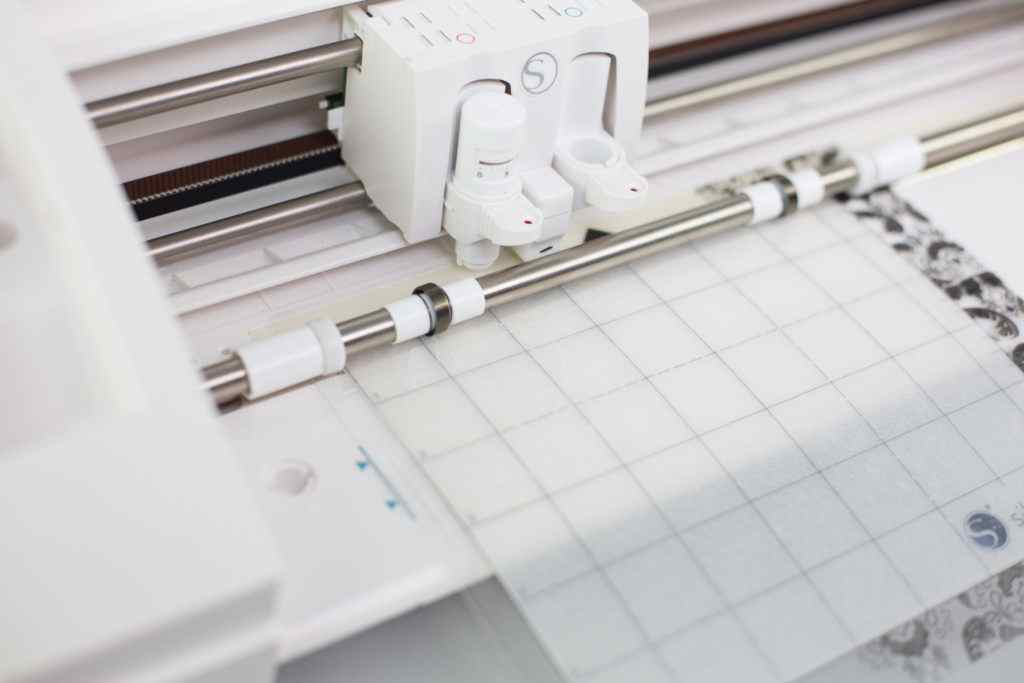
3. Remove the liner from the stamp material. Place the stamp material onto the mat and gently pat it into place until all the air bubbles are pressed out. Do not stretch or spread the stamp material. Load the mat into your Silhouette machine.

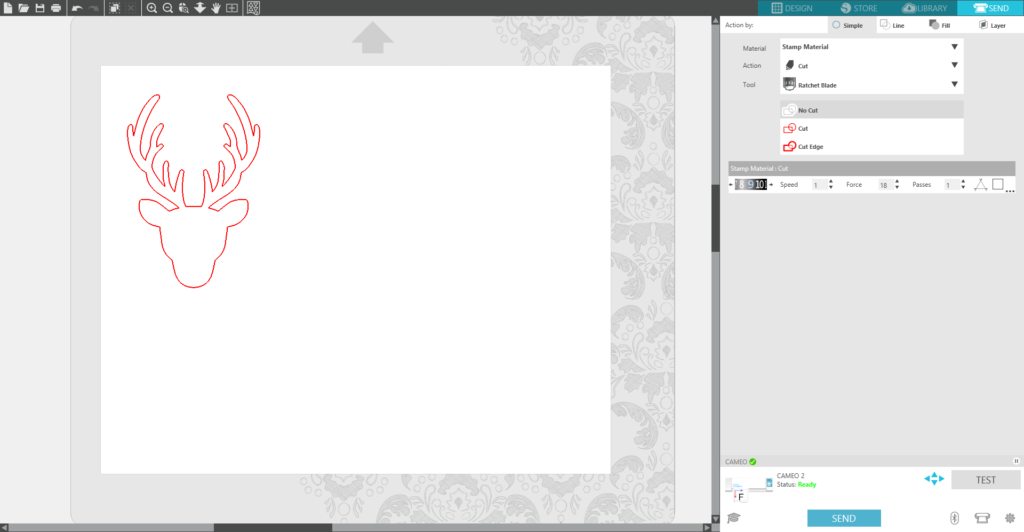
4. Select “Stamp Material” as the material in the Send panel. Adjust the blade to the recommended setting listed in the Action tab. Click “Send” in the Send tab.
5. After the Silhouette machine is done cutting, unload the mat.
6. Gently peel out the stamp. Don’t worry if the blade did not cut all the way through. The material will break away cleanly.
7. Arrange the stamp onto an acrylic block that fits the stamp the best. Use the block’s grid for spacing and alignment.
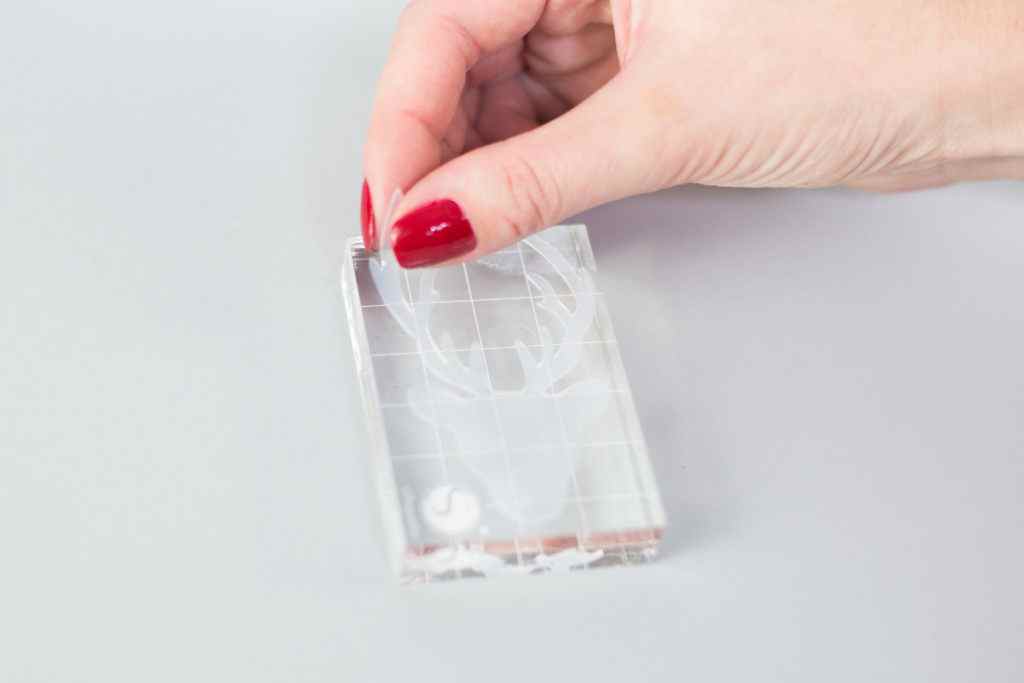
8. Your stamp is ready to use. Press the stamp into the watermark stamp pad. (It’s normal to get ink on your acrylic block.)

9. When stamping, be sure to press the stamp straight down on a flat surface.

Step Two: Embossing the Ornament
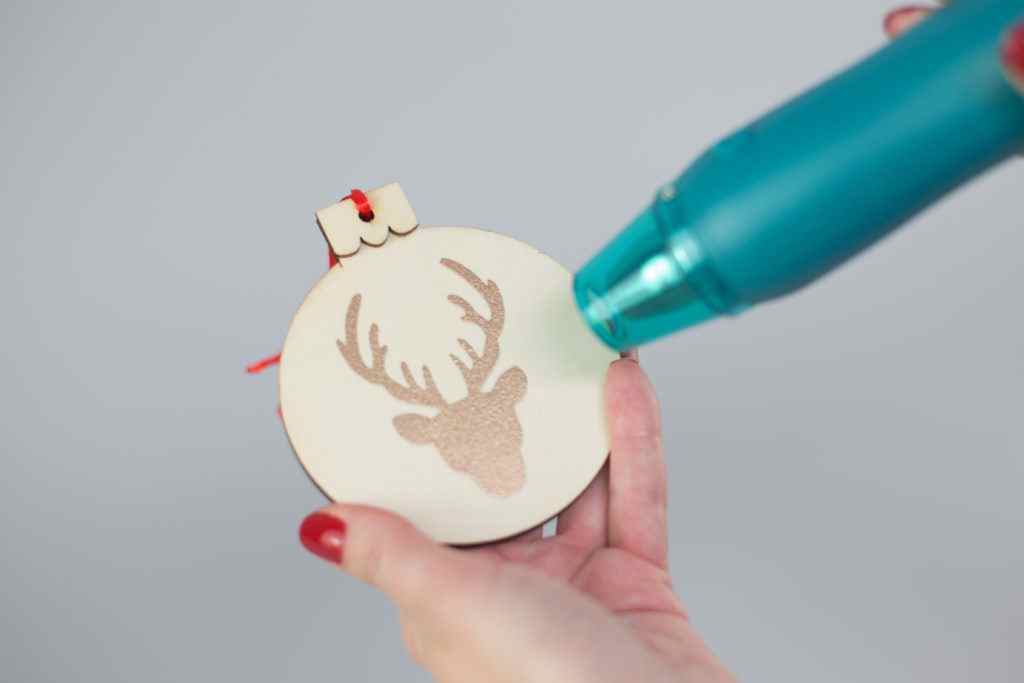
1. Pour the embossing powder on the entire stamped image. Shake the excess powder onto a piece of scrap paper and pour it back into the bottle.

2. Place the wood ornament on a heat-resistant surface or hold it carefully so that you don’t burn your fingers. Hold the embossing heat tool about 6 inches away from the image. Sweep the heat tool over the image and take care not to direct it in one area for too long. As the embossing powder melts, it will become smooth and more dimensional. Be careful not to overheat the powder, otherwise the powder will bubble.
3. When you’re done, wipe away the excess ink or powder with a tissue or paper towel. Rinse and dry the stamp and the acrylic block before you store them.
That’s all there is to it! You can easily do this with a bunch of different images to create a variety of ornaments.
Kelly Wayment
June 28, 2024
You can use it with vinyl as long as it is smooth and flat to allow the static charge to hold on to it. Rolled vinyl that wants to go back to its rolled shape will not necessarily work well, and it would need to be trimmed to fit the ES mat cutting area.
Kelly Wayment
June 28, 2024
Yes, you can use the heat pen while using the ES mat. 🙂
Yurii
March 2, 2024
Hello. May it be used with heat pen?
Thanks
Jerome
February 24, 2024
Hi, works this with the normal vinyl foils or only with printer papter etc?
Kelly Wayment
February 16, 2024
Once you’ve pushed the mat up against the rollers, just press the “Load” arrow button (bottom right on the display). Does a regular sticky mat load into the machine for you?
Michelle a goodall
January 24, 2024
Hello! I just got my new electrostatic mat and have watched every video i can find on it. However, what i can t find is why it wont feed into my cameo 5/ it slides right up the rollers but wont go any further. and yes- iam pushing the into button. help!