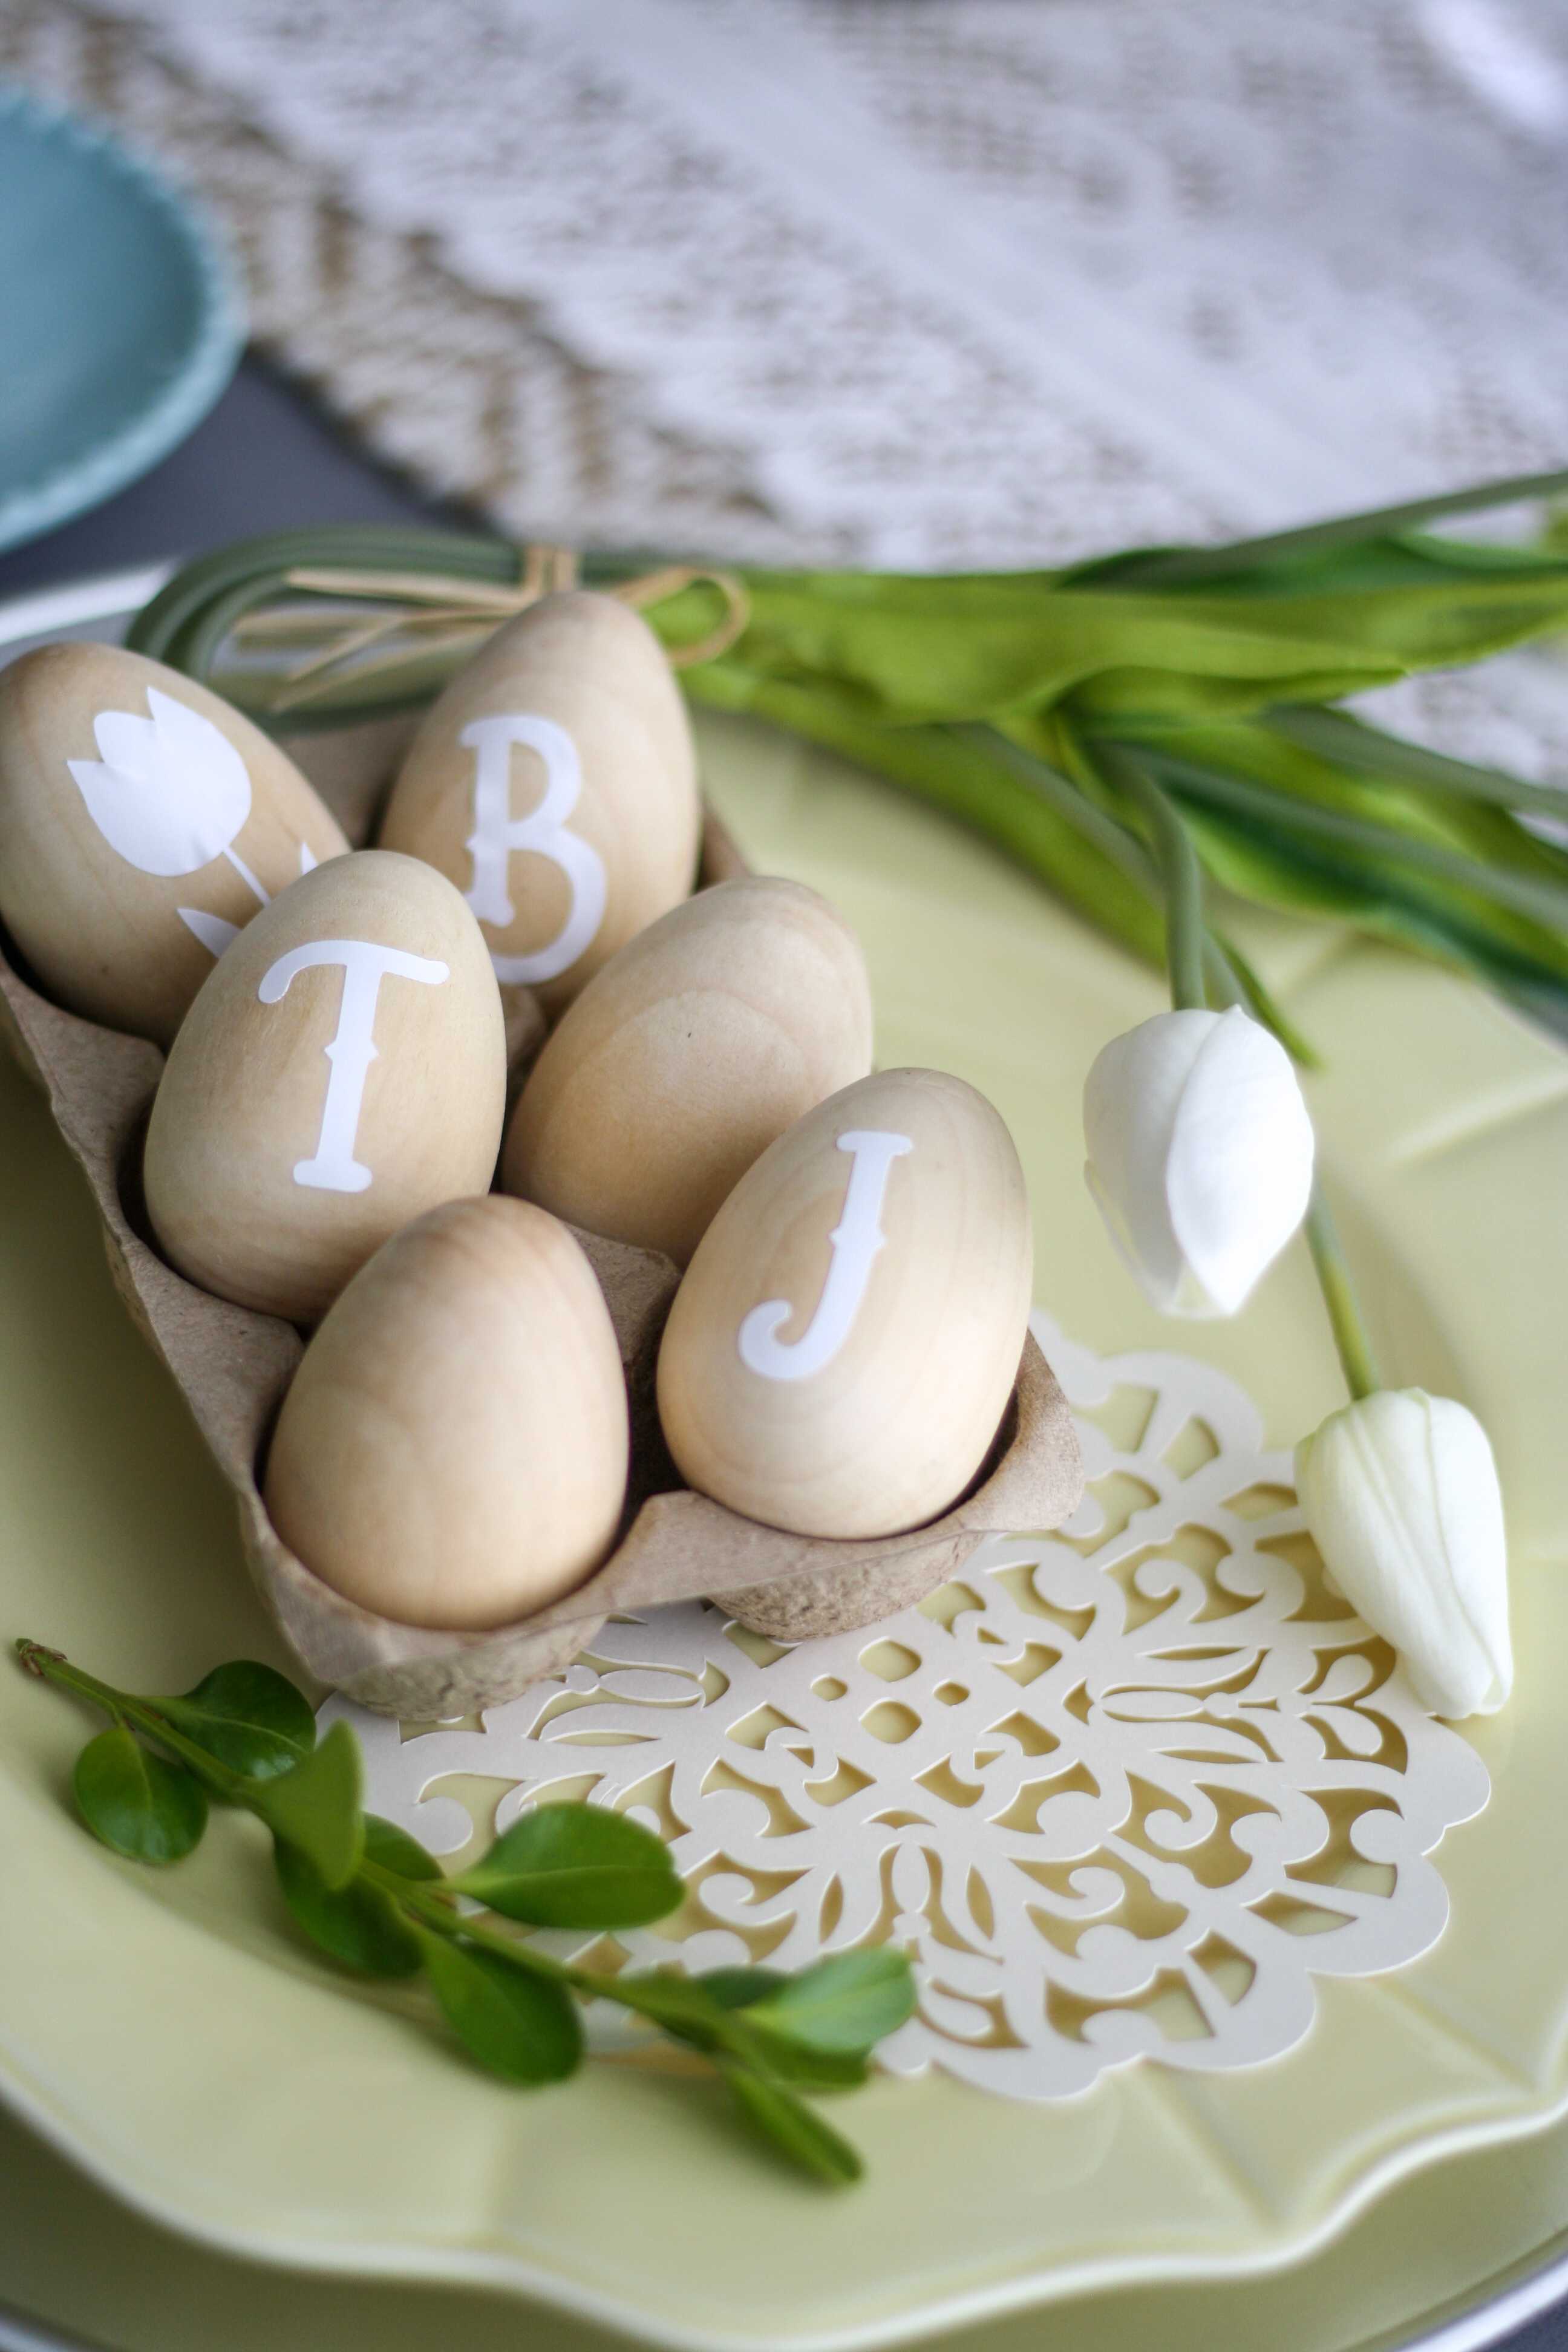
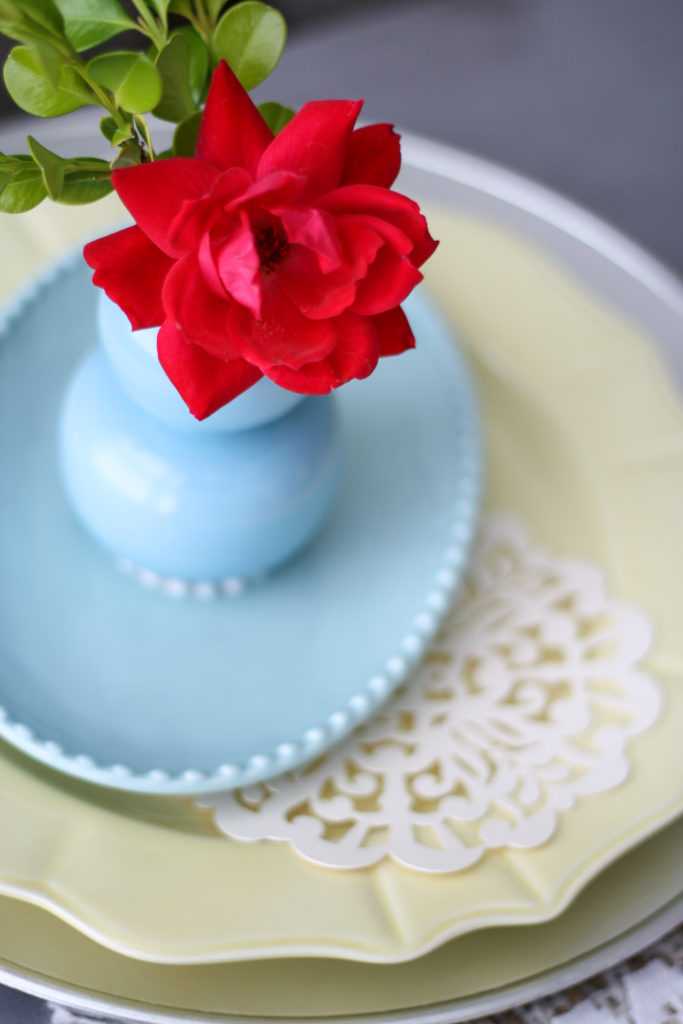
Spring has arrived here in Florida, and I am ready to share some fun Spring Décor ideas using my Silhouette CAMEO! These ideas are perfect for everyday interior design inspiration or perfect for a tea party or an Easter brunch! I am big on personalizing my guests’ place settings, and if you are a Silhouette lover like I am, you probably are too! I tried to use a few different Silhouette Store designs to make a beautiful array of design options. My favorite is probably the doily, and I was AMAZED at how beautiful it turned out. Since I printed it on coverstock, it will be super easy to reuse too!
Supplies Needed:
- Silhouette CAMEO®, Silhouette Portrait®, or Silhouette Curio™
- Silhouette Cutting Mat
- Silhouette Cutting Blade
- Silhouette Studio®
- Silhouette Hook Tool
- Silhouette White Matte Vinyl
- Cover Weight Cardstock
- Design ID #243856
- Design ID #76573
- Design ID #31200
- Design ID #86685
Step One: Locate Your Designs
- Locate all the designs (listed above) in your library and double-click to open the designs in Silhouette Studio®.
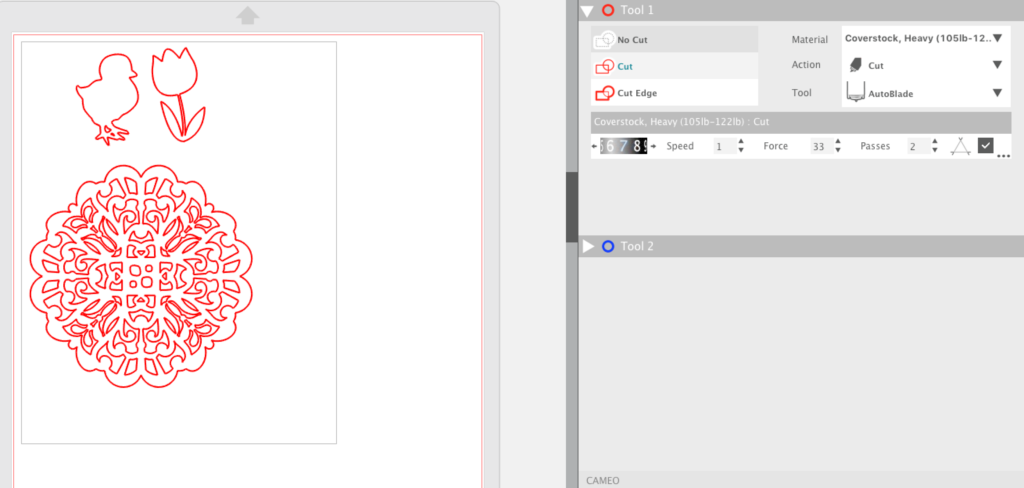
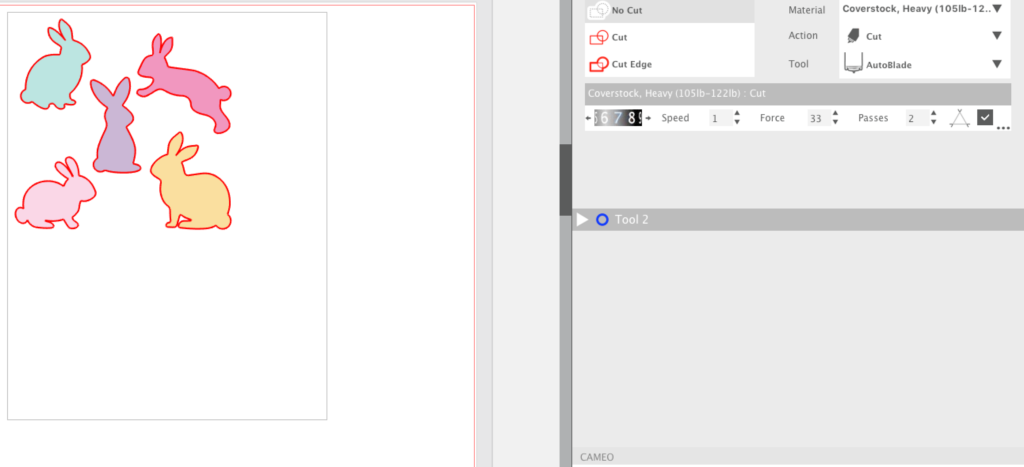
- Adjust the size of the design by selecting it entirely and dragging the outer corner to make it larger or smaller. I cut my doily at nearly 6 inches x 6 inches because it’s a good size for the center of a dinner plate. For the remaining cardstock pieces, I made those smaller and printed a few sets of them to use as confetti and little cutouts for the table decorations.
- Now that your design is ready to go, you are all set to cut your design. Note: I set up another file for my Matte Vinyl Pieces. Adjust your sizes according to your liking! If printing on eggs, I found it was easier to have vinyl letters because they are easy to adhere to the roundness of the eggs.

Step Two: Cut and Assemble
- Load your cutting mat into your machine. Then in the Send window of Silhouette Studio®, make sure to select the correct material (cardstock, coverstock, or smooth vinyl in this case). It will then tell you what to adjust your blade to. If you’ve got an Autoblade, then you don’t need to adjust your blade.
- Once your design is loaded, send it to cut.
- After your design is cut, weed the excess material away to leave only the good stuff.
- Decorate to your heart’s desire!

Kelly Wayment
June 28, 2024
You can use it with vinyl as long as it is smooth and flat to allow the static charge to hold on to it. Rolled vinyl that wants to go back to its rolled shape will not necessarily work well, and it would need to be trimmed to fit the ES mat cutting area.
Kelly Wayment
June 28, 2024
Yes, you can use the heat pen while using the ES mat. 🙂
Yurii
March 2, 2024
Hello. May it be used with heat pen?
Thanks
Jerome
February 24, 2024
Hi, works this with the normal vinyl foils or only with printer papter etc?
Kelly Wayment
February 16, 2024
Once you’ve pushed the mat up against the rollers, just press the “Load” arrow button (bottom right on the display). Does a regular sticky mat load into the machine for you?
Michelle a goodall
January 24, 2024
Hello! I just got my new electrostatic mat and have watched every video i can find on it. However, what i can t find is why it wont feed into my cameo 5/ it slides right up the rollers but wont go any further. and yes- iam pushing the into button. help!